aquietgirlsmess
A quiet girl's mess
Sarah, twenty-seven year old lady. I love to talk about tv shows, books & movies. I make gifs sometimes.
185357 posts
Don't wanna be here? Send us removal request.
Last Seen Blogs

vegebultrashcan
We Love Us Some Vegebul Trash!
blondpotato
Kirsten

southfl1911
The Krimson Experience

kappen
Untitled
lizzywizzyeatsart
Lizzy Eats Art
Text
We ask your questions so you don’t have to! Submit your questions to have them posted anonymously as polls.
2K notes
·
View notes
Text
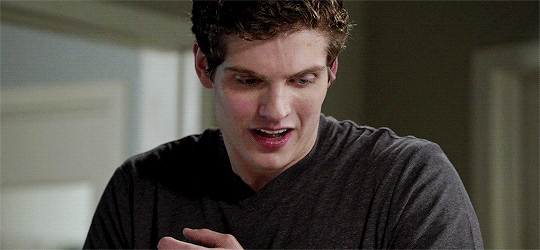
What's with the random singing moments now ?
#since when has this become a musical#nothing against musicals but that's not exactly what i signed up for here#watching chilling adventures of sabrina
0 notes
Text
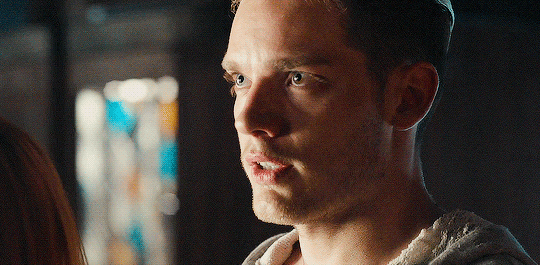

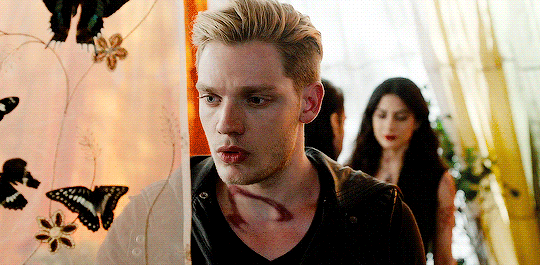
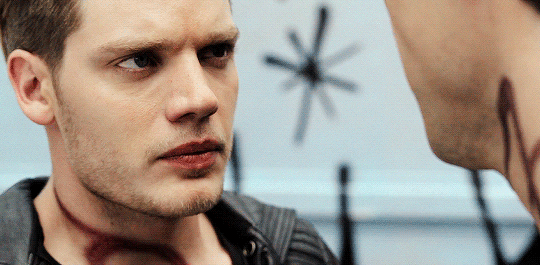
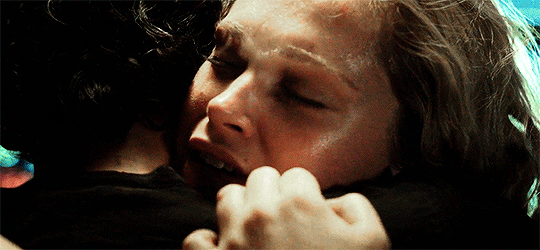
jace herondale in every episode — moo shu to go
❝ you love me. so? i love you, too, alec. come on, man. we're parabatai. we're brothers. we've spent almost our whole lives together, how could we not love each other? ❞
59 notes
·
View notes
Photo


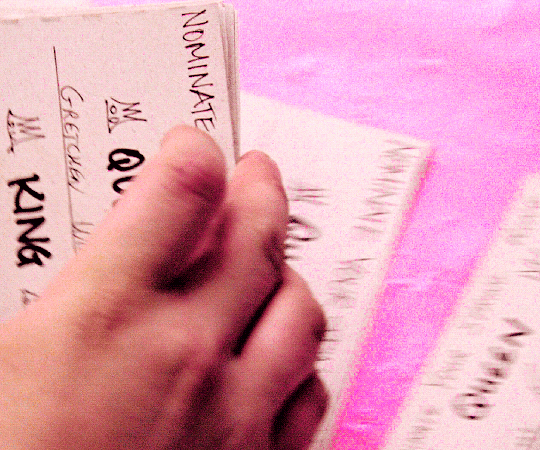
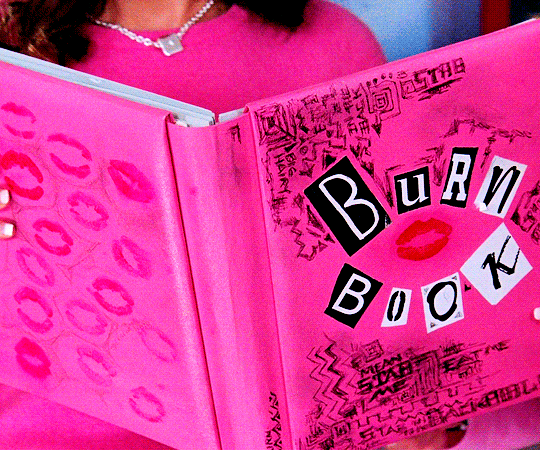
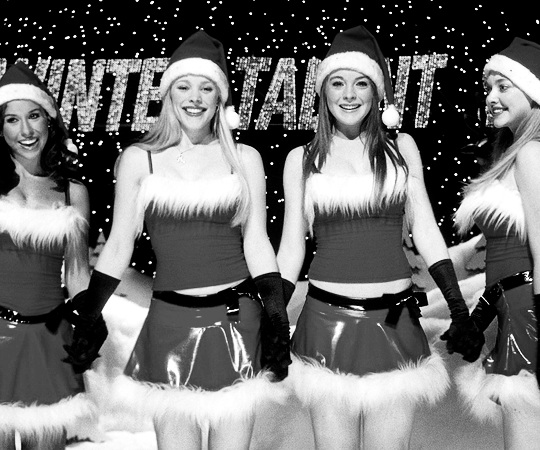
2k Celebration ✧ Top 5 Comfort Movies (as voted by my followers)
↳ #2 Mean Girls (2004)
1K notes
·
View notes
Text
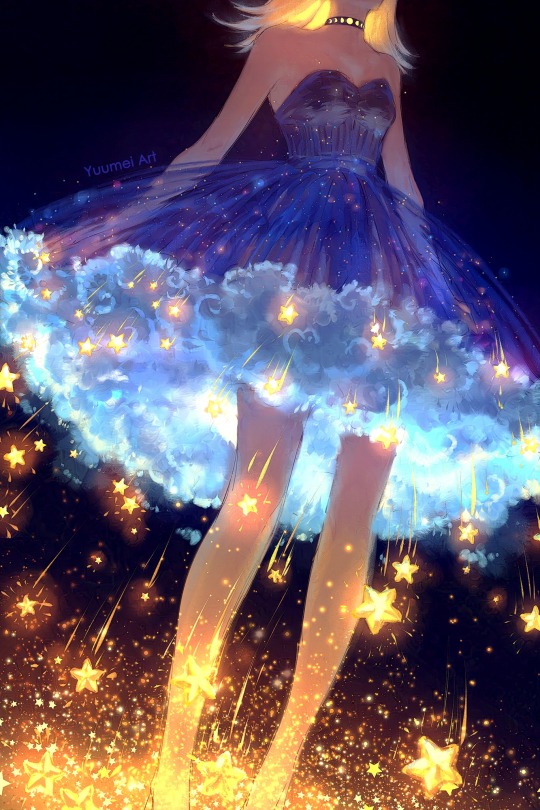
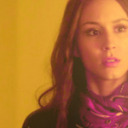
Star Stroll ⭐✨🌟
Just my usual obsession with translucent dresses haha
40K notes
·
View notes
Text

Time taken: 3.05 hours
Reference: Unknown
💀 Instagram | Youtube | Commissions 💀
46 notes
·
View notes
Photo
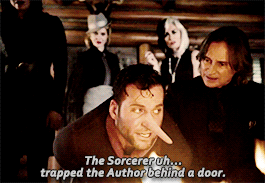

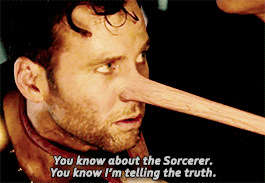
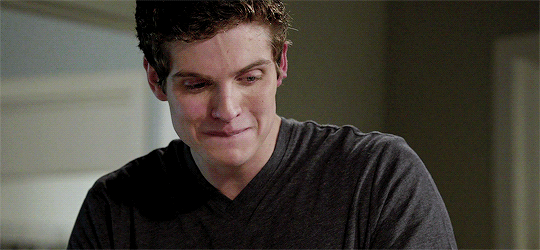
How does August know that Gold knows about the Sorcerer? Tell us more about the Sorcerer, August. COME ON.
Bonus GIF
293 notes
·
View notes
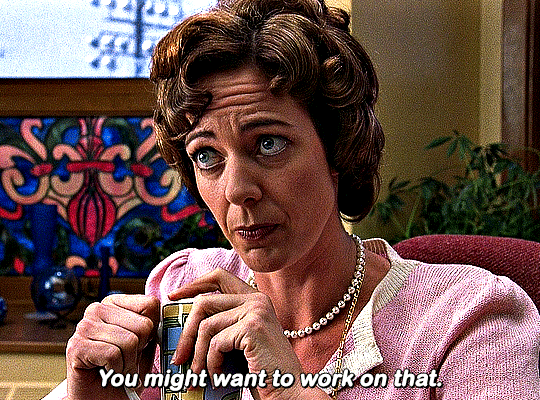
Text

Time taken: 3.55 hours
Reference: Unknown
💀 Instagram | Youtube | Commissions 💀
137 notes
·
View notes
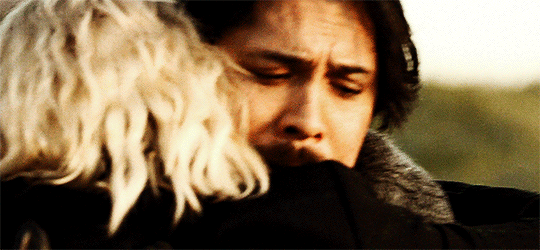
Text


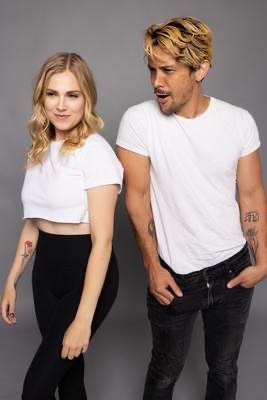
New photos of Bob Morley and Eliza Taylor, from their recent photoshoot with Neto Valesco, directed by Olivia Vandermillen
182 notes
·
View notes
Text

Thank you @cobbbvanth for asking me for this; I’ve never been more flattered! ☺️ I’ve only been making gifs for a little more than 2 years, so I’m really still only figuring Photoshop out, and my colouring owes everything to other people’s tutorials (some of which can be found here). To be honest, I was only asked some tips, but I have no clue what to include and what to leave out; so, here’s my complete (if random) colouring process.
NOTE: This is a colouring tutorial, not a gif-making one. The tutorial that taught me everything I know about that (and to which I am eternally grateful) is this one by @hayaosmiyazaki.
I. SHARPENING
My standard sharpening settings are:
One Smart Sharpen filter set to Amount: 500 | Radius: 0,4
A second Smart Sharpen filter set to Amount: 10 | Radius: 10
One Gaussian Blur filter set to Radius: 1,0 and Opacity: 30%
One Add Noise filter set to Amount 0,5 | Distribution: Gaussian
II. BASIC COLOURING
This is the part where I add most of the adjustment layers available and just play around with them. Obviously different settings work for different scenes, but I do have some standard ones.
Brightness/Contrast
I usually up the Brightness to +10-30, and the Contrast to about +10.
Curves
For the first Curves layer I go to Auto Options > Enhance Brightness and Contrast, and then adjust the opacity until I’m happy.
I might repeat the above step if the gif still looks too dark to me.
I add another Curves layer, I go to Auto Options and this time I pick either Find Dark & Light Colors or Enhance Per Channel Contrast, and check or uncheck the Snap Neutral Midtones option, until I see something I like. I will then adjust the opacity.


Levels
I add a Levels layer that usually looks something like this:

Exposure
I add an Exposure layer, where I usually set the Offset to around -0,0010.
Selective Color
To make the faces look okay, I create a Selective Color layer, select the Reds and usually add some Cyan (+10-20%) and play around a little (±5%) with Magenta and Yellow too. I might also add another layer, select the Yellows and make slight tweaks there too.
III. FUN COLOURING
About colour manipulation: PiXimperfect just uploaded a tutorial that explains everything so much better than I ever could, so I highly recommend you go watch it. It’s made for static images though, and things are more complicated with moving images, so I also recommend @elizascarlets’s tutorial.
The reason I usually go for a softer colouring is that a more vivid one requires a lot of patience and precision, and I honestly can’t be bothered. Instead, I try to tweak the colous only a little, so that the edges can be a little rough without it looking too wrong.
One thing to remember is that each gif is different, and there isn’t one foolproof way to do this, so you will need to use a different technique depending on the gif you’re working with.
Okay, so, after I’ve decided what colour I want my background to be:
1. I create a Hue/Saturation layer and change the greens, cyans, blues and magentas to that colour. That’s easy enough, since it doesn’t mess with the face colour. I then set the blending mode to Color. If your background doesn’t include any yellow or red, you might be done here, like in the case bellow:


2. To change the yellows and reds, I create a new Hue/Saturation layer, select the yellows/reds, move Saturation to 100 (temporarily) and then play around with the sliders until the face colour isn’t affected. I then change it to whatever I’ve chosen and change the blending mode to Color.
3. If for whatever reason step 3 doesn’t work (the background is white or black for example, or just too red), I might create a Solid Color layer set to whatever colour I want, set the blending mode to Color and then select the layer mask and carefully paint with a soft, black brush over the people’s faces/bodies. I will then lower the Opacity, to whatever looks smooth enough. If there’s a lot of movement in your gif, you might have to use keyframes (see elizascarlets’s tutorial linked above). However, my main goal is to avoid using those; that’s why I try my hardest to tweak around as many Hue/Saturation layers as needed and not have to create a solid color layer.

4. Once my background looks the colour I want it, I might add a Selective Color layer that matches my background color and then try to make it look more vibrant. For this Aziraphale gif below for example, I’ve selected the Cyans and then set Cyan to +100%, Yellow to -100% and Black to +60, then created another one, selected the Cyans again and then set Cyan to +20 and Black to +20.


5. If the gif has a white area, I create a Solid Color layer with a colour that matches the rest of the background and then set the Opacity low. I might also create a Selective Color layer, increase the Black and then play around with the colours.
IV. FINISHING TOUCHES
I create a Vibrance layer and set the Vibrance to around +30 and the Saturation to about +5.
I create a black and white Gradient Map layer (with black on the left end of the spectrum and white on the right), set the blending to Luminosity and the Opacity to about 20-30%.

AAAND that’s about it I think! This ended up way too long and perhaps a little incoherent. I tried to make it as general as possible, so you might have to mix and match for best results. Feel free to ask me for further explanations about any one of these steps, and please tell me if you want me to go through the colouring of a specific gifset (although, as I said, I'm by no means an expert). Happy gifmaking!
265 notes
·
View notes
Text


10 THINGS I HATE ABOUT YOU
1999 — dir. Gil Junger
2K notes
·
View notes
Photo


the never ending saga
7K notes
·
View notes
Photo


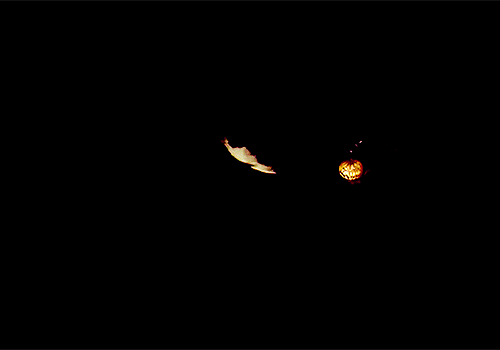
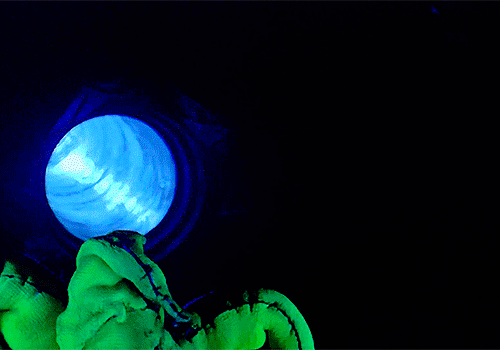
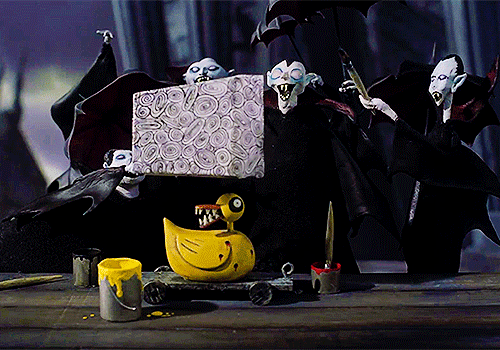

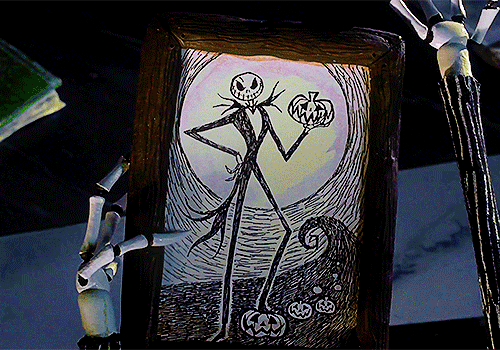
get to know me meme >> Favorite Movies [19/?] The Nightmare Before Christmas
Boys and girls of every age, wouldn’t you like to see something strange?
648 notes
·
View notes
Text


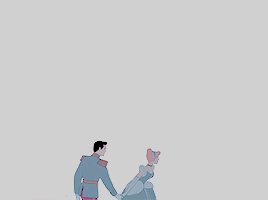
CINDERELLA (1950)
dir. clyde geronimi, wilfred jackson + hamilton luske
633 notes
·
View notes
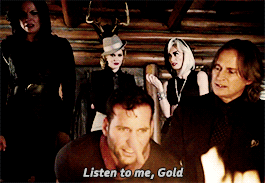
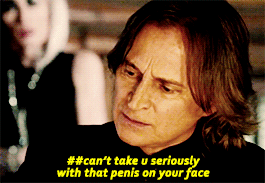
Text
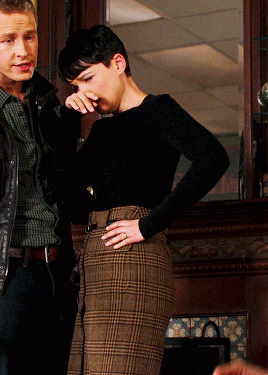
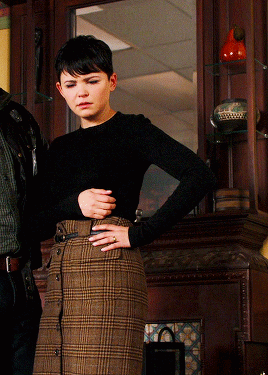
ONCE UPON A TIME ⇢ 2x10 | THE CRICKET GAME
84 notes
·
View notes

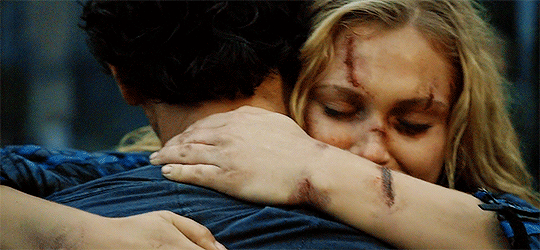
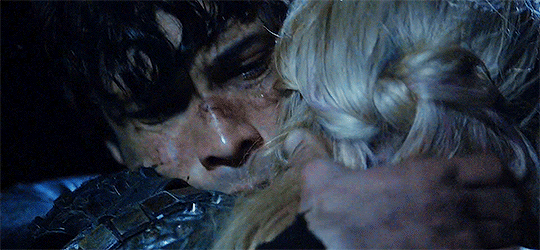
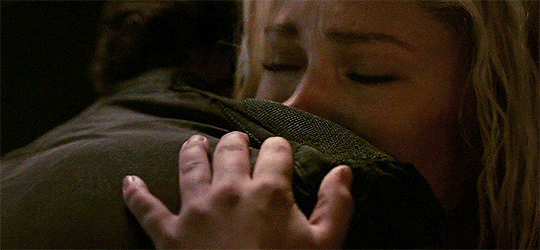
Text
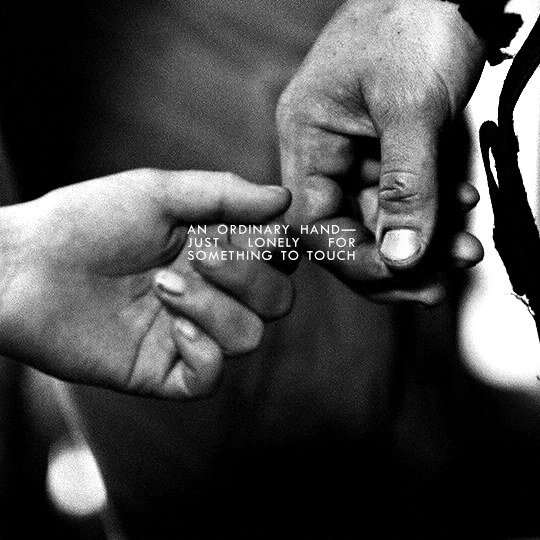

YOUR HAND FOUND MINE. —anne sexton
@lgbtqcreators creator challenge: sci-fi, adaptations, parallels, bisexual rep
428 notes
·
View notes