
lynkawolf
Lynka's Lair
So ... Me? Huge video-game fan since my youngest age, artist, egalitarian, love drawing, writing, fantasy, series, books, geeking, awful puns, magic, OSTs, original scores, and a bunch of other things...
Art blog: http://lynkasart.tumblr.com/
(And other links on it :p)
16790 posts
Don't wanna be here? Send us removal request.
Last Seen Blogs
desenhanenha
ane

jakewebber
JAKEWEBBER.

nisrinas-world
NisrinaRhmwti

ecomomdiaries
A Green Blog

amyburn84
"Soul is in the music"
Text
20gayteen applauds from the wings as 20biteen takes the stage
13K notes
·
View notes
Photo
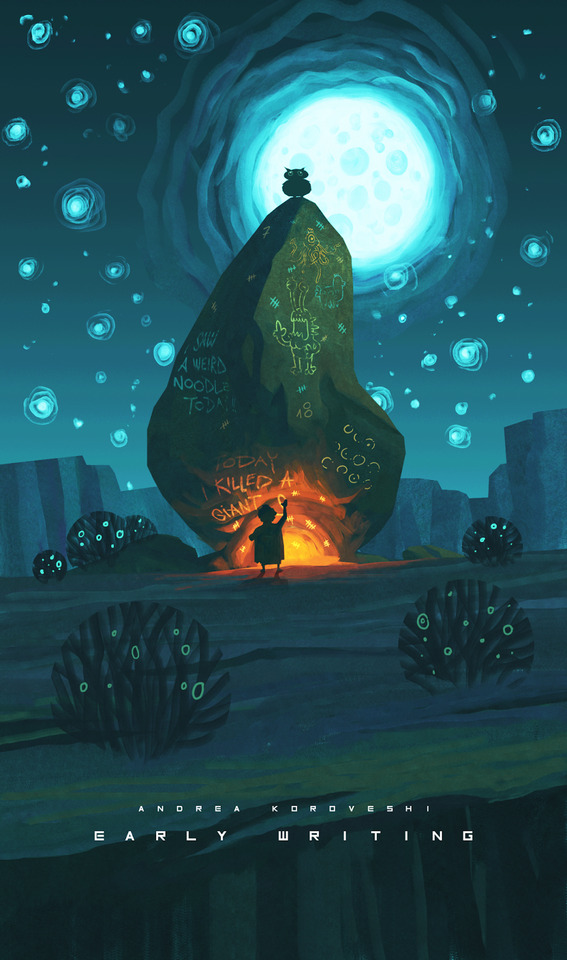

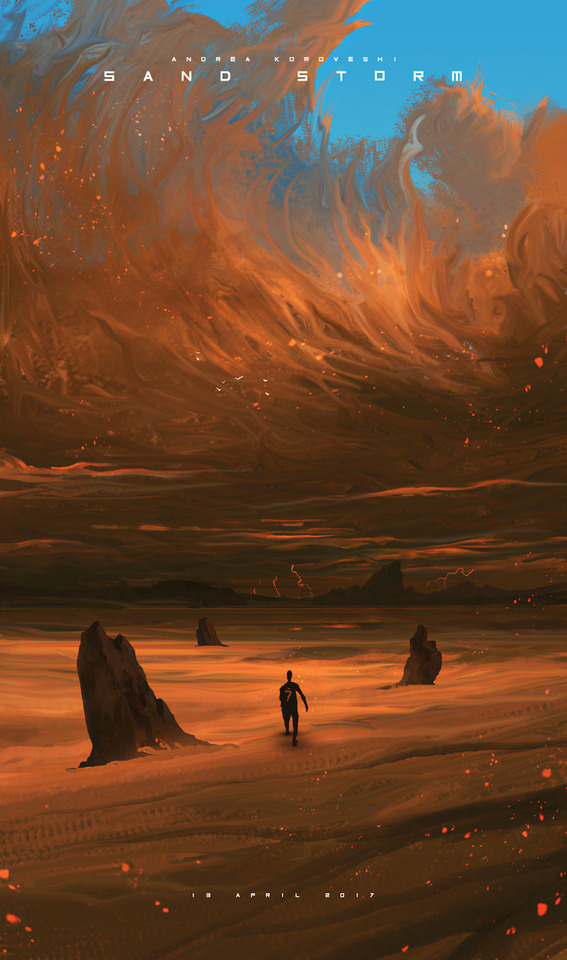
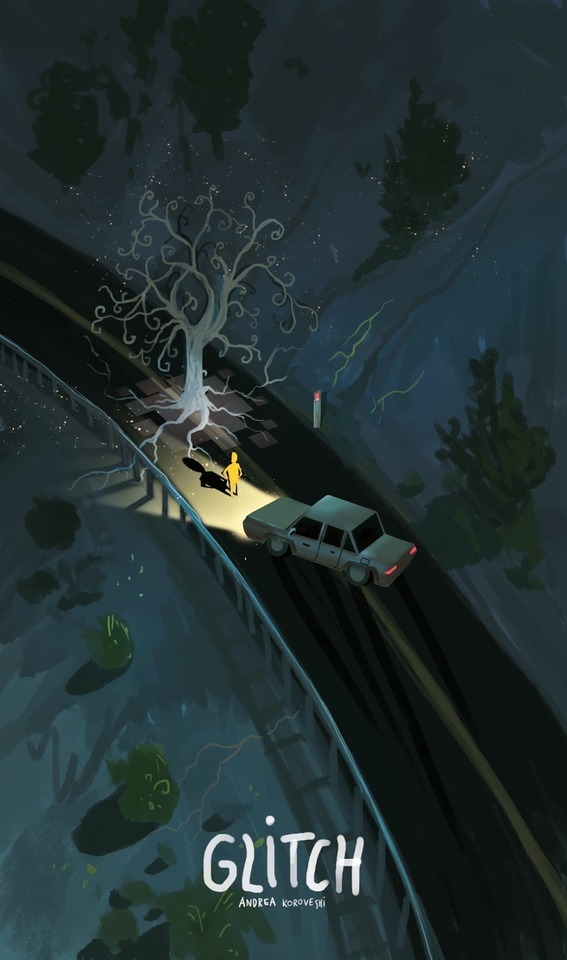
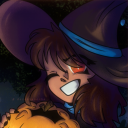
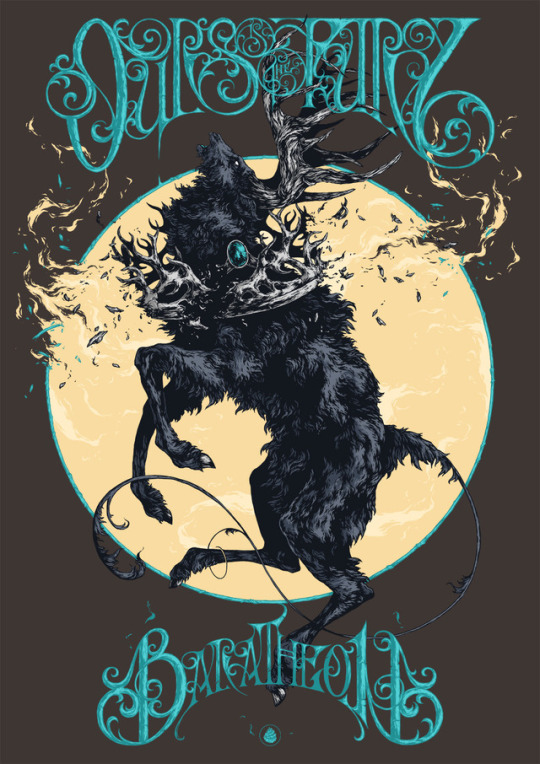
Andi Koroveshi - https://www.artstation.com/artist/andikoroveshi - http://icecold555.deviantart.com - https://www.youtube.com/channel/UCpNAgVWqI7XbWMZzfpaNOUA/videos - https://instagram.com/andikoroveshi/?ref=badge - http://andikoroveshi.tumblr.com - https://twitter.com/andikoroveshi - https://www.facebook.com/andi.koroveshi
5K notes
·
View notes

Photo


Ivan Belikov - http://further-up.tumblr.com - https://vimeo.com/furtherup - https://www.facebook.com/furtheru# - https://www.instagram.com/further_up - http://ivanbelikov.com - https://vk.com/further_up - https://society6.com/further_up - https://twitter.com/further_u - https://dribbble.com/further_up
3K notes
·
View notes


Video
undefined
tumblr
i am incredibly tired of my editing application crashing so take this as it is lol
182K notes
·
View notes


Photo


Haven’t been here in a while but I was curious to see if any of my art got flagged after seeing artists’ compilations, and here :D I’m surprised my mermays that show more skin haven’t gotten flag but both a forest & a cat did xD
Anyways, kinda never on Tumblr, or posting art ever, but if you wandering souls wanna follow me elsewhere:
Twitter (@ LynkaWolf) | Instagram (@ LynkaWolf) | Facebook (@ ArtOfLynkaWolf)
#Haha#What a mess xD#I do genuinely feel bad for artists who make their living with NSFW art though ^^'#Tumblr#art#my art#Not new art#Where to follow me#social media#Personal Art Reblog
4 notes
·
View notes
Photo
I always wondered what situation this gif should be posted to be in the perfect timing
I think this is it
11K notes
·
View notes

Video
undefined
tumblr
PSA the ppl who do these vids are from Minnesota
715K notes
·
View notes
Photo


Shin jong hun - https://www.instagram.com/s_jonghun - https://es.pinterest.com/jonghunshin355
7K notes
·
View notes
Note
Hey there! Random question but I'm curious, how would you go about drawing chainmail? I have a D&D character that has chainmail under their armour and every time I try to draw them I'll start off by drawing all the links by hand then it gets way too tedious so I go look for chainmail pattern on google and paste it lmao but it feels like I'm cheating by doing that, and it clashes with the style I'm going for. I was wondering if you had any tips or tricks?
I don’t feel particularly great at drawing chain-mail either but there’s a technique I learned from a tutorial a bunch of years ago that I think makes a pretty good texture. It’s fast and the end result is cartoon-y enough to match a less photo-realistic style. I can’t for my life find the tutorial so I’ll recreate it here (using Photoshop):
1. Fill your canvas with black or white. Filter -> Render -> Clouds
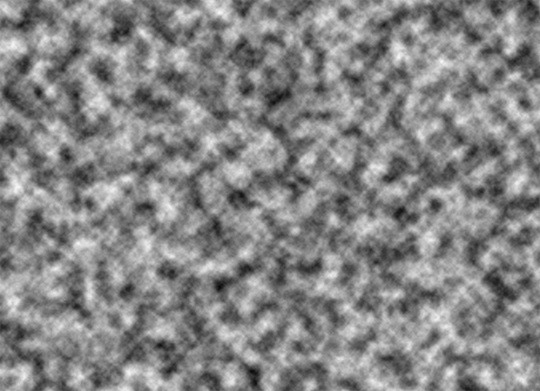
2. Filter -> Filter Gallery -> Glass (under the Distort category)Keep smoothness as low as possible, play with the other settings
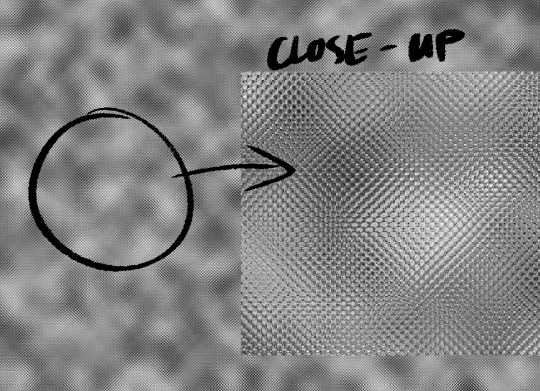
3. Find a filter in Filter Gallery that you like and apply it. Combine them, if needed.
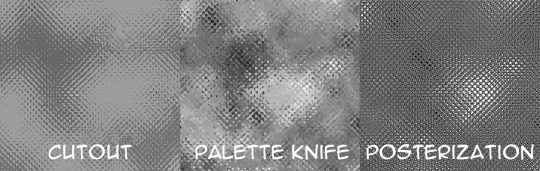
4. When applying texture to the drawing, use Edit->Transform->Warp to make it fit the shape you’re trying to convey

You can stack more filters on after the texture is placed or draw over it with a textured brush to make it look less uniform if that’s what you want. Add a shine to it with a big soft brush, colorize it, go crazy. I go with whatever looks best to me atm.
This is how I did Geralt’s armor too, though since I knew the final print will be smaller than 1.5″ I didn’t worry about details much.

Hope that helps!
18K notes
·
View notes
Text
Some Photoshop Tips
I’ve been getting quite a few asks about the process for the patterns in my stylized artworks, so I decided to put together a couple of tips regarding them.
Firstly, what you need are
— CUSTOM BRUSHES —
Most of the patterns I use are custom brushes I made, such as those:
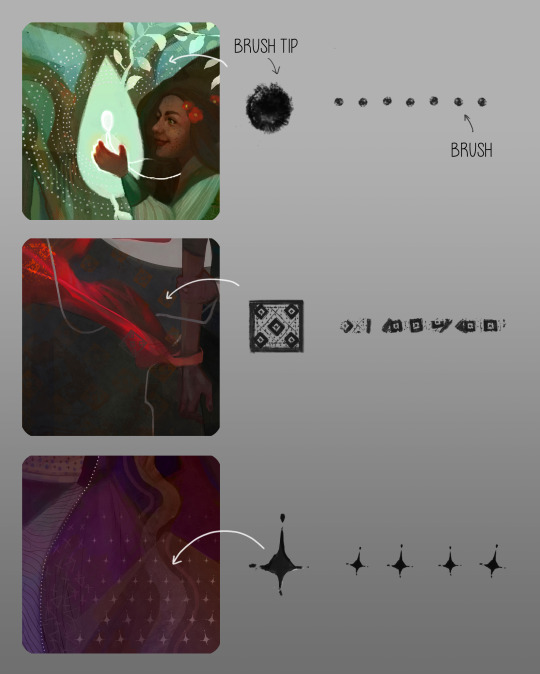
For the longest time I was convinced making brushes must be super extra complicated. I was super extra wrong. All you need to start is a transparent canvas (2500px x 2500px max):
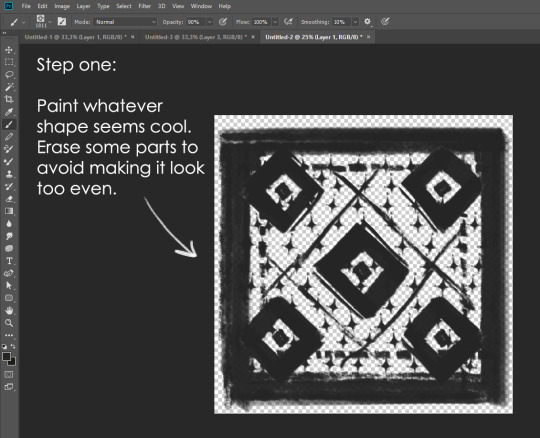
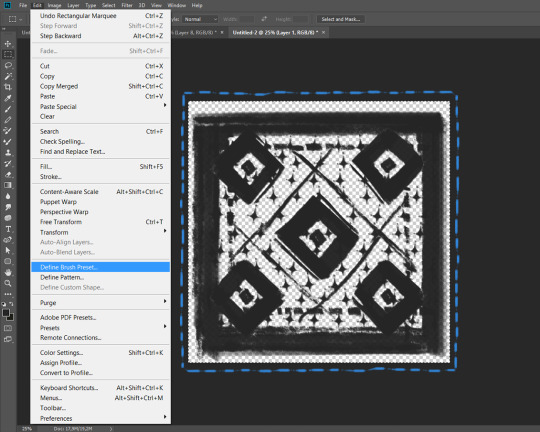
This will be your brush tip. When you’re satisfied how it looks, click Ctrl+A to select the whole canvas and go to ‘define brush preset’ under the edit menu
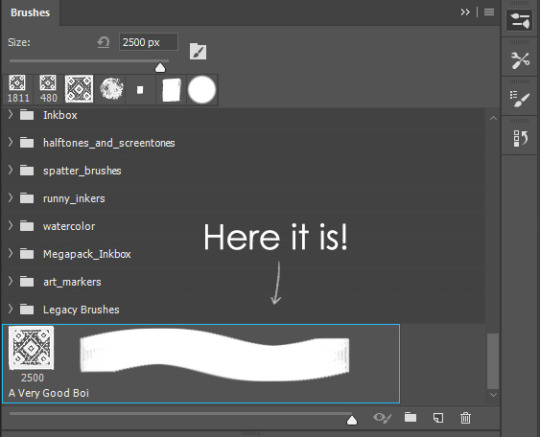
You will be asked to name your new glorious creation. Choose something that describes it well, so you can easily find it between all the ‘asfsfgdgd’ brushes you’ve created to be only used once

This is it. Look at it, you have just created a photoshop brush. First time i did I felt like I was cheated my whole life. IT’S SO EASY WHY HASN’T ANYONE TOLD ME
Time to edit the Good Boi to be more random, so it can be used as a Cool Fancy Pattern. Go into brush settings and change whatever you’d like. Here’s a list of what I do for patterns:
- under Shape Dynamics, I increase Size Jitter and Angle jitter by 5%-15%
- under Brush Tip Shape, I increase spacing by a shitload. Sometimes it’s like 150%, the point is to get the initial brush tip we painted to be visible.
- If I want it to look random and noisy, I enable the Dual Brush option, which acts like another brush was put on top of the one we’ve created. You can adjust all of the Dual Brush options (Size, Spacing, Scatter, Count) as you wish to get a very nice random brush to smear on your backgrounds

The result is as above. You can follow the same steps to create whatever brush you need: evenly spaced dots that look like you painted them by hand, geometric pattern to fill the background, a line of perfectly drawn XDs and so on.
BUT WAIT, THERE’S MORE
— PATHS —
But what if you want to get lots of circles made of tiny dots? Or you need rows of triangles for your cool background? Photoshop can do all of that for you, thanks to the magic of paths.
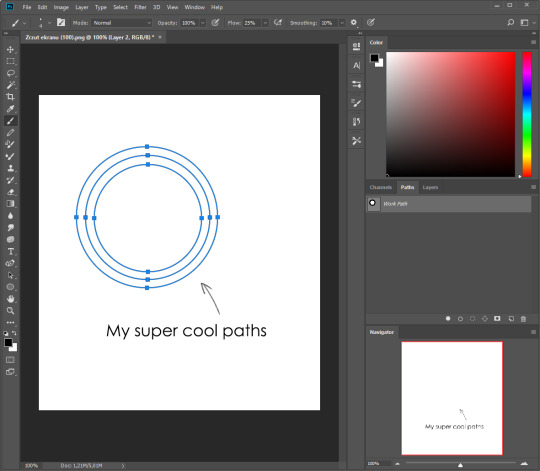
Typically, paths window can be found right next to Layers:

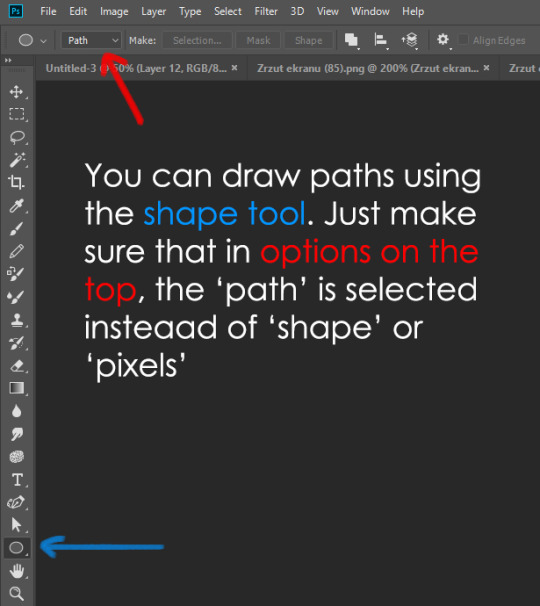
Draw whatever path you want, the Shape Tool has quite a bit of options. Remember, paths are completely different from brush strokes and they won’t show up in the navigator. To move a path around, click A to enable path selection tool. You can use Ctrl+T to transform it, and if you move a path while pressing Alt it will be duplicated.
Now, pick a brush you wish really was in place of that path you’ve drawn and go to layers, then choose the layer you want it to be drawn on. Then, click this tiny circle under the Paths window:

Then witness the magic of photoshop doing the drawing for you while you wonder how tf have you managed to forget about this option for the past 2 years
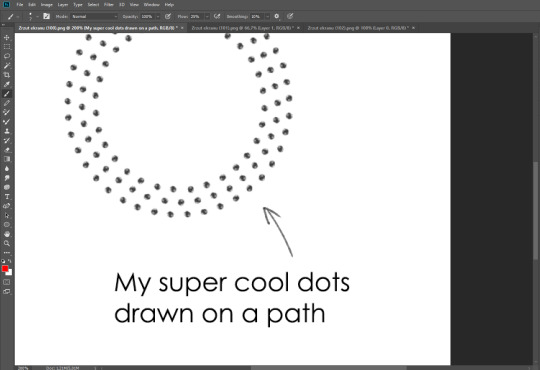
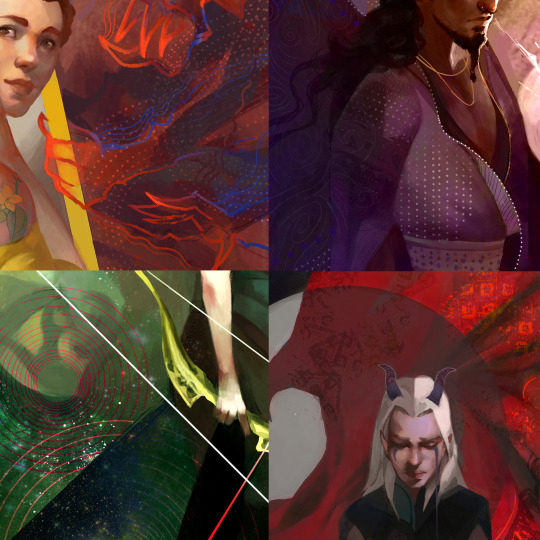
You can combine special brushes and paths for all sorts of cool effects. I mostly use them in backgrounds for my cards, but you can do whatever you want with them.
I hope that answers the questions for all of the people who were sending me inquires about the patterns. If you have any questions regarding this or any other Photoshop matter feel free to message me, I’m always up for complaining about how great and terrible Photoshop is C’:
93K notes
·
View notes
Photo
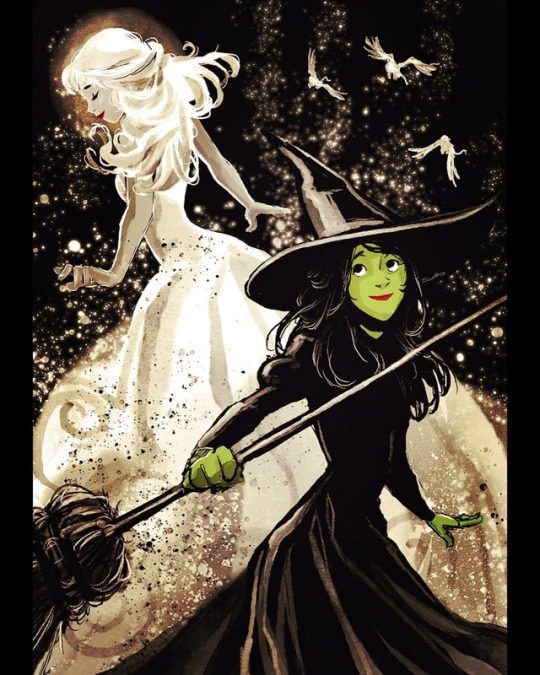
#Inktober #Inktober2018 Just a little #Wicked 🖤 | Happy Halloween, everyone! 🎃👻
2K notes
·
View notes