
snowlogs17
Dani's Blog
Heya. I'm Dani. 20. Her/She. Im also danisketches here. Taken by nickridders.
I'm an artist who draws Sonic, my OCs, and any fandoms I fall into.
Please don't repost/use my art.
663 posts
Don't wanna be here? Send us removal request.
Last Seen Blogs

lungf4ilure
mykolai

mwyuu0520
題名未設定

xfantasystar
FantasyStar

synthcin
Antologías de Desinterés

starkweather-moore
some place whar things ain't as they is here
Photo


Some Elsinor and Ophelia doodles!!
Ophelia belongs to me
Elsinor belongs to @radicalruster
115 notes
·
View notes
Note
Hi Emma! Ur blog's just so wonderful👍. I was wondering that u write ur notes on paper as well as on ur ipad, but like what's the use of keeping notes at two different places instead of one single place..??.. Thanks!
Hey! Thank you :-) I mix it up really - I think photos maybe confuse people as to what I do, but here is a clarification:
notebooks - right now, I’m not using these as much but I still use them for my big projects. I find it easier to use paper for things like that. I like having it all in front of me to go through, compared to an iPad or laptop notes. I also have the ability to print my iPad notes and put them into my notebooks which is useful!
iPad - just to note, I have the 12.9 Pro! I absolutely love the size and wouldn’t go smaller :P I currently use it for taking notes on my readings, in my lectures and tutorials. I use Goodnotes and have customised notebooks for each! I find it so easy to use. It is great on the bus too since I can highlight my notes or required readings :-) It is much easier to take to university since it is so thin and light. The battery life is great, as is the pencil. I’m also using it for digital planning which is amazing.
laptop - I use my laptop for doing writing up my assessments and things like that. I don’t think the iPad would replace my laptop since I use many more programs and think I’d find editing long documents on an iPad quite difficult! And I also use my laptop for blogging, my job, etc so I couldn’t replace it! I use AirDrop or DropBox to transfer documents between it and my iPad.
xx
33 notes
·
View notes
Photo


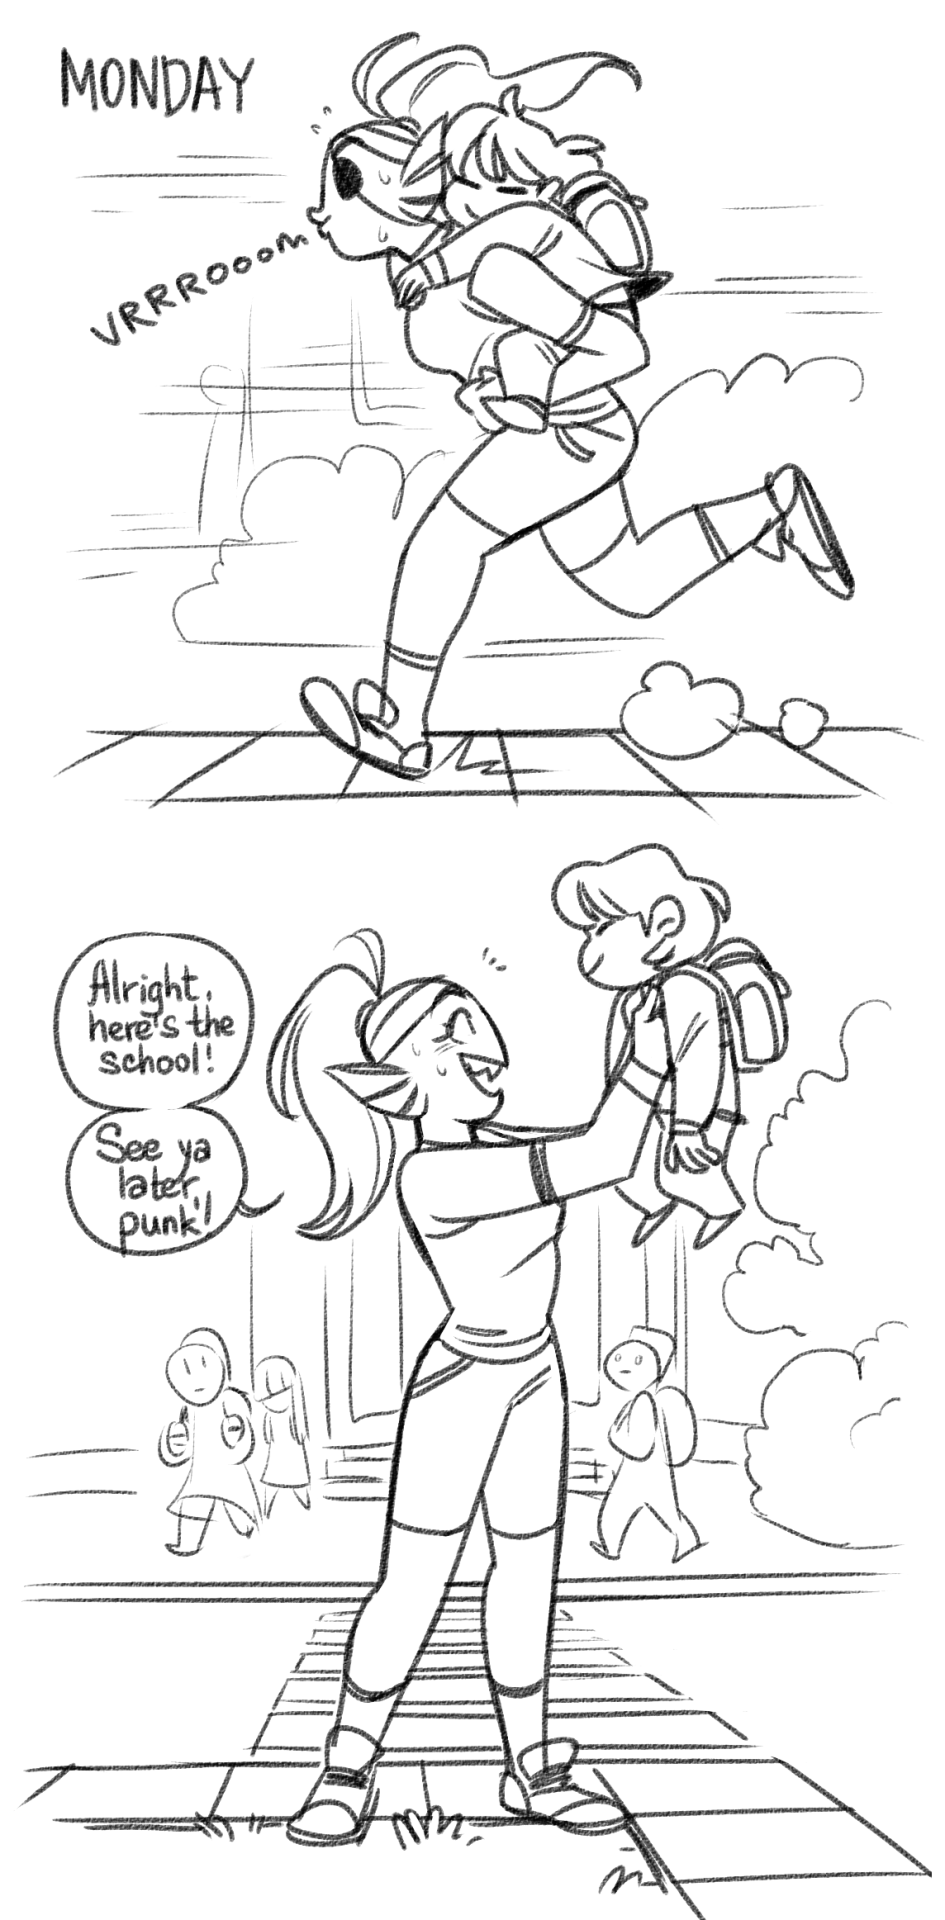
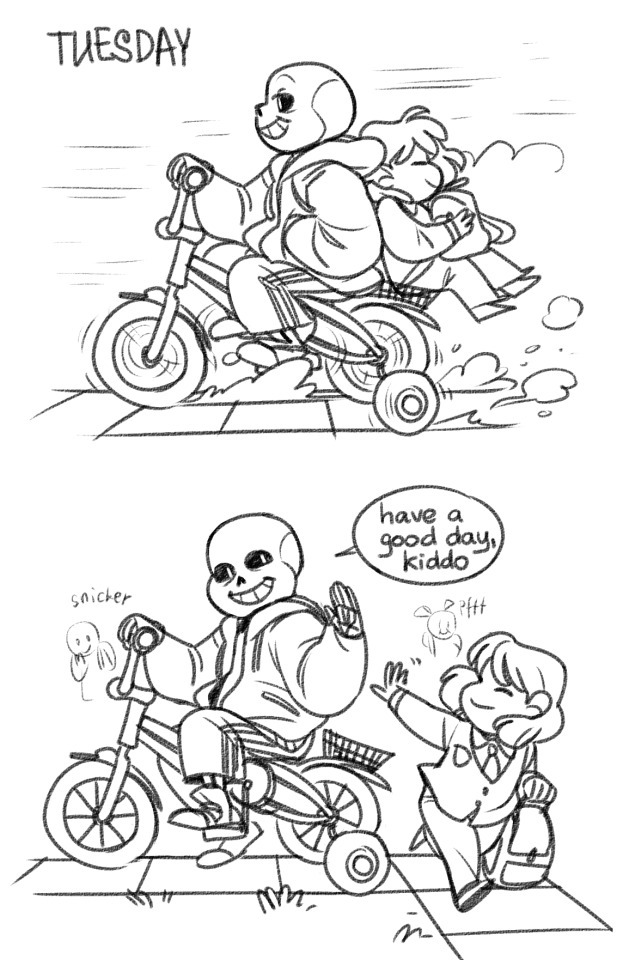
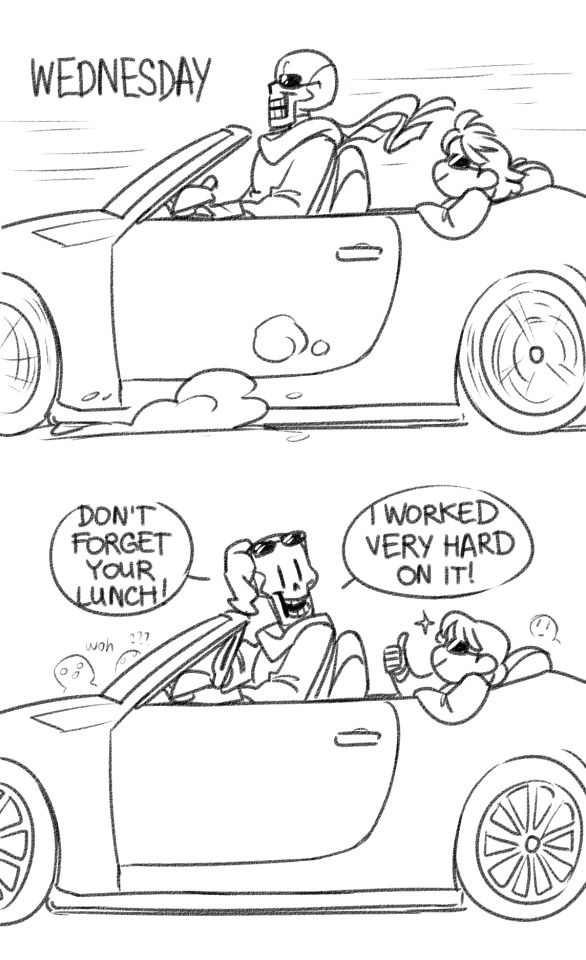
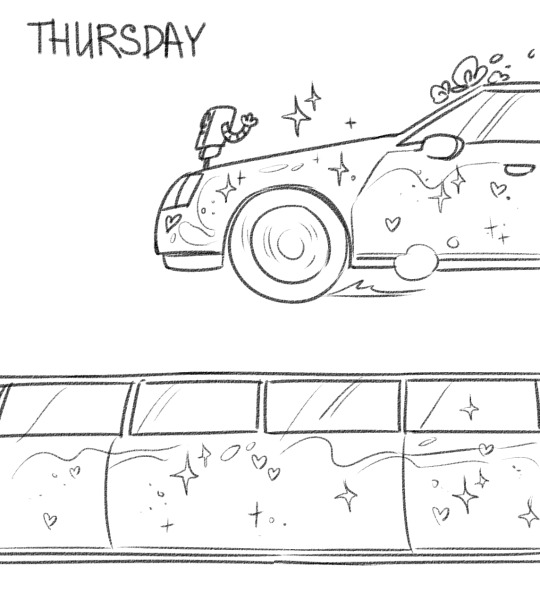
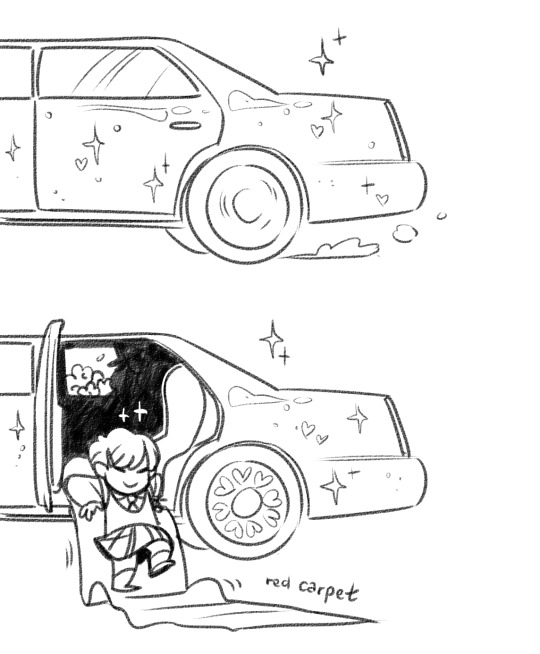
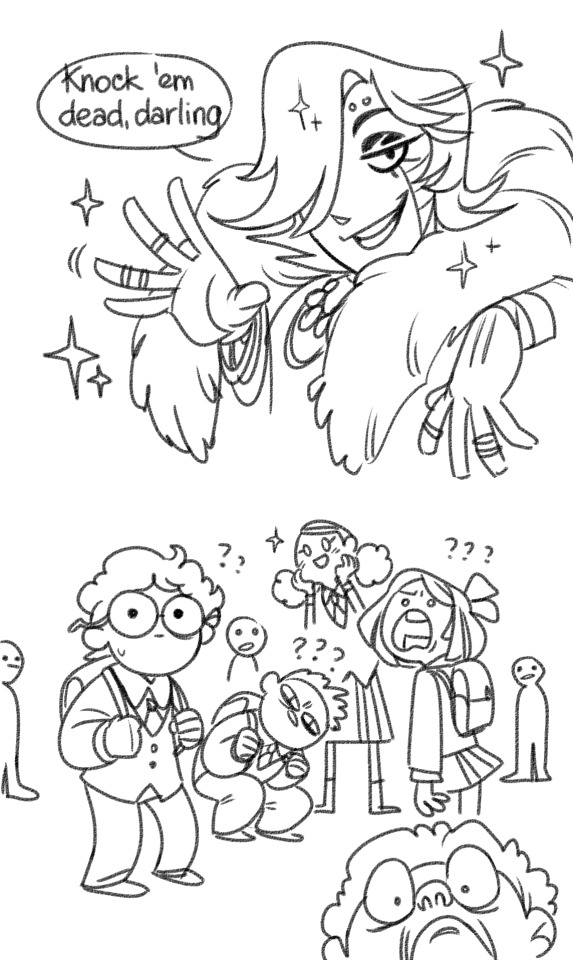
I imagine Asriel’s college experience mentioned in Deltarune is about on par with that of most young people in our generation.
1K notes
·
View notes


Photo

love them so much aaaaaaaaaaa sing for me goat boy ;)))
3K notes
·
View notes


Photo
GEE FRISK HOW COME YOU GOATMOM LETS YOU HAVE SO MANY PARENTS
based on this
283K notes
·
View notes
Photo


chara SNAPPED
au where frisk and chara travel with kris throughout their journey, and chara is considered a weapon of mass destruction
91 notes
·
View notes
Photo


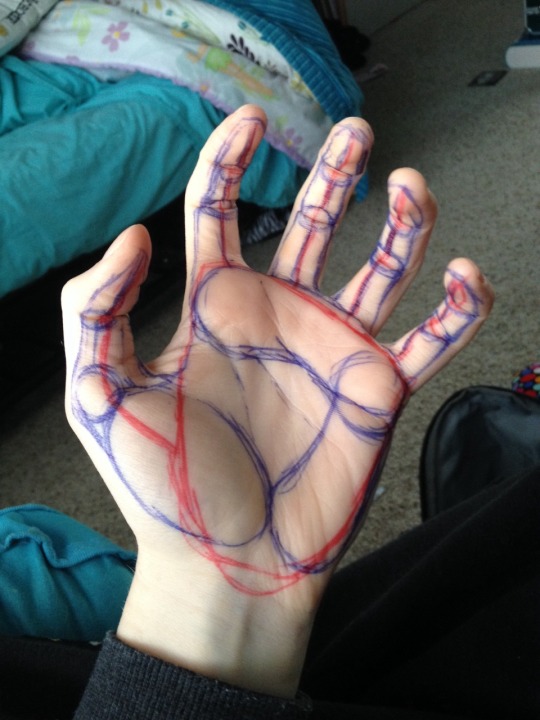
I always struggled drawing hands before anyone told me what to do. So here is a HANDy dandy drawing reference to see the steps on an actual hand. There are three big muscles in the palm. The thumb lump is most important because without it you’ll never even get the shape right. Circle up the knuckles and draw bendy lines (red) to connect them. Make sure the fingers go from medium-tall-short-shortest just slightly (index=>pinky finger). Notice the big red squareish shape around the palm-that’s the first thing I do. Note: every infer has 2 knuckles don’t forget the thumb does too…just in a weird way.
194K notes
·
View notes
Photo


ALL THE JOY OF WATERCOLOR, WITH NONE OF THE ANNOYING SET-UP! Perfect as a gift for the artistic friend!
Check it out => HERE <=
Free worldwide shipping for a limited time!
28K notes
·
View notes
Text
Just because you did something wrong in the past doesn’t mean you can’t advocate against it now. It doesn’t make you a hypocrite. You just grew. Don’t let people use your past to invalidate your current mindset.
511K notes
·
View notes


Note
I'm kinda ashamed to ask this, but could you make a tutorial on how to draw hands? ;A;
omg dont be ashamed at all!! Hands are generally tough to get used to, lots of artists struggle with it! so dont be ashamed i feel you.
and I actually have made a hand anatomy guide before in fact! If you want to get better at drawing hands I def recommend you learn the basic anatomy first. Please check out the ones I made, I try to make it simple and easy to understand:
Artistic Anatomy: Hands Part 1
Artistic Anatomy: Hands Part 2
There’s my guide to the anatomy, but here’s some more tips that I’ve noted to myself that I’d like to include

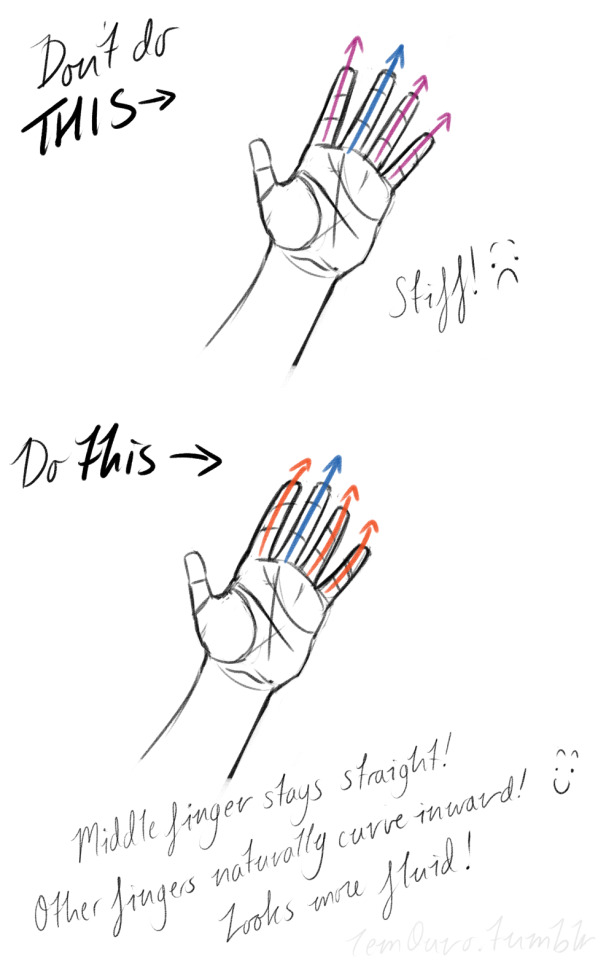
First off, I’d like to just note on the fingers: if you pay close attention to your own hand, you may notice the fingers are ever ever so slightly curved inward. It’s a very subtle detail, but I noticed that, despite how slight it is, it can make a hand look more lively, and less stiff.
Second, the “M” on the palm! Your hand moves in many ways, and because it does it creates creases in your hand. The most prominent creases appear to make an M shape; this is handy to remember for what I’m going to talk about next. (It also could be a “W” I guess, or to be more specific a “ )X( “; just think of it in whatever way helps you remember!)

SO now that you see the M, draw your hand as a basic blocked shape and add your details. As you do, you can see that the M divides the palm into four basic parts!
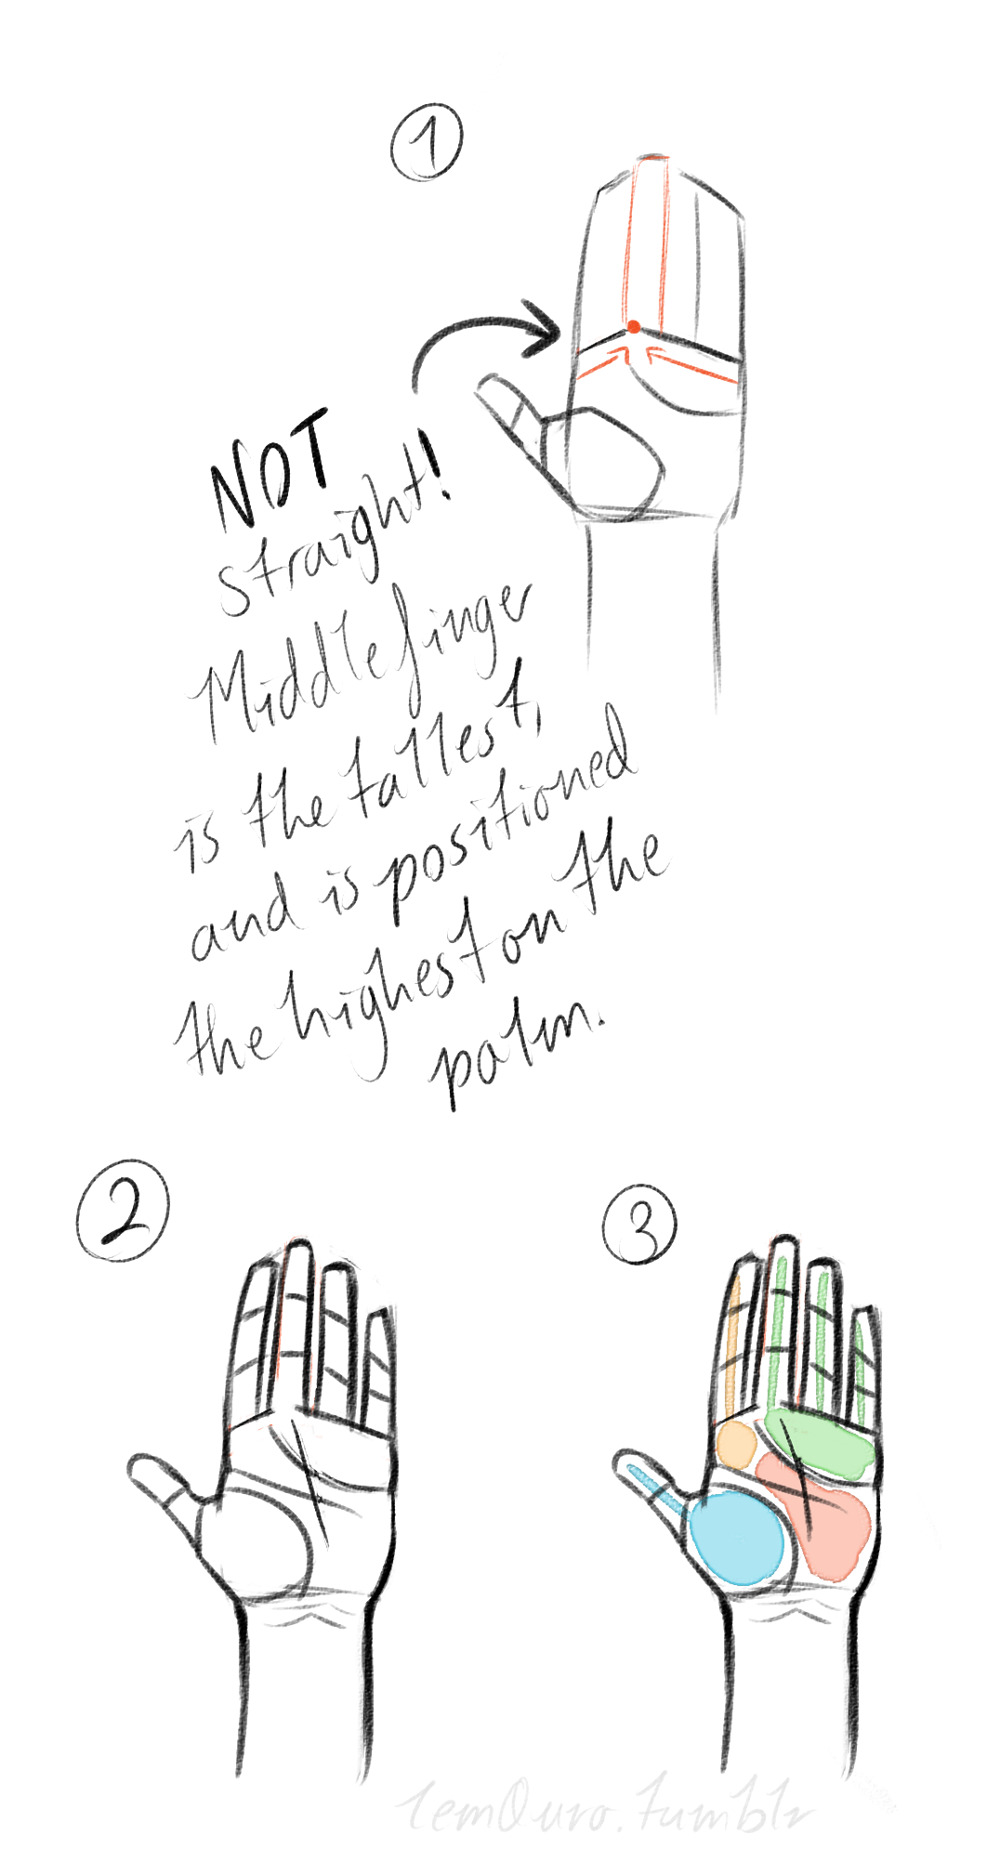

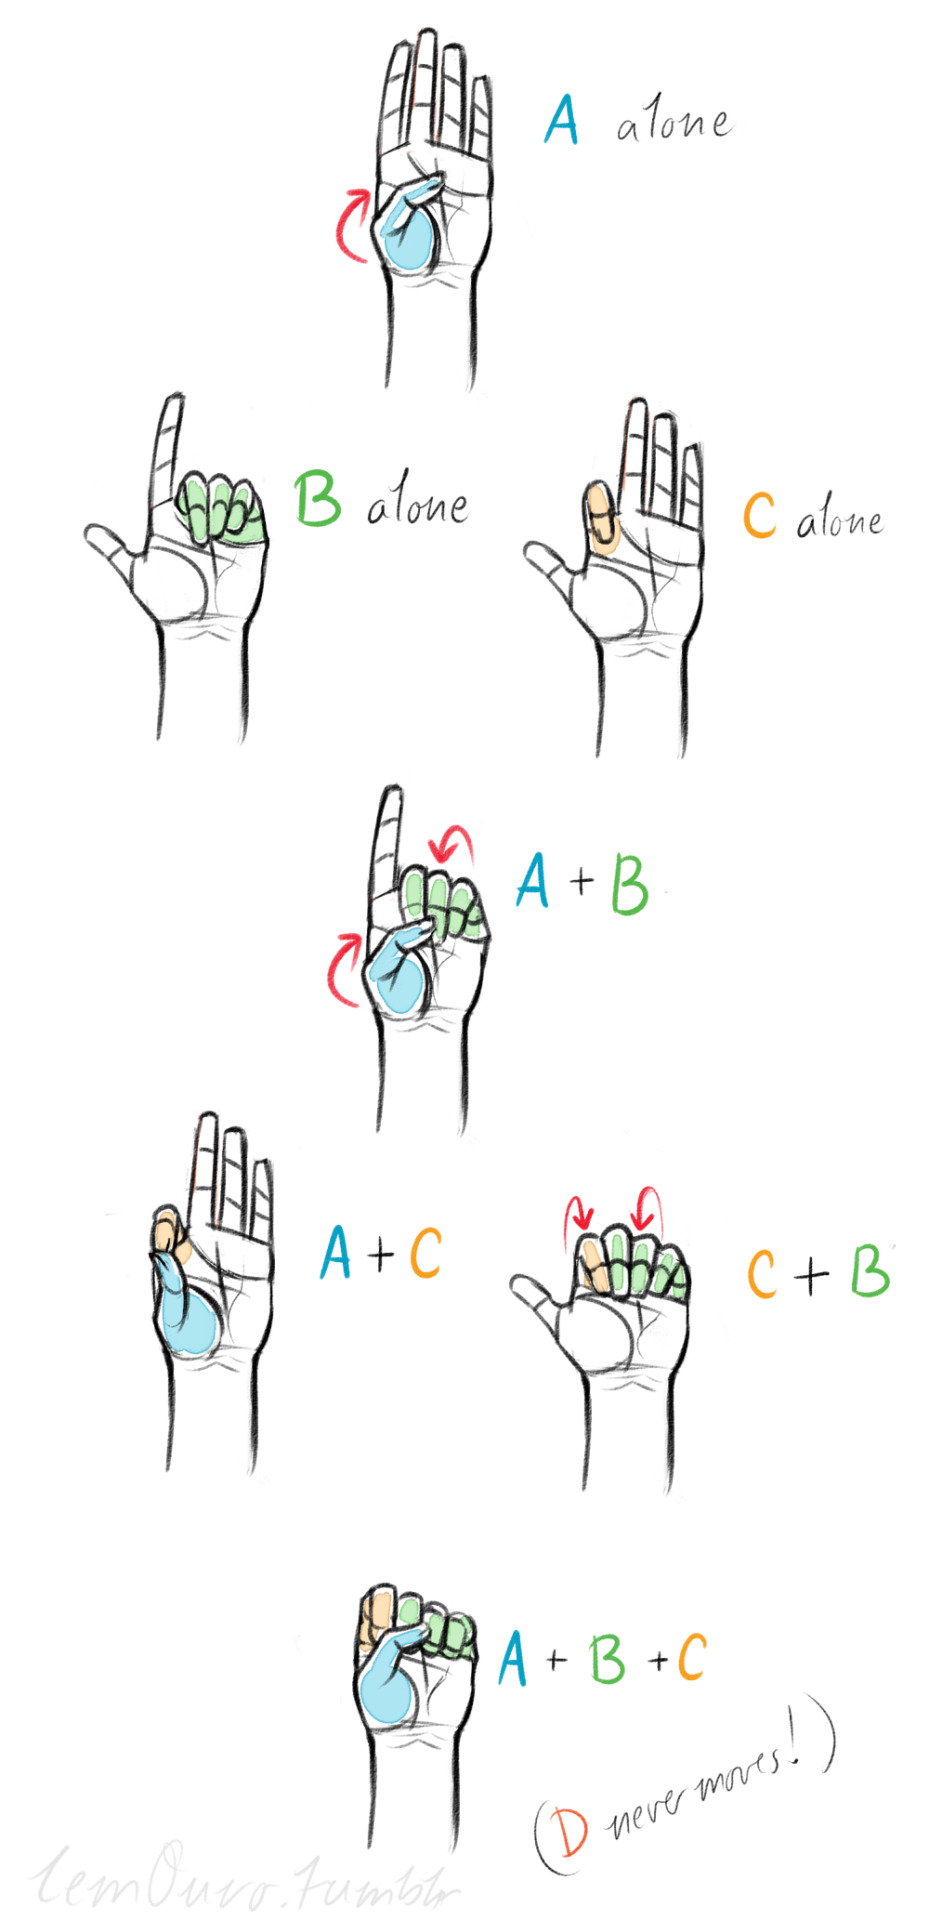
When the hand moves, parts A, B, or C of the palm, alone or in different combos, will create the general poses that the hands do normally. These parts are the parts that move, with D being stationary, no matter what!
Here’s a chart of all the possible combos. Once you have down what part of the hand moves for a certain pose, you can change up the fingers and tweak it a bit to do what you need to make it more specific!
This is simply my method of drawing hands. God knows there are hundreds of tutorials out there by other artists, but personally, this way helps me the best (after learning the anatomy first).
This way I can divide the hand and combine the parts in any such way I need!
Hands take a lot of effort to grapple, and you need to practice them a lot, especially foreshortening of the hand; that’s really something you need to learn through your own studies. Look at your own hands, draw hands from life, from magazines, shows, comics; just draw hands! You’ll eventually figure out a method that works best for you. So to get better at drawing hands; draw hands!! And don’t stress over it, have fun with it!

61K notes
·
View notes
Text
HIIRAREFS: Basic and Intermidiate guide to colouring in
What better day to end the year then with a basic guide to colouring- This is for beginners or intermediate artists. Colouring is a big part to an art piece, whether you decide to use colours or not, that’s up to you, but for the most part, having some knowledge on appliance of colour will really help you out!
____________________________________________
ARTISTS WITH AN INSPIRING KNOWLEDGE OF COLOUR APPLICATION!
Please take the time to have a look at other artists work so that you ca research and get inspired!
Gullacass: Uses brights, dulls and pastels to create brilliant guro, pop and macabre pieces| DA + TUMBLR
TinyCalcium: Old friend of mine who explores brights and mustard colours and places them as a foundation for their work | TUMBLR
BeastPop: Talented with opposing and Triwheel colours. Outstanding cell-shading, and knows how to flexibly bend colour form to their will in popart. | DA
H0stel: Fantastic composition of light direction and applies colour to bodies based on ambient occlusion. | TUMBLR
_____________________________________________
COLOUR SLANG:
I use some strange slang to express colour types and shades as well as groups. Although they may not be canonically correct, I will use these terms to describe colour palates to the best of my ability!
Analogous: Colours that are near or adjacent to each other on the colour wheel, EG: Red and Orange

Oppositional/complimentary: Colours that are opposed or opposite from each other on the colour wheel, EG: Cherry and Green

Triadic: Colours that form a triangle on the Colour wheel, EG: Cyan, Magenta and Yellow. These three colours when mixed together will make black.

Arrowtype/Quadcolour: Four colours, that generally form an arrow shape on the colour wheel.

Tetradic: Colours that form a rectangle or square in the colour wheel

Neons: The very brightest you can get a colour, be careful where you use them as they can look ugly together at the most. Try to use neons when you are adding bright glowing objects to your piece. Neons are great for highlights.

Brights: Slightly washed Neons. Appropriate if you have characters that are colourful.

Washed: Very washed brights with a hint of grey. These are also useful for colourful characters.

Pastels: Colour with white in them to make them seem light.

Baby Pastel: Pastel with even more white in them, good for subtle highlights.

Darks: Colour with black added to them. Used mostly for lineart.

Mustards: Colours with dark grey added to them

Earthen: Colours with brown added to them

Warm and Cool colours: Warm colours are colours that range fromMagenta to Yellow. Cool ones range from Lime to Fuchsia.

Straight tones: A greyscale palate. or a straight scale of one colour from black to it’s neon form.

Warm and cool tones: Warm tones are a greyscale mixed with warm colours and cool tones are greyscale mixed with cool colours.

Skintones: Warm washed or pastel colours generally used to colour in skin, but they don’t have to be warm at all! ( I will not show you a palate for this however)
______________________________________________
WHAT TO AVOID WHEN COLOURING:
beginner artists, tend to go ahead and start by colouring their line art with neon and mustard colours. Neons are not necessarily good for base colours unless the character has a glow.

I often see lazy attempts to shade, often a beginner artist with use an airbrush and use black and white to shade and highlight their piece. This is not very effective, and I’m sorry to say… It’s kind of gross as well. Try to avoid being lazy. If you have a piece that has bold black lines, avoid using soft shading and airbrushing at this point of time.

Black and white isn’t always the best option when colouring in your piece, but it also depends on the style you are trying to convey. If you plan on only using straight tones to colour in a piece, black and white is good.

A GOOD BASIC WAY TO COLOUR
For this basic tutorial I will show you a nice way to colour in a piece with bold lines. I will be using Minty’s Classic character as an example.

Begin with using brights that have been washed down a little and washed skin tones if your character is human based. Avoid using neons or mustards if you are able. If there is white on the character, such as the white on an eyeball or the teeth, consider using baby pastels. For Minty’s eyeballs I have used a baby pastel blue. I have chosen to use a darker and more washed version for her Irises.

With you foundation colours placed down, use a washed warm colour for the skin tone, such as a salmon. If the character’s hair or fur is warm coloured, use a pink or red orange to shade that as well. Use the cell shading technique. This may mean you will have to erase some of your shading so be sure to do this on another layer. For your baby pastels, you can use a regular pastel to shade it. For Minty’s eyes I have used pastel blue and lowered the opacity by a little.

For Highlights, I have chosen to use baby pastel yellow. I wanted the piece to be warm.

Applying a light airbrush over the top of the piece makes it feel a little softer. I have also applied the airbrush over the initial borders to create colour bleed, giving a very subtle reflective approach.

Colouring your line art layer, particularly if you have bold lines, can really make a piece look more interesting! I like to leave the overall outline black. You can gradient and bleed colour in your line art as well

Light tracing is a technique lots of artist’s use, where they run a sharp line of highlight next to line art to divide borders.

This looks a lot nicer than the black and white shading, doesn’t it!?
__________________________________________
This is a very very simple guide to applying colour to your piece! If This helped, please reblog and share this guide around!
If you have any questions or feedback, don’t be afraid to send me a message!
135K notes
·
View notes