#18th century costume
Text
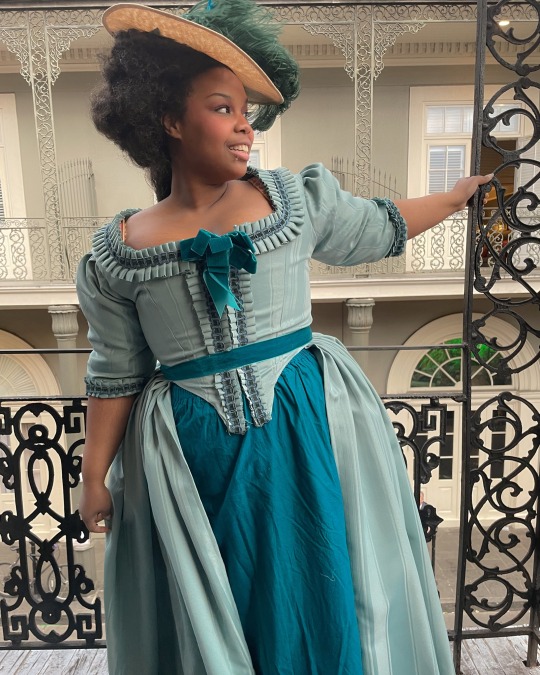
from this post
#rococo#late baroque#historical fashion#historical costuming#historical costume#1780s#18th century#18th century costume#teal aesthetic#black people in period clothing#black people in historical costume#mignonne#2023#blue
2K notes
·
View notes
Text
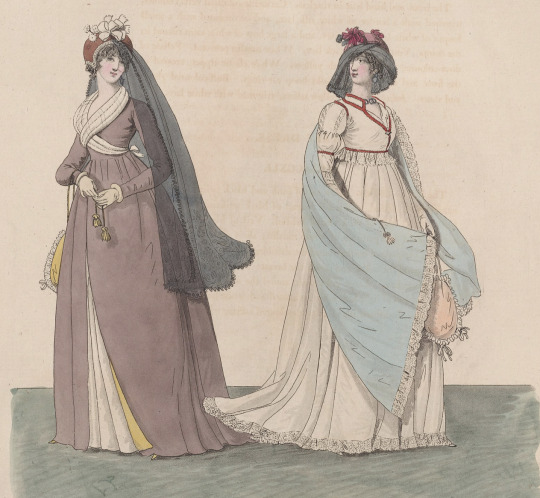
#historical fashion polls#fashion plate#fashion poll#historical dress#historical fashion#dress history#fashion history#18th century costume#late 18th century#18th century fashion#18th century#1790s fashion#1790s#late 1700s
137 notes
·
View notes
Text

source
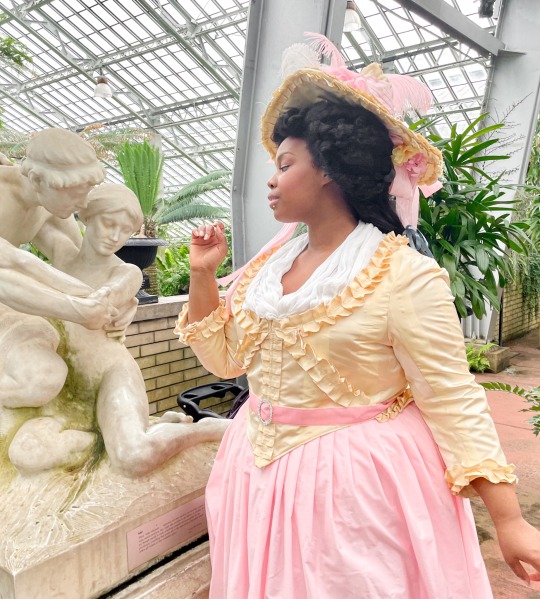
#rococo#chemise a la reine#18th century costume#marie antoinette#marie antoniette 2006#the duchess 2008#fairytale aesthetic#cottagecore#princesscore#mignonne#2023#black people in historical costume#black people in period costume
339 notes
·
View notes
Text
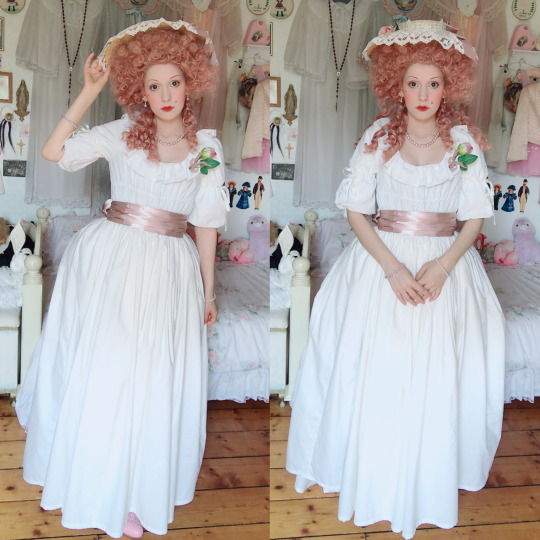
Cynical Neo Princessism
#historical fashion#historical costume#historical costuming#rococo fashion#18th century costume#18th century fashion#historybounding#chemise a la reine#historical dress#rococo aesthetic#cottagecore#princesscore#me
52 notes
·
View notes
Text
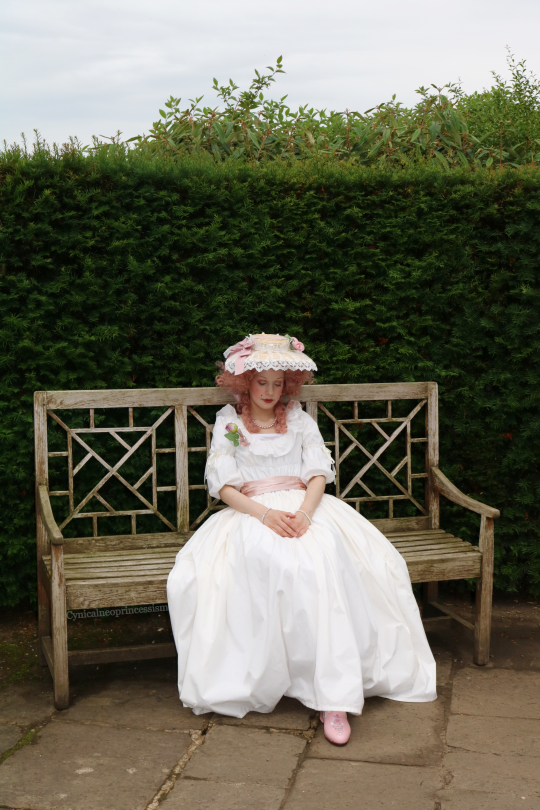
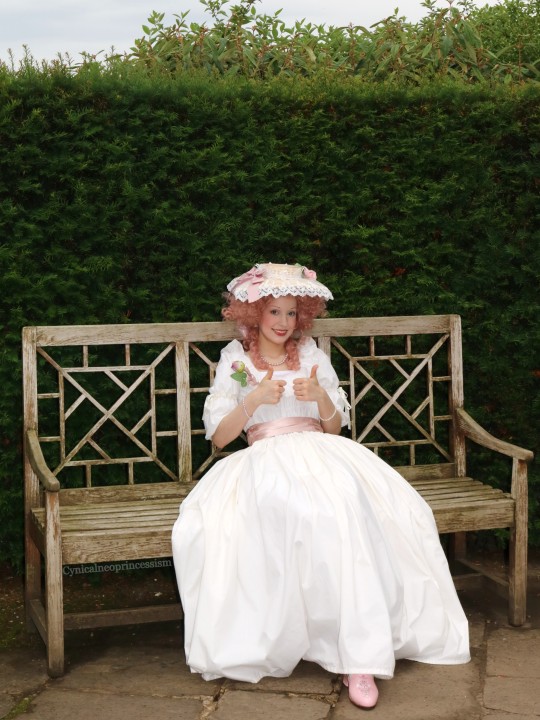
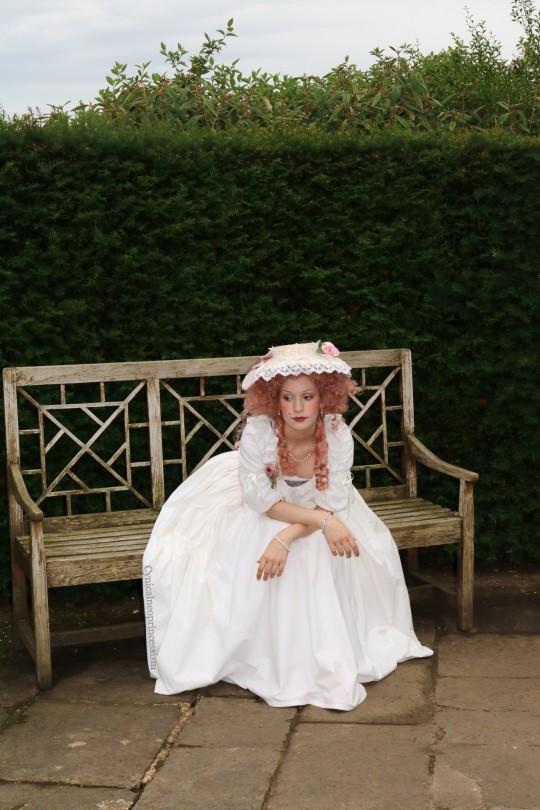
In July I had a day out with friends dressed in another 18th century look. You can read about it and see more photos on my blog here~
p.s. I'll be posting those photos to my personal blog at a later date
Cynical Neo Princessism
#historical costuming#historical costume#historical dress#rococo fashion#18th century costume#18th century fashion#18th century clothing#historical fashion#georgian fashion#chemise a la reine
137 notes
·
View notes
Text
Some handy tips for going outside in historical clothing! ...or not...
#historical costuming#18th century costume#18th century fashion#hand sewing#robe volante#my costumes
227 notes
·
View notes
Text
July Creations!

I know I posted these stays before, but I'm just so in love with them lol
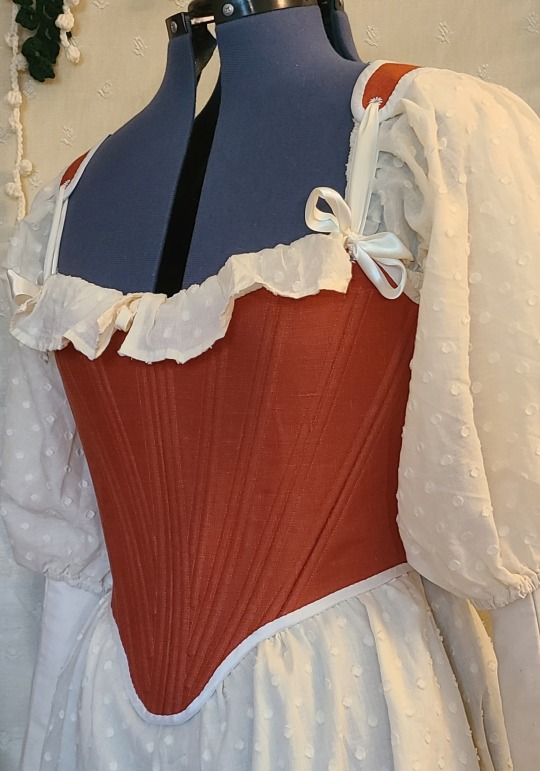
Here we have a lil corset top in the same orange linen from the Pumpkin Spice stays. Tbh, I had enough of this fabric left to make a second pair of stays, but I went with a corset top instead and now I kind of regret it :/
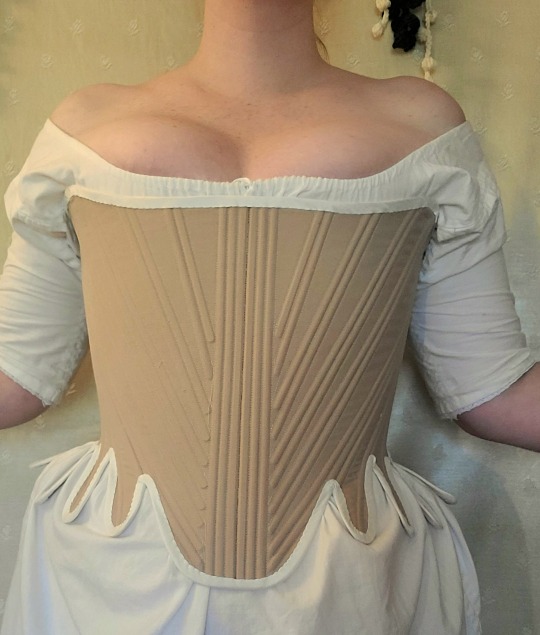
And now for my newest pattern!!! I've gained a bit of weight and haven't been able to model many of the items I've made lately. So I decided to draft a new pattern, and really wanted to try making strapless stays. Part of this was just so I could wear my work again, but also because I'd like to start offering custom work (maybe this year?) and I figured it would be easier to do strapless stays so I don't have to stress about accidentally making the straps too short/long.
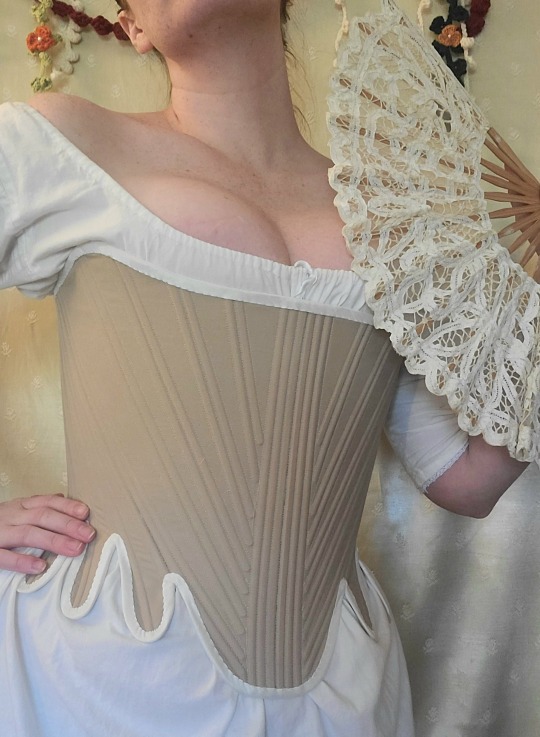
Overall, I'm pretty happy with how these turned out! Though I will be making a few changes to this pattern. Changes include making the bottom of the center front and the first 3 tabs just a little bit longer, making the curve on the underarm a little more dramatic, and shortening the last 3 tabs. These have been quite a challenge for me to make, so I welcome any constructive criticism!
All three of these items are for sale and you can check them out on my Etsy store. Thank you so much for taking the time to read this and visiting my shop!
#historical costuming#sewing#stays#historical costume#historical fashion#18th century fashion#18th century stays#18th century sewing#18th century costume
65 notes
·
View notes
Text

Embroidery _Skirt Border, 1700s, Greek; Crete
Frieze of vases of carnations, interspersed with flowers, snakes, birds, double-headed eagles, floral scroll border
#dianthus#carnation#inspiration#embroidery#floral ornament#floral pattern#18th century costume#18th century art#greek art
2 notes
·
View notes
Text

In 2019 I made a short gown after Jean Honore Fragonard's "Love Letter" painting.
#throwback thursday#iona prentice#historical fashion#historical dress#historical clothing#historic fashion#jean honoré fragonard#art cosplay#18th century costume
2 notes
·
View notes
Text
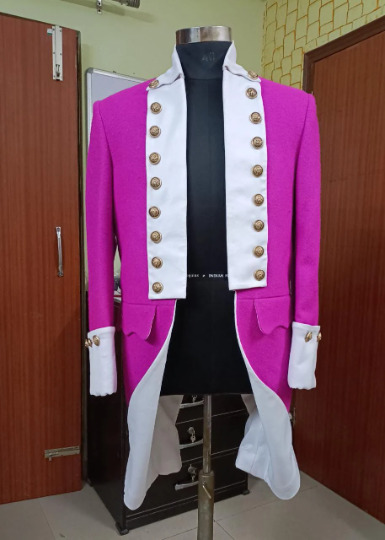
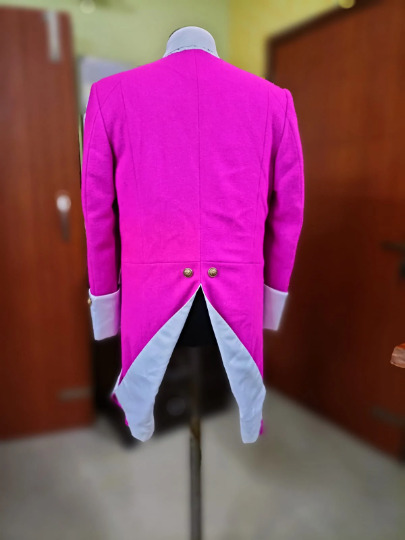
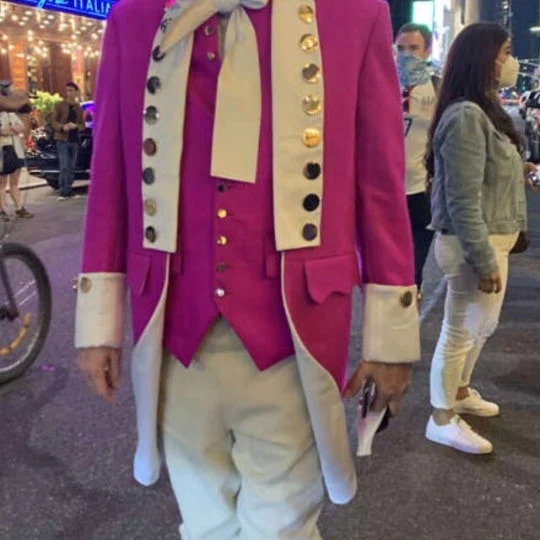


Men Custom Made Pink 3pc Court Suit French Nobleman 18th Century Colonial Wedding Rococo Costume For Male With Free Lace Jabots And Cuffs
This 18th Century vintage costume for men is inspired from the magical Venical Carnival & Late Baroque fashion.
The costume can become the zest of any carnival or themed festival and can also be a perfect costume for wedding groom.
This 3Pc court suit include:
•Pink wool justaucorps embellished with metal button detailing
•Pink wool vest having button closure
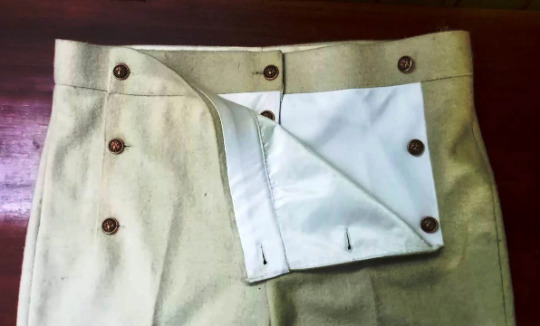
•White wool breeches with metal button detailings & closure
•Laced jabots & cuffs
Features:
•Intricate embroidered
•Lightweight
•Soft & Breathable
•Comfortable wearing in all seasons
Material & Caring:
•Premium wool & Eco friendly material
•Dry Clean
•Dry on low heat or hang to dry for best result
#18th century fashion#historical clothing#theatrical costumes#venetian fashion#men rococo fashion#18th century costume#reenactment clothing#victorian clothing#renaissance costume#cosplay outfit#french court suit#fersen court suit#noble court suit
2 notes
·
View notes
Text
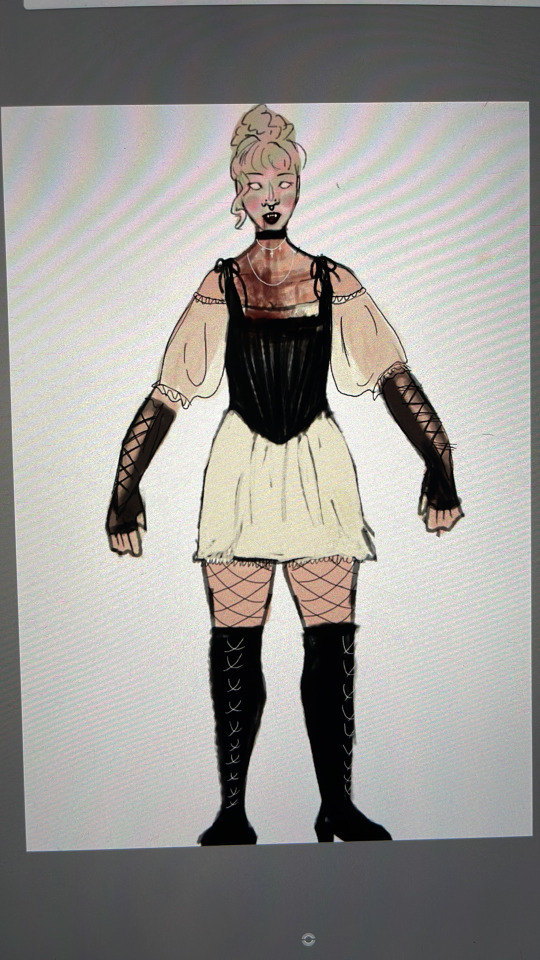
so this is my drawing mock-up for my halloween costume this year. i'm going to a party this weekend and wanted to impress
OKAY so the boots are heeled riding boots I dropped a pretty penny on last year for my Cruella costume. I don't remember where I bought them but the brand in the boot says "Forever" (wow how helpful). The fangs are these smaller prosthetics from Spirit. I also bought larger fangs but they looked and felt so wonky in my mouth. definitely looked less realistic and were difficult to talk with.
I didn't want to sew a corset so I bought one online that was cheap(er than others) and actually so good for how little i spent. I have a 34" bust and 30" waist, I wear women's medium (US) usually, but bought a large because I know how these corsets tend to fit and there were no reviews. Keep in mind that I didn't tighten the straps because I was excitedly throwing all the pieces on, but a large is perfect for me:
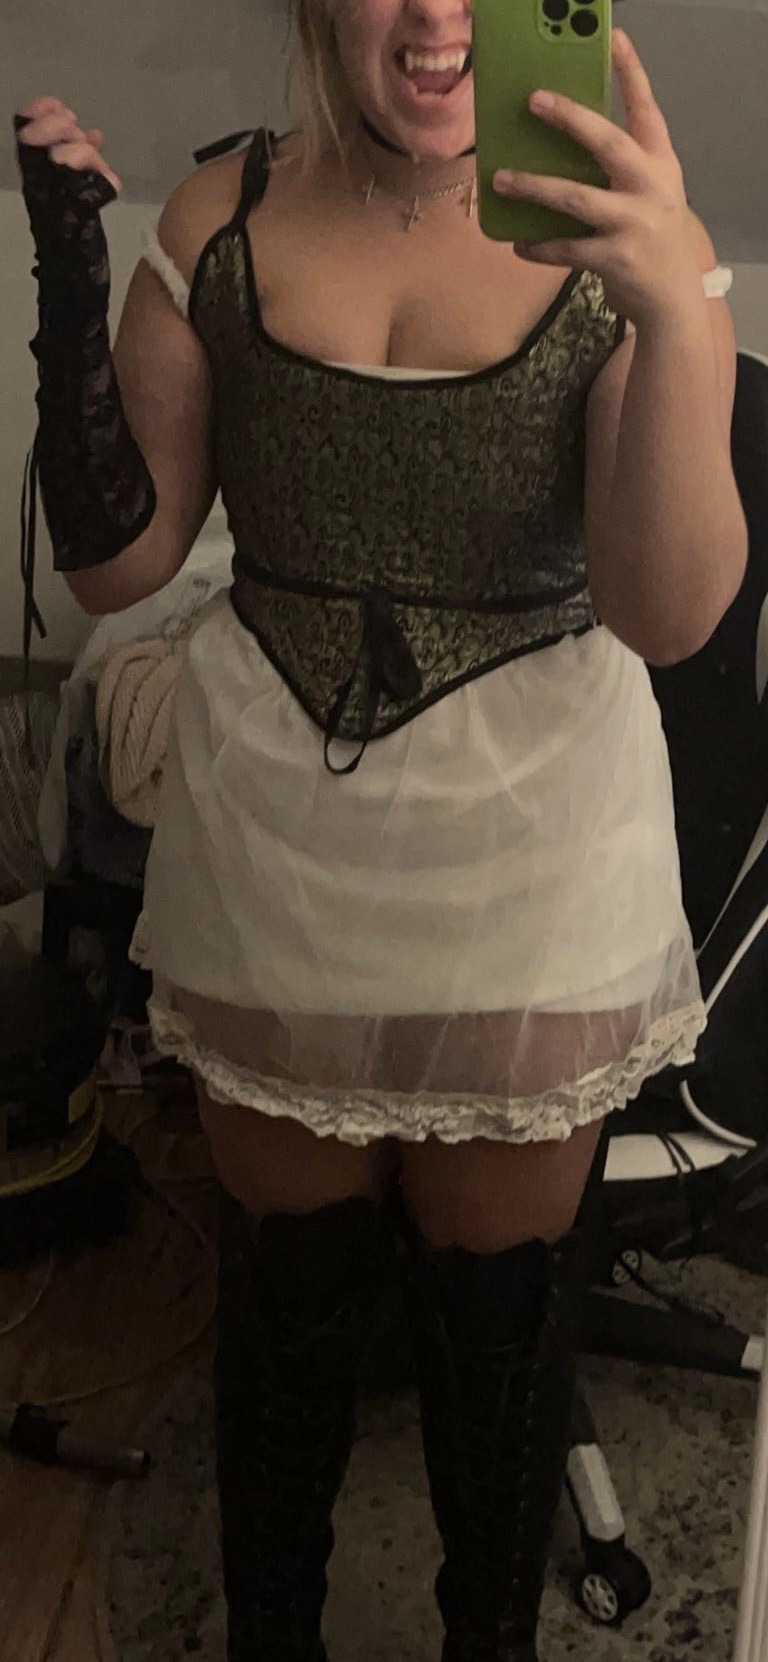
forgive my messy i-work-every-day-and-take-classes bedroom.
That above photo is a wip, I have some fishnets, spray blood, and earrings. Gonna put my hair up best I can to mimic an 18th century updo (my hair's shoulder length as you can see :/) and i'm gonna powder it. will probably touch up the color too, because my roots have grown out quite a bit. i have the choker, already had the gloves from Spirit a few years back.
the workable piece here is that short nightdress I picked up at Goodwill for $6. It's a little long (knee length) so it's pinned in the photo. i'm on the fence about using the sheet lacy stuff for sleeves, because it would look gorgeous asf. but also i like the sheer over the under skirt, also would need another layer if i DID use it for sleeves because the white is so see-through. on the fence.
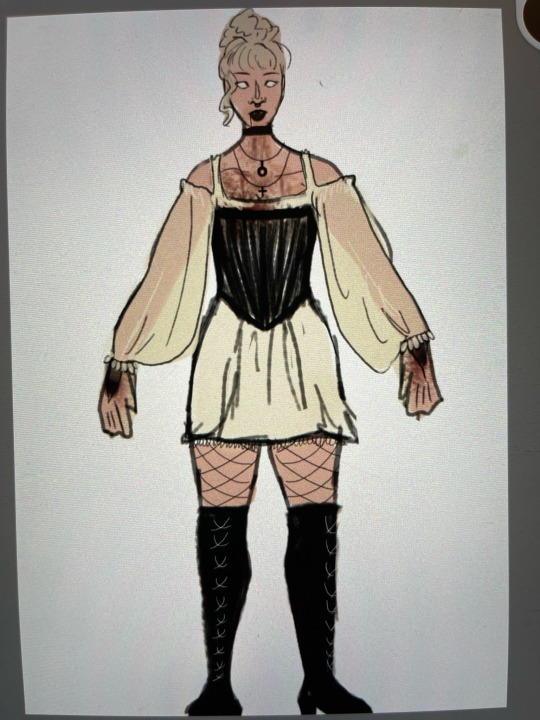
here's the very first drawing i did before purchasing the corset, babydoll chemise, choker, teeth, fishnets, etc.
i decided from there i wanted a more 18th century (albeit not quite so modest) look. didn't want any of those curvy bodice corsets that are more late 19th/early 20th century. I wore one of those for the Cruella costume and it was not my cup of tea. it was a cheaper corset but i didn't like that i wore it as a corset-top without anything underneath. it also bent weirdly and i wasn't very flexible in it. here's the fit below, cropped the person beside me because i didn't want to violate their privacy
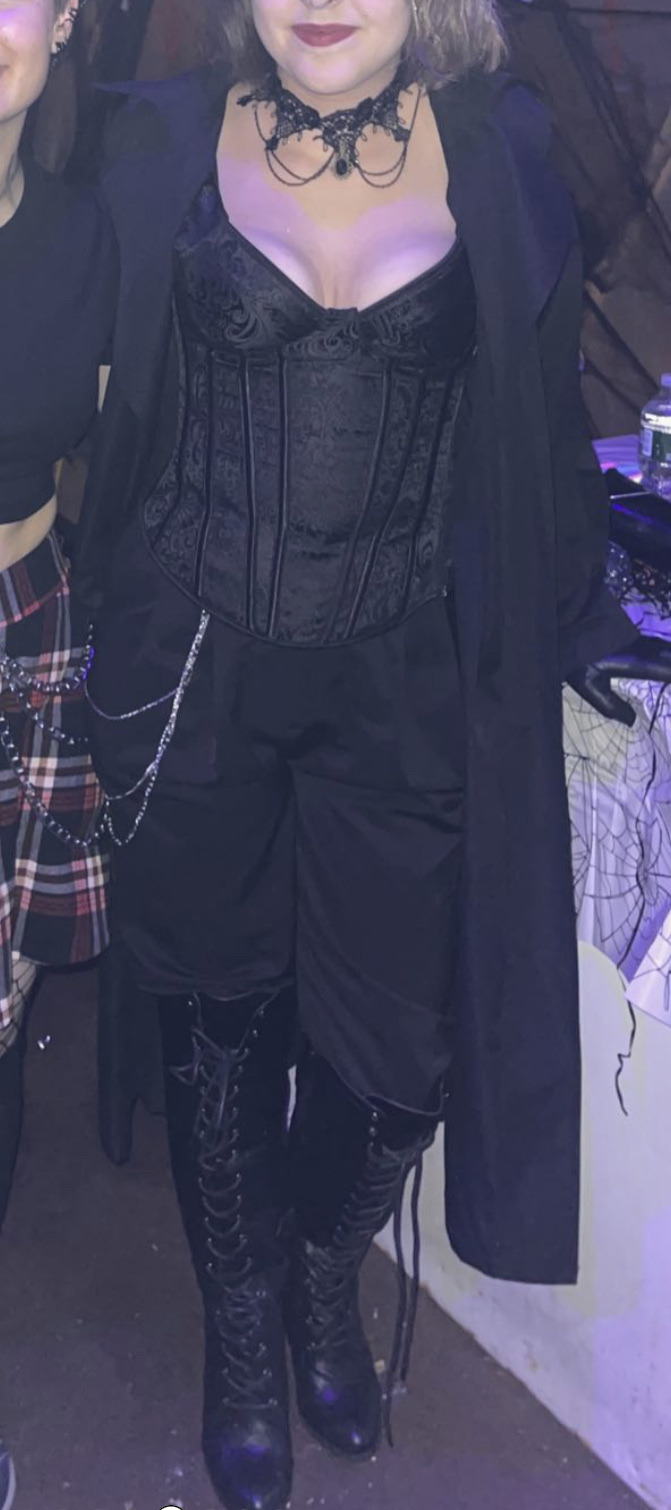
my costume this year is pretty last minute because i only decided to even go to the party a few days ago. i ordered the corset and made a couple trips to Spirit and Goodwill, and decided to recycle what i could from Cruella.
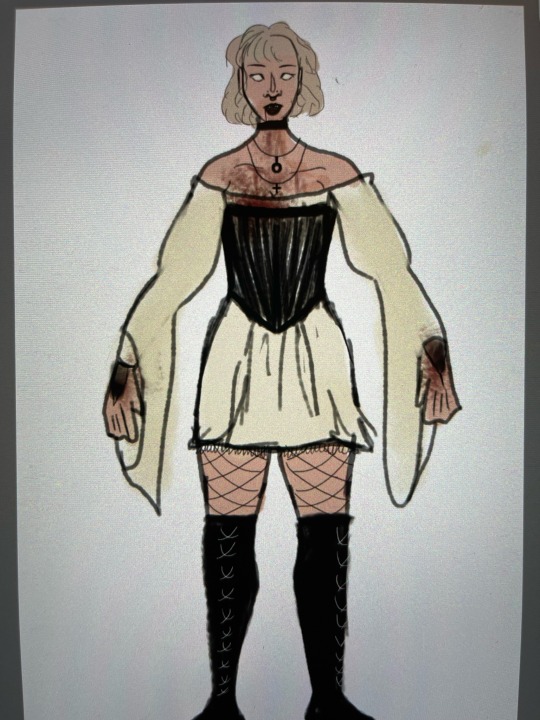
here's the second drawing where I decided i wanted puffed sleeves instead of the awkward hanging ones, and drew my hair in an updo.
and finally as i've acquired some costume pieces i morphed it into this drawing here:
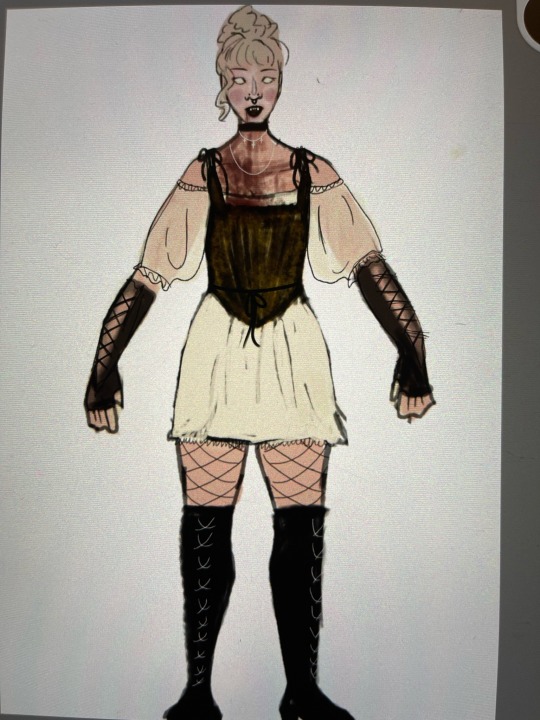
it's pretty cohesive, i think, and seeing myself in it even though it's not complete is AWESOME. i can't wait to show off the final results.
#vampires#halloween costume#18th century#18th century costume#18th century vampires#vampire costume#costumer#sewing#recycling clothes#diy costume#sort of#kind of more like i'm upcycling and building my costume from stuff that exists already#either way i do sew#🪡#interview with the vampire#what we do in the shadows#dracula#true blood#first kill
5 notes
·
View notes
Text

#historical fashion polls#fashion plate#fashion poll#historical dress#historical fashion#dress history#fashion history#18th century costume#late 18th century#18th century fashion#18th century#late 1700s#circa 1780#1770s
45 notes
·
View notes
Text
via
#fashion history#historical fashion#rococo#marie antoinette#18th century#18th century fashion#18th century costume#historical costume#pink aesthetic#pink academia#duchess of devonshire#historical academia#rococo aesthetic#pink cottagecore#mignonne#2022#black people in period costumes#black people in period clothing
1K notes
·
View notes
Text


Cynical Neo Princessism
#historical fashion#historical costuming#historical costume#18th century fashion#18th century costume#rococo fashion#rococo dress#chemise a la reine#historybounding#historical dress#georgian fashion#me#cottagecore
40 notes
·
View notes
Text
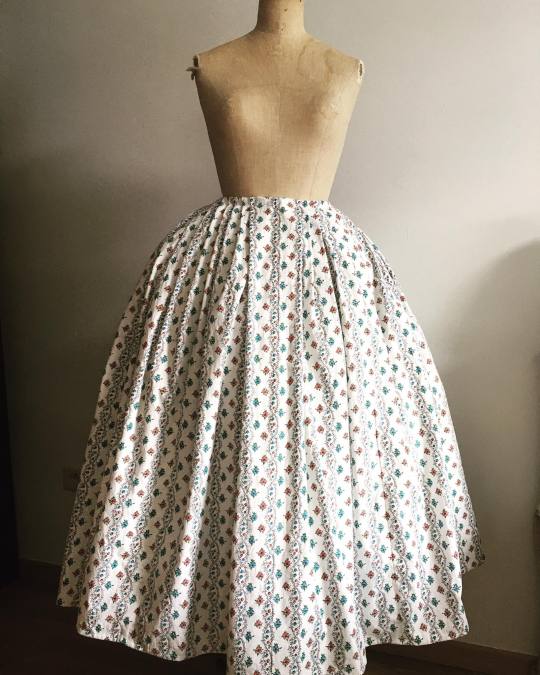
18th century costume is in the making! Here's the petticoat.
(fabric is not accurate to the times. I found it at a thrift store, meters of it. So too good to not use it for something costume related, right?)
#18th century peticoat#18th century costume#18th century costuming#costuming#historical fashion#18th century fashion
2 notes
·
View notes
Text


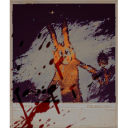
All the "inktobers" for this week (taking a break for the weekend) !
I. Hérault / Herald · II. Piqueur / Kennelkeeper · III. Échanson / Cupbearer · IV. Naturaliste / Naturalist · V. Comédien / Comedian · VI. Chirurgien / Surgeon
#inktober#paintober#inktober 2023#watercolour#historical costuming#15th century#18th century#17th century#16th century#traditional art
15K notes
·
View notes
Last Seen Blogs

barmethodeb
The Bar Method East Bay

freakouterin
freakouterin

separatedbyachromosome-blog
ᴡᴇ ᴀʀᴇ ᴡʜᴇʀᴇ ᴡᴇ'ʀᴇ ɴᴇᴇᴅᴇᴅ

narjis-anon
HI!
salvenged
❝ 𝘐'𝘮 𝘨𝘰𝘯𝘯𝘢 𝐖𝐈𝐍 !