#UVS
Text
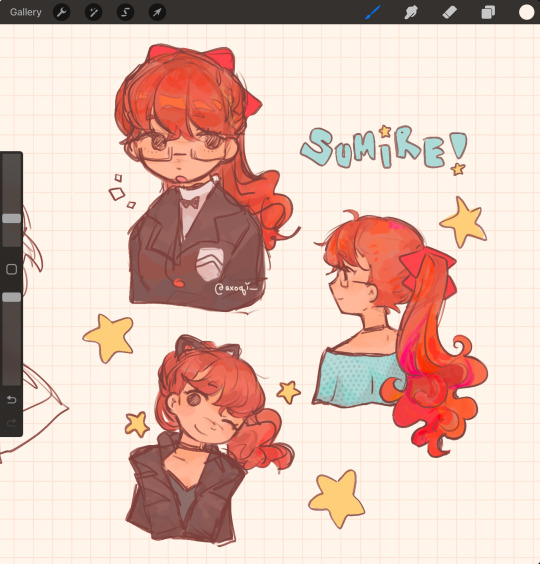
🏠Finally made UVS OC YIPPIE, she's a REALTOR
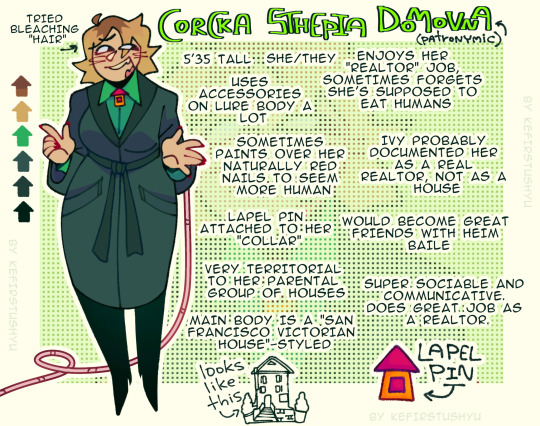
Corcka - "House" in Udmurtian
Shtepia - "House" in Albanian
Domovna - patronymic made out of Slavic/Russian "House"
BONUS: Sketches
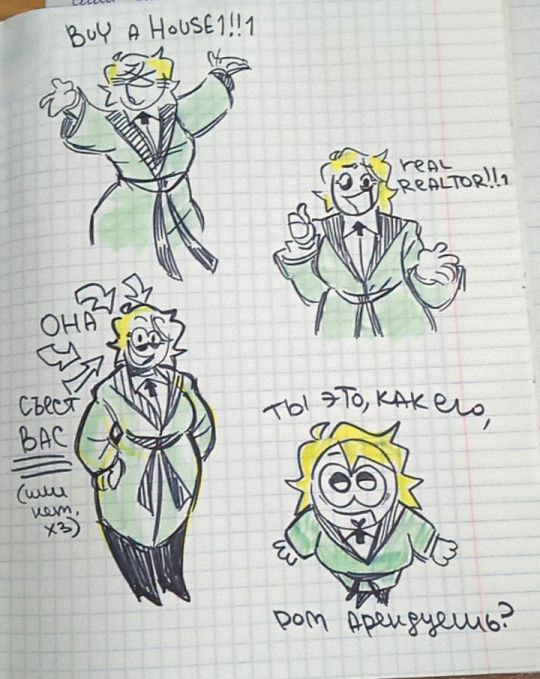
Translation of non-english text:
"SHE will eat YOU!!!! (or not idk)"
"Do you ummm wanna uhh rent a house?"
#art#scetch#oc#original character#uncanny valley john doe#uncanny valley series#uncanny valley#house hunted game#john doe game#john doe#uvs#mortisfox#House Hunted OC#sona art#UVS sona#realtor sona#realtor#fanart#character#meme#illustration#reference
41 notes
·
View notes
Text
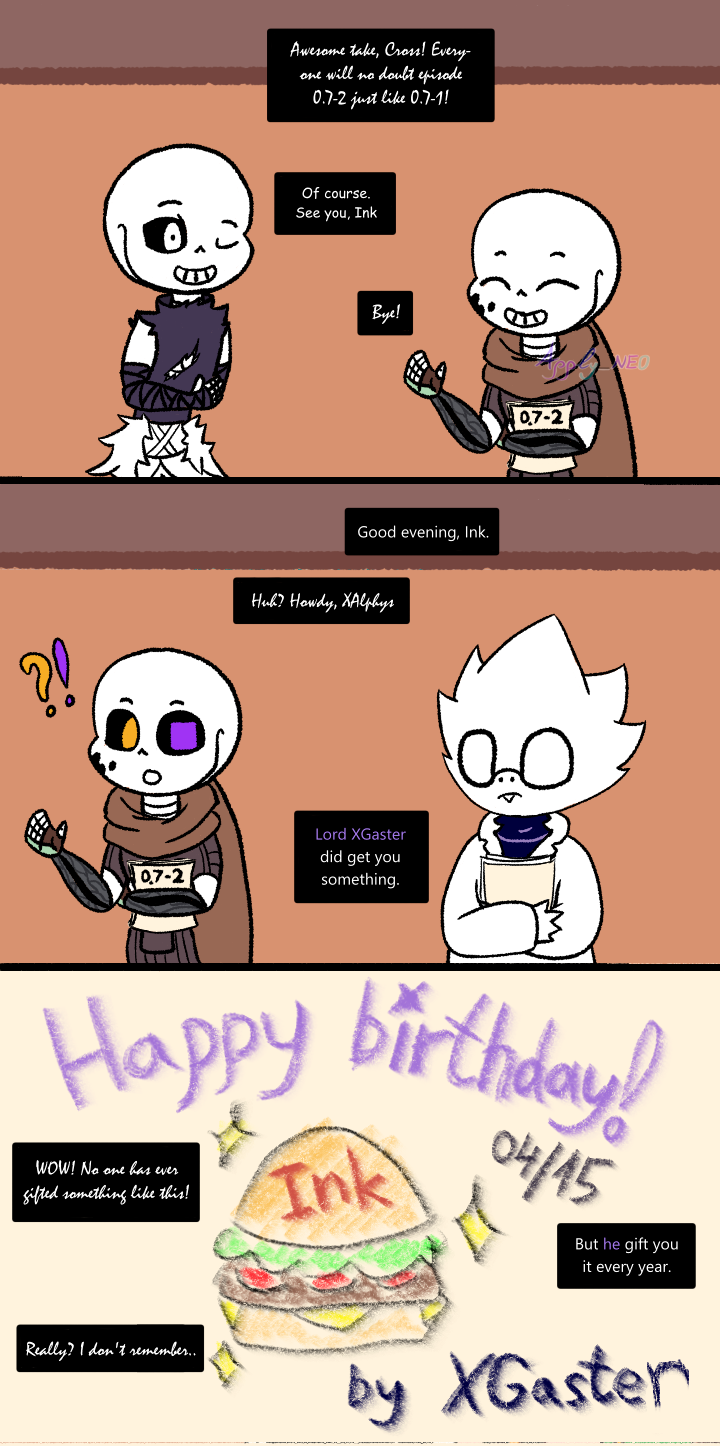
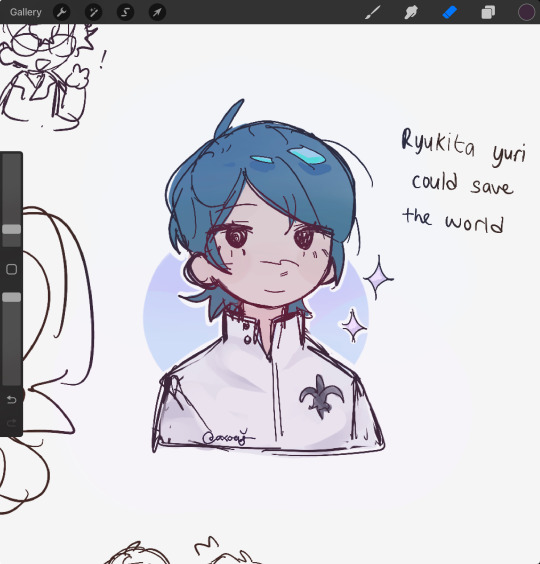
💙Happy birthday, Ink!💜
Yeah, XGaster gifted Ink the picture that he drew himself. It's not canon, but it's very cute!(◍•ᴗ•◍)✧*。
Jakei's old minicomics with Underverse studio (UVS) and my friend Mamory's minicomic 'Failure' inspired me to draw that artwork
Cross, XAlphys, XGaster, Underverse and UVS by @jakei95
Ink by @comyet
Artwork by me
#Underverse#UVS#UVS07#undertale au#utmv#utmv fanart#utmv comic#minicomic#Ink#Ink!Sans#jakei95#comyet#Mamory1236#happy b-day#XAlphys#Xtale#xtale fanart#XGaster#Cross
41 notes
·
View notes
Text
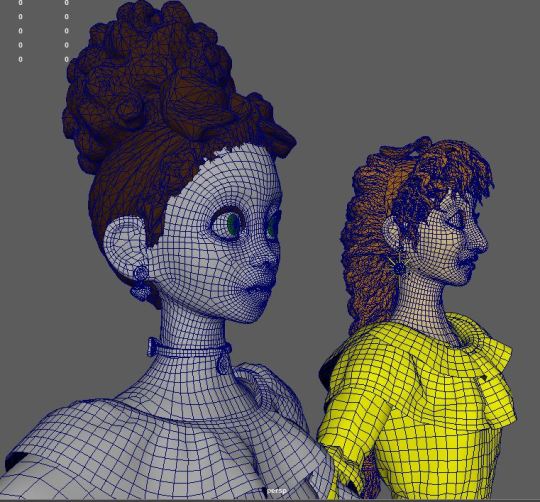
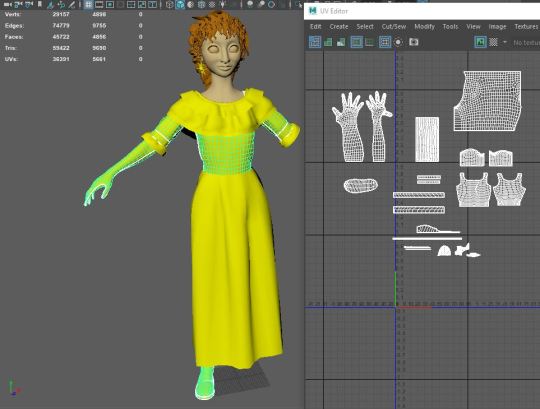

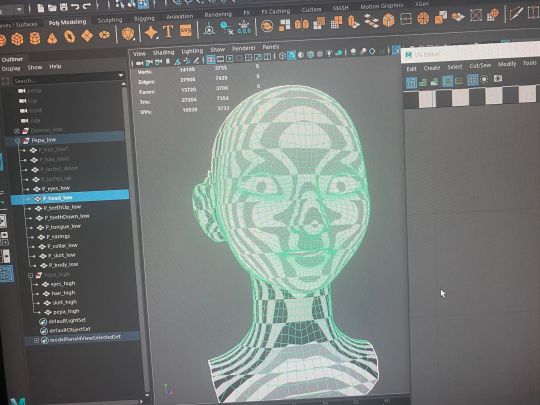
Big Bang update 🥰☀️ topology and UVs
Now the pretty part of the workflow is over, we've entered the technical art. They don't look pretty again until we get to texturing (which I'm excited for because that means we get to paint them!)
This section is probably the most time consuming part, as there is a lot that has to happen so they can animate! It's also a different type of workflow, less creative and more logic now. In a big film studio like Disney, this section of the workflow might be done by a different department than the artists who did the character sculpts, then another department would later rig them, and another to animate them, another to render them, etc.
I tried counting how many hours it took to trace out the grids over their bodies but I lost count after 20 hours, and I've done a couple more evenings since then! But they are both ready now, and I was lucky enough to listen to Taylor's discography a couple times over while I worked haha 🌈 Gotta get her that grammy!
Now we're up to the UVs - so think of a chocolate bunny for example - a 3D shape wrapped in coloured foil to look like fur and eyes etc - but when you unwrap it, it's just a lump of chocolate and all the colours were printed on a flat sheet of foil and wrapped around. That's how we paint assets in 3d - So I map out these meshes and guide the computer on where it would cut and unfold so it knows how to wrap over when we project on the detail and colours. See in the 2nd picture, next to Pepa are her UVs - those white outlines of shapes.
If you look at the 3rd pic - See the black and white checkers over Pepa's dress? That's how I know the mesh will receive it's texture correctly. If the squares are all twisted then the UVs arent good and I need to cut and arrange them in a better way so that they will be straight (See the cursed 4th pic for an example of bad UVs hehe - If I tried to paint her with those, the paint would stretch and warp, just like the checkers are doing)
I'm still going on this step and it'll take a few more hours, but once it's over we get to paint them 😉💛
#encanto big bang#encantobigbang#UVs#topology#character modelling#character texturing#3d model#3dart#autodeskmaya#pepa madrigal#dolores madrigal#encanto#encanto fan art#fan art#technical art
21 notes
·
View notes
Text


Dragon UVs go brrrrrrrrrrrrrrr!
After completing its UVs, I'll paint a rough texture to plan the dragon's seams. It's a TY Beanie Boos plushie and I want to replicate the look as closely as possible.


Ignore the kr//ger ad lol
7 notes
·
View notes
Photo


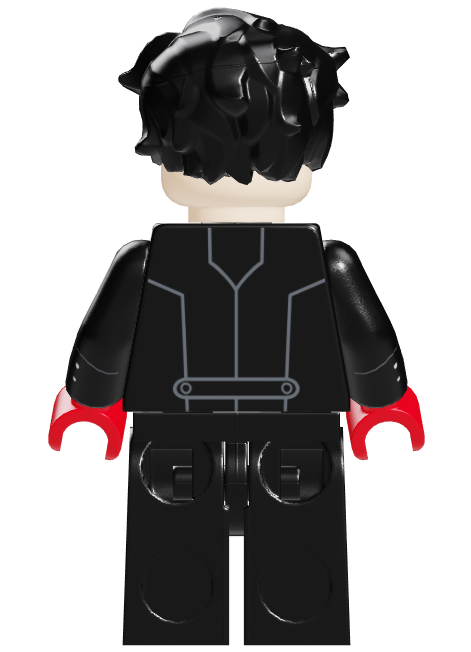


This was a fun little project from 2020. Here’s Joker from Persona 5 as a Lego Minifigure. Because I know Lego will never make any Persona 5 sets. I made the decorations/prints in Photoshop and applied the texture in Mecabricks. An in-browser digital 3D Lego Building program.
3D Model: https://www.mecabricks.com/en/models/mLvzkw14aAw
#lego#persona#persona5#joker#akira kurusu#ren amamiya#minifigure#legominifigures#legopersona5#atlus#custom#customminifigure#mecabricks#legobricks#phantom thief#uvtextures#uv#uvs#3dmodel#customdecals#decals
7 notes
·
View notes
Text
still in pré-production for the Sailor Uranus 3D scene, i had to do a quick storyboard for my scene


while modeling her room
1 note
·
View note
Text
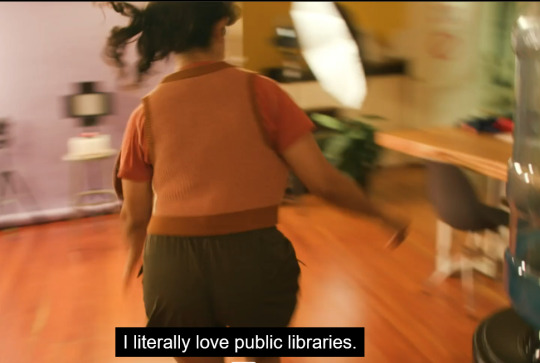
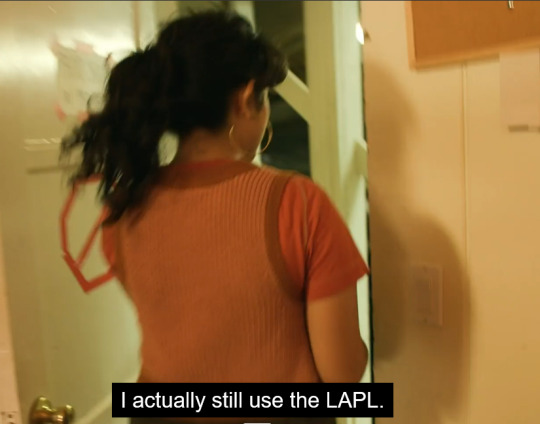
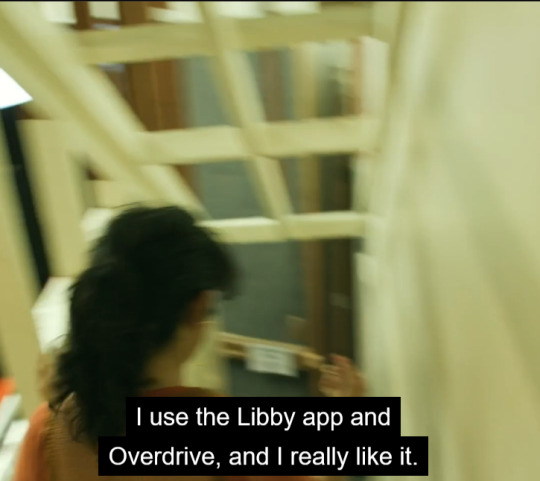
rekha loving public libraries is everything to me, i adore her <333
#game changer#game changer spoilers#GAME CHANGER UVE DONE IT AGAIN THIS EP IS SO GOOD#dropout#rekha shankar#luna.txt
4K notes
·
View notes
Text


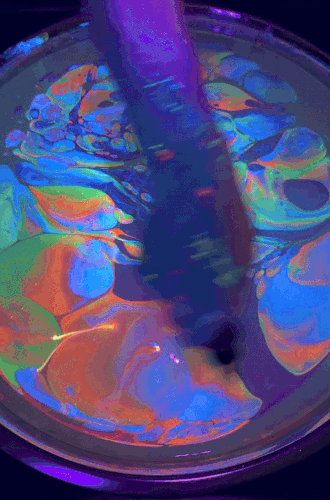
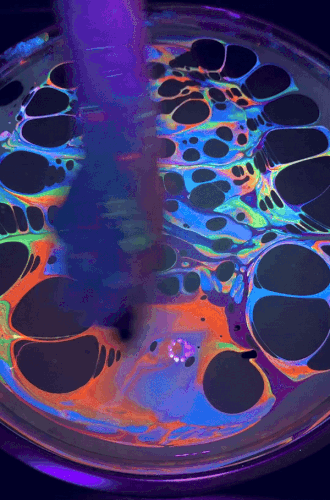
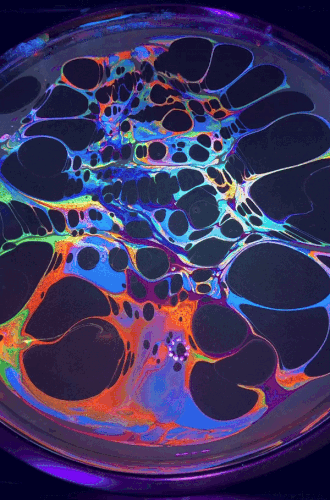
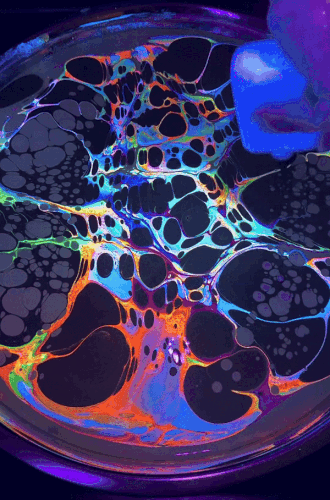

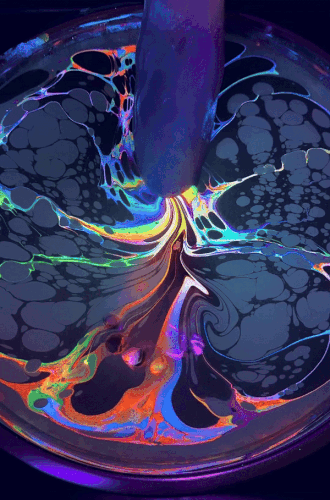
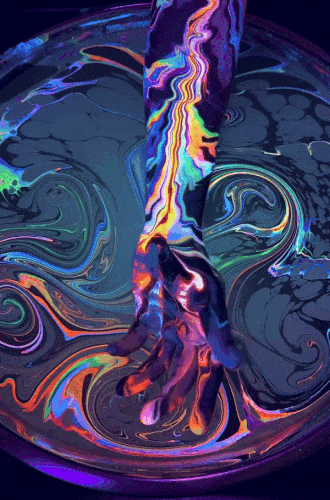
blvisuals on ig
#stim#stimboard#paint#neon#sfw#rainbow#blue#orange#green#purple#black#white#pouring#blacklight#uv light#fast#art#hands#hydro dipping#water marbling#glow in the dark#glow#shaking#trypophobia#ishy gifs#postish
3K notes
·
View notes
Text

blueberry braids. 🫐
in classic sleepingsims fashion i am posting yet another half-up hair with a sim in a monochromatic outfit!

24 ea + 7 modmax swatches
bgc, lods, hat compatible, proper maps, etc.
root overlay in R brow ring, ombre in L nose ring
ombre works w/ recent braids! (cherry + basil v1)
download | alt

polycount: 10.8k / 6.5k / 3.2k / 1.1k
credits: depthofpixels’ gradient, qwertysims’ actions, simandy’s gradients, aveirasims’ gradients, aharris00britney’s gradients
the weights on this hair are not perfect but i've done my best to keep clipping and visual distortions to a minimum
#ts4#sims 4#ts4cc#s4cc#ts4mm#s4mm#s4hair#modified maxis#alwaysfreecc#download#i need to go back and re do the uvs on cherry + basil so they work with the root accessory 😅
2K notes
·
View notes
Text

haunted
#call of duty#cod#simon ghost riley#my art#a companion for the soap piece#two blokes getting corneal damage from UV light#next time pack the sunglasses riley#if one more person calls this a t swift reference I will shoot myself in the foot...
4K notes
·
View notes
Text


UV hand-embellished metal prints — these will be displayed at Jackson Flats in Minneapolis, MN this Saturday. 7-10 pm 💖💜💙
#artists on tumblr#art#embellished#transformative#Devil#fairy#painting#digital art#illustration#original#drawing#UV#glow in the dark
895 notes
·
View notes
Text


trans frank before pride month ends
#LMAO sorry#i cant think of n e thng else but i always react to these 2 quotes when he says them lmfao#iasip#always sunny#shitpost#frank reynolds#pride month posting#th lowest quality caps uv ever seen#screencap#the gang goes to a water park#the gang replaces dee with a monkey#gruesome twosome#dumbass dickbags#lov me sm out if context shit
1K notes
·
View notes
Text
the versatility of illbethere.gif cannot be overstated

7K notes
·
View notes
Text


UV tattoo by jjhalltattoo
#celestial#tattoo#uv#uv light#space#stars#star#body modification#body mod#body art#aes#tattoo ideas#tattoos#cute tattoos#glow#glow in the dark#uv reactive
942 notes
·
View notes
Text


another p5r art dump hiiiiieii 😢😢😢
#fem shuake#akiras a bit of a freak but like hey a pretty girl is threatening her w a knife whats a girl to do...#im back !!!!!! i finished the entirety of p5r for the first time !!!!!! im so#third semester....... third semester...... third semeste#i battled through the whole thing with just royal trio because. well because yiou see. stares at u with my big teary eyes#i feel like those miserable seal pictures#No!!!! no i still havent recovered this may stick with me for the rest of my life. look at what uve done atlus#i am a mere husk of who i once was...... true ending killed my joy and whimsy... nothing to smile about in life anymore#tje theb the dates after maruki palace where u say goodbye to everyone and the thieves start planning for their future 😭😭😭😭 uhag g aghh#shuake#akeshu#kurusu akira#akira kurusu#amamiya ren#ren amamiya#sumire yoshizawa#yoshizawa sumire#yusuke kitagawa#kitagawa yusuke#p5r#persona 5 royal#persona 5#my art
959 notes
·
View notes
Text
Yaaaaalllllll!!!
CHICKENS ARE FLUORESCENT!!
Look. I’m unnaturally excited about this. I learned that owls fluoresce so I had to know: Do chickens? Google wasn’t helpful. But I have all the things I need for this experiment.
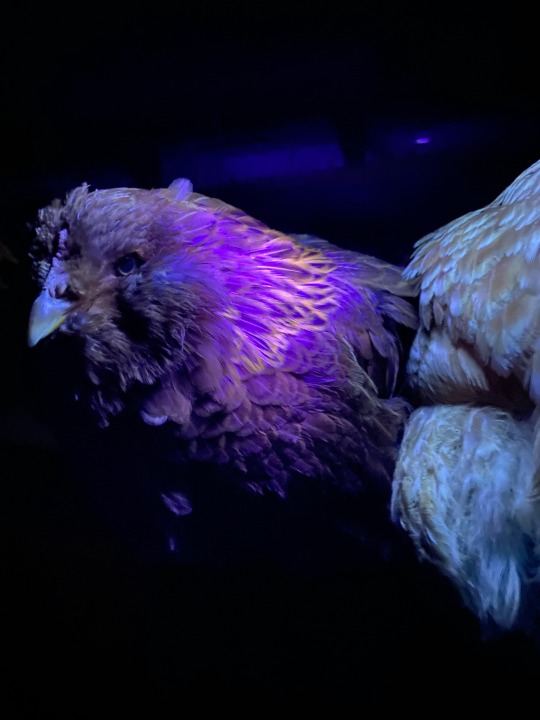
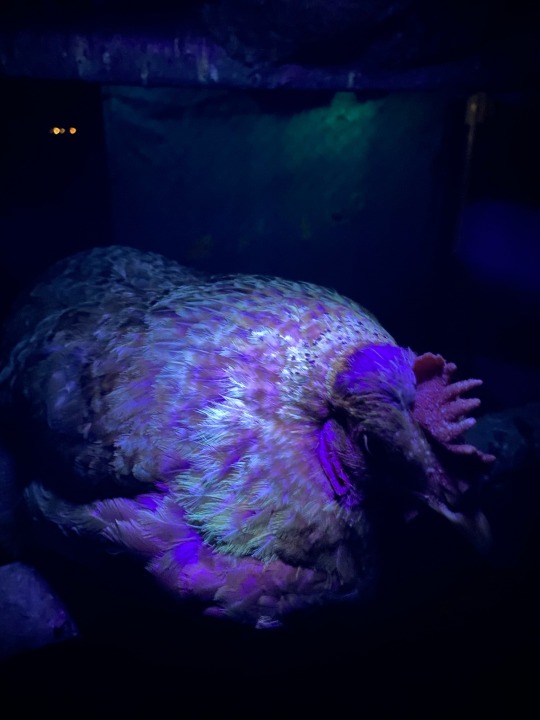

Please please please if you get photos or video of your chickens under a black light tag me or this post! I WANNA SEE!!!
13K notes
·
View notes
Last Seen Blogs

28tsingyi
青衣屋網 28TsingYi.com

lonelywanderingflower
Never Made for These Times

hoctienghannn
Untitled
28tsingyi
青衣屋網 28TsingYi.com

essci
essci