#doll customization
Text
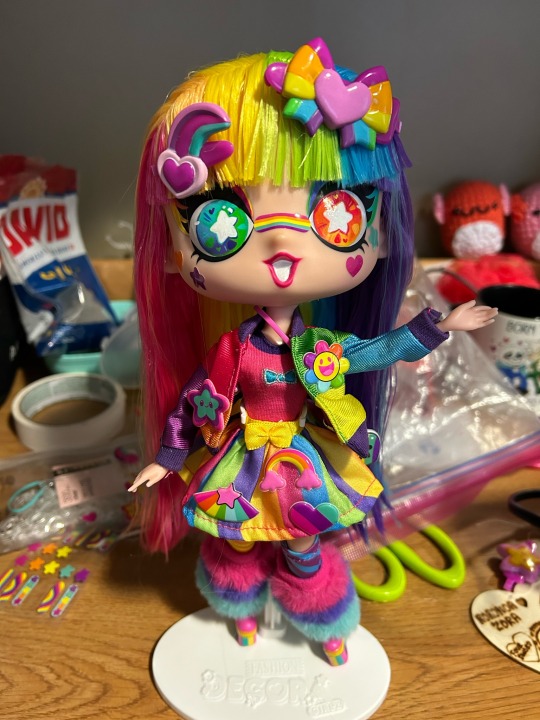

decora’s finally got her face and clothes back! super happy with the repaint, i think it makes her look even more fun than before, and i had a ton of fun doing the repaint itself. considering going back to pick up another one….
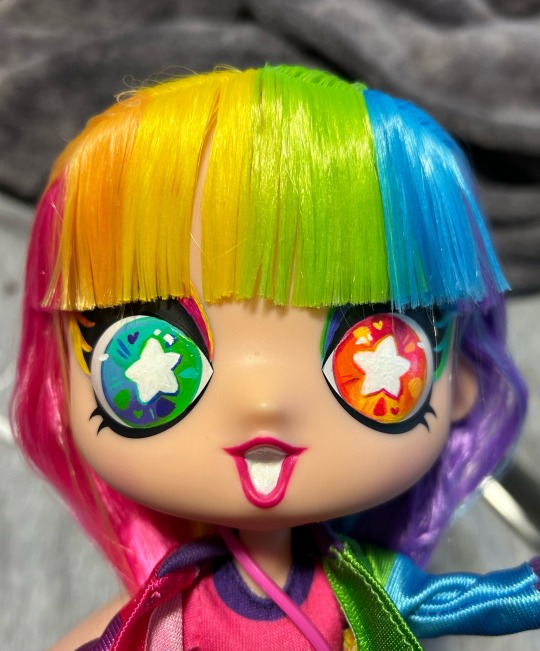


#dux doll tag#decora girlz#idk what ooak stuff to tag if it’s just a faceup.#ooak doll#doll customization
23 notes
·
View notes
Text
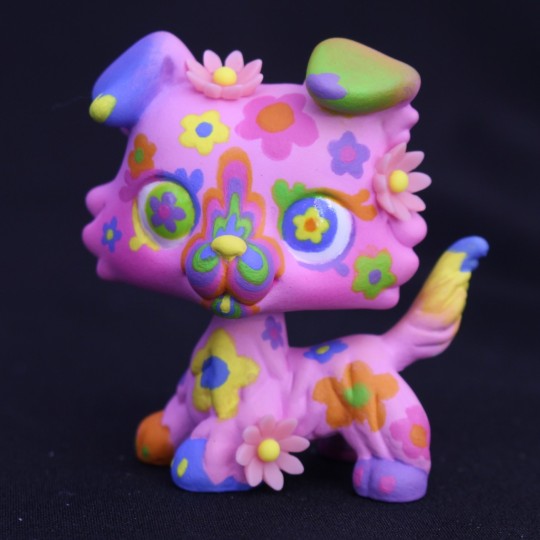
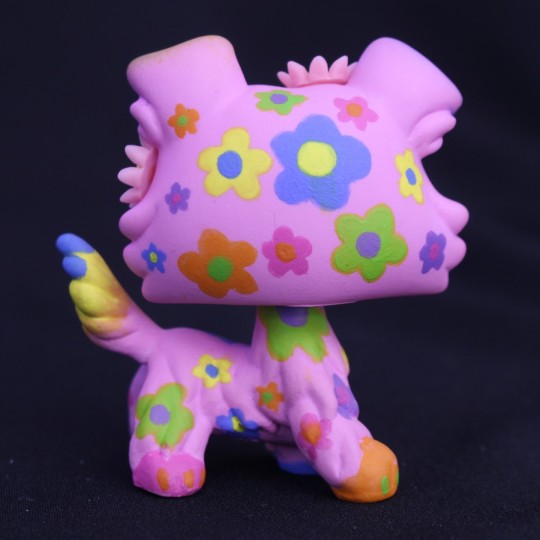
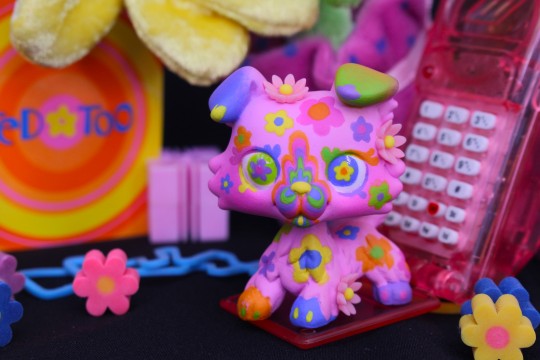
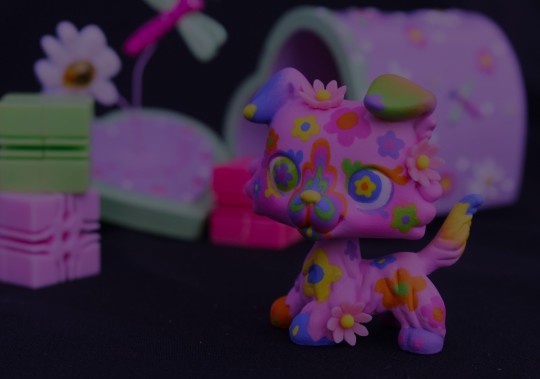


LPS Custom #9: Y2K girlypop daisy bedroom.
Been a while since I've made a custom! I've got a video on the making-of on this one but that's gonna take awhile to edit, so have the pics for now and look forward to the vid later. ( if the footage ends up being useable lol)
#my art#lps custom#lps#lps customs#art#littlest pet shop#lps community#lpscustom#lpsblr#y2k#daisy#girlypop#flowers#colorful#lps collie#ooak#doll customization#doll custom#toy repaint#custom repaint#dog#lpscommunity#toy painting#figure painting#lps art#toycore#repaint#doll repaint#2000s#customlps
2K notes
·
View notes
Text

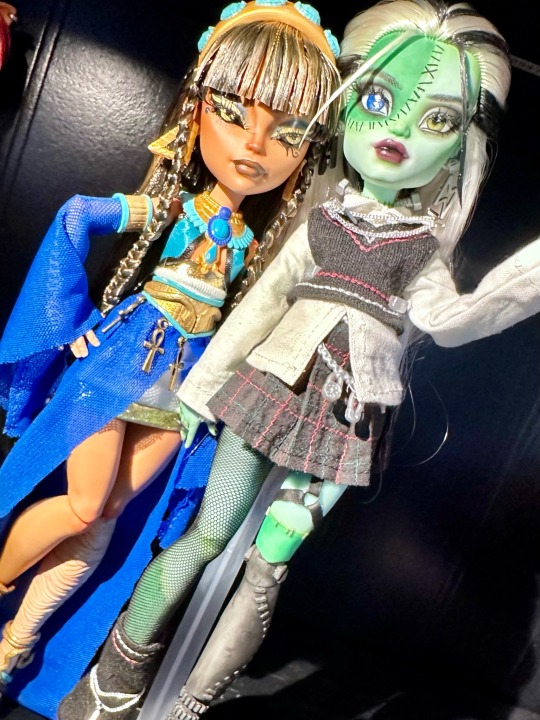

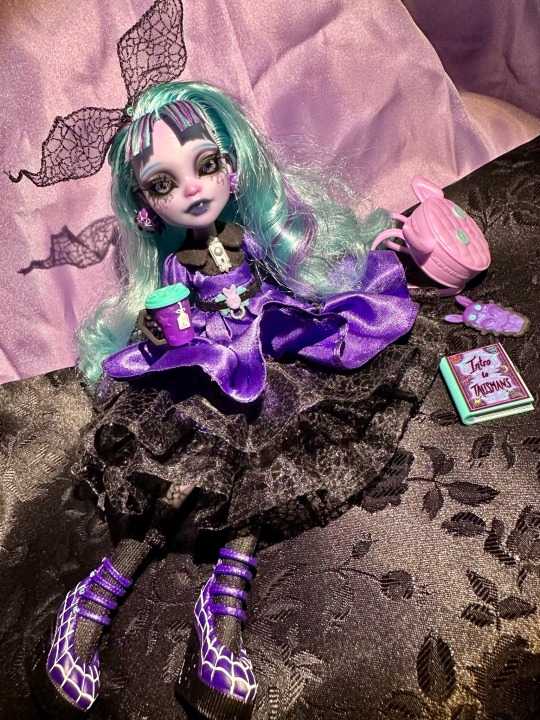
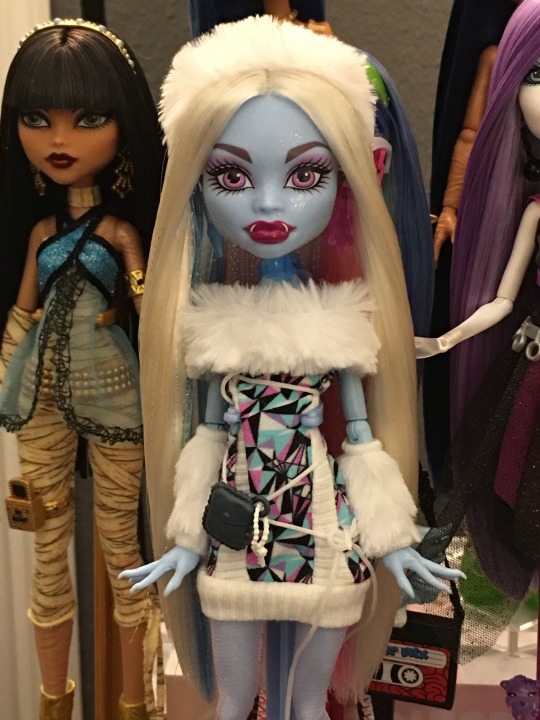
a few of my finished custom mh ghouls!!
#monster high g3#monster high#monster high dolls#custom doll#ooak doll#doll customization#clawdeen wolf#lagoona blue#draculaura#twyla boogeyman#clankie#cleo de nile#frankie stein#mh#doll photography#dollblr
2K notes
·
View notes
Text

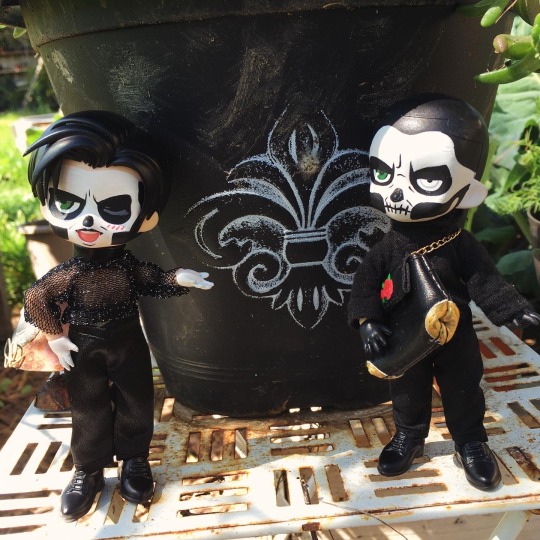

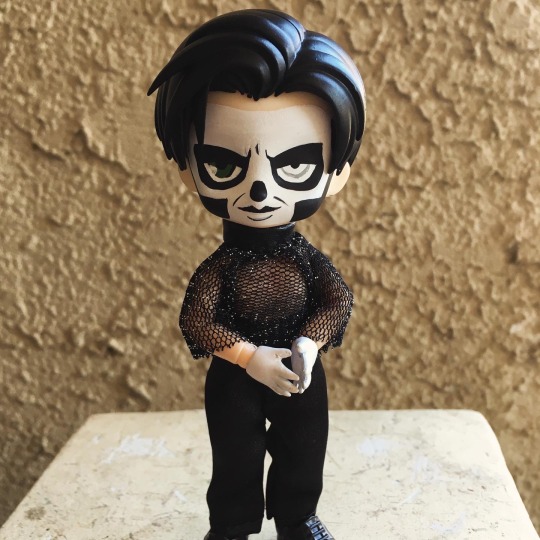
new hair piece for Terzo has arrived! I could not stop squealing with joy- this is just too damn cute. It’s perfect. 🖤🥺
#my art#doll customization#ob11doll#obitsu#the band ghost#ghost band#ghost fan merch#Terzo#secondo#papa emeritus ii#papa emeritus iii
238 notes
·
View notes
Text
clawdeen draculaura frankie
lagoona cleo ghoulia
#deliver me from being perfect and complete [queue]#the same decaying organic matter as everything else [gifs]#dolls#monster high#bjd#ball jointed doll#doll customization#fashion#clawdeen wolf#draculaura#frankie stein#lagoona blue#cleo de nile#ghoulia yelps#pink#blue#teal#gold#yellow#red#green#purple#brown#black#silver#stim#stim gif
244 notes
·
View notes
Text


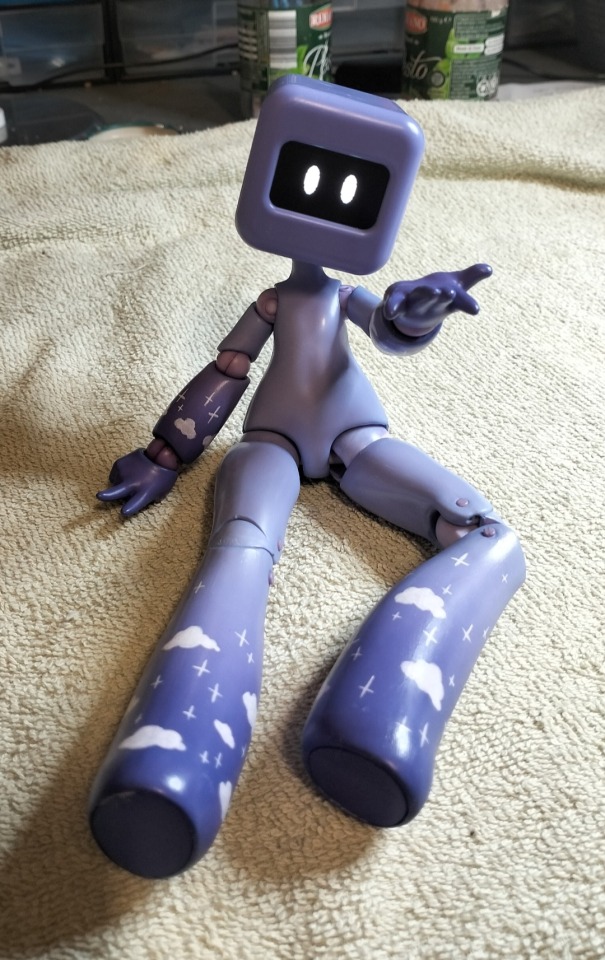
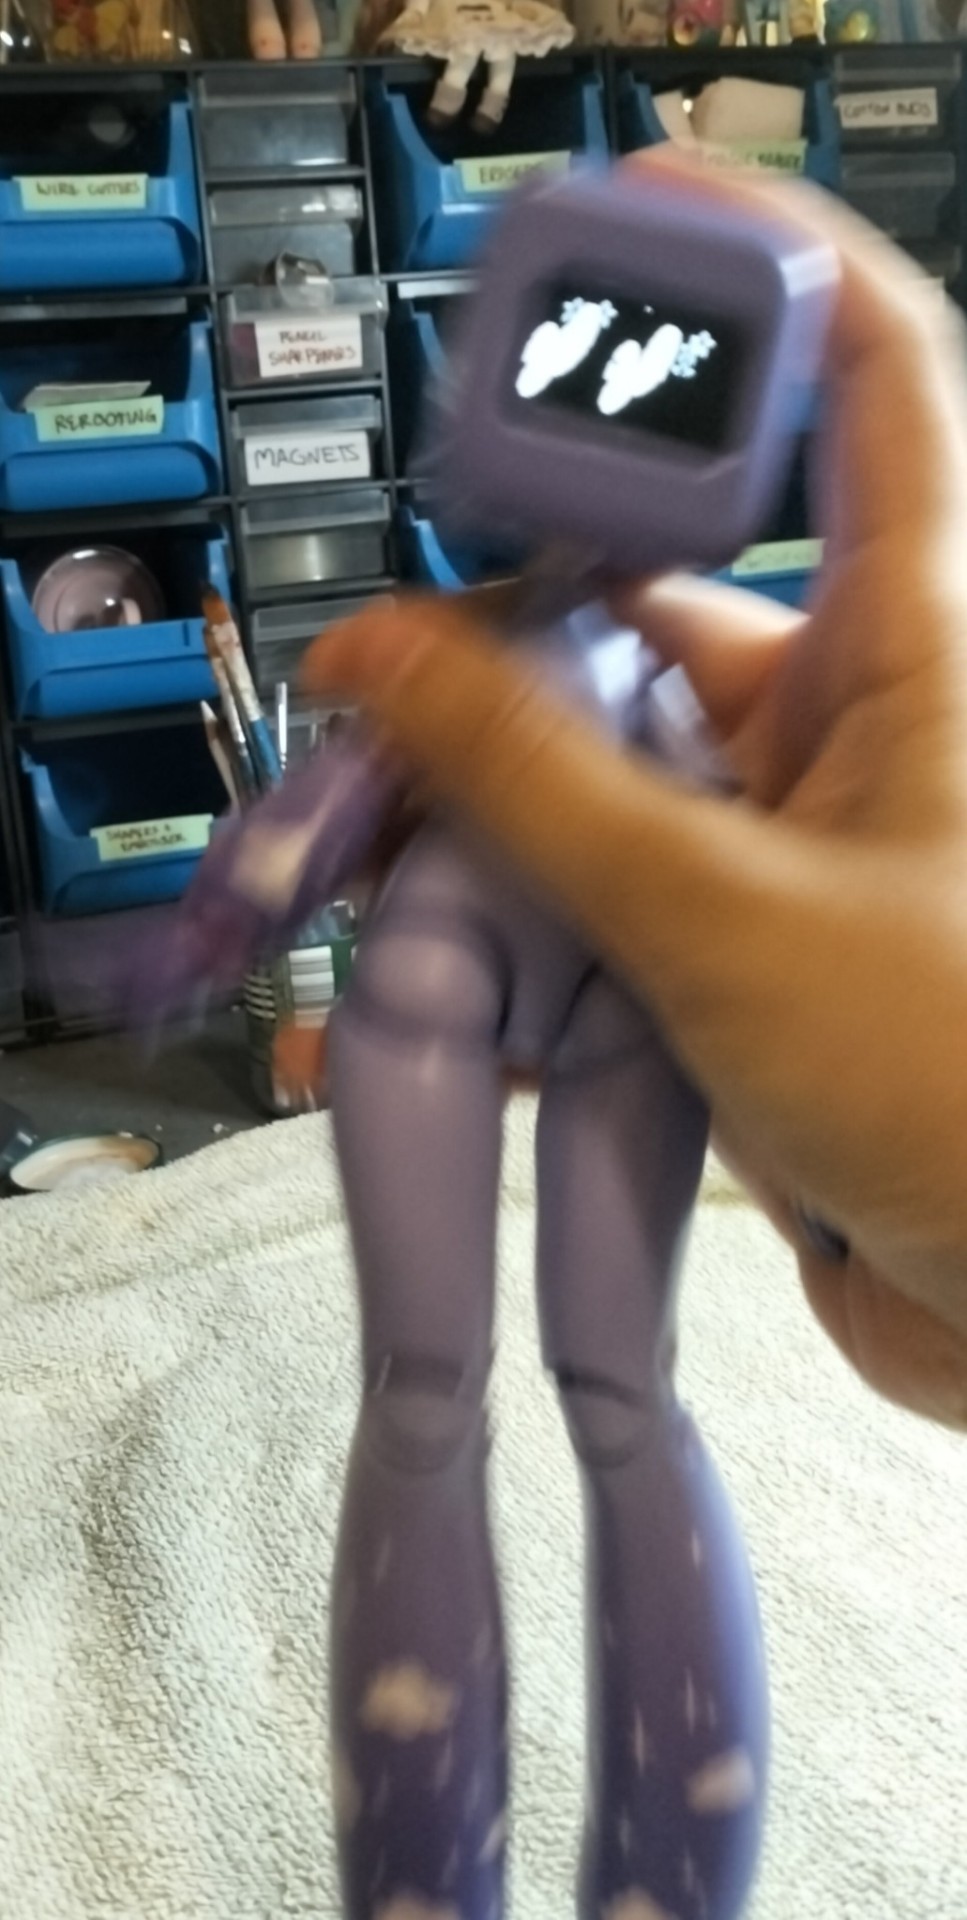
Wisteria!
Their body is done, they just need clothes - but that's a project for future me
#dolls#ooakdoll#custom dolls#my dolls#doll customization#doll custom#ooak doll#doll hybrid#hybrid doll#oh i also need to paint their head#nothing big just a little repeat of the cloud and sparkle motif
402 notes
·
View notes
Text
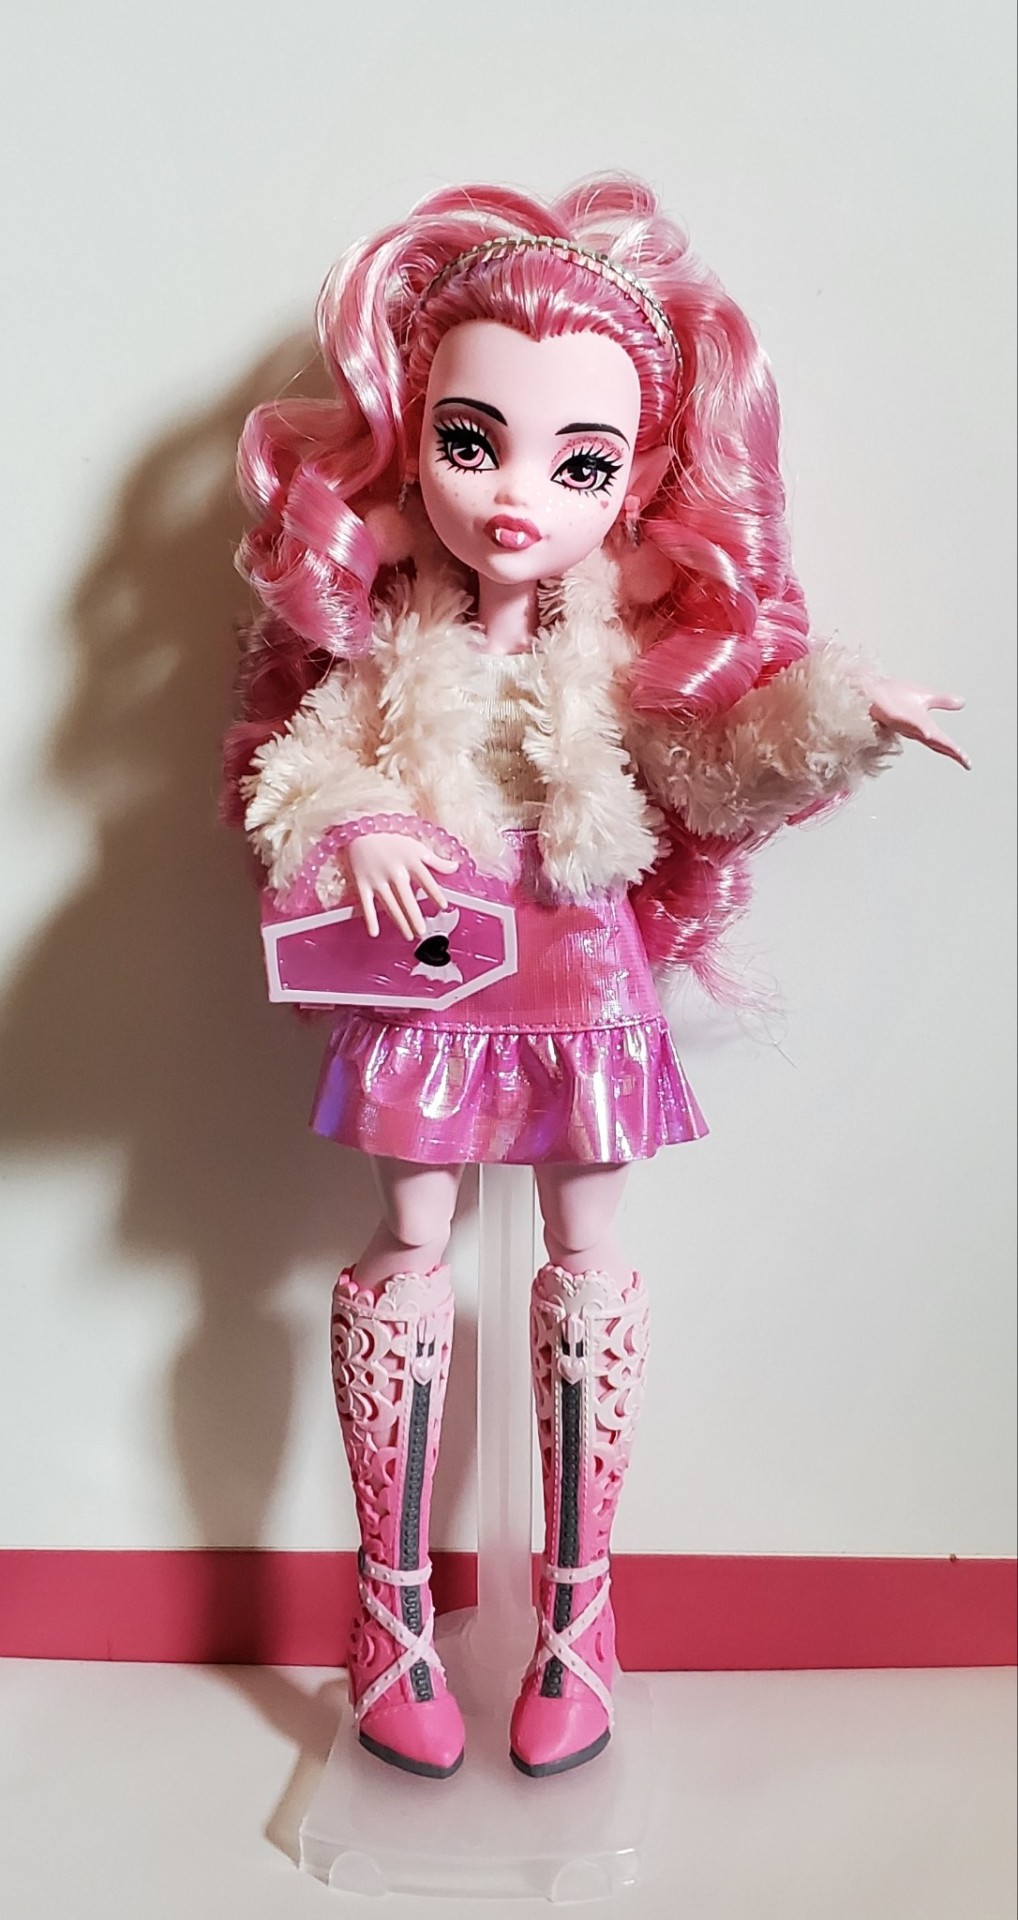
Fearidescent Draculaura joins the ranks of gorgeous gorgeous girls with saran ♡
I decided to give her a more icey look, forgoing the standard black streaks for white, I also wanted to show off her adorable widows peak!
I only have one more doll to reroot and then I'm DONE! For now at least, till the next inevitable polypropylene headed dolls from Monster High come out.
#monster high#dollblr#shariefaerie#my dolls#draculaura#draculaura g3#g3 monster high#skulltimate secrets#fearidescent#doll customization#monster high reroot
1K notes
·
View notes
Text
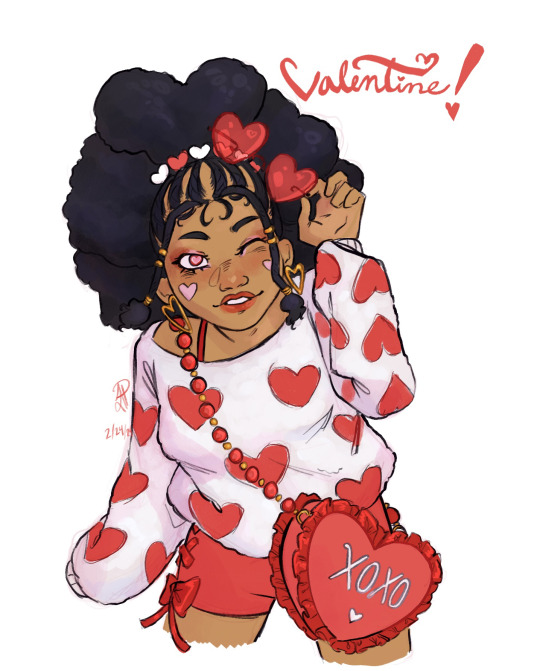
she means everything to me
#dollightful#monster high#ooak doll#doll customization#custom doll#dollightful fanart#lovecore#cupidcore#valentines#dairydraws
204 notes
·
View notes
Text
“This is a perfect example of how our conversations go.”
“This is not a conversation. I’m talking to you and you are clowning.”
The holiday calendar trudges along. Halloween is past and so the scales of seasons are tipping from spooky skulls to Christmas trees. And SPEAKING of scales, it may be a little bit late, but here is Enchanterium’s latest zodiac doll, Libra!

This doll’s two random prompts were chosen with a good old wheel of fortune, and they were clouds and dragon, fitting for an air sign. Let’s go!
“Libras are known for being well-balanced, patient, charming, and generous. And our typical European dragon is kind of the opposite of that.”
“I am here outside the hazardous materials lab, and I have a knife in my head because we just finished shooting the Halloween intro.”
“Can I try or are you afraid?”
“Try it, I will superglue it if you mess it up.”
“At this point I’m just improvising. Glueing wefts, taking them off, being frustrated, and crying inside.”
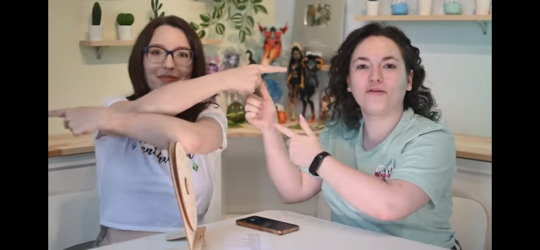
youtube
And here’s Libra! I think this doll turned out super cool, I love the little fangs going up and the way they balanced scales from her antlers. And yes, Libra season ended a little bit ago, but rest assured Scorpio will be here in time for their own season!
If you enjoy the video, consider subscribing to the Enchanterium YouTube channel! 💙💚💖
264 notes
·
View notes
Text
shoutout to these epic lesser-appreciated forms of art:
bookbinding
crochet doll making
ooak doll customizing (from previously existing doll)
ooak dolls (from scratch)
metalworking/forging
glass blowing (large scale)
the glassworking/blowing that's the smaller scale where you can do it in just a regular room idk what it's called
intricate terrarium/aquaterium making where it's almost like a miniature
miniature/bigature making
whjaksnaisodabhs so cool guys keep up the good work
#art#artwork#bookbinding#crochet doll#ooak doll#doll customization#metalworking#metal forging#iron forging#glassblowing#glass blowing#terrarium#aquaterium#miniature#bigature#artists on tumblr#unityrain.txt
299 notes
·
View notes
Text

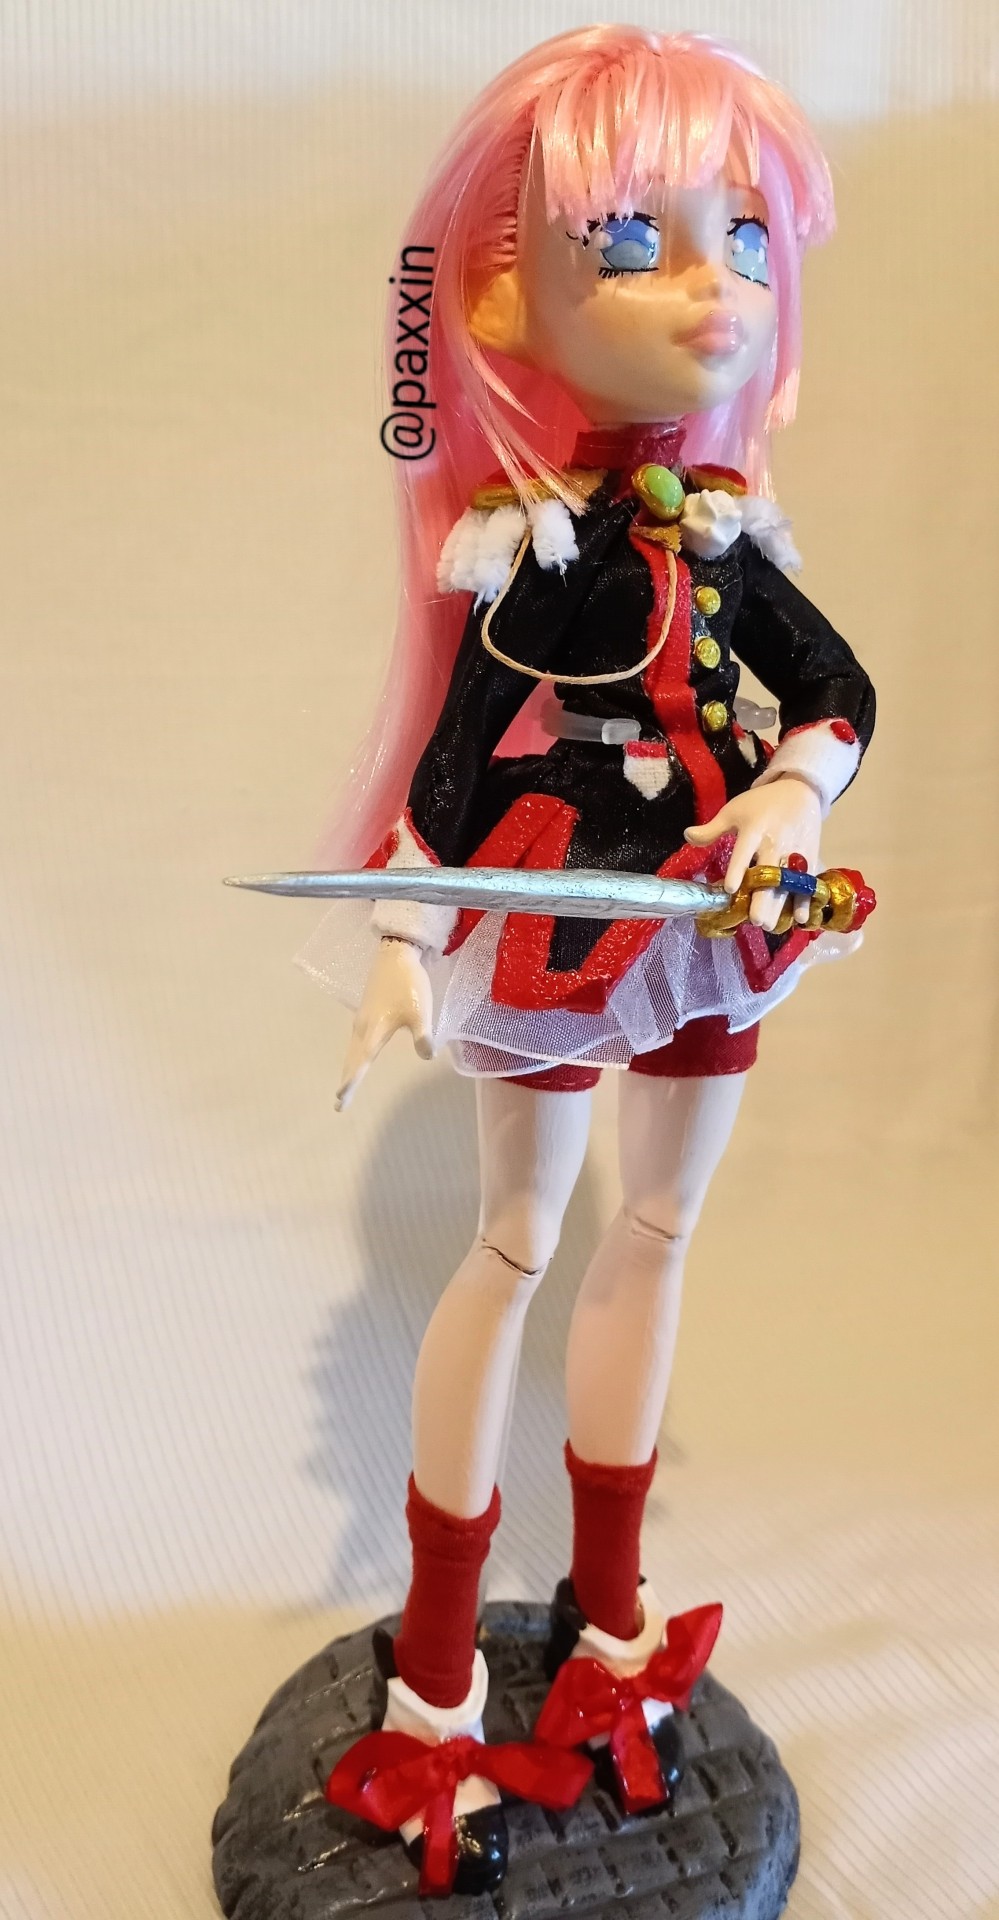
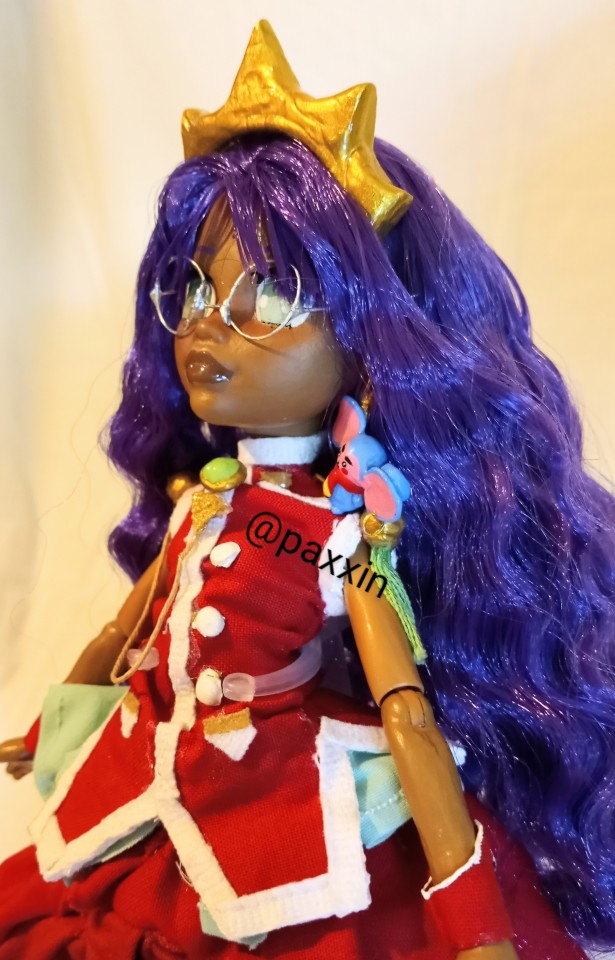
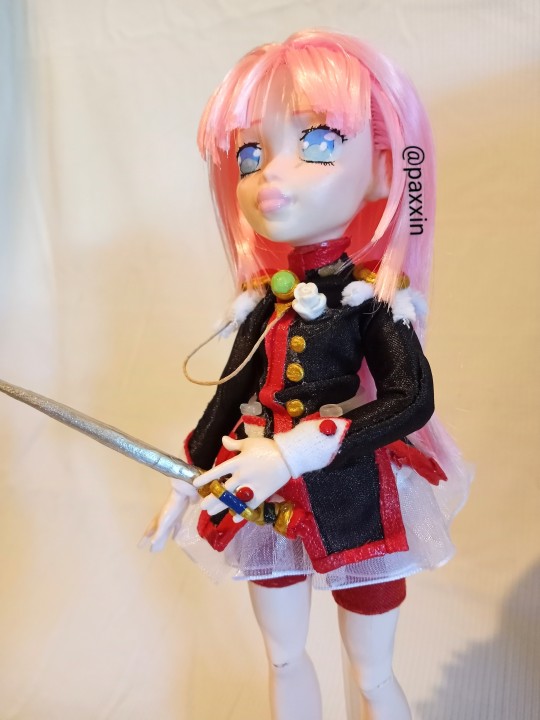
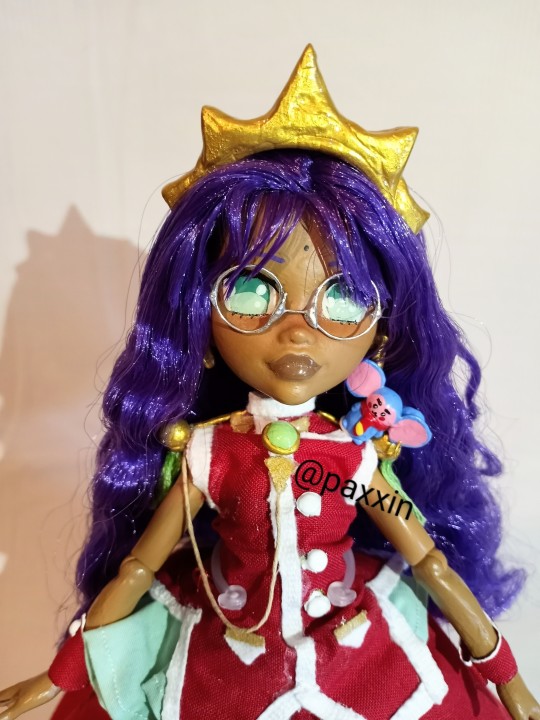
Utena and Anthy are done!!! Honestly took longer then I was expecting, but they turned out better then I expected. I was trying to paint their faces to look like how they are in the show instead of my own style. I think these dolls took the most time, are the most detailed and the most complicated dolls I've made so far!
#anthy himemiya#anthy fanart#rgu anthy#utena#revolutionary girl utena#utena tenjou#rgu fanart#fanart#custom doll#doll customization#doll repaint
145 notes
·
View notes
Text
Tutorial: MH Creepro neck and Arm fix

Posting this here because I keep getting questions about how I've been fixing my MH Creeproduction bodies to look a little less janky!
Most people already have these techniques in their arsenal (and can definitely do a better job than me) but I keep getting questions on Twitter about how I manage to fix mine so I figure I'd just post a tut on Tumblr that I can link to lol
This is an add-on to my previous post about the neck issue with both waves of Monster High Creeproductions in addition to another issue where the Creepro arms cannot lay flat against the sides of the body.
Tutorial below!
Supplies Needed:
-Shitty creepro body
-Some sandpaper, I've been using 320 grit
-Boiling water
We're going to start with the neck since that one is pretty quick.
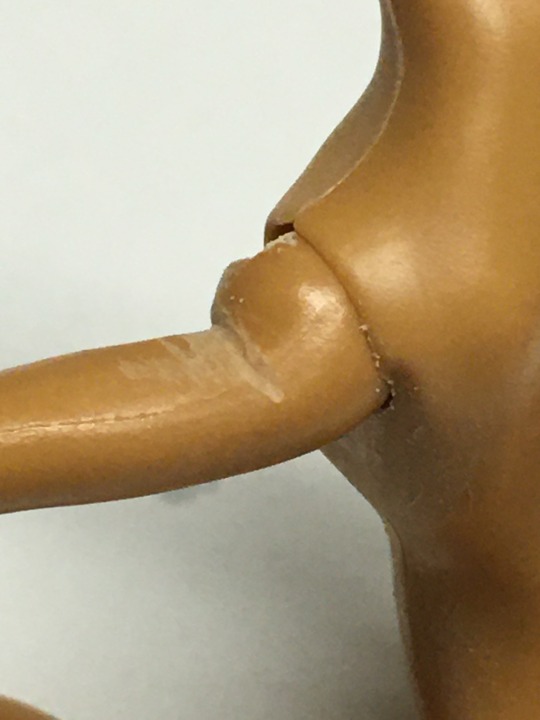
This is the neck peg to start with, compared to an original G1 neck peg- the section we're concerned with is the circular peg right above the neck hole:

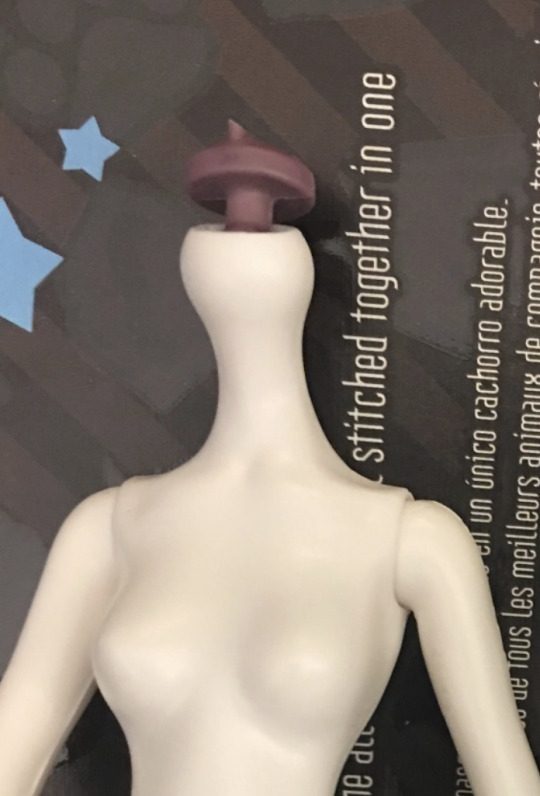
(Creepro on the left, original on the right)
the Creeproduction peg is significantly thicker, which is causing the head to sit lower on the neck and cause the vinyl to deform. We're going to fix that by sanding the underside of the neck peg until it's much thinner, but not quite as thin as the originals (since original g1 dolls frequently have loose necks lol)
First you'll want to cut out a rectangle of sandpaper and fold it in half; this is both to make the sandpaper less flimsy and also because the folded edge is good for sanding nooks and crannies.

Now you're going to sand all around underside of the circular neck peg shown here, until that whole circular peg is thinner:
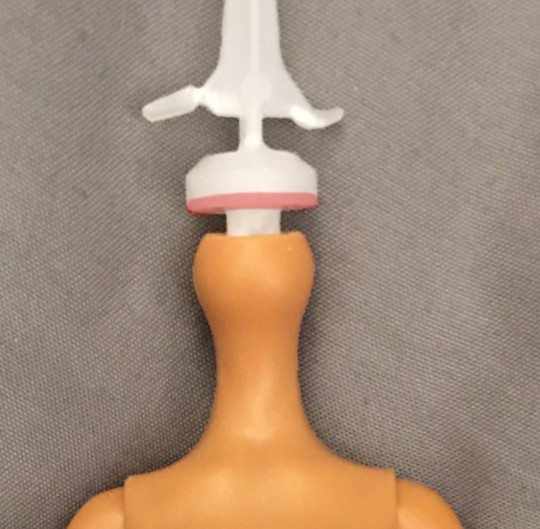
Make sure not to use the folded edge of the sandpaper for this part of the tutorial, we don't want to accidentally carve into the "stem" of the neck peg and cause it to snap.
I like to sand off a bit, try the head on and then sand off a bit more if it's still not sitting as high as an original MH neck would. Make sure you're heating the heads prior to removal or you might break the neck peg.
And also chop off that stupid hook on the top of the circular peg, it does nothing but cause misery lol
This is typically what it looks like when I've sanded it as much as I need to for most dolls:

(after on the left, before on the right)
Some characters have heads that sit much higher on the neck originally (like Spectra) so I'll sand off a lot more for them, but ymmv.
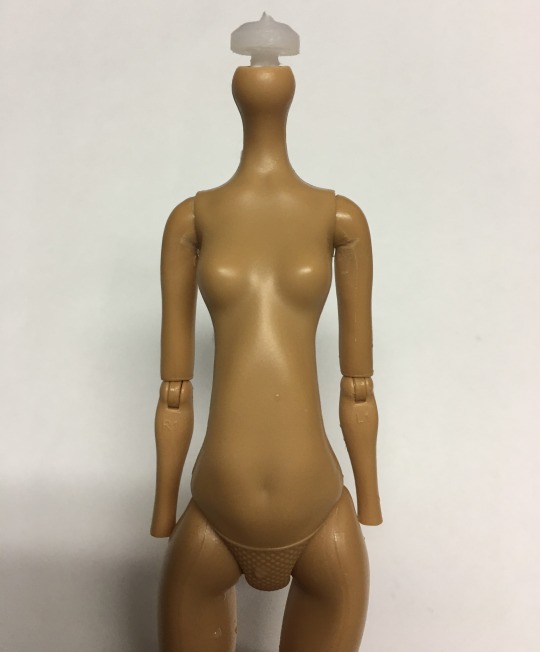
Now onto the body!
So, this is the Creeproduction body as-is:
This is the flattest I can get her arms to her sides. Some creepros can get them flatter, but not by much.
Original G1 body arms already tend not to lay flat enough in my experience, but Creeproduction bodies are even worse lol
We're going to fix that with sandpaper and boiling water!
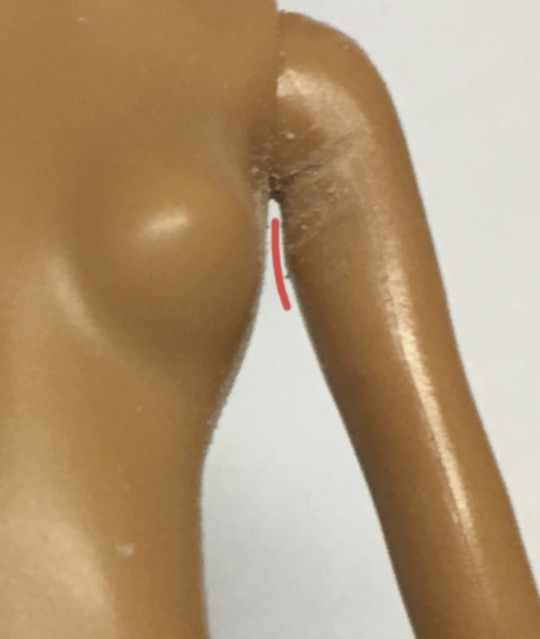
Provided below is an illustration of the general places that we are going to sand:

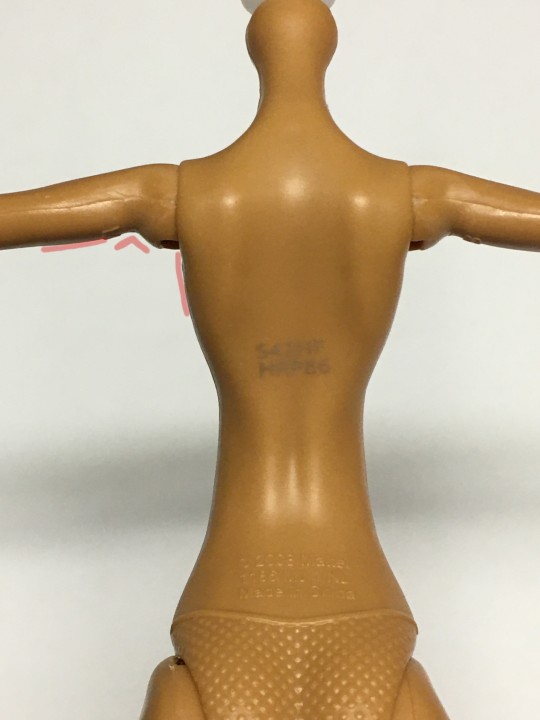
The notch under the ball joint of the arm, the area directly below the armpit and a tiny bit of the round area on the underside of the upper arm. We're going to sand a little off of each section.
For the notch in the arm, you're going to use the folded edge of the sandpaper to carve out the notch until it's a bit deeper than previously.
No, it's not pretty! Thank you for noticing lol
Next we're going to sand the armpit area, using the other edges of the sandpaper because we don't want to dig into the arm at all accidentally:


As well as this rounded area of the arm , not too much but enough to make it just a little flatter:
I left it raw to better show exactly where I'm sanding; most of the visible sand marks will disappear after washing but you can clean it up more with a finer sandpaper when you're done if you want. I'm just too lazy to do that lol
After all of that, your arm should sit more or less like the arm on the right (left unsanded for comparison)

Much better, but not quite there yet!
Modern G1 bodies have vinyl upper arms that are easy to manipulate with heat, so in order to get them as flat as possible we're doing to boil and reshape them.
I like to boil my water in the microwave, and then dip the entire upper torso into the water until the arms are super pliable. At this point I will pull them out, pinch the arms right up against the body with my thumb and forefinger and then run them under the tap until they set.
Your final result should look something like this:
And that's it! Hope that helps lol
Some shoddy before and after photos lol:


(Spectra was also rerooted lol)
122 notes
·
View notes
Photo
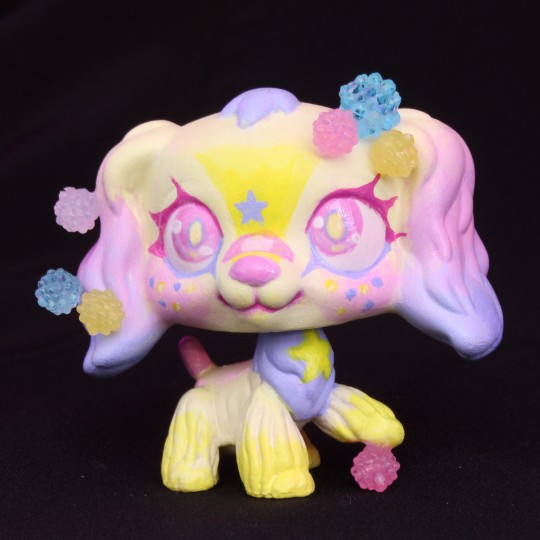

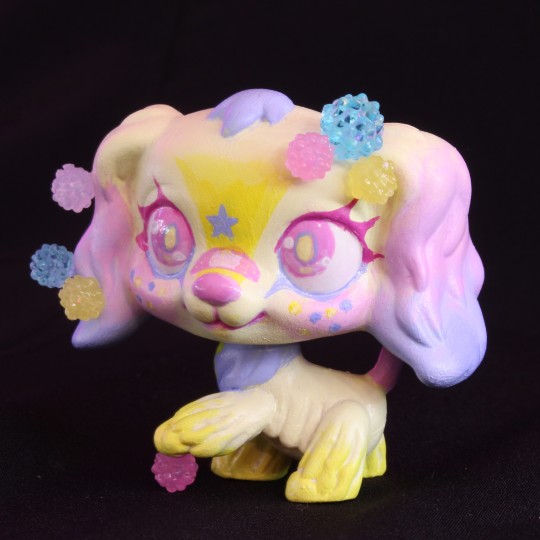
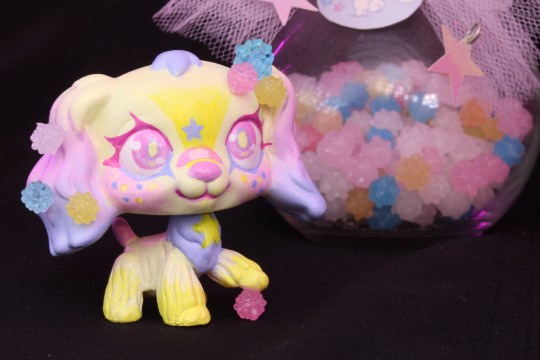
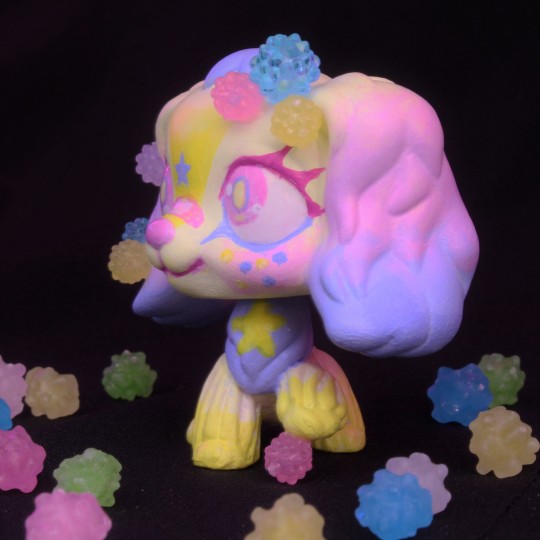
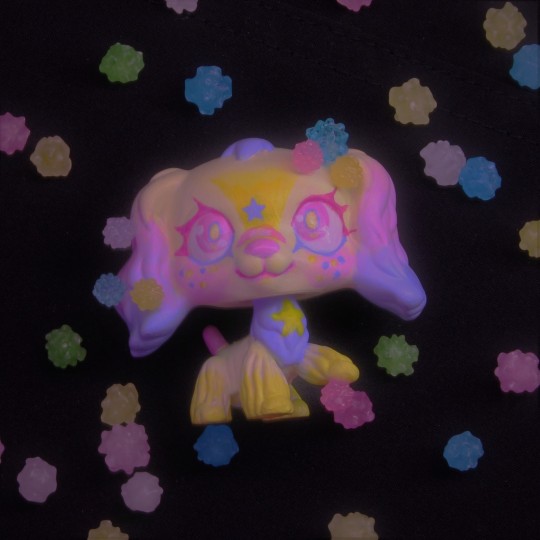
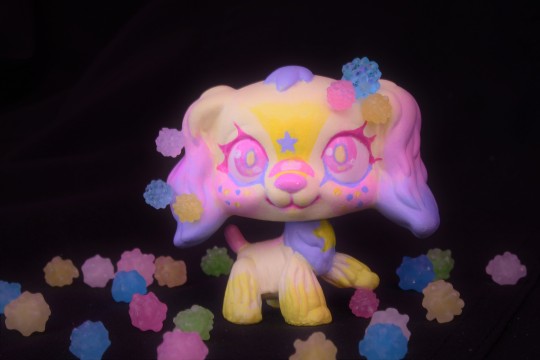
LPS Custom #3: Konpeito Spaniel
Konpeito are a really pretty candy so I just had to make a custom based off this sweet treat!
For this one I had a lot of fun playing around with props in the photoshoot as well as adding the cute candy beads onto the custom itself as accessories!
#lps custom#lps#my art#customlps#littlest pet shop#spaniel#konpeito#star candy#candy#sweets#pastel#model painting#doll customization#nostalgia#stars#toycommunity#lps cocker spaniel#art#dog#toys#colorful#toy customization#nostalgiacore#lpscommunity#confeito#lps art#lps dog#ooak
5K notes
·
View notes
Text
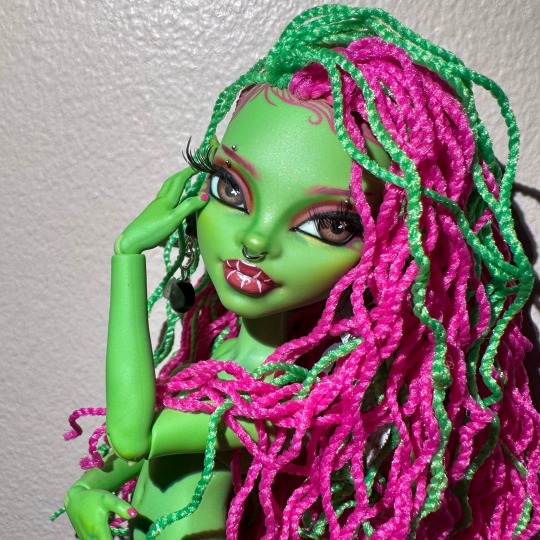
Venus the doll that u are …
#custom doll#dollblr#mh#monster high#monster high dolls#monster high g3#ooak#venus mcflytrap#venus g3#doll customization#such a fun faceup def one of my favs
170 notes
·
View notes
Text
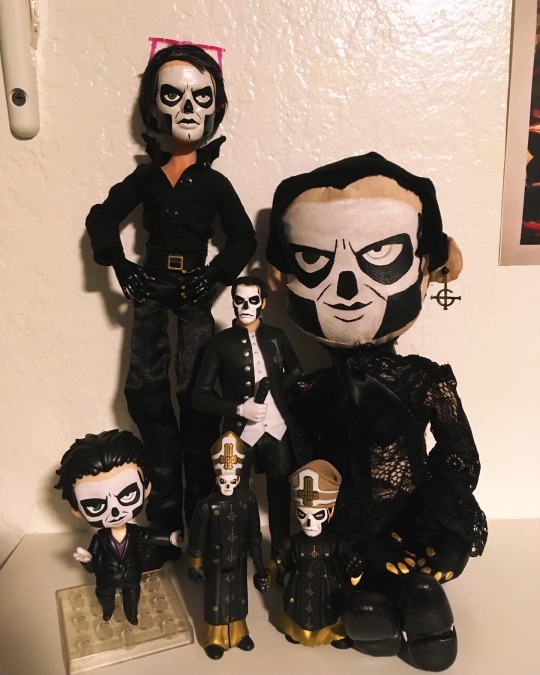
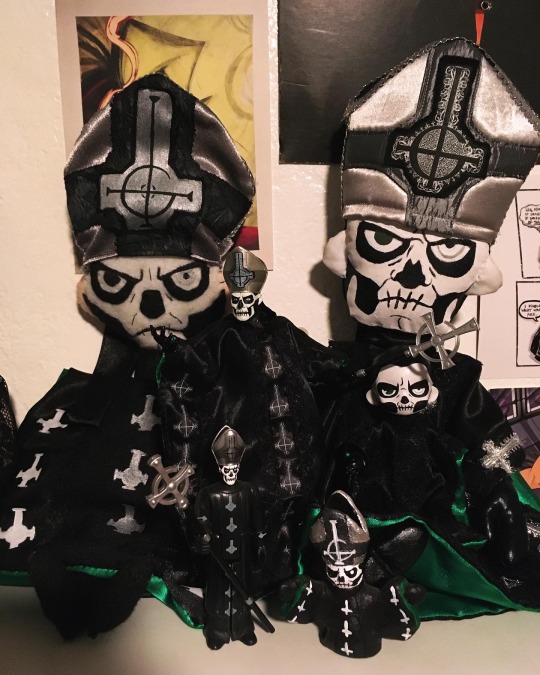
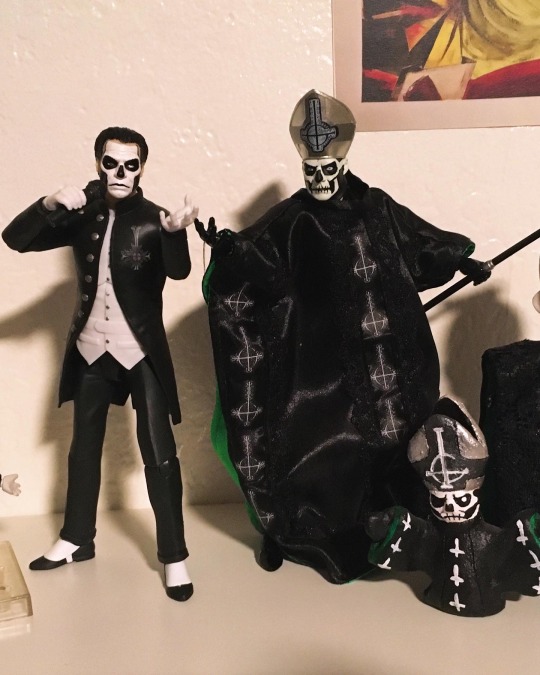

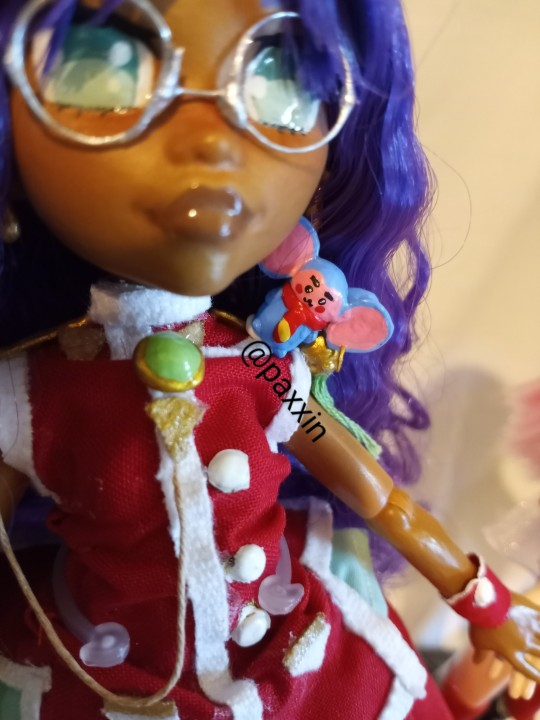
hmmm I wonder who are my favorite papas…. 🖤💚💜🫣
welcome to the Papaverse!
#my art#the band ghost#ghost band#papa emeritus iii#papa emeritus ii#secondo#doll customization#ob11doll#OOAK doll#secondo plush#Terzo plush#monster high OOAK
273 notes
·
View notes
Text
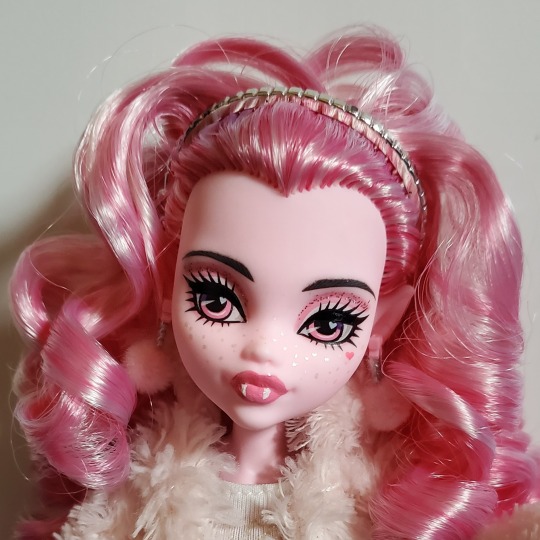
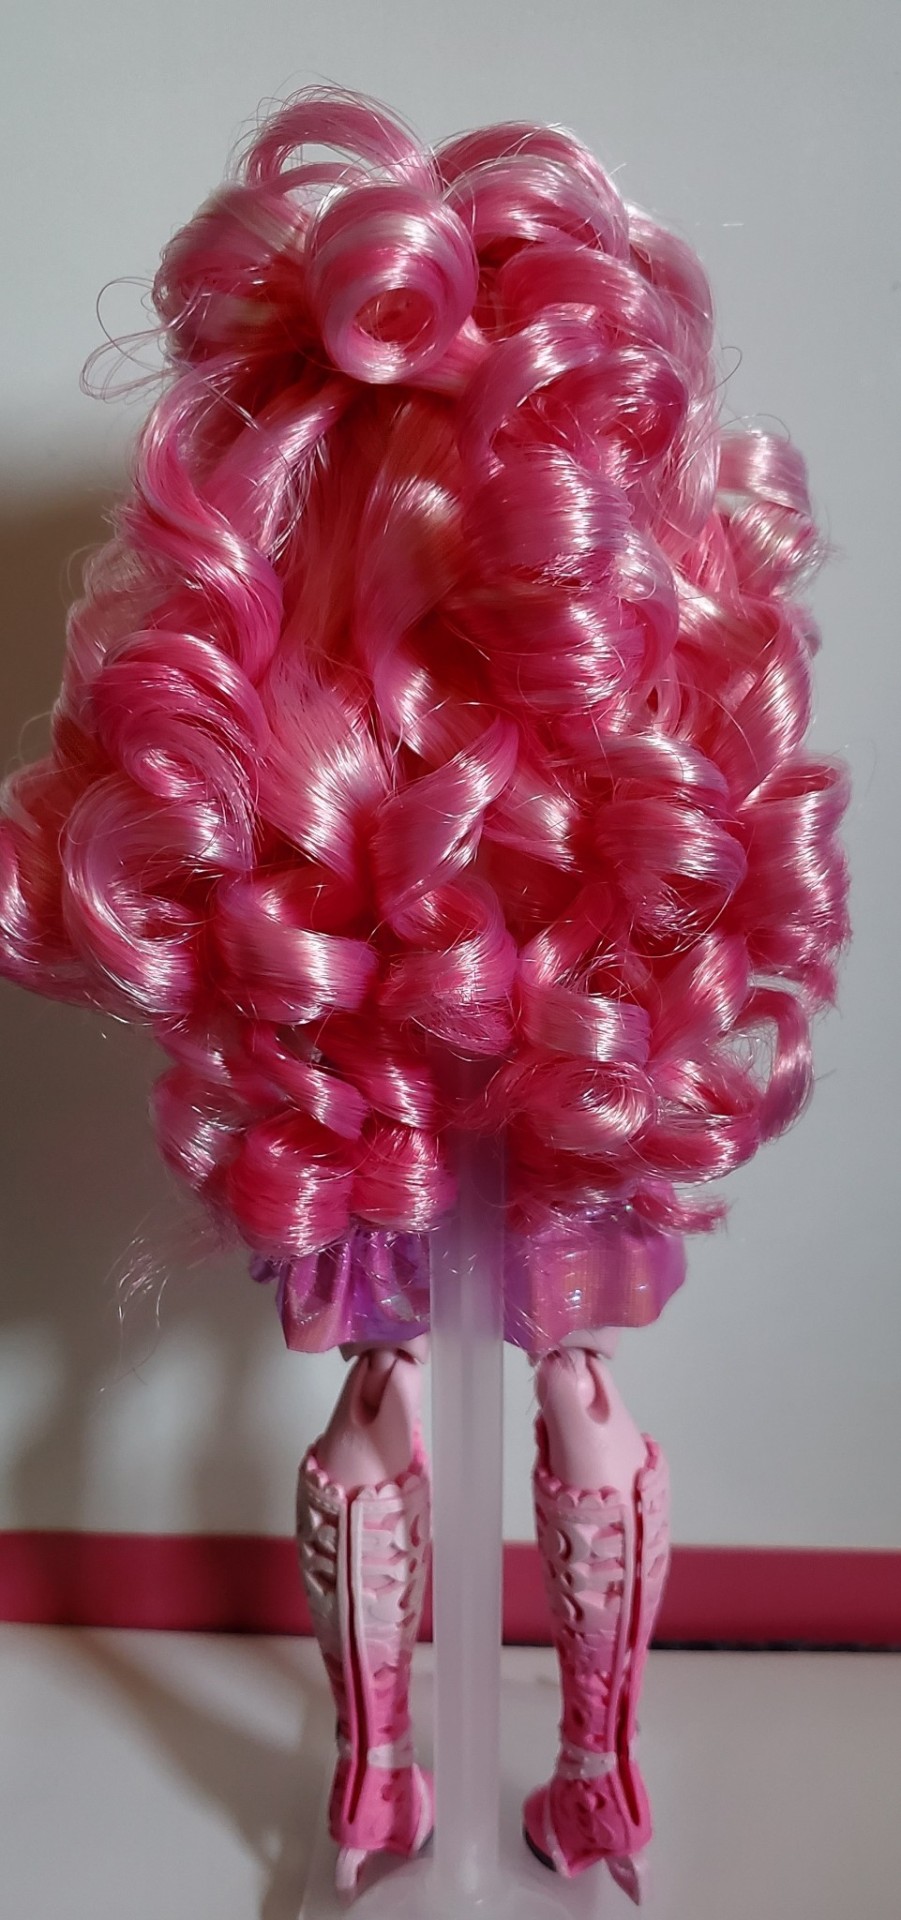
Allow me to present, Delilah Fields with textured hair:
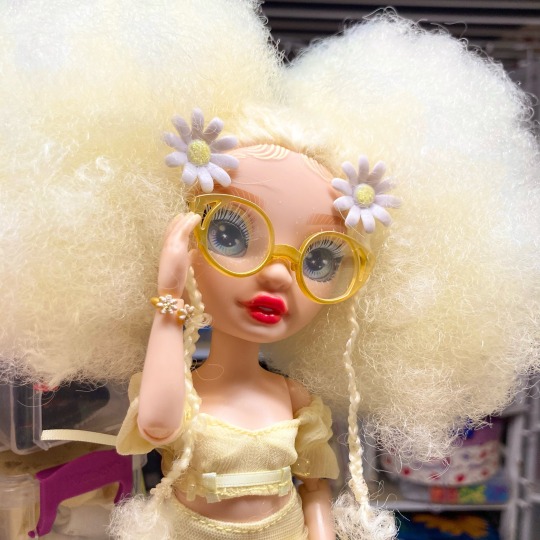
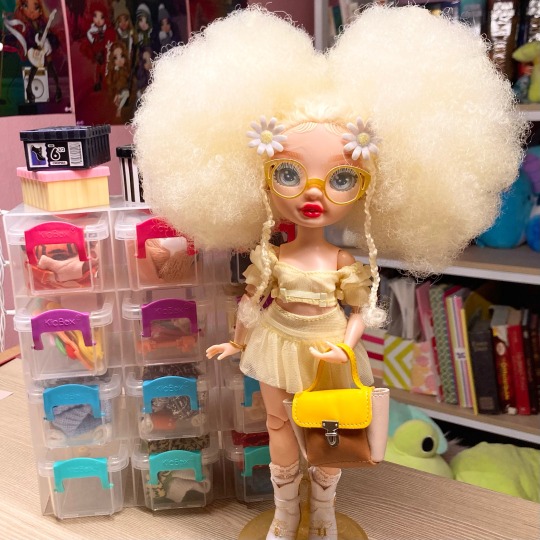
Wow this took forever! I used the same process as xCanadensis used in her YouTube video on turning Zooey Electra into a Novi Stars doll, which in my case meant braiding the hair around 101 Pipecleaners, boiling the hair, freezing the hair, waiting 2 days for everything to finally dry, unwrapping all 101 Pipecleaners, separating the curls to give the hair more volume, and using hair ties to style it into puffs. Needless to say I was TIRED after all of that, but I think the result was SO worth the effort!
#delilah fields#rainbow high#rainbow high dolls#mga dolls#custom dolls#doll customization#doll hair#doll community
813 notes
·
View notes
Last Seen Blogs

fixedmatches100
FIXEDMATCHES 100%

sonyafoods
Sonya Foods

poppiesandpromises
the softness of spring

anotherweridointheinternet
Multi fandom blog

chhocolateblanco
"Viviendo"