
Don't wanna be here? Send us removal request.
Statistics
We looked inside some of the posts by bigdataonpremise and here's what we found interesting.
Average Info
Notes Per Post
0
Likes Per Post
0
Reblog Per Post
0
Reply Per Post
0
Time Between Posts
4 days
Number of Posts By Type
Text
7
Last Seen Tumblr Blogs


Fun Fact
The average Tumblr user visits about 67 pages every month.
Text
Open port
Now we need open several port, for connect to VM since others Machines.
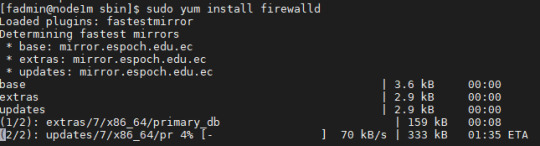
First install “firewalld”. Typing “sudo yum install firewalld”
Once is installed “firewalld”, start the service and reboot the Machine

For verify than the service is running, type:

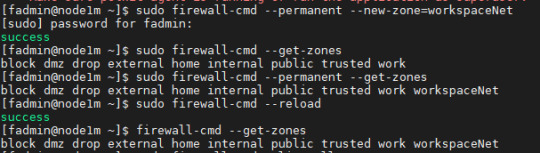
Now, we are creating a “zone”, named “workspaceNet”.
Check list the zones.
Reload the zones and Check again the zones
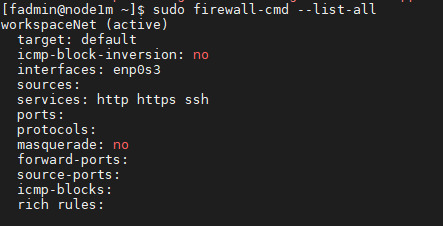
Now allow two protocols (ssh, http and https) to zone “workspaceNet”

Check

Now check active zone
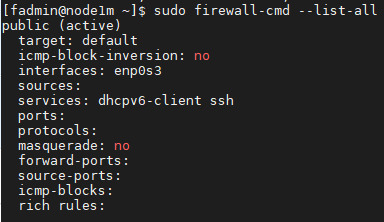
In the before image, we can see my interface name “enp0s3”
Now set the interface to zone “workspaceNet”

Now restart the service “network” and reload “firewalld”

Set the new zone “workspaceNet”

Show new active zone

Show interface and service actives:
Now we need add the specific port, show the open ports
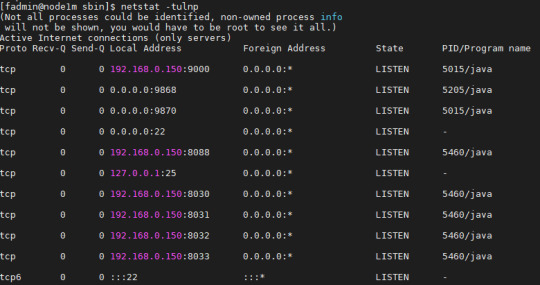
Add the port 8088 to zone “workspaceNet”

Now we can access to VM from http
0 notes
Text
Install Apache Hadoop. YARN
I going to install Apache hadoop 3.2.1. on Centos 7 using CLI (Command Line Interface)
Specifically a cluster of three nodes on YARN. One master node and two slave nodes
First download the install, using “wget” from https://www-us.apache.org/dist/hadoop/common/hadoop-3.2.1/hadoop-3.2.1.tar.gz
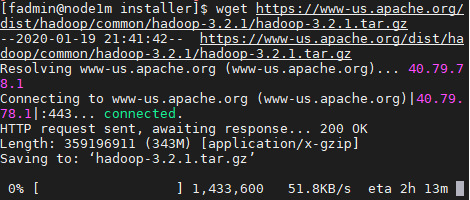
Once the file is ready.
Untar the file to directory where us have installed programs

Inside “etc” directory, is where are config files.

The files to config are: etc/hadood/etc/hadoop-env.sh etc/hadoop/core-site.xml, etc/hadoop/hdfs-site.xml, etc/hadoop/yarn-site.xml and etc/hadoop/mapred-site.xml
The recommendation is do the config in one machine, and copy to others machines.
Edit file “hadoop-env.sh”


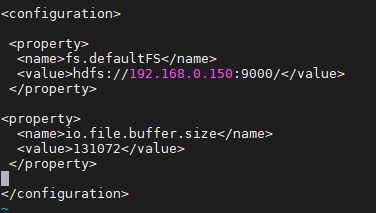
Edit file “core-site-xml”
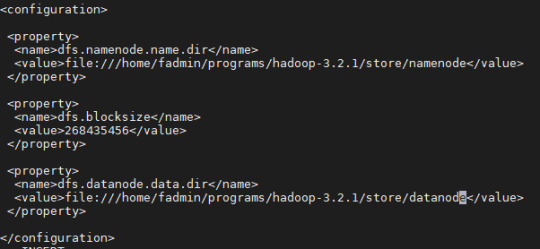
Edit file “hdfs-site.xml”
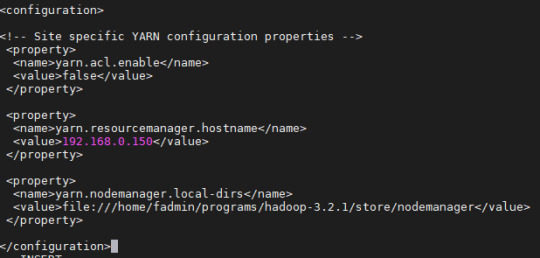
Edit file “yarn-site.xml”
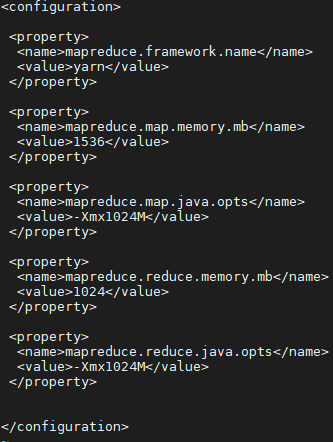
Edit file “mapred-site.xml”
Edit file “workers”
Now copy the hadoop to others VM.


We have to format

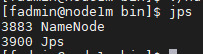
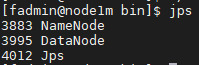
Check “jps”

Start the namenode

Check “jps”
Start the datanode

Check “jps”
Start dfs

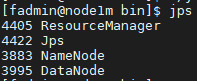
Start resource manager:

Check
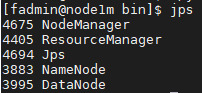
Start node manager

Check
The slave machine:
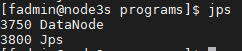

Ok. we have a cluster with 1 master node and 2 slave node.
0 notes
Text
Install JDK
We need to install Java Developer Kit.
I download from https://www.oracle.com/technetwork/java/javase/downloads/jdk8-downloads-2133151.html
For download the installer, we need a account in Oracle. I discharged “jdk-8u241-linux-x64.tar.gz” for web explorer and after copy the file to three VM.
I tried download JDK directily from VM , but i had problem with login Oracle.
Ok, let’s go to install java.
First “Untar” the file:

Now we need to set the enviroment variable “JAVA_HOME”. for that we write the path in the file “.bash_profile”.
For edit the file, typing

Wirte the new enviroment variable, and add the new variable to PATH
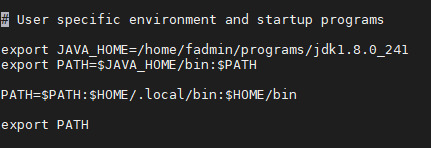
Save the changes, press “esc”,“:wq”, “enter”.
Now we need reload the enviroment variable, typing

Just now we can use “java”.
For test the install. Check the version:

0 notes
Text
Setup hostname
We need set a name to each VM.
We need edit the file “hostname” and write the name. Typing “sudo vi /etc/hostname”
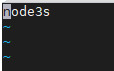
After reboot the VM, the new hostname is “nodo3s”. For show the hostname, typing the command “hostname”

Now. We set the names host. Then need to edit the file “hosts”. Typing “sudo vi /etc/hosts” and add the IP and names

0 notes
Text
Connect VM with OpenSSH
Today let´s go to connect three VM using OpenSSH
* We need create directory for store the Keys. We use the command “mkdir -p ~/.ssh”. And set “chmod 0700 ~/.ssh”
* Now, generate a new key pair. Typing the comman “ssh-keygen -t rsa”.
The result is next image.

* Now, we need to install the public key (id_rsa.pud), in the others VM.
For example for copy public key from 192.168.0.150 to 192.168.0.151, we typing “ssh-copy-id -i ~/.ssh/id_rsa.pub user@server”. (Not put password)
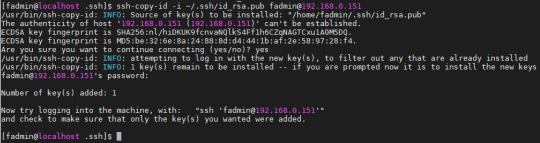
We need to do in all VM. All VMs must to comunicate for SSH without password.
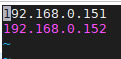
Now we can to connect through SSH, between VM. For example from 192.168.0.152 to 192.168.0.150 and 192.168.0.151
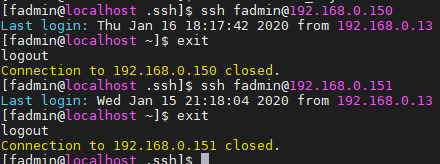
Now add key to SO, for connect without password. “ssh-agent” and “ssh-add”

0 notes
Text
Config network
The previos post, we created the VM. Now we are setting up the network.
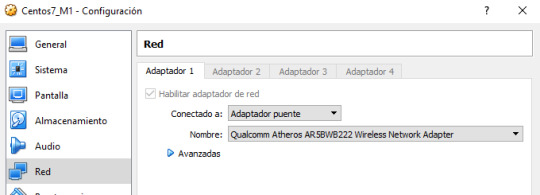
We need config a local network for comunicate the three VM. For that we need a router and config the net VM as “bridged networking” .
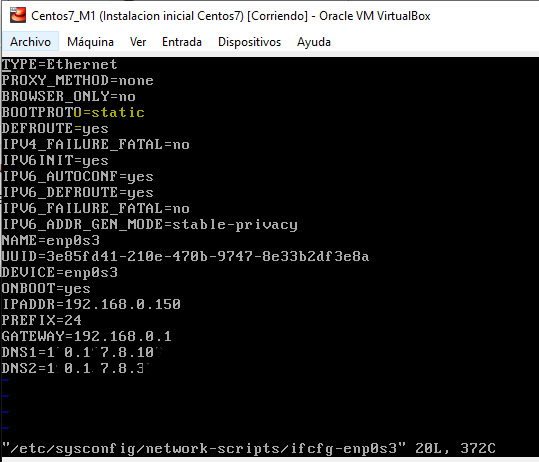
Next, we setup a static IP.
Show config IP, type the command “ip add”

Edit vi /etc/sysconfig/network-scripts/ifcfg-enp0s3
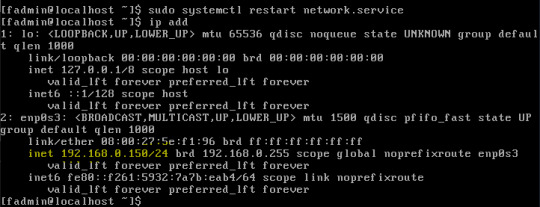
Restart the service, type “systemctl restart network.service”
And view the new IP address
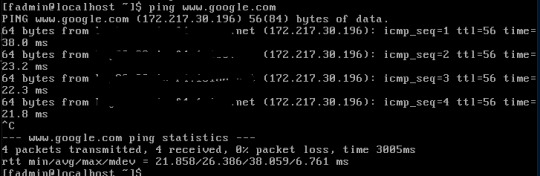
Test connection Internet doing a ping to www.google.com.
Ok, now config the others VM.
The work result is:
VM Centos7_M1 = 192.168.0.150 (static) + access Internet
VM Centos7_M2 = 192.168.0.151 (static) + access Internet
VM Centos7_M3 = 192.168.0.152 (static) + access Internet
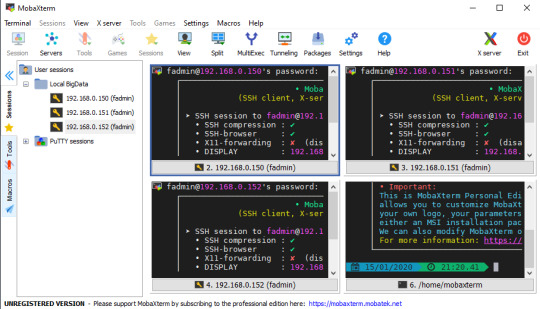
I am using MobaXterm by connect to VM for SSH
0 notes
Text
Create virtual machines
We are setting up a BigData On-premise.
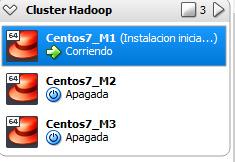
We use three VM, One Master and two Slave
We are using VirtualBox for create the VM
We are installing Centos 7. Download ISO imagen from http://isoredirect.centos.org/centos/7/isos/x86_64/
Create Virtual machine with S.O Centos 7. then cloning twice the VM. (One + Two = Three VM)
The properties VM are:
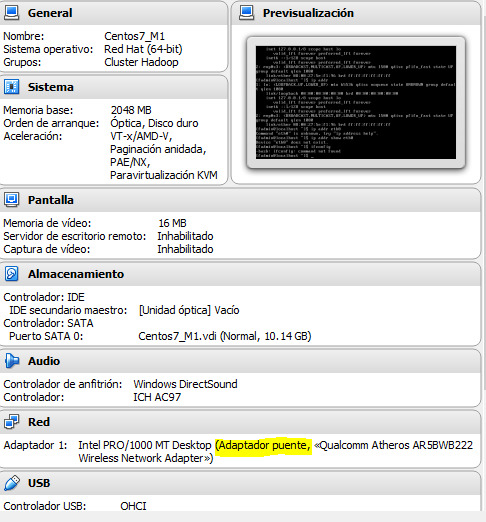
Fine. Now, we have three VM.
Next step, config the network.
0 notes