Don't wanna be here? Send us removal request.
Statistics
We looked inside some of the posts by caught-in-a-stream and here's what we found interesting.
Average Info
Notes Per Post
147K
Likes Per Post
60K
Reblog Per Post
87K
Reply Per Post
84
Time Between Posts
3 days
Number of Posts By Type
Photo
4
Text
4
Video
1
Last Seen Tumblr Blogs


Fun Fact
Women make up for the other 50% of Tumblr’s audience.


Text
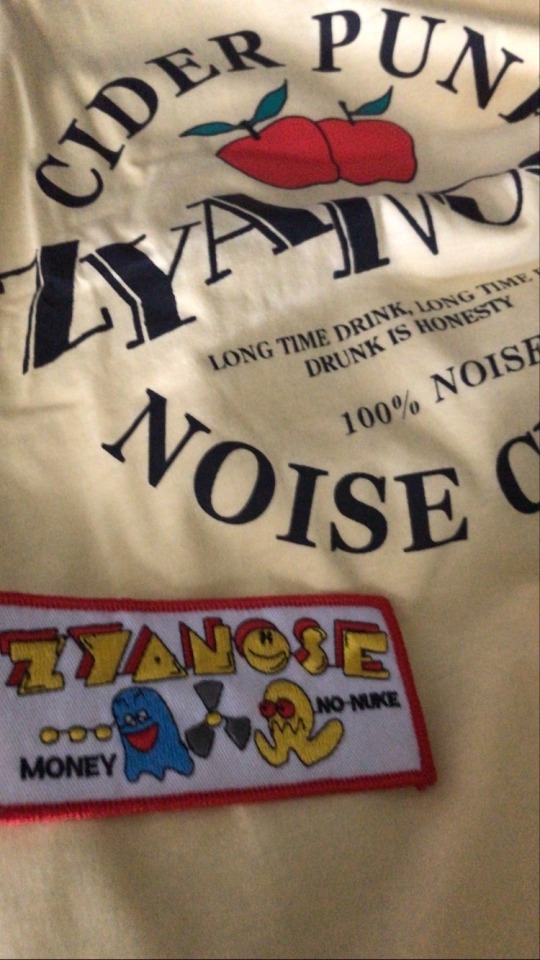
got these in the mail a few days ago
4 notes
·
View notes
Text
Ultimate Guide to Patch Pants (identifying and creating)
A Comprehensive and In Depth Guide for those with a More than Passing Interest in Patch Pants So, I’m sure most of us have heard of crust pants, or patch pants, or whatever you want to call them. But I have never seen a total, complete and comprehensive guide for identification and creation of truly beautiful patch pants. The terms crust pants and patch pants will be used interchangeably during this guide. Note this guide will only cover more developed crust pants and will not deal with kinderpunk pants. I have created a number of crust/patch pants and this information is coming directly from my experience creating them, information I have been given by other people who have created what i consider quite beautiful patch pants, as well as looking at other people’s craftsmanship both in real life and the internet. I will also be using pictures from a variety of sources, but all should be collected on fuckyeahcrustpants (my patch pants archive blog), and that is where i will be linking the pictures from. Creation: This section is going to be almost entirely writing, if you want examples of what i’m talking about the identification section will help. There are a few different methods of going about making crust pants, some which yield significantly more aesthetically pleasing and genuine looking results than others. Of course a given is the longer you own them, the better they get, if you put genuine time and effort into your creation they will reflect that, careful sewing and a fine understanding of a number of different stitches and their best applications will assist in your ability to do proper repairs, darning is also an option but it does not have a very wide spread use among punks. It is also extremely time consuming, but i personally find it very pleasing to look at. The first step when one begins a pair of crust pants is either tearing/cutting holes in them (this can result in a less genuine appearance as the holes look artificial) or one can choose to wait for holes to develop, this results in a fine patina as well as holes which look like they have genuinely developed from wear (because they have). Having a patina underneath the layers of patches also adds to the effect as patches wear away they expose the already dirt-shined interior layer. The next thing to consider is materials, this can include almost any kind of fabric and almost any kind of thread, although careful thought for both utilitarian and aesthetic purposes should be used for the placement of each patch and what material and thread is being used to repair the hole. It is often best to use patches which are either darker than or the same color as the base pants being created, or one may choose to use white or an off tan if they prefer patina/dirt shine to be more visible. Keep in mind the lighter the fabric you use the darker dirt will look on it. Some of the more popular options for thread on patch pants include; artificial or real sinew, waxed dental floss, yarn, very fine strips of leather, or standard thread. Waxed floss and sinew either artificial or real hold some benefits over standard thread, it is much more durable and one can use a lighter to melt the ends of the floss to create a seal at the end of a line of stitches. Popular choices for fabrics include; dark denim or standard black broadcloth, oilskin, bike or motorcycle inner tube, leather (scavenged from old couches, old leather jackets, boots, etc.) and work-wear canvas. Denim and canvas are generally softer and are best for lower wear areas or areas you don’t want to be stiff, including the mid thigh, mid shin, back of the knee and crotch. On the other hand, leather, oilskin, and inner tube are much more durable and much stronger but are also stiffer and will be uncomfortable if used in multiple layers, or used in places that are normally flexible in pants, they are best for the knees, or ass and can also be used on the front of the thigh and front of the shine, but too many layers will feel weird. If one chooses to wait for holes to form there will be an inevitable order in which the pants will get patches, it will start on both the ass and the knees. The edges of the pockets, the crotch, and the bottom cuff of the pants will fail next, and after that the front thighs and shins, back of knees and the back of the thighs and shins. The patches will slowly radiate off kinda like growth rings and estimates of age can be made simply from view by recognizing the location of and density of patches. There are a number of different techniques to repairing each of these sections of a pair of pants, generally strips of whatever material is being used sewn with a standard straight whip stitch will suffice, but one may wish to switch up their method for aesthetic variation or utilitarian purposes. Doing a diagonal whip stitch or a blanket stitch around the pockets or cuffs is a useful way of stopping small tears or spots of wear from spreading. One may also sew a patch overlapping the pockets or cuff on both sides sewing the perimeter of the patch and doing a running stitch or line whip stitch along the seam underneath the patch. Repairing soft pockets is something i have not seem too much information about but I will cover it here, one can use pieces of white tshirt to act as a patch for the inside of pockets when they fail. One can attach them through the use of dental floss or regular thread, but sinew is too thick and will be uncomfortable. It is best to put knots and melted thread nodules on the side of the pocket facing away from the leg as unless long johns are worn they will rub uncomfortably against the leg. This also applies to knots and melted thread nodules in general, which should always be placed on the outside of the pants for the same reason. Belt loops can be replaced or repaired with the use of a thin strip of leather simply by sewing each side of it to the spots where the previous belt loop was. Darning can also be used on almost any part of a pair of pants, and will provide rigidity and durability to weak areas, it can be done with or without a patch, and the patch can be placed over or under the fabric of the pants. This allows reinforcement of areas you may not want to cover because the patchwork looks nice, but you also want to reinforce it to prevent it from decaying further. Traditional methods of affixing patches can be used as well. A method where ones cuts around the hole, or cuts slits to fold the fabric around the edge of the hole to create an additional seam underneath which the patch is sewn using a running stitch around the perimeter followed by a whip stitch around the edge of the patch. Varying these several repair techniques will allow you to create a more interesting and textured layer of patches. Band patches as well as zippers and additional pockets are another consideration. First I will cover band patches, generally using moderation in the number of band patches will create the most interesting effect, having too many band patches will make you look really weird and will make the pants less interesting. Selecting bands around a specific sub-genre, or sub-culture helps create a more cohesive look and allows people to gauge how much you have in common in regards to musical interest. This is definitely not a hard rule though, as varying the types of music you have can either be funny (between extremely different genres) or simply look good. Zippers can be used for aesthetic or utilitarian purposes, but it’s more fun to have them do something useful. If one puts a zipper along the thigh it’s nice to add a pocket underneath, you can also put them over the entrance to pockets, or entirely around a leg to allow it to be detachable. Pockets can also be added where there is a slit in the original fabric of the pants shows through between two patches simply by cutting that slit and then affixing a piece of fabric or another pocket underneath. Some people choose to put a number of coatings on their pants to assist in the development of a patina, this may range anywhere from graphite, to coal tar, to motor oil, olive oil, or coconut, to simply rubbing dirt on them. The most attractive and genuine looking patina comes from simply allowing your pants to develop dirt shine on their own, if you live kinda gross your pants will reflect this, using them as napkins during your meals and wiping stuff from other art projects, work, or travel is a good way to build up a patina as well. Patina and dirt shine will vary in appearance depending up whether a coating was applied and depending upon your environment, if you go to a lot of shows, if you’re a house punk or a train hopper, if you work in a certain environment the patina will change in thickness, shininess, and color. Identification: There are a number of different styles of patch pants, all from different sub genres or communities within punk. Here I will display and then explain the significance of stylistic decisions made within a selection. Generally there are variations in patch pants based on geography or sub-culture. Keep in mind these are by no means hard and fast rules but rather overarching themes I’ve noticed.

This is a pair of japanese crasher crust pants, they’re characterized generally by giant knee holes mainly black or dark fabric patches, they’re often sewn without the use of dental floss, although it may still be used. Sometimes pins are attached, zippers are used heavily. They may or may not have heavy dirt shine or patina. Band patches are generally used with moderation and are usually inter-community bands.

This is a pair of a slightly more modern style american traveling punk patch pant, they often focus more on browns and off-greys for patch color as well as utilizing white which eventually turns an off brown or black due to patina. Band patches may be used moderately to heavily depending on the person. Zippers are used more sparsely. Larger patches are generally used and the use of leather, bike inner-tube, and oilskin is much more common. North American traveling punks as depicted here will also often use overalls rather than regular pants, these are referred to by people in the traveling community as “bibs”.

This is a pair of classic crust/stench core pants from the UK. They are characterized by heavy dirty shine, almost all large black or very dark brown patches, few band patches, light use of zippers. They also often seem to have cargo pockets, which isn’t as common on other styles. Well that pretty much covers the 3 main styles, there are many other variations from all over the world but these are the 3 that stuck out to me as being highly influential. Conclusion: I hope this guide has been useful to anyone wishing to start a pair of patch pants of their own, or that it has simply been an enjoyable read for anyone who is interested in the topic! I had a lot of fun writing this. : )
602 notes
·
View notes

Video
youtube
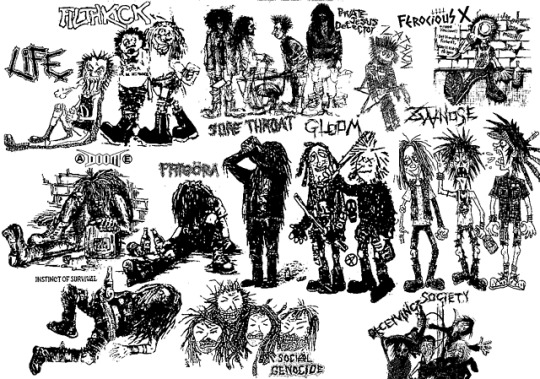
This is the first part of my ambitious and yet, as always, humble diachronic retrospective about Japanese crust, from 1989 to 2019. Crust is here to be understood in its sonic as well as aesthetic dimension and the selection aims at representing the different schools of crust (crasher, stenchcore or scandi) and I believe the soundscape hence depicted will be meaningful, relevant and bloody enjoyable. More details on the blog: https://terminalsoundnuisance.blogspo… The first installment illustrates how the Japanese punk scene spent History’s crustiest decade, the 90’s, with 35 bands and as many songs, all recorded between 1989 and 1999, in about 70 minutes.
-Terminal Sound Nuisance
15 notes
·
View notes