
Statistics
We looked inside some of the posts by fuckyouicancook and here's what we found interesting.
Average Info
Notes Per Post
606K
Likes Per Post
332K
Reblog Per Post
273K
Reply Per Post
483
Time Between Posts
1 month
Number of Posts By Type
Text
16
Photo
1
Last Seen Tumblr Blogs


Fun Fact
When “GIF” was named word of the year in 2012, Oxford Dictionaries U.S.A. credited Tumblr for pushing the word.
Text


辺境の老騎士 バルド・ローエン / Old knight of the frontier: Baldo Loen
an old retired knight sets off on a solo journey to enjoy the rest of his life with good food n find a place to die - but gets caught up in a big conspiracy. what that conspiracy is idk bc i couldn't read that far. what i do know is that he's very cute
286 notes
·
View notes
Text
I love cooking i want to learn more fun recipes... anyone have meals they like to cook that are fun and interesting?
489 notes
·
View notes

Text
recipe developers stop telling people to use expensive uniodised salt you're gonna reverse the greatest public health victory against goitre
3K notes
·
View notes
Text
if you’re craving chocolate muffins after the olympic muffin man videos, jordan the stallion on tiktok has the recipe for you
107K notes
·
View notes
Text

I made my own version of ginger tsukudani, a japanese side dish made of simmered ginger in soy sauce and sugar. I'll link the recipe I used as a base, but I decided to repeatedly boil down the sauce about 4 times by adding a 1/4 cup of water everytime it boiled down to get the ginger extra tender. I'm excited to try it with rice later, maybe as onigiri.
https://www.hirokoliston.com/ginger-tsukudani/
4 notes
·
View notes


Text
This is the mythical Chinese emperor Shennong (depicted in a 17th century Japanese painting), who is also said to have invented farming and medicine. The legends tell us that he ate dozens of herbs to test their effects on his body; many of the things he ingested were harmful. He countered the effects of the poisonous plants by drinking tea, which he discovered when tea leaves blew into his cup of just-boiled water.

(What's up with his head? He was described as "ox-headed," which I guess looks like this!)
{Buy me a coffee} {WHF} {Medium} {Looking Through the Past}
77 notes
·
View notes
Text
Tea has been an integral part of Chinese culture for at least three millennias now, and till this day tea is a part of daily life among the majority of the population, kinda like coffee in Europe.
There’s many tea trends that have spread in Chinese social media, such as:
Suzhou green tea (Biluochun) gelato, Yunnan floral/herbal milk tea, Nanjing cheese tea, and fruits iced tea. Just to mention a few. 🍵🌺☁️🍋


464 notes
·
View notes
Text
My dad is such a dungeon meshihead now it's epic
60K notes
·
View notes
Text
but on the real though, here is your guide to assyrian rice preparation from your friendly neighborhood assyrian:
start wanting rice. (or, if you are traditional, simply recognize your constant desire for rice.)
measure out two cups of rice. then one more. then two more. then another. this seems fine. you love rice. there is no way that this will backfire on you.
remember that your great-great-uncle’s recipe says it should be soaked overnight.
become consumed with despair.
decide to soak it for half an hour instead, acknowledging that the final product will be inferior and anger your ancestors but will still satisfy your now almost-overwhelming need for rice to be inside your body much faster.
remember that you should have set the water to boil when you soaked the rice. goddammit.
once the water boils, put the rice in until it is half-cooked. the eyeballing or intuitive method is less effective than a timer but that’s how your aunt does it so you feel compelled to meet her standards.
now that the rice has fluffed up, realize how much rice six dry cups really is. holy shit. you’ve fucked up immeasurably.
take a minute to dwell upon your failings.
grease a baking dish with butter. this will never be as elegant as you want it to and your fingers will get greasy, but the slightly shameful, self-indulgent joy of licking your fingers afterwards will make up for it.
pour the rice into the dish. wonder immediately if you actually buttered the dish beforehand and if you’ve just fucked up.
melt approximately one thousand pounds of butter in the microwave and pour it over the rice, pondering your imminent death from rapid-onset arterial clogging. put a small pat of butter on the top to properly gild the lily.
put your pan into the oven, which you have absolutely preheated after your previous lack of foresight. shake the rice once or twice while it bakes to make sure the butter is well distributed. resist the impulse to climb into the oven with the rice. for the last ten minutes, sit next to the oven and count the seconds until it’s done.
remove the dish from the oven. shed a tear or two at the perfection laid before you. if you are dining with others, this is the time to serve the rice while making passive-aggressive statements about how oh no, you don’t need any help, you just made dinner all by yourself, you can serve everyone as well. (this is still fun if done alone, but optional.)
CONSUME THE RICE.
realize that you have eaten half of the dish in one sitting. no matter how much rice you made, this will always happen.
put the leftovers away, if there are any, and enjoy a cup of chai while marveling at the amount of food you have just eaten. if possible, fall asleep in an armchair, sitting up, head tilted slightly back, like a grandpa.
for the rest of the evening, think fondly of how much rice you have in the fridge now and how many meals it will supplement, refusing to acknowledge that you will almost certainly eat the rest of it in a few hours for a midnight meal.
23K notes
·
View notes
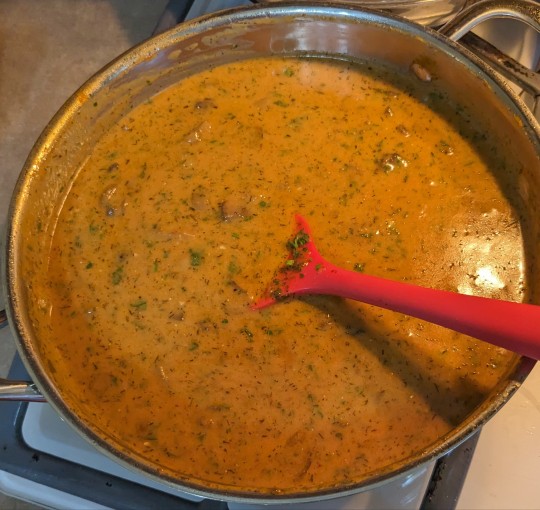
Text
I made Hungarian mushroom soup and it's a little too delicious to be real
42K notes
·
View notes
Text
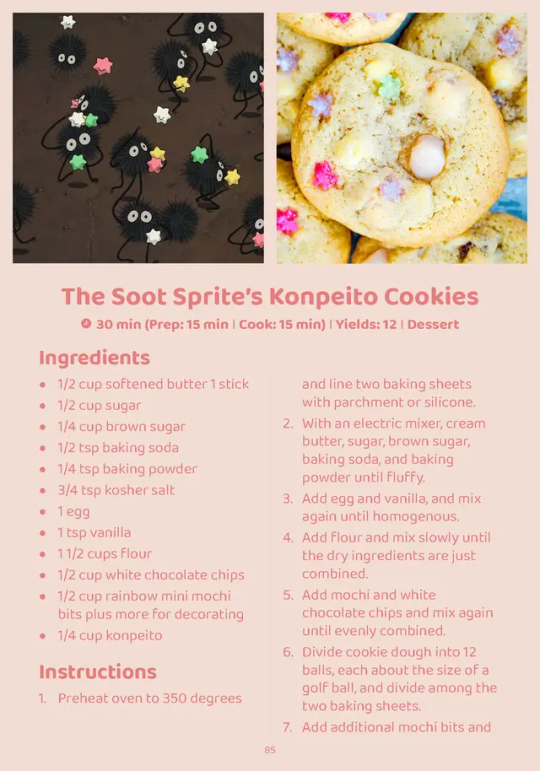

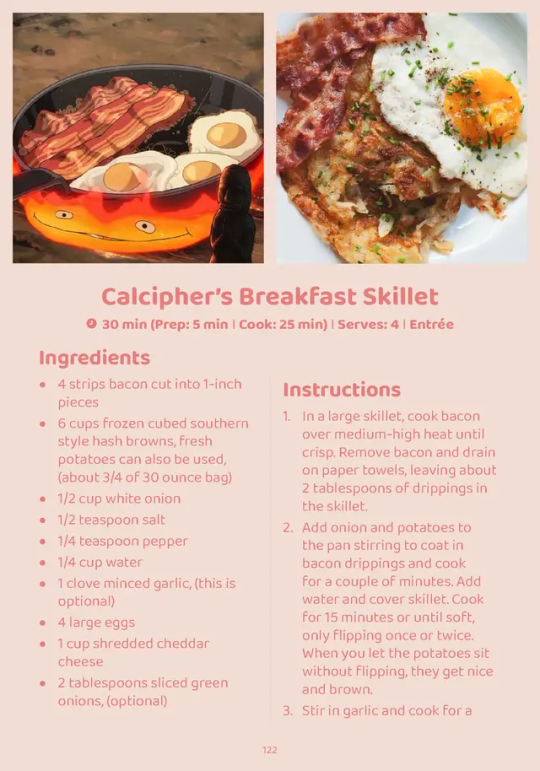

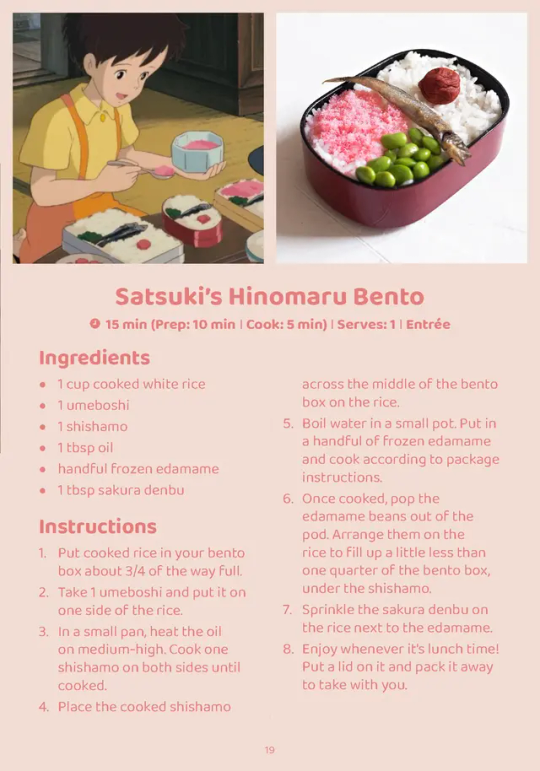

Unofficial Studio Ghibli Cookbook // KRISP Design on Etsy
5K notes
·
View notes
Text
74K notes
·
View notes
Text
Tutorial: Sew a Keyhole Neckline with a Facing
Since I keep trying to explain facings to friends (and keep feeling like I’m failing miserably), I decided to do a longer tutorial, after all, about how to I use a facing to sew keyhole necklines on simple medieval-style tunics. This is an attractive and sturdy neckline for LARP/Dagorhir/SCA garb. I’ve used it on literally hundreds of tunics.
This tutorial ended up getting pretty long and scary, but don’t worry: this is not a complicated process. It’s just hard to explain over the internet. So– let’s go!
What is a facing, anyway?
A facing is just an extra bit of fabric that you sew to the edge of your garment and fold down to conceal a raw edge. I use them on necklines, instead of folding the edge down in a traditional hem. If you don’t get the concept, @vintage-aerith has a great tutorial here. Facings produce very sturdy, flat, and non-bulky edges.
For example, this tunic has a keyhole neckline finished with a self-colored green facing. The edge of the neckline is NOT folded over and hemmed: the facing is an extra piece of fabric that was stitched on to the edge and then folded to the inside. You can see the ‘lower’ edge of the facing– it’s the darker green line about 1.5″ in from the edge. I then tacked the facing down with embroidery. It’s a very clean, unobtrusive finish.

This tunic has a very fancy external orange facing, combined with a collar! The process is very similar to above, but the facing is flipped to the outside. This is an easy way to add color to a garment. (Forgive my dork-face and overlarge tunic– this was for a customer who’s about a foot taller than me!)

You should use facings because:
Hemming necklines is a pain. The curve will not want to fold down flat. Facings, on the other hand, are exactly the same size and shape as the neckline, so they automatically lay flat.
The point at the bottom of a keyhole is a nightmare to hem, and if you hem it badly, it will fray and rip, fast.
When you fold down a neckline to hem it, your neck-hole gets bigger. When we’re talking LARP/SCA/Dagorhir garb, a bigger neck-hole always means more sunburn. If you use a facing, you’ll get a neckhole exactly the size you planned.
Hemming stretches your neckline out. The more you handle a cut piece of fabric, the more it will stretch. A stretched out neckline = more sunburn, again. This facing method minimizes handling of cut edges, so the neckline stays nice and tight.
Facings are fast and easy once you understand what you’re doing and why. I can knock one out, start to finish, in about ten minutes. No lie.
Now that I’ve convinced you that facings rock, onward!
1. Make Your Facing Pattern
You’ll first need a pattern for your facing, and to make that, you need to know what size you’d like your finished neckline to be. I recommend a neckline that’s made of a circle that’s about 5.5″ in diameter and a 3″ slit, like this. This is juuust big enough that it will pull over most heads.

Draw your 5.5″ circle on a bit of scrap fabric. (I traced a saucer onto a sheet from a charity shop. Pure class, me.) This will be the hole your head goes through.

But, you protest, a 5.5″ circle only has a 17.25″ circumference! That’s way too small for anyone’s head! Well spotted: we’ll add a 3″ long slash down the center line so you can fit your head through.

Now we’ll mark the center and shoulder line. Since your tunic has a front half and a back half, you’ll be sorely tempted to put half your neck-circle on the front and half on the back.

But if you do this, your tunic will be really uncomfortable! Your neckline will constantly creep forward around your shoulders. This is because most of your neck is actually in front of the shoulder seam, so 2/3rds of your circle– about 3.66″ on a 5.5″ circle– should go in front of your shoulder.

Add 1.5″ around the edge of the hole and and around the slash.

Cut the fabric out along the outer line.
Cut out the center hole, and cut down the slash. Note that you’re just cutting the slash open with one pass of your scissors– you’re not trimming anything away.
Now you have a mock-up for your facing. It should look something like this. (Mine is super ugly because I’m traveling and only have terrible blunt scissors with me.)

Pull it on. Can you fit this over your head? Does it lie comfortably? If you can’t get this over your head, cut the slash a tiny bit longer and try again. If that doesn’t work, make the hole a tiiiiny bit larger. Remember that a smaller neckhole is better (sunburn!).

Don’t be fooled by my weird face– I am happy, because mine fits okay! I’ll now trace my mock-up onto a bit of sturdy poster board, making sure to mark the center front, back, length of the slit, and shoulder seams with notches.

The front white piece is my facing pattern, which I use to trace out the facing piece on fabric, ie, the background piece in olive green. Note that the fabric facing does NOT have the hole cut out. This is important!
Next, we’ll…
2. Cut Out Your Facing
Lay your new pattern on a bit of your fabric. Using chalk or a fabric-marking pencil, trace it all the edges and mark all the notches. Cut along the outer line until your facing piece looks like the dark shape in the photo above.

Here’s where it gets tricky, though: you won’t cut the interior circle, yet. This is because that inner edge isn’t really an edge at all: it’s your stitching line. When you’re stitching your facing onto your tunic, your needle will follow that inner line that you’ve chalked onto your fabric. See how in the photo above there’s a line marked in yellow chalk on the dark olive green facing? That’s the stitching line, so DO NOT CUT THE CENTER HOLE OUT IN YOUR FACING.
Similarly, DO NOT CUT A HOLE IN YOUR TUNIC YET. We won’t cut either hole until the facing is stitched to the tunic. That’s right– it will look and feel really weird, but trust me, there’s a good reason for it.
3. Finish the Edge of Your Facing
The outer edge of your facing will fray if you don’t do something to prevent that, so take a moment to serge or zigzag around the edge of your facing piece. It’s way easier to do this before you stitch the facing onto your tunic.
4. Stitch Your Facing Onto Your Tunic

Okay, so. I like to start by sew the neckline on my tunic before I do anything else. That way, if I screw it up, I haven’t wasted time (or fabric) by adding sleeves and gores and stuff.
Note how, in the picture above, no holes have been cut in the facing or the torso panel. This is not a mistake. Why aren’t you cutting the holes, you might ask? Well, fabric cut along curves stretches. Badly. This is bad news if you’re trying to match the hole you cut in your tunic to the hole you cut in your facing. Getting them to match requires a ton of pinning and fussying and delicate handling. I hate pinning and fussing, so I sew my facing to my tunic before I cut any holes. This way, everything is stabilized nothing can stretch out. Cool? Cool. Now, my torso panel is one long rectangle, which makes up the main front and back of my tunic– there’s no shoulder seam. Fold your tunic in half both ways and use your iron to crease these folds. These creases now mark your shoulder line and center lines. You’ll use them to line up your facing.
Lay your facing onto your tunic, right sides (ie, outsides) together. Make sure to match facing to the tunic’s center front, back, and shoulder seams. Remember how 2/3rds of your neckline will be on the front of your tunic? Check that, now. When your facing lays straight and flat and properly positioned on your tunic, pin it in place. You’ll now slowly stitch through both layers along the line you marked. The slash is a little different, though, so see the picture below for an explanation of how to stitch around it.

The stitching travels around the slash, with about 1/4″ to 1/8″ between the lines. The bottom of the slash should be crossed by just 1 stitch. If you use more stitches, this point will pucker when you try to flip it to the inside.

Once you’ve stitched along the entire stitching line, you’ll finally cut the neckline open.

Be extra careful cutting the slash open. You’ll cut through the gap between the two rows of stitching, stopping just shy of the stitch at the very bottom of the slash.

Okay. So, you’ve got your facing sewn to your tunic, but all the raw/cut edges are still exposed. To fix that, you’ll now fold the facing to the wrong side (ie, the inside), so the raw edge will be hidden inside the fold. This can be a little tricky, so be patient and use plenty of steam with your iron. To turn the points out, use something pointy but blunt, like a big bamboo knitting needle, to poke them right-side-out.

Once you’ve got your facing turned to the inside of your tunic, iron it well so the edge of the neckline is flat and crisp.
Hooray! All that’s left, now, is topstitching through the tunic and the facing in matching thread so your facing won’t creep back out to the right side. I like to use two lines of topstitching– one 1/8″ from the edge of the neckline, and another 1″ from the edge of the neckline. Make sure you’re catching the edge of your facing!

Hooray, you did it! That wasn’t so bad, was it? And look how sturdy and clean your tunic’s neckline now looks. That keyhole is never going to rip, I tell you that.
Huge thanks to Stellaria for writing the original tutorial that taught me how to do facings, and for putting up with my hare-brained innovations on her methods. Stell is the best.
2K notes
·
View notes