
Don't wanna be here? Send us removal request.
Statistics
We looked inside some of the posts by rileyupokostudio2022 and here's what we found interesting.
Average Info
Notes Per Post
0
Likes Per Post
0
Reblog Per Post
0
Reply Per Post
0
Time Between Posts
3 days
Number of Posts By Type
Photo
15
Text
2
Last Seen Tumblr Blogs


Fun Fact
In 2020, Tumblr had 29.4 million users in the US.
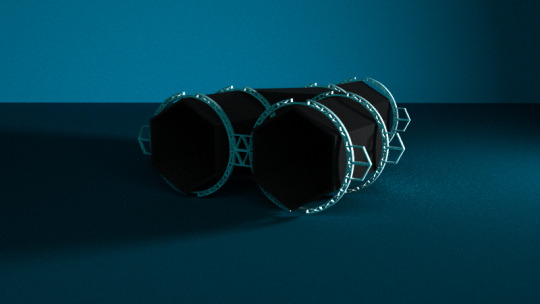
Photo
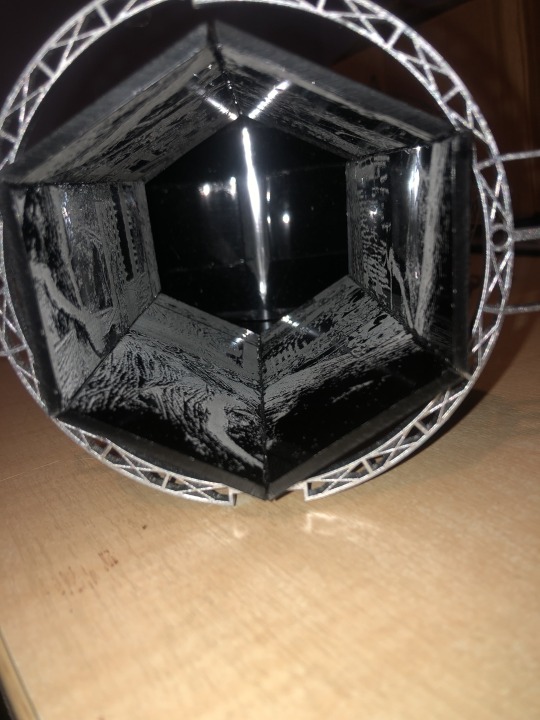
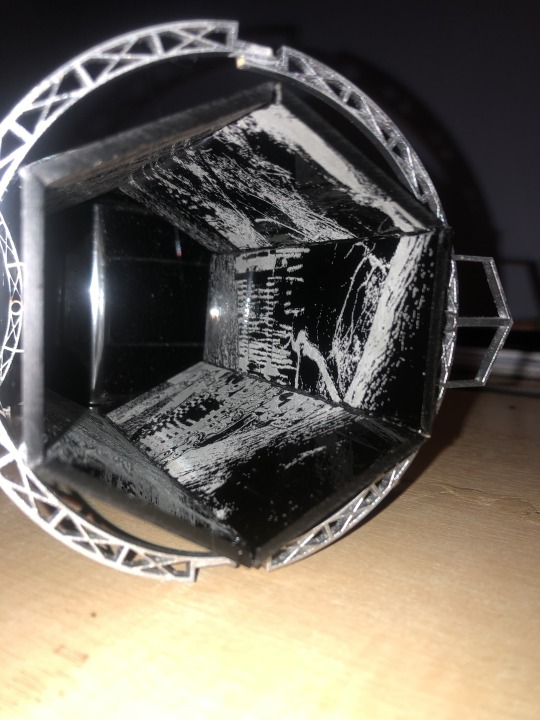
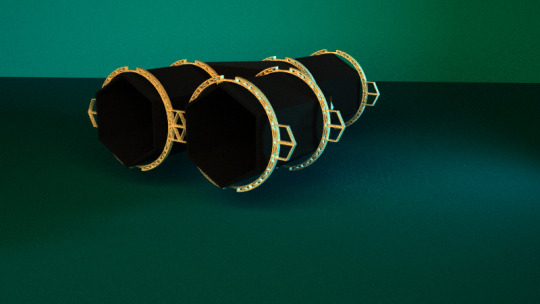
The final model has now been completed. there are a few minor imperfections with this model like some of the angles being slightly off and a few glue marks but besides that I think this model turn out great. The mirror reflection is working as it should and the engravings really add more depth and texture to the Rulascope that the pervious versions did not have. My next step with this, is to take this model to the wintergardens and take photos that will be used in my perspective views for my final PDF.
0 notes
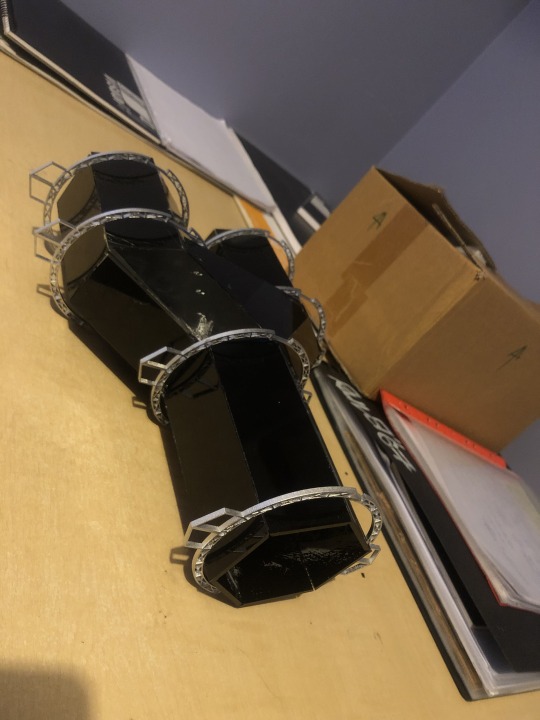
Photo
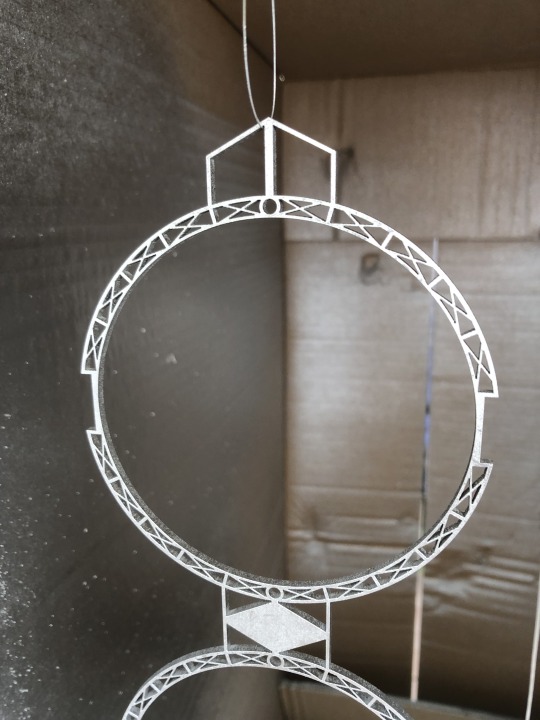
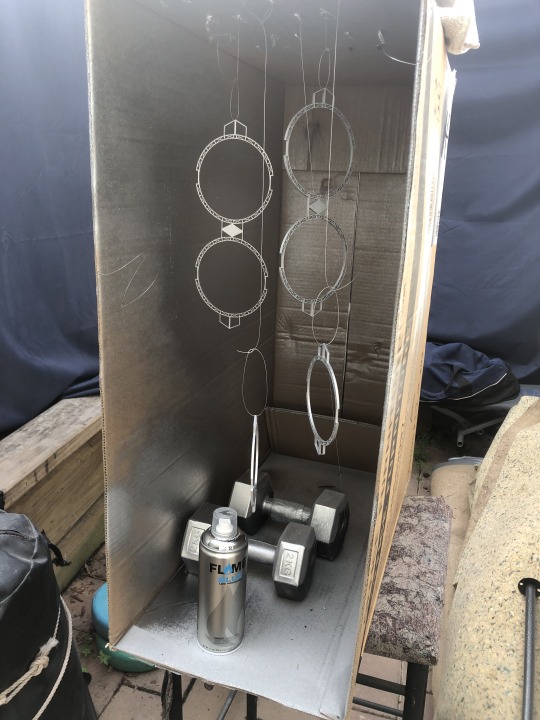
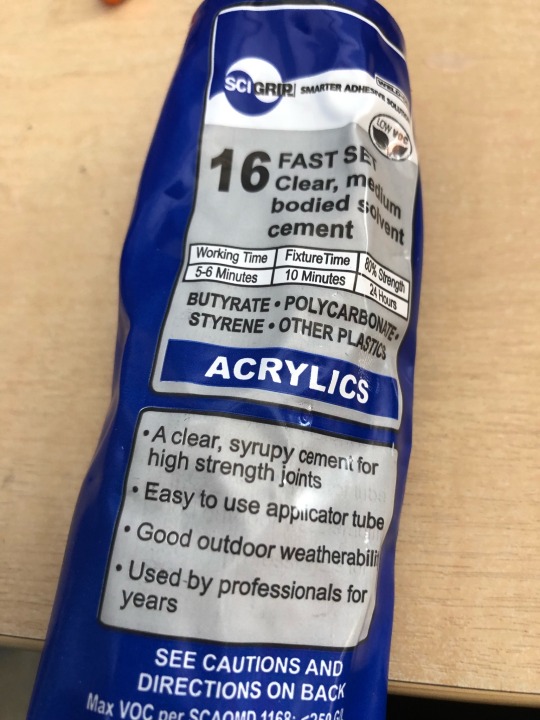
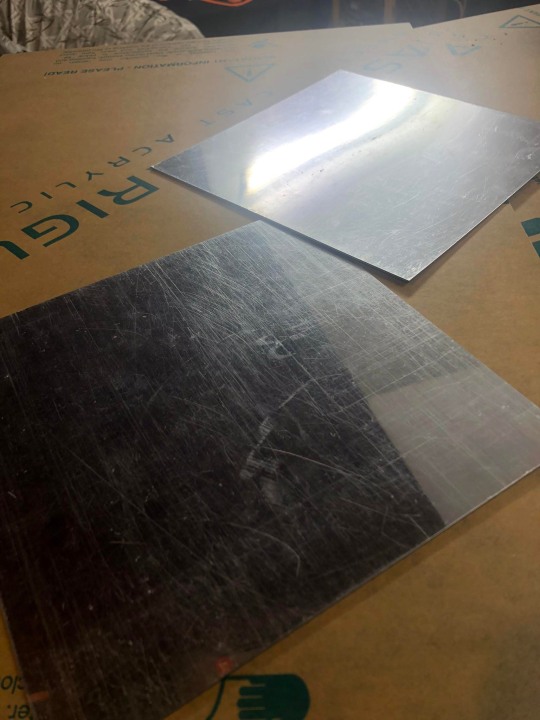
The final process with making the Rulascope, was spray painting the acrylic arches sliver to give the Rulascope some contrast. I decided on sliver to match the steel arches on the actual glasshouse. The design of these arches are from those of the glasshouses in the wintergardens and will be used to give the Rulascope some extra strength and support from the exterior.
0 notes
Text
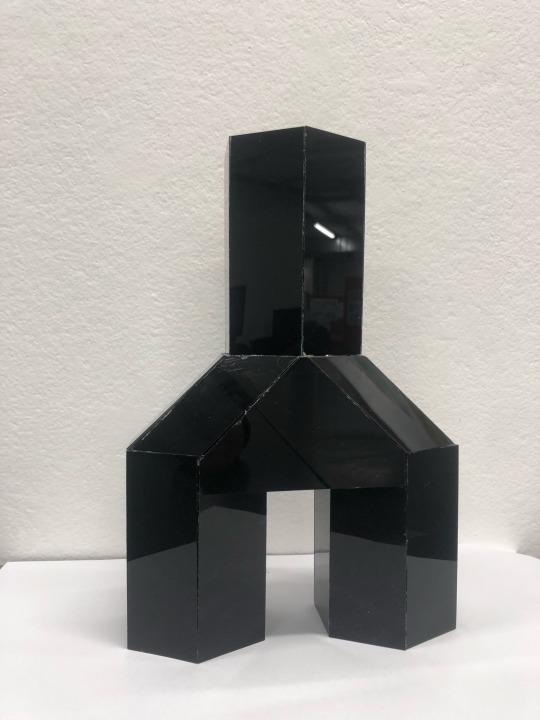
I constructed the final model of the Rulascope to 1:1 scale. I am very pleased with how this model turned out. The main reason I wanted the create this model was because I was unsure of how the reflection would work. I contemplated using a digital model but I was not confident in my rendering skills but also was unsure how well the reflections would be displayed in the renders.
0 notes
Photo
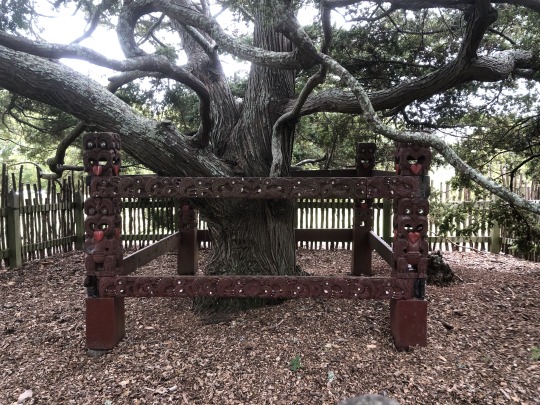

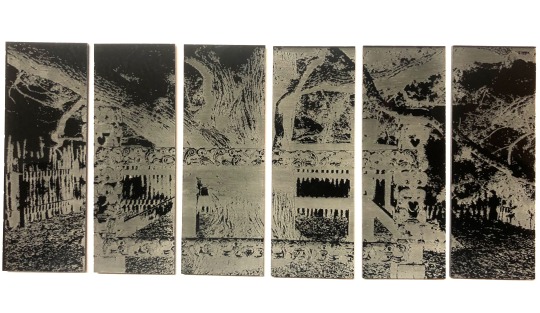

I engraved this image I took of the totara tree located behind the wintergardens. An issue I found with the wintergardens was the lack of Maori culture and representation within the site. One of the closest things to this was this protected Totara tree that was almost hidden behind the wintergardens. I did not know this was here. It was only briefly mentioned while on a site visit and it annoys me take although the land in which the wintergardens stands on today was previously own by Maori (that was taken, not bought by European settlers) and has no cultural representation of Maori besides something that is not known about unless you are told about it or randomly stumble upon it.
0 notes
Photo
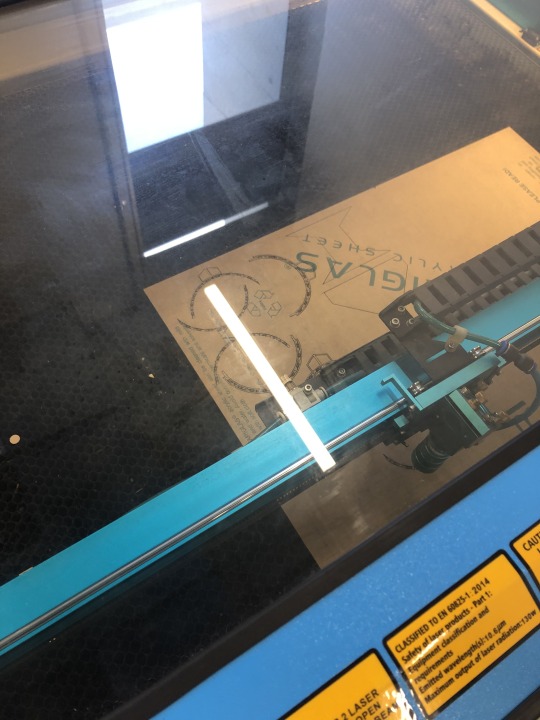
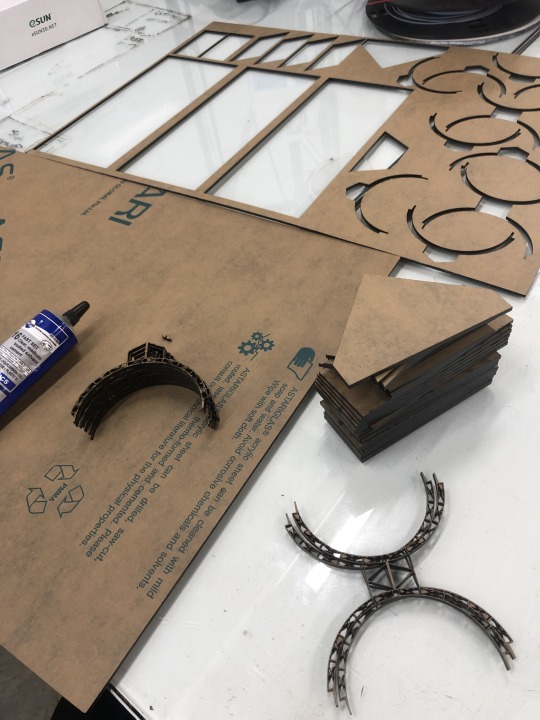
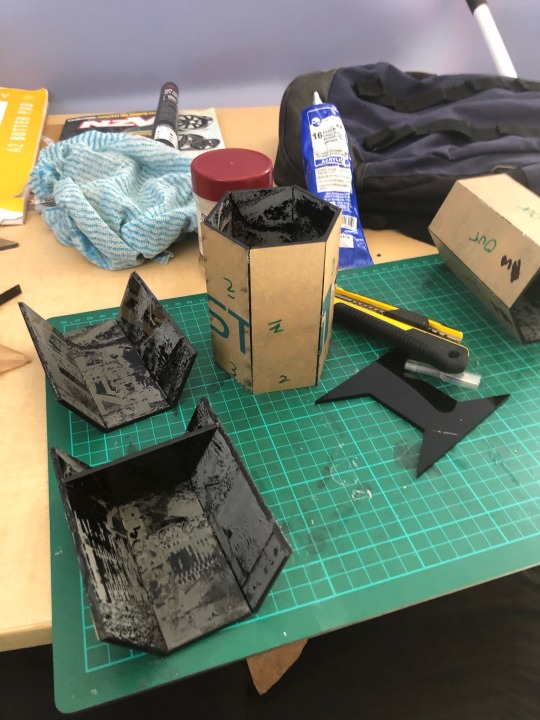
I began Constructing my final model of the Rulascope. I used the template from my 2nd version of the Rulascope to laser cut the pieces out of acrylic. One minor issue I had was with the arch pieces that would go around the exterior of the Rulascope being to thin and easily breaking. I made some adjustments for this and although the pieces are still thin, they are more sturdy now.
0 notes
Photo
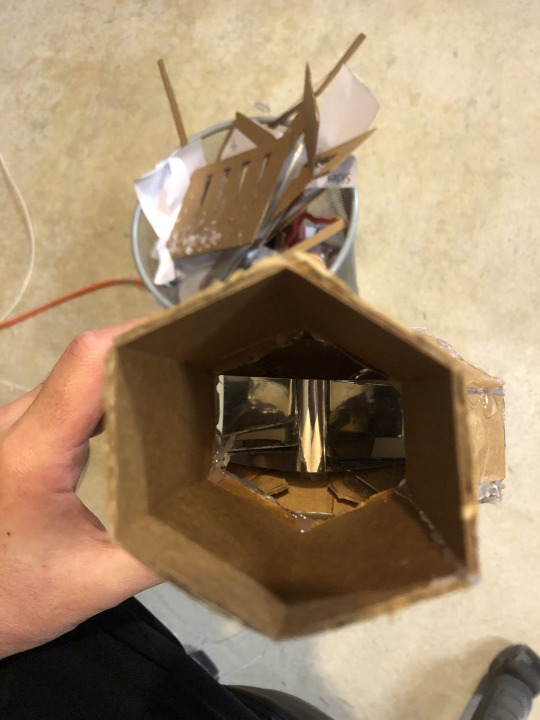
I revisited my 2nd version of the Rulascope to see if I could change the mirrors from the first setup I had to something similar to the latest mirror setup. To be completely honest, I cut open the model, bent a mirror and glued it in and it worked perfectly. I still have no idea how but it worked non the less.
0 notes
Photo
I decided to make one more draft model before my final one to make sure the template would fit together properly and I didn't waste the acrylic. Unfortunately, I printed out the template to big so the scale was way off and I ran into an issue with the reflection again which has halted my final model. The mirror setup I made is no longer reflecting how I want it to which should have been expected with the uncertainty of how mirror reflection works. Once again I am frustrated and have to figure out a new way of making this reflection work for this device to even have any imagery besides the interior.
0 notes
Photo


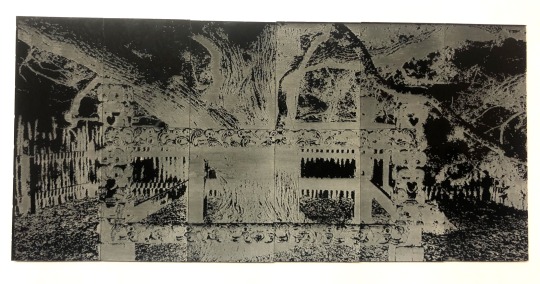
I took the Rulascope to the wintergardens to test how it would look and the imagery you would see through the device and made some more photoshop edits. I am ecstatic with how these turned out and I am really looking forward to creating my final model of the Rulascope.
0 notes
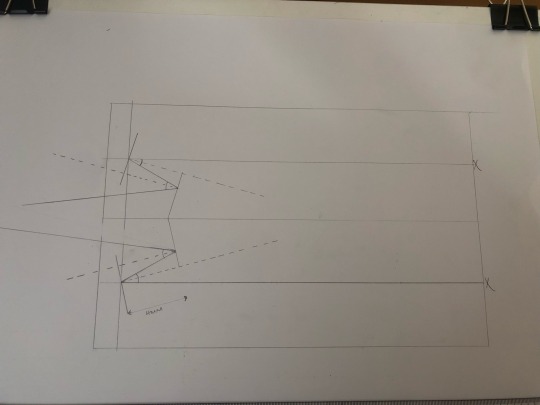
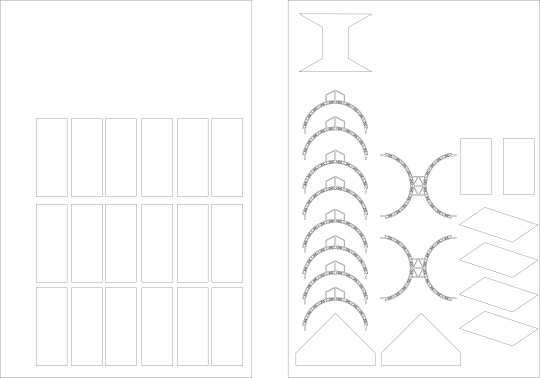
Photo


This is the template and an exploded drawing of the 3rd version of my device that I will now call the “Rulascope”. I am planning to use this them plate to laser cut the pieces into acrylic and stick together to make my final model.
I still did not have a name for my device to this point and had no idea what to call it. It was my brothers idea to call it a ‘Rulascope’ as one of my nicknames is ‘Rula’. I don't think the name of the device ties into anything conceptually in terms of what I am trying to convey with this project however I think the name of this device isn't as important compared to the actual visuals seen through the device and the actual concepts I am trying to portray with these ideas.
0 notes
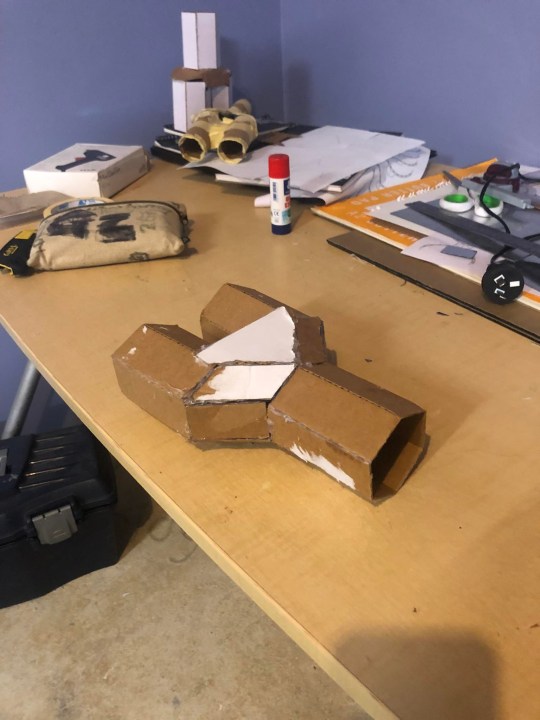
Photo

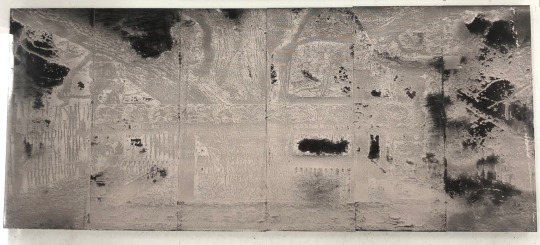
This is a photoshop I did of what you would see through the 3rd version of my device. This imagery is a bit blurry because the hot glue has warped the mirrors but I think this adds some character to the final outcome of what you see and could potential add some interesting visuals with the wintergardens as the backdrop.
0 notes
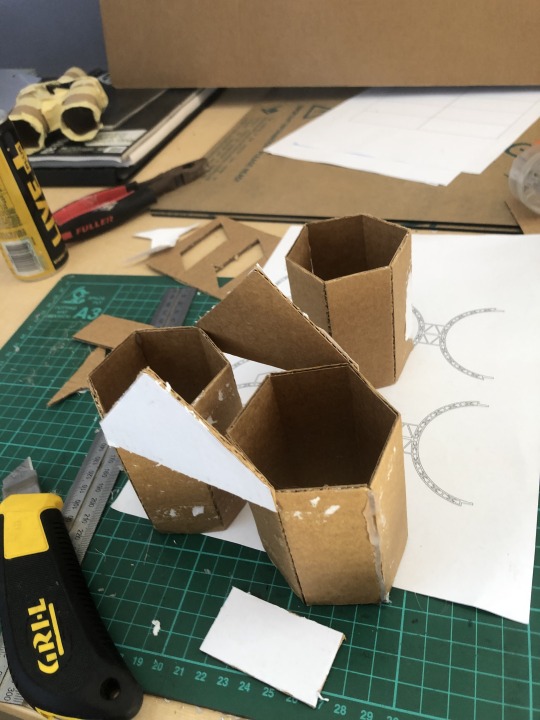
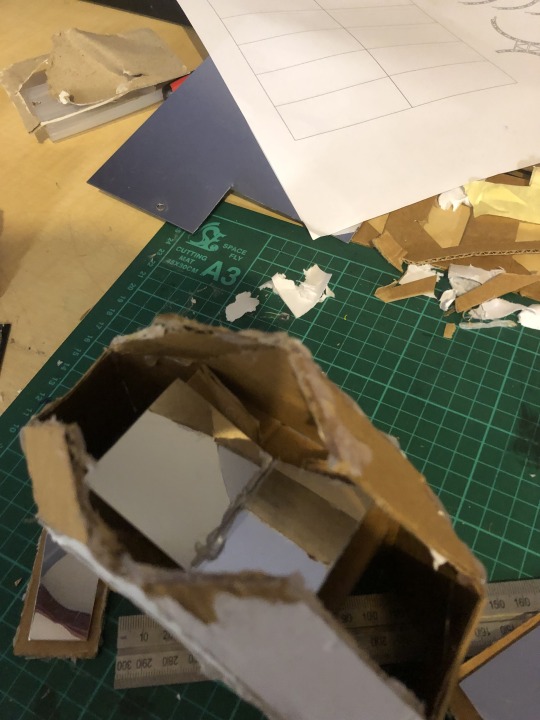
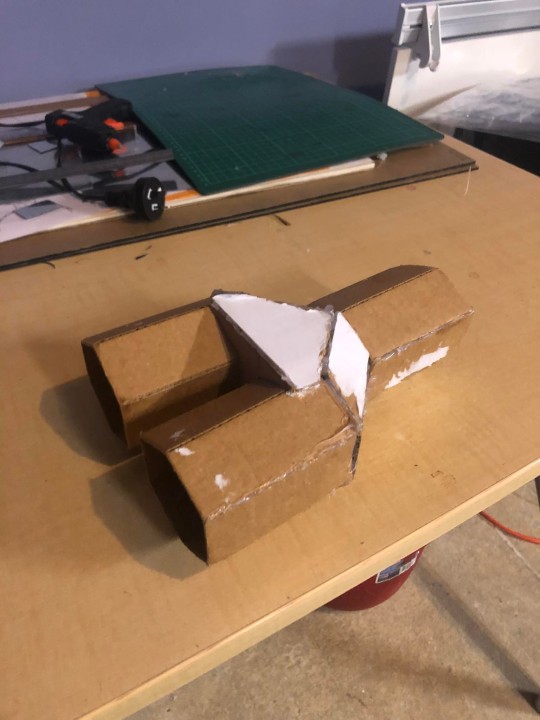
Photo
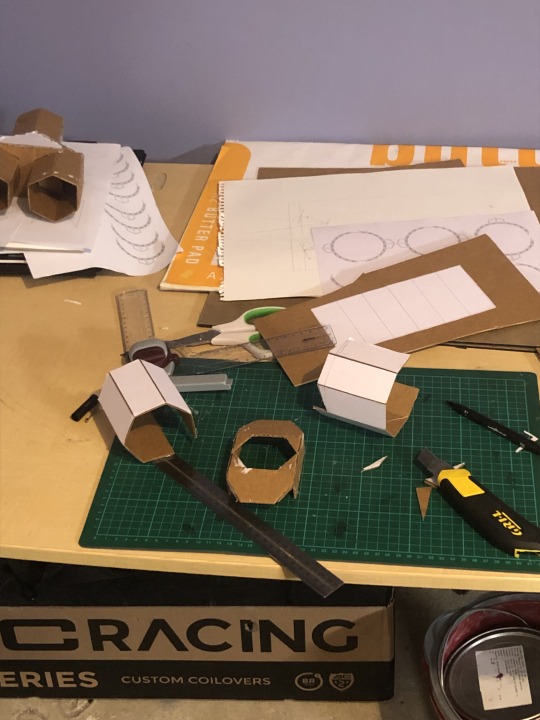
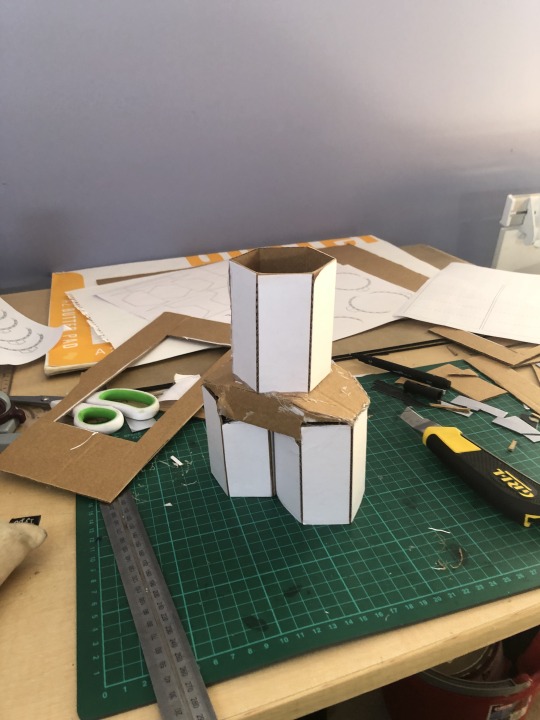

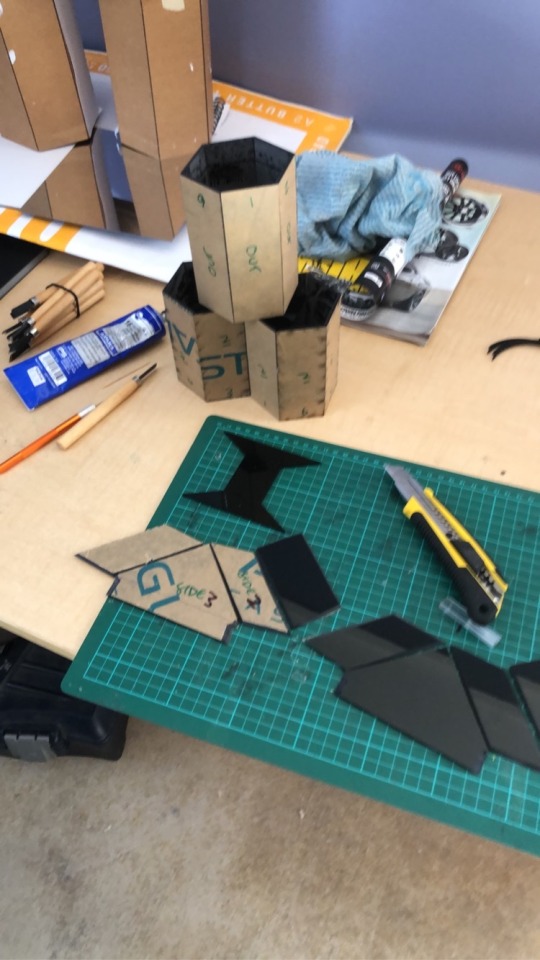
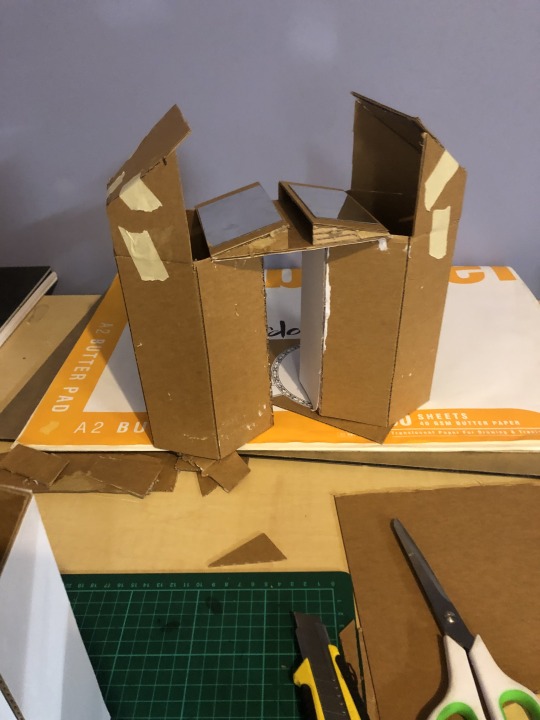
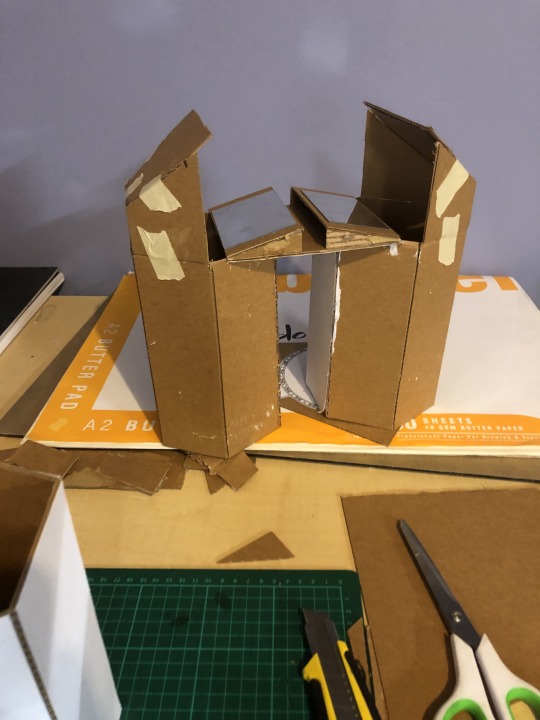
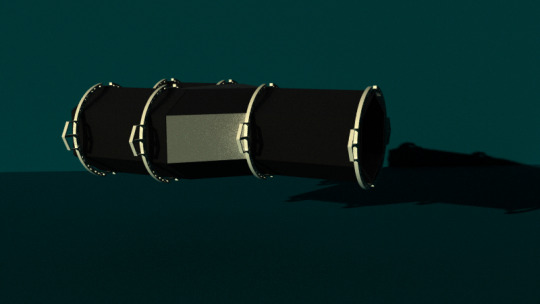
I made my 3rd version of my device including the new mirror setup which did not turn out as I hoped. I may have made some mistakes while modeling the device in Rhino and translating it into a 2d drawing that I could use to craft the real model because the pieces would not fit together properly and the two cylinders you look through are too close together. Aside from this, the reflection works! I will need to make some tweaks to the overall design so that it fits together perfectly but so far so good.
0 notes
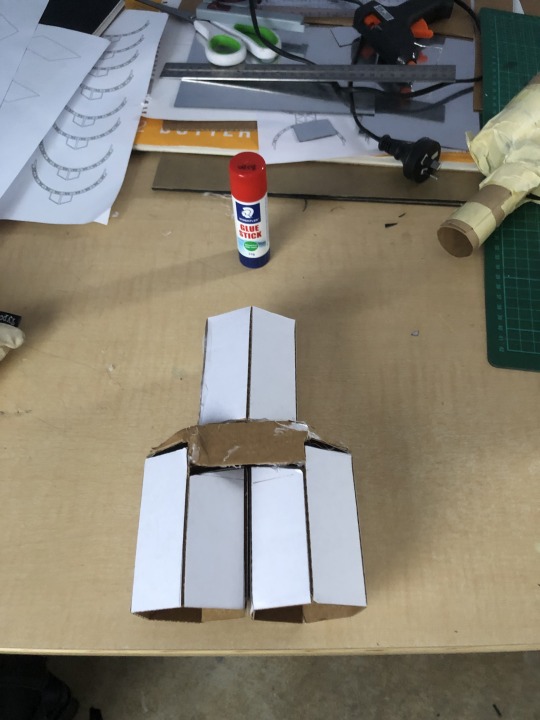
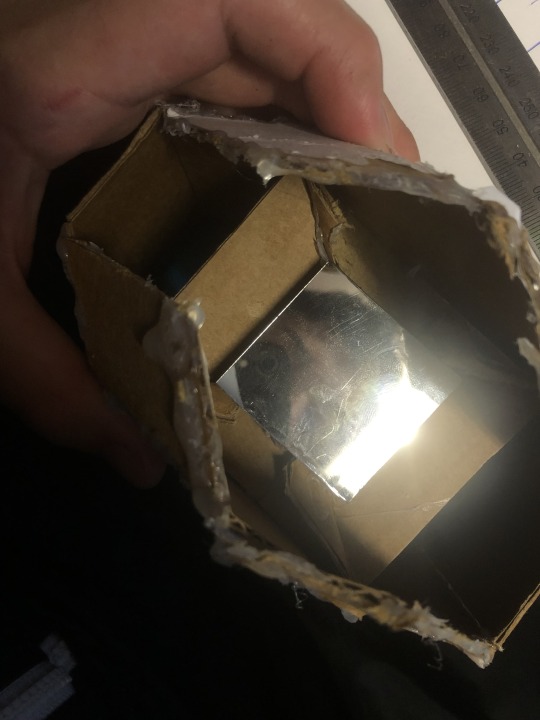
Text
I had to reconfigure the mirror reflection happening within the device. I realized while researching into mirror reflection that in theory this setup should work however, with reflection there is really no right answer. I found that setting up the mirrors this way would reflect what I want it to but could also not at the same time. This was a very frustrating process but I am hopefully that this will work when put into my device.
0 notes
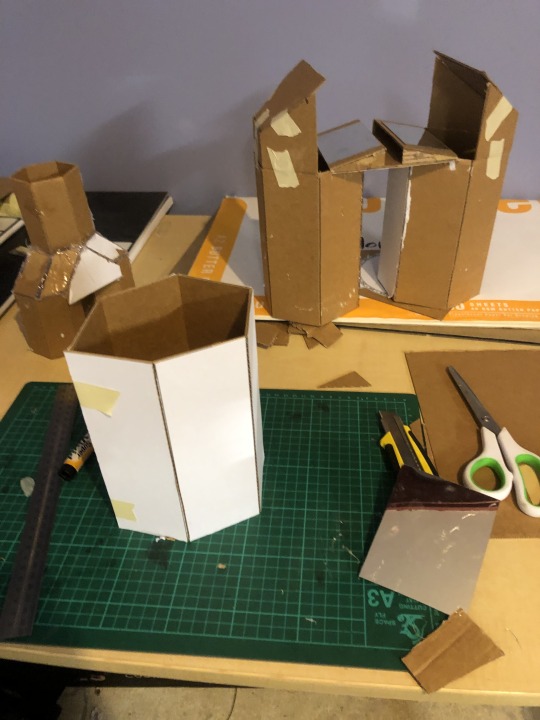
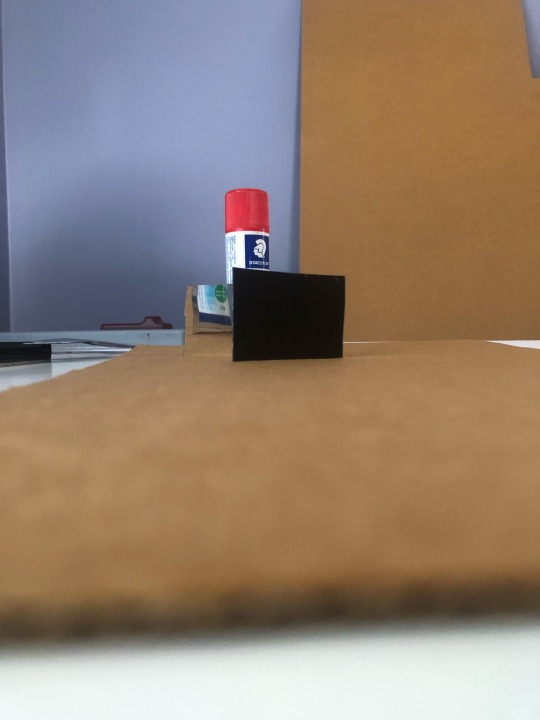
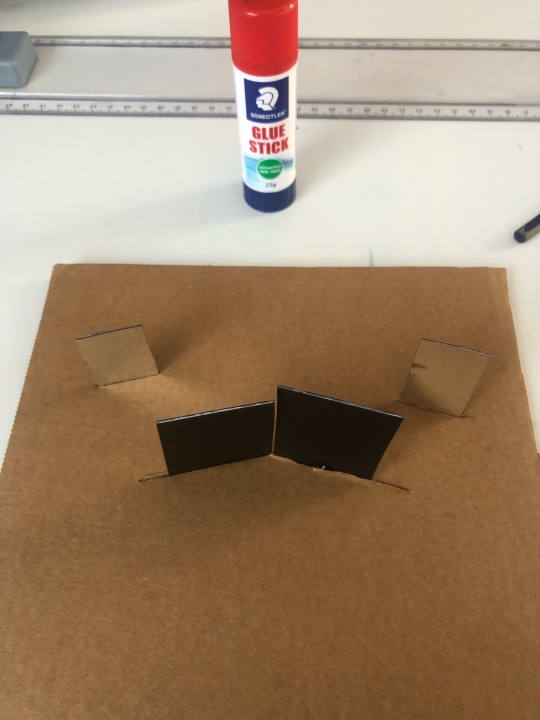
Photo
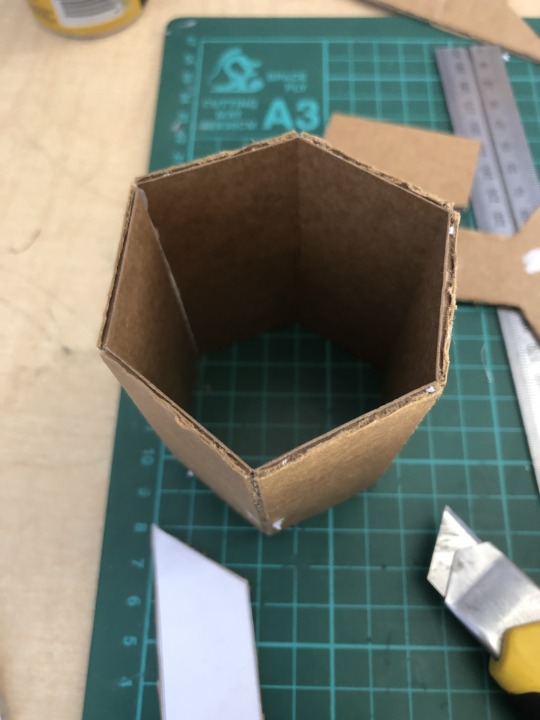
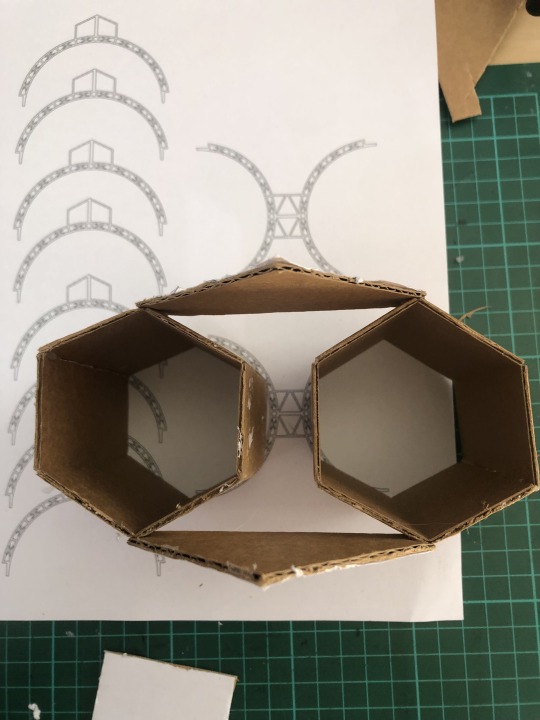
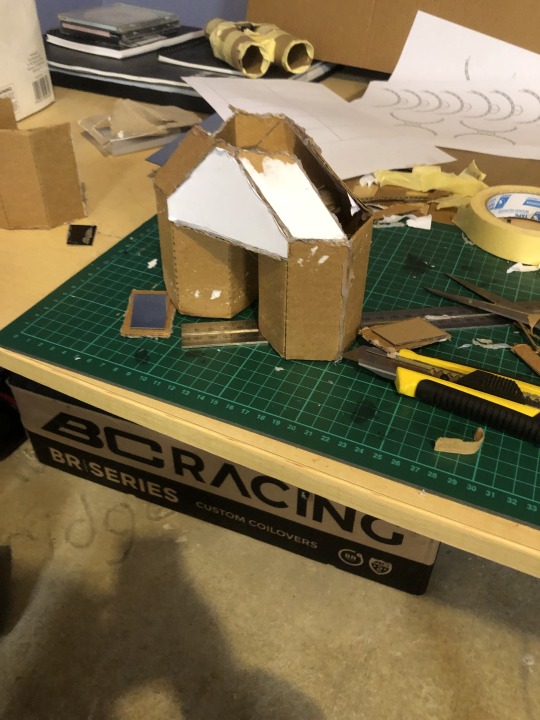
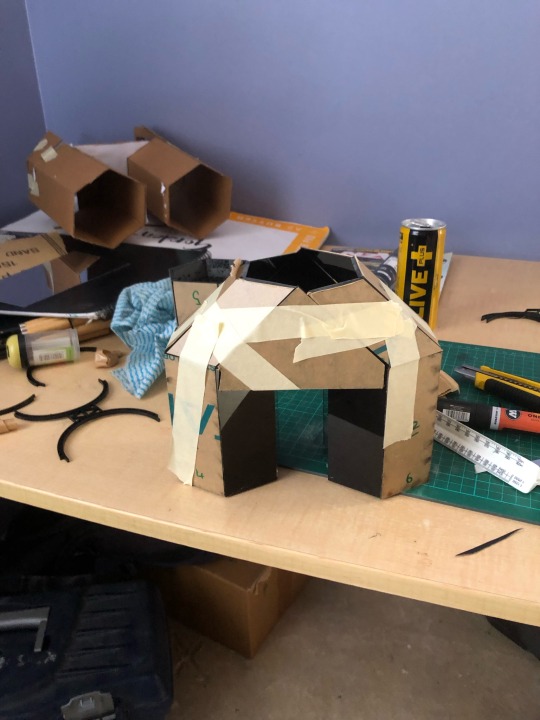
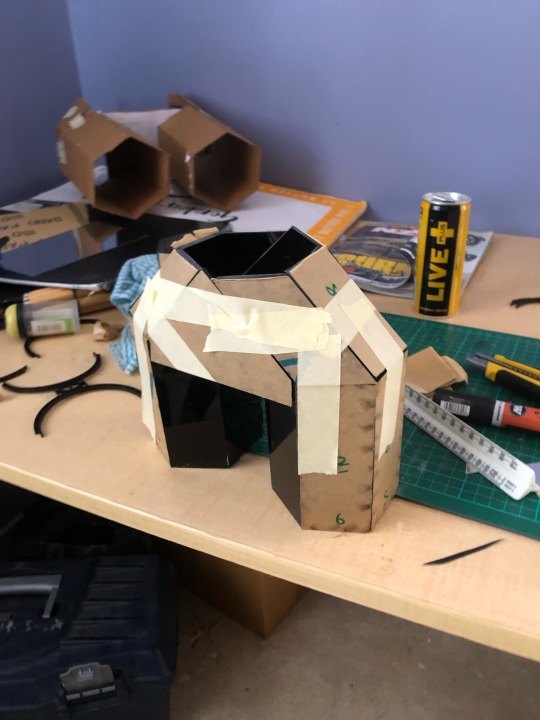
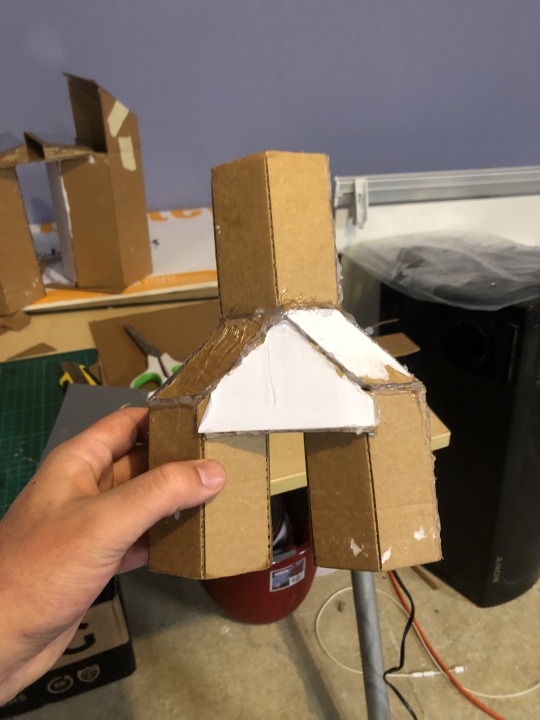
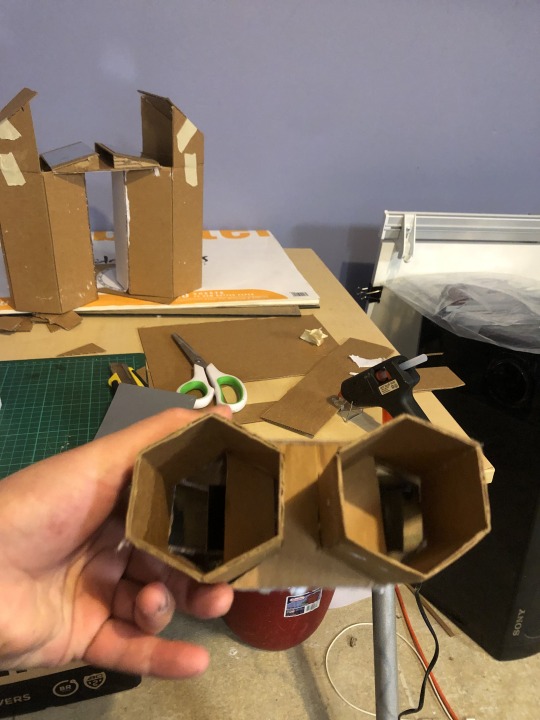
I made the second version of my device using cardboard to test the mirror reflections. Unfortunately, the mirror setup did not line up like i hoped. The two top mirrors are reflecting each other so you are looking back at yourself. While it is an interesting and strange reflection, this is far from the intended effects I was hoping for which was that the top mirrors would reflect down to other mirrors that would reflect out. This is frustrating because I feel like my project is dependent on this mirror reflection working so I think my next step is to further research how mirror reflection works.
0 notes
Photo
I bought 2 sheets of acrylic to be laser cut into pieces of the device to fit into the holes at the winter gardens. I also made a template for the laser cutter but I was also thinking about using it to make another model using cardboard to see how plausible the design is. I am still unsure if this design will display the imagery I want it too or if the mirrors will need adjusting.
0 notes
Photo
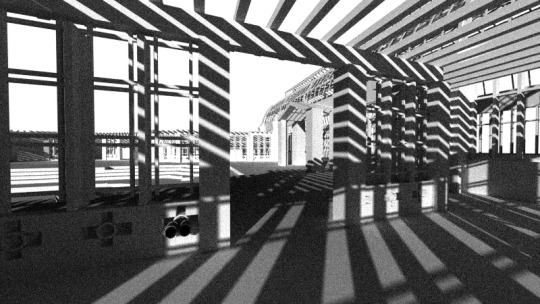
I made a model of the device in rhino and did some quick renders of it in the wintergardens model I have been working on in Digital Techniques and using some lighting techniques from DT. I've never been the strongest with rendering so I found this a little difficult but I think I was able to display the materiality of the device. I am interested to continue to increase my rendering skills and hopefully create a fully rendered sequence image including the device in the wintergardens.
0 notes
Photo

I made a technical drawing of my device to use as reference for my model. My idea is to make this using black acrylic mirrors to create the second version of my device. I chose acrylic because it closely resembles glass with its smooth, shinny texture. I’ve also decided on black because I want to make what's on the other side of the device the faucal point. I also think the black acrylic will help add this imagery and can also be carved into easily to get my device more depth and meaning.
0 notes
Photo


I made some quick samples of what the view from the three holes I’ve chosen for my project moving forward to get an understanding of the imagery I want to capture from these points of the wintergardens.
0 notes