
[Map/Theme mood board requests are open.]A blog dedicated to showcasing the charm of the Source Engine and the talent of map creators. Screenshots are my own, maps are not.
Don't wanna be here? Send us removal request.
Statistics
We looked inside some of the posts by source-shots and here's what we found interesting.
Average Info
Notes Per Post
119
Likes Per Post
96
Reblog Per Post
23
Reply Per Post
0
Time Between Posts
17 days
Number of Posts By Type
Photo
17
Last Seen Tumblr Blogs


Fun Fact
28.6 is the average number of monthly visits per US mobile user.
Photo


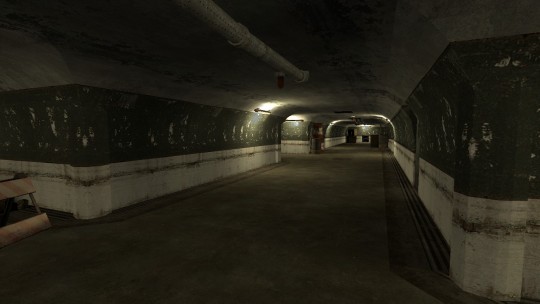
Depot, from the HL2 Mod Mission Improbable
0 notes
Photo
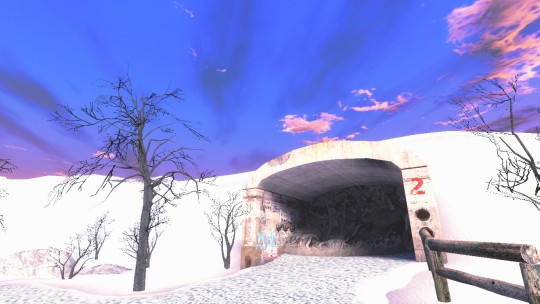
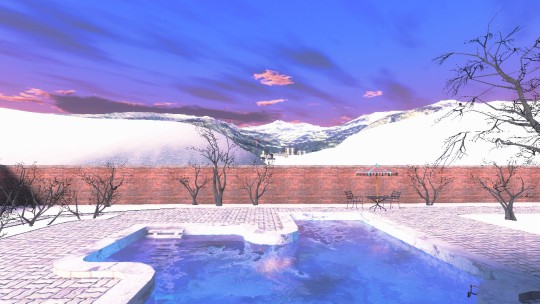
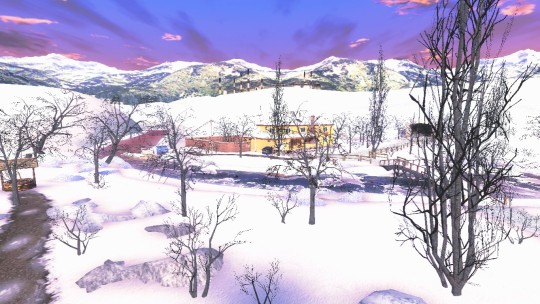

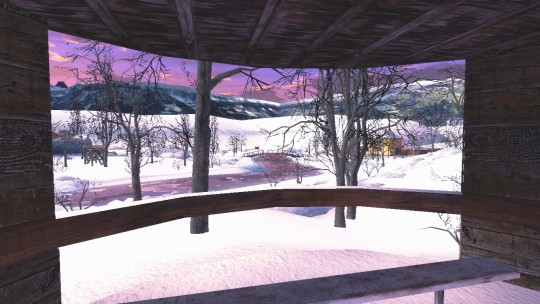

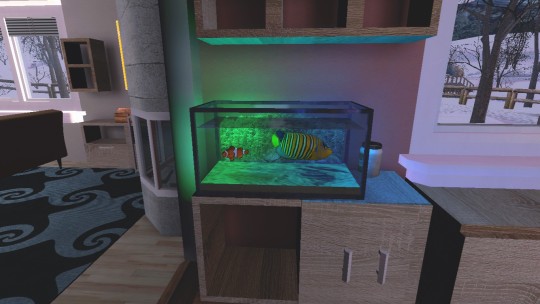
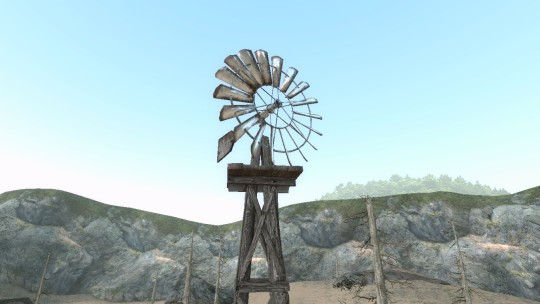
gm_mountainresort_snow
2 notes
·
View notes
Photo


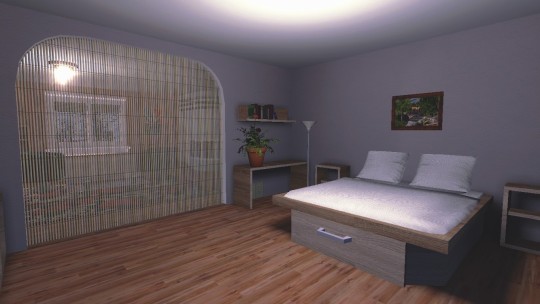
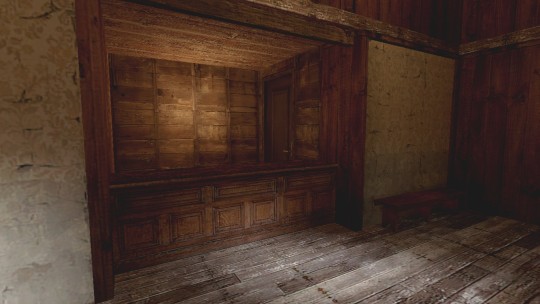
cityhouse
3 notes
·
View notes
Photo
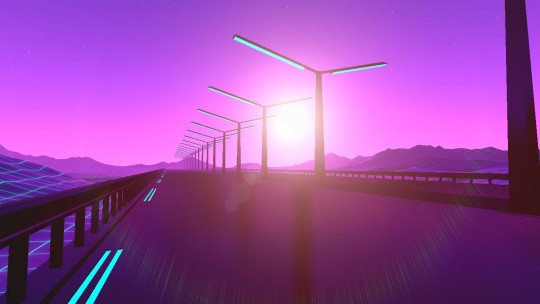
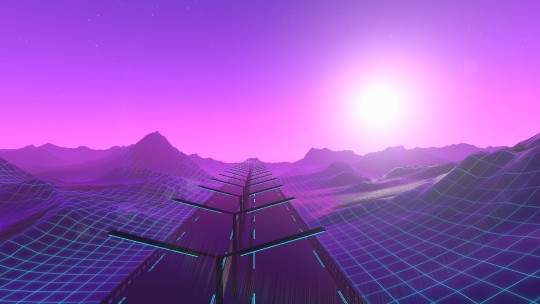


gm_synthwave_v2
1 note
·
View note
Photo


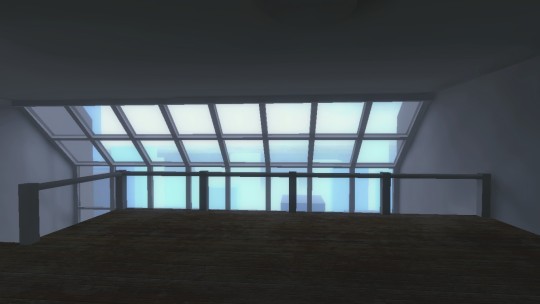
50thave
1 note
·
View note
Photo


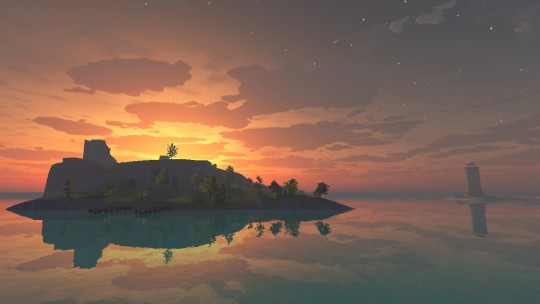

gm_sevenseas
2 notes
·
View notes
Photo
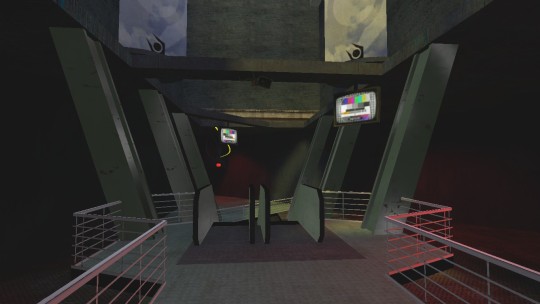
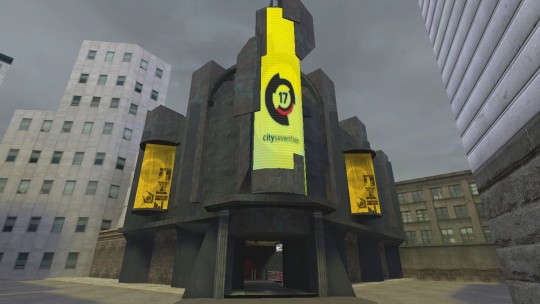


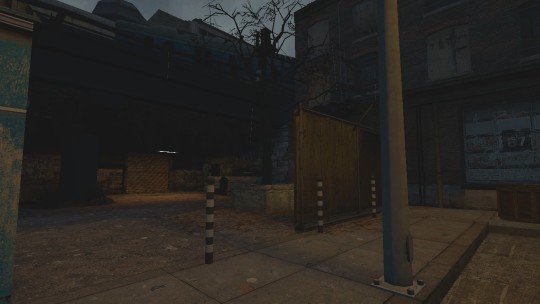
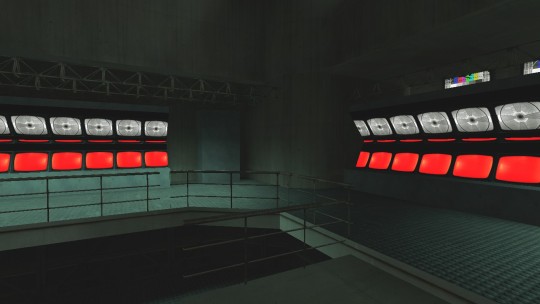
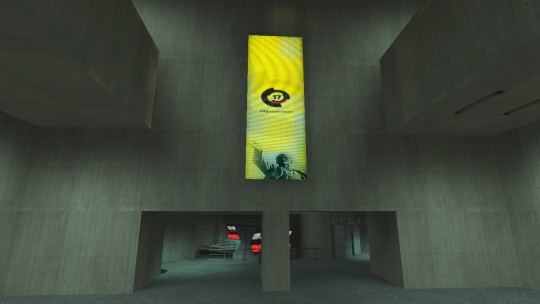
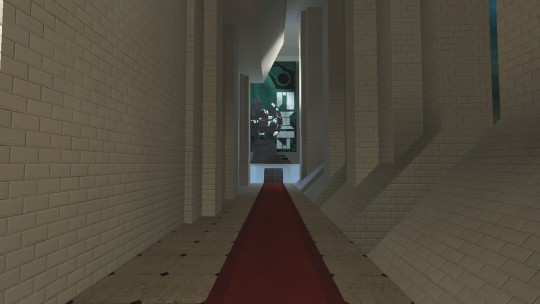
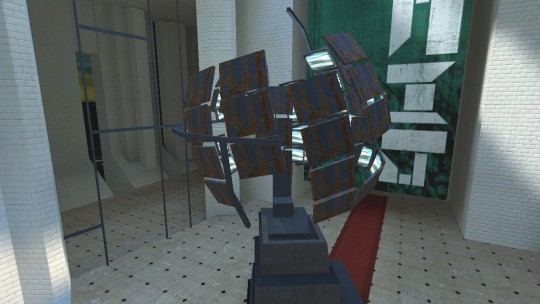
arcade_06 The map shown is the second iteration of the cut Manhack Arcade. The player was to meet with Barney before being instructed to follow along the radio tower to Kleiner’s Lab.
The idea behind the Manhack Arcade was to introduce to the player very early on the deception and cruelty of the Combine. Citizens (the correct models are not shown here, as the 2002 citizen textures were bugged upon being leaked) line up to play on arcade machines, in which they play as manhacks, shredding citizens to earn points. What the citizens are not told, however, is that the manhacks are real, and they are actually killing citizens. It begs the question- are the citizens completely unaware that the random manhack killings are controlled by them, are they being forced to play, or are they desperate to play this gruesome entertainment, as it’s the only type mandated to them anymore? It would explain the long lines to play. In concept art, the third iteration of the arcade was also shown to stand in front of the Citadel. True to Combine architecture, the arcade features long corridors and blue, scuffed metal walls. Propaganda posters, like most areas in City 17, are coating the walls. It’s dark design stands out from the rest of the buildings surrounding it, implying the arcade was purpose-built by the Combine to keep the people entertained. The various landmarks around the arcade, as well as long corridors, help the player to understand they are going the right way, despite there being very little variation in the colour palette to imply active movement. In other areas, enemies are used to make progress, so the level designers probably had to make sure that the player wouldn’t feel as though they weren’t getting anything done in this atypical FPS. -Mod Phys
0 notes
Photo
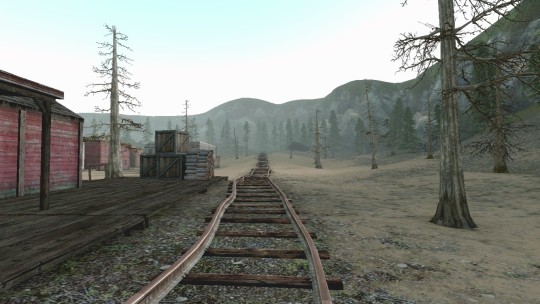

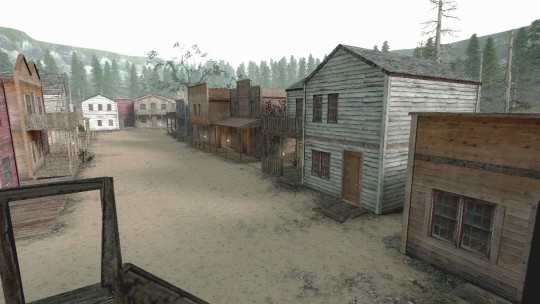

rp_wildwest
3 notes
·
View notes
Photo

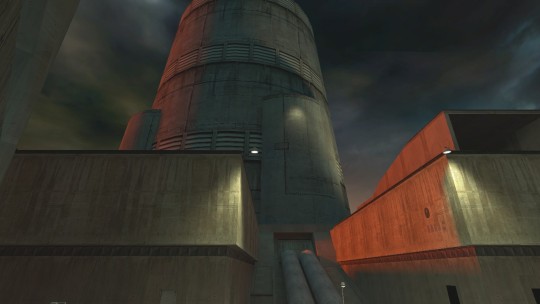
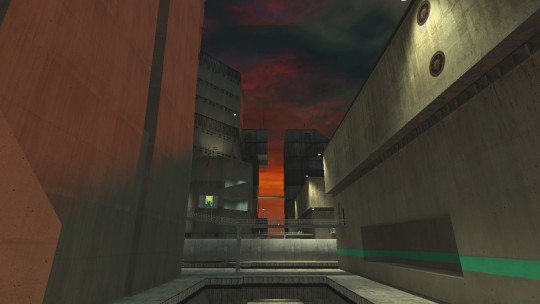
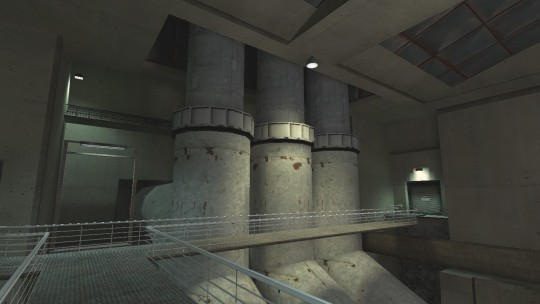
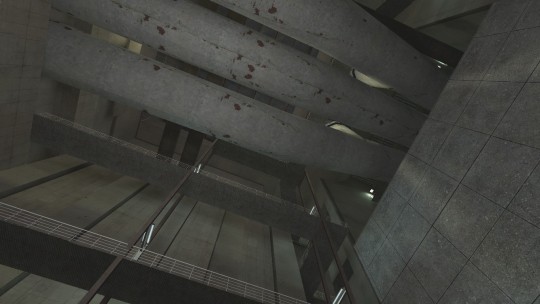

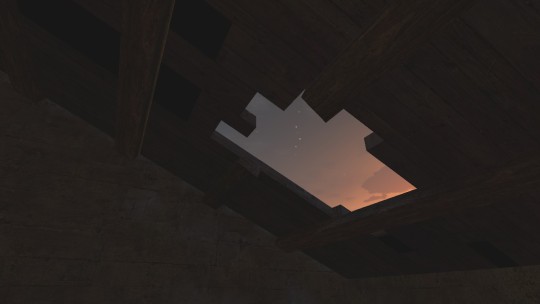
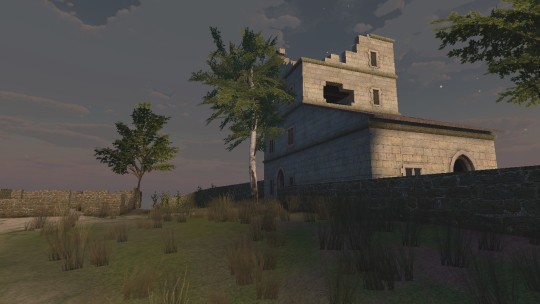
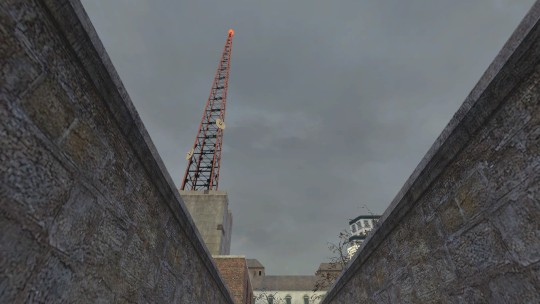
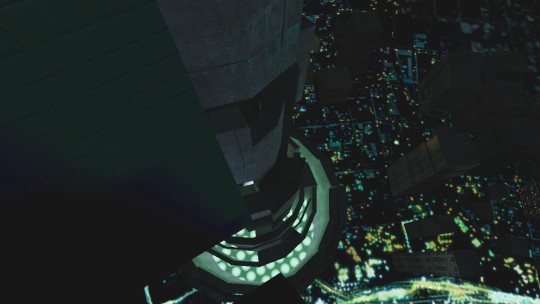
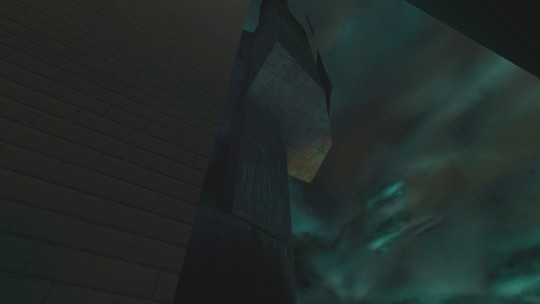
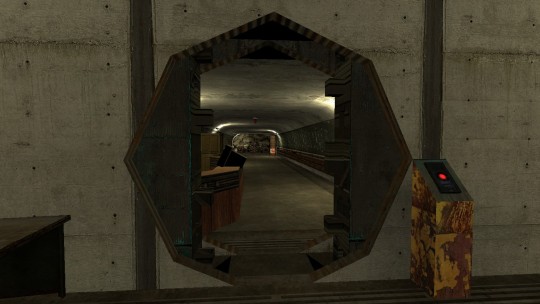
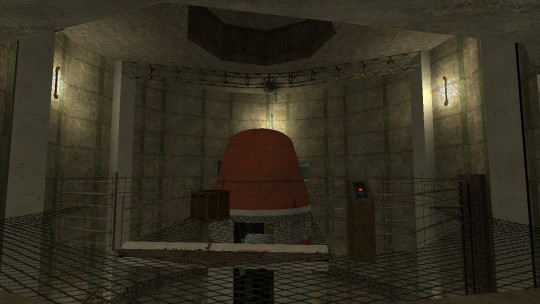
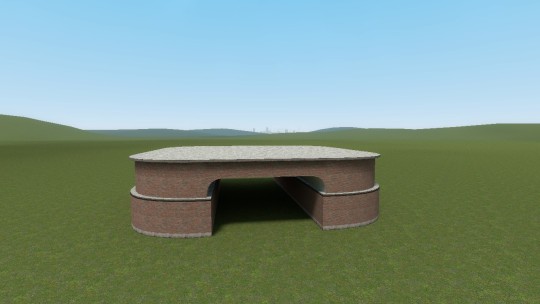
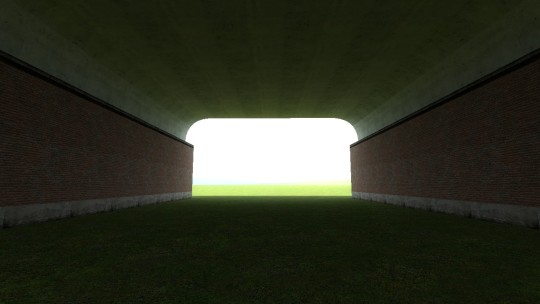
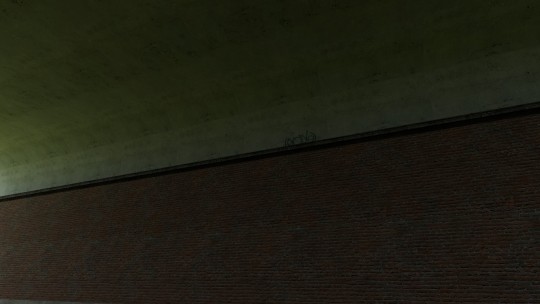
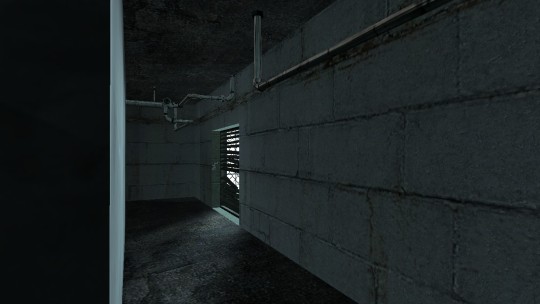
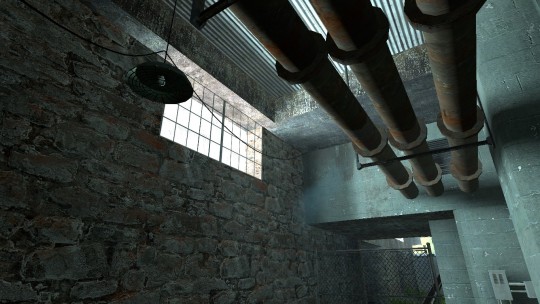
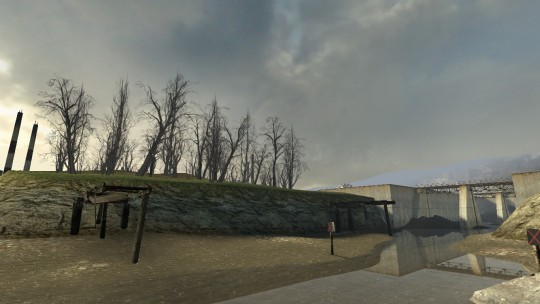
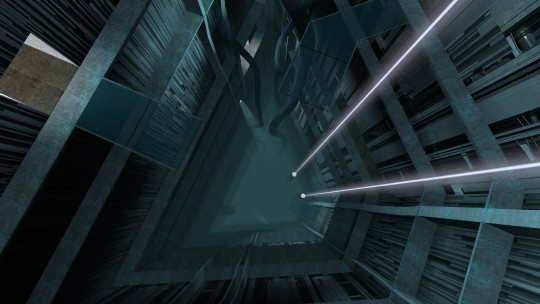
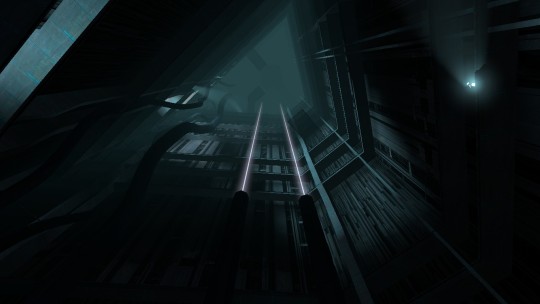
airex_03040506 The Air Exchange, one of many planted on Earth by the Combine, was far into development until the fourth day was cut from the final game, and the devs stopped work on it to focus on areas with more unique gameplay elements. One draft for the airex states that the facility would release gases toxic to humans into the air (forcing C17 residents to use gas masks) that advisors could breathe. Another has the airex taking gas from the atmosphere and passing it through ‘dimensional turbines’ to generate electricity. In both drafts, however, Gordon travels up the central airex tower, destroys the core, and incites the uprising in C17. Story elements from both drafts were included in the final games and their episodes. A lot of inspiration from this cut level can be found in Episode 1. A notable aspect of the airex’s level design is the wide, open areas contrasted with thin walkways as you get closer to the tower. As stalkers were the primary enemy, the brutist architecture would necessitate players thinking creatively with cover to avoid their laser sights, which had advantage over the player from the strategically placed bridges.
-Mod Phys
4 notes
·
View notes
Photo

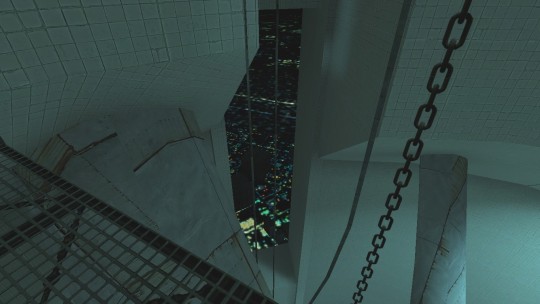


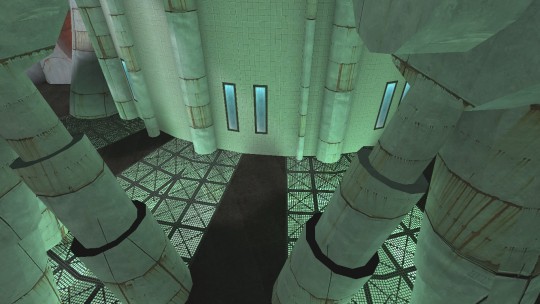

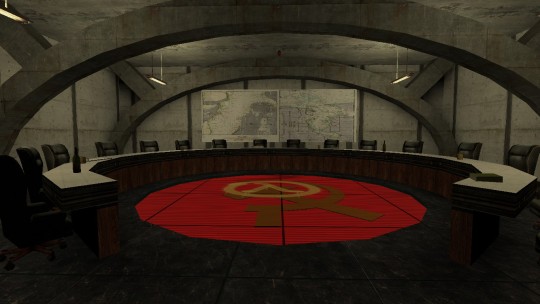
gm_beta_citadel Starting a series of showcasing the leaked Half-Life 2 Beta maps, along the same vein as my ‘classics’ series. It’s under the tag ‘hl2 beta’. These were compiled by Jaycie on the Steam Workshop. -Mod Phys
12 notes
·
View notes
Photo


rp_sectorc_beta
3 notes
·
View notes
Photo
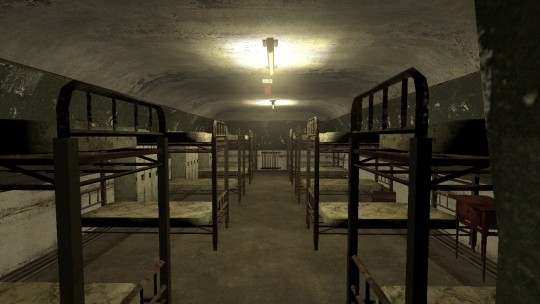


gm_kalishina_bunker
0 notes
Photo


A classic. gm_flatgrass
0 notes
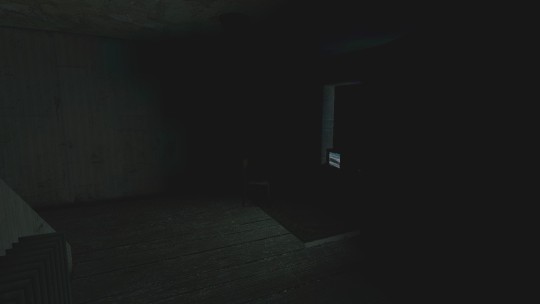
Photo


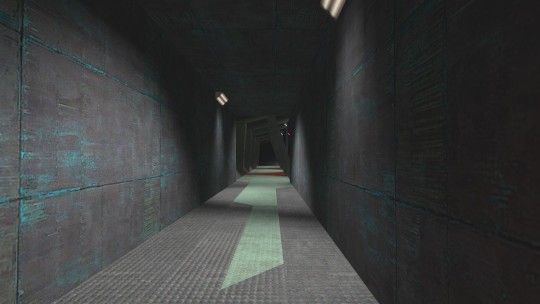
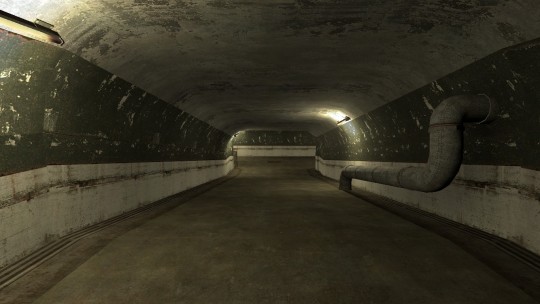
d3_c17_08 This map is one of the more mellow and ‘horror’ style of maps that the player must guide Gordon through. Overkill on the manhacks, and plenty of poisonous headcrabs hiding around corners to make you jump. Funnily enough, during development, Valve found that playtesters were instantly scared by the poisonous headcrab’s behaviour and sounds. The hissing, slow crawling and hiding would send them into frenzies, on edge until they were found and neutered (matters were only made worse when they introduced the enemy that scared me the most: the poisonous zombie). This is certainly capitalised on here, with the closed corridors and tight bends that conceal any headcrabs jumping at the player. You have to use any sound cues to your advantage, here. -Mod Phys
12 notes
·
View notes
Photo
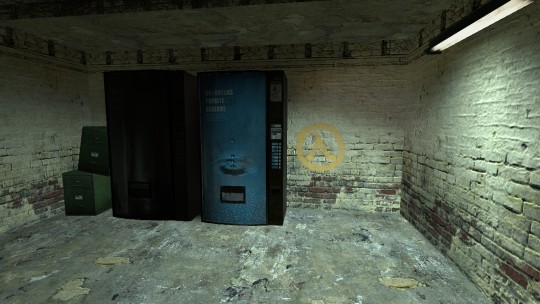
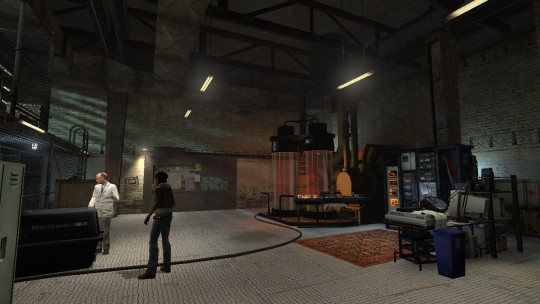
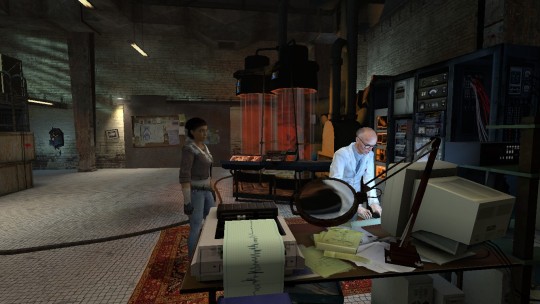

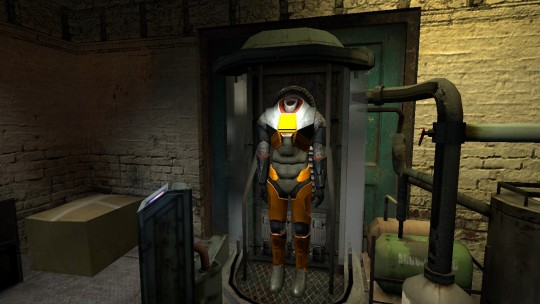

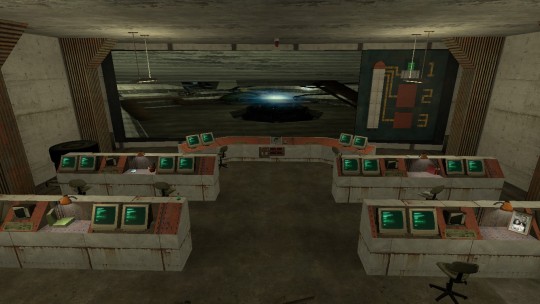
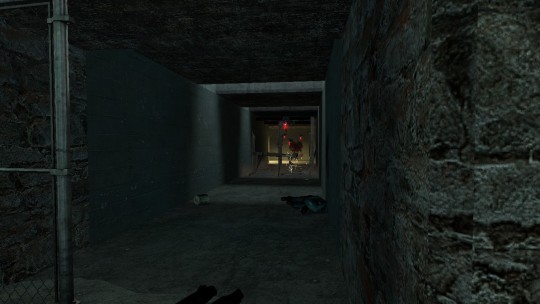
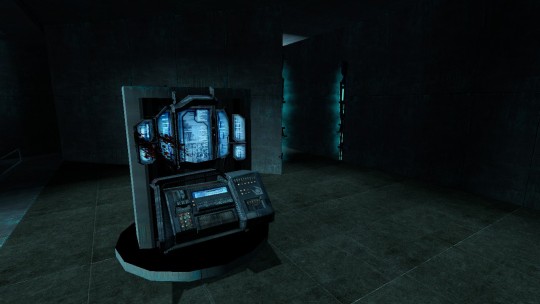
d1_trainstation_05 Another important establishing scene at the start of the game. Alyx brings you to Kleiner’s lab, and you’re given the HEV suit, before being teleported to and fro between Black Mesa East and the lab. Kleiner then sends you packing down the Railroads, with Barney promising to find you. This map introduces some important points for the player- the relationship between Eli and Alyx, the new HEV charging points, and, of course. Lamarr. Arguably the most important. It’s worth pointing out a small detail when Alyx is looking at the monitors, seen in the last image. As she looks at them, she appears confused- squinting, raising a hand to her face, and clasping a little, before returning it and shaking off the thought. It’s possible she’s noticed the G-Man appearing on the monitors. Normally, the player wouldn’t notice this, as at the same time, Barney is opening up the chamber containing the HEV suit, and is instructed to get into it. In my humble opinion, this is a little hint at the deeper relationship between Alyx and the G-Man- hopefully something that will be explored in far greater detail in Half-Life: Alyx.
#half life#half life month#isaac kleiner#barney calhoun#alyx vance#eli vance#gman#laboratory#gmod#valve#source engine
48 notes
·
View notes
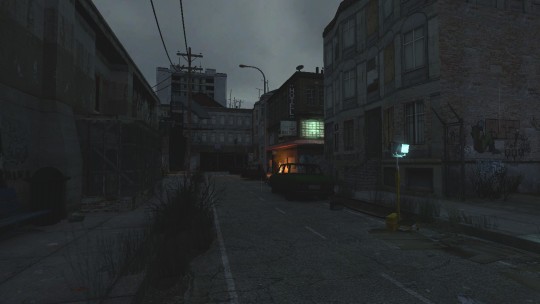
Photo


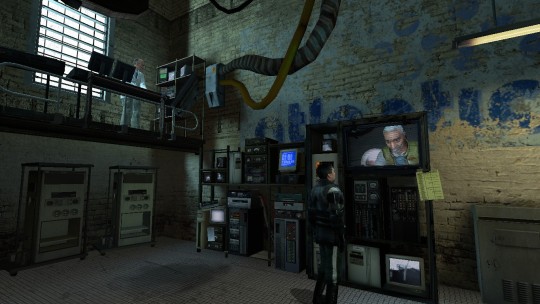
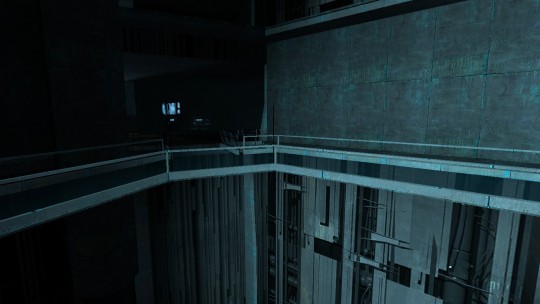
d1_canals_06 This is the first map upon starting the chapter Water Hazard. Gordon has just received the airboat, and is being tailed by helicopters, as well as a blue bureaucrat we’re all familiar with. This is also the map with some more interesting scripted events- a man throws supply crates to you from atop a bridge, before being found by city scanners and forced to run away. A dropship also flies overhead, and on one of the Breencasts (as seen in the first screenshot) our mutual fiend can be seen glitching in and out of the video. A more interesting point to be brought up here is whether or not the various sightings of the G-Man on screens (like in this chapter, on the television in Boxcar Joe’s hideout, and on the small, unplugged television found in a hidden room after D0g flies away with a hunter-chopper) are hallucinations had by Gordon caused by the G-Man’s influence, or genuine images that the G-Man is projecting onto the screen for everyone to see. The televisions are usually unplugged or broken, which lends some credence to the hallucination idea. -Mod Phys
23 notes
·
View notes
Photo

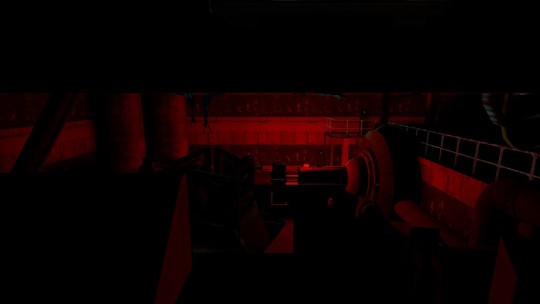
d3_citadel_04 Accompanied by Breen’s half-pleading, half-threatening words, the player has to ascend the Citadel with the supercharged gravity gun. This scene has Gordon activate a lift, that travels slowly upwards, surrounded by Combine ball fields and platforms that the Overwatch can shoot from. As with most maps in the Citadel, the way that the enemies spawn is sneakily concealed behind a corridor and a forcefield to save processing power. Though at some points, they do get lazy and just use a white void instead. This map is also a prime location to try and get the Atomizer achievement.
-Mod Phys
5 notes
·
View notes