
Don't wanna be here? Send us removal request.
Statistics
We looked inside some of the posts by studentkm2017-blog and here's what we found interesting.
Average Info
Notes Per Post
224K
Likes Per Post
124K
Reblog Per Post
101K
Reply Per Post
118
Time Between Posts
1 day
Number of Posts By Type
Photo
11
Text
6
Last Seen Tumblr Blogs


Fun Fact
Premium Tumblr themes are available from anywhere between $9 to $49.
Text
Manipulating Clip Speed
- Creating Freeze Frames: right click: frame hold options: right click what you want to hold on.
- to have the video play and then hold at the end, you add a frame hold (which adds a cut and then holds the video).
- Option 3: insert freeze-frame at a certain location, hold on it, and then go back to moving video, this would entail inserting a frame hold segment.
- shift + E exports still image
Performing Fit to Fill Editing
- using the rate stretch tool to change the clip speed; rate stretch tool, keyboard shortcut is R.
Making Variable Speed Changes with the Time Remapping Tool
-you can keyframe in the effect controls panel but you can also do it in the timeline too.
- in V1 go to the wrench, show video keyframes, go to the fx square, right click and go to time remapping > speed.
Some Color Correction Tools
- autocolor- adjusting contrast
- fast color corrector
- 3 way color corrector
Lumetri Color Toolset
- Window > Lumetri Scopes
- In RGB curves set black levels to zero, for brights drag to left approaching 100
- wrench : RGB parade: remove color casts.
Working with Titles : Creating a Basic Lower Third:
- title> new title> default still
Creating Rolling and Crawling Titles:
-title > new title > default roll
- roll crawl options
- start offscreen , end offscreen
Working with PS titles in PP
- File > new > PS file add to project
Working with Closed Captions
- File > create new items > captions > open caption (much more customizable).
0 notes
Text
Creating Buttons
- go to the wrench under Program B and uncheck show transport controls. You can go to the plus button which allows you to change the buttons that show up.
Using Adobe Stock Libraries
- right click the video, add to project
Using Team Projects in a Collab Workflow
- everything you do is hidden from collaborators until you choose to share it.
- click on share my changes button
- media can be located on shared network drive, or a local storage from each collab, or work on a proxy workflow from the cloud.
- Edit > Team Project > media management > new project mapping
- you can also use the team project history slider
A Brief Look at Creative Suite Integration
- dynamic link is a shared live link between premiere pro and after effects
Basic Audio Editing
- right click on clip,
- modify > audio channels, in preset : switch it to mono, dual mono L channel and R channel; making basic audio gain and level adjustments.
- right click clip and choose audio gain, this also tells us the peak amplitude, shift click clip and press G.
- P pen tool enables keyframes, can adjust keyframes in the effect controls panel. You can change keyframe interpolation by right clicking the keyframe.
Basic Audio Mixing
-open up audio track mixer, click on keyframes button and go from clip keyframes to Track keyframes > volume. That gives you 1 flat track adjustment. You can add a submix by going up to the sequence > add audio submix track and then target your audio channels in your mixer to your submix track.
Finding out of Sync Audio
- right click on out of sync indicator, and choose move to sync.
- if the clips are abutting and you can’t move it choose slip into sync.
- in preferences can check - out of sync indicators for unlinked clips.
Recording Voiceover to a Project
- select a track, right click and choose customize, choose enable track for recording button, and voice over record button .
Syncing your Video to High Quality Audio
- select 2 clips, right click and choose merge clips, merges to synchronization point.
Sending your Video to Audition for Audio Clean Up
- you can select a clip, right click it and send it to adobe audition .
- in effects > go to effects > noise reduction> restoration > capture noise print. And get ride of it by going up to noise reduction restoration / process..
Working with Stills and Graphics
- PP> preferences > general
still image duration, default scale to frame size.
- scale to frame size resizes to video resolution.
- go to new item menu > color matte
- Shift + E is exporting out a still frame from the project
Animating Stills
- can move the position and scale parameter around in a frame.
- working with layered PS files
- import as a sequence brings in the individual layers and makes a sequence.
- luma key allows you to see lightness values.
Working with Effects
- Effects > crop
- Right click > remove effects
Adding and Modifying Transition Effects
- cmd + d just adds cross dissolve to video.
- cmd + shift + d adds cross dissolve to audio
- morph cut helps smooth out jump cuts.
Adding, Modifying, And Saving Video Effects
- there is an effect called tint Gaussian Blur, Can Add Mask, and Click on Inverted.
- you can copy the effects from the effect control and cmd paste
Adding and Adjusting Audio Effects
- shift + K is the play around command
Applying Effects to Adjustment Layers and Nests
- can put clips all in 1 nest and apply effect to that
- or use an adjustment layer
- go to new item button > select adjustment layer
- select clips, right click , and hit nest
Adding Effects to Master Clips
- you can right click a clip in the source monitor and go > reveal in project
Masking and Tracking Effects
- Mosaic effect is good for blurring, can use track selected mask forward button to track it 1 frame at a time.
Chroma Keying with UltraKeyer
- ultrakey
- the goal is to adjust the parameters cleanly with the black and white until there is no gray ; you can change the setting to aggressive.
Using Dynamic Link to Work With Premiere Pro Clips in AE
- right click clips in the TL and do a replace with After Effects Composition in PP, it becomes a container and links to an AE composition. You can choose to render and replace AE composition by right clicking it.
- if you right click the file and hit restore > unrendered you get the AE composition back. When In AE > Import > PP project with dynamic linking can bring in Assets from that project.
0 notes
Photo

For more posts like these, go visit psych2go
Psych2go features various psychological findings and myths. In the future, psych2go attempts to include sources to posts for the for the purpose of generating discussions and commentaries. This will give readers a chance to critically examine psychology.
2K notes
·
View notes
Text
PP Notes (Blue)
Using Markers for Organization
m is how to make a marker
in markers menu can ripple sequence markers
go into the wrench and show clip markers
shift + M go to next marker
shift + cmd + M go to previous marker
Understanding Track Monitoring and Locking:
select clips and right click video select enable button
use history panel to undo and redo actions
customizing the keyboard, PP >Keyboard Shortcuts
0 notes

Text
PP Setting up and Organizing your Media Part 3
Importing Media
- cmd + b is how to create a new bin
- whatever I want to bring in, right click and choose import.
- right click on column, hit metadata display and choose a column.
- hold down command and double click to stay in the same window of the hierarchy.
- opt opens a bin in a separate tab
- you can change it so that double click opens it in place.
Additional Ingest Options : Exploring Proxy Workflow
- file > project settings > ingest settings. In ingest, can have copy, transcode, create proxies, and copy and create proxies. In preferences, check enable proxies.
- There is a toggle proxies command. You have to set it up with a keyboard shortcut. Toogle proxies create opt + command + p
- Right click a click , proxy, create proxy.
Importing from Existing Premiere Pro Project
- File > import ...navigate to project I want to import, and choose select sequences.
Performing Searches and Creating Search Bins
- right click , create new search bin, and can select search bin > edit search bin.
Relinking Offline Media
- relink window is for any offline media in the project
- locate shows the last know location where the media files were.
Basic Editing
- control + space is how to play from your playhead to the outpoint.
- Subclipping shots : command + U, can restrict trims to subclip boundaries.
- to set up a sequence ahead of time, you can just right-click in the project pane and choose new item > sequence. New item command also helps to create a sequence.
Performing Insert Edits & Moving and Swapping Shots
- S is the snapping key
- cmd + right arrow and left arrow is how to nudge
- shift + cmd + right arrow and left arrow is how to nudge 5 frames
Removing Material and Performing Basic Trims
- delete just lifts the shot
- if you want to ripple delete, press opt + delete
- Razor blade tool is the c key
- Extract command is the apostrophe key “’”
- Lift is the semicolon key ;
Overwriting Broll and Performing 3 Point Edits
- use numeric keypad to go forward 2 secs by typing + 200
- right click image and click set to frame size.
Reviewing Timeline Navigation
- F is how to find a match frame
- Opt + Click is how to just select video or audio
- Linked Selection is how to disable a feature that marries video and audio together .
Refining the Edit: Using Trim Tools
- Ripple Edit Trim will let you do both reductive and additive trims.
- B Key and option + left arrow and right arrow is how to trim 1 frame to the right or to the left.
- Ripple Trims downstream shots move to accommodate the edit.
- Shift + Opt + Left Arrow and Right Arrow, moves 5 frames.
- Command + Drag is also how to access a ripple edit.
- Rolling just affects two adjacent clips.
Slipping and Sliding Edits
- Slip edit is for changing shot content. Its command is Y Command + Opt + Left Arrow / Right Arrow is how to slip 1 frame at a time.
- Slide changes the shots positions but not its content or duration. Its command is the U Command.
Using Trim Monitor Window
- Can Access by double clicking an Edit point. The moment you go into the middle, it becomes a Roll Edit. When you go to Side A and Side B, it becomes a Ripple Edit. You can also combine it with the JKL keys to move the edit point.
Trimming Tips and Shortcuts
- Premiere Pro > Preferences > Trim
allow selection tool to choose to switch up trimming mode.
- E is an extend edit
- shift + T toggles between all of the available trim options.
Additional Editing and Organizational Techniques
- Opt clicking with the C is how to cut through just video
- take a shot, right click it and replace with clip from the source monitor
Editing Montage with Top and Tail Editing
- Q Ripple Trims to the playhead
- W Lops off from the playhead to the end of the shot
- opt Q or opt W performs the head or tails lift version of this.
Editing Montage Using Markers
- You can add markers to the sequence at large. Then Drag footage onto the automate to the sequence button. Makes a sequence for you that is very cuttable.
0 notes
Photo

Fibonacci all day, every day [http://bit.ly/2jiUBF6]
44K notes
·
View notes
Text
1. Getting to Know the Premiere Pro Editing Environment Notes 2
- start screen, general and scratch disks do to browse , direct scratch disk locations.
- project panel is where to access media and organize project
- source monitor, is where to preview material
- TL is the graphical view of the sequence
- Program monitor
- Shift 1 project pane, Shift 2 is the source monitor, Shift 3 is the timeline, and Shift 4 is the Program Monitor
- project organized as Broll, Images, Interviews, Music, and Sequences.
- categorical bins: list view and icon view.
- ~ toogle frame to maximize window, can make thumbnails larger with the slider
- \ key expands in the timeline window.
- Rough cut has Initials and Date
- Up and down arrow keys, playhead goes to edits.
- shift + mouse scroll wheel everything goes up at once
- wrench at the top gives option to minimize all tracks or expand all tracks
The Fast Track: A quick guide to premiere pro
- importing and organizing assets, right click and choose import.
- opt + K is how to play from in to out
- cmd + U is how to subclip, select desired location before creating subclips.
- to look at the audio waveform as you select clips, go to the wrench icon, and choose audio waveform.
Basic Editing
- up and down arrows will help you go backward and forward.
- shift + drag: snaps playhead to the end of a shot
- comma key, or “,” insert edit, or insert edit button
- + and - is how to zoom in and out of the timeline
- swapping clips: cmd + opt + drag
- can perform an extract with the “apostrophe” “ ’ ”
- a radio edit is focusing on what you hear
- moving everything to the right forward, use “ track select forward button”
- keyboard shortcut is a and “the track select backward” button the keyboard shortcut is shift + a.
- v key is the selection tool
- overwrite edit is the period key “.”
- x is how to mark a clip you can see the shot length
Refining The Edit
- opt + x this is how to get rid of in and out points
- with a gap you can choose, ripple delete to get rid of the gap
- ripple tool, keyboard shortcut is B
- opt and right arrow or left arrow helps with ripple.
- rolling edit tool, keyboard shortcut is N (for one shot to get shorter and 1 shot to get longer).
Performing Basic Audio Adjustments
- human voice should peak at -12db
- copy and edit > paste attributes or opt + command + V
- [ ] lowers audio by 1 dB at a time
- cmd + click adds a keyframe
- shift + D is a dissolve
- title > new title > default still
Outputting the Project:
- File > Export > Media
or Command M, can match the sequence settings, putting it in the queue works with Adobe Media Composer.
0 notes
Text
Premiere Pro CC Essential Training 2015 Notes 1
- to start a new project, hit create
- link media window, got to locate, and select option at any level
- Lumertri Color Panel, Windows > Lumetri Color Panel, Speedgrade is the sister program
- Morph cut is good for smoothing out jump cuts in talking head interviews
- Cmd + M is the export settings window
- Time Tuner, can change current duration to desired time
- Libraries are where to access stock video to add to library
- create a scratch sequence by dragging a clip into the timeline
- dragging a clip into monitor B brings up a window (you can insert clip before basically called a drop zone)
- overlay dropzone allows you to place clip at the lowest empty track at the playhead location or where you have in and out points . So it places it on V2.
- stock - right click and add to project.
- File > project settings > ingest settings : copy, transcode, create proxies, and copy and create proxies....
- to remove effects from clips: select them and press remove attributes
- team project: hosted on the cloud
- captions : create new item caption , drag and extend, then you have a type caption block.
0 notes
Photo


Mental Illness Recovery Series Book Campaign
Together we can spread the word about the true struggles behind behind mental illnesses. Help us make a difference with your donation Psych2go will be able to publish the Mental Illness Recovery Series Book covering 100 true life stories of recovery.
Psych2go Giveaway Contest: We will be giving away our recovery book to one lucky winner. To enter go to our Mental Illness Recovery Series Book Campaign and donate 1$ to our cause. The funds will go to cover all the expenses of publishing a book.
Mental Illness Recovery Series Stories
4K notes
·
View notes
Photo


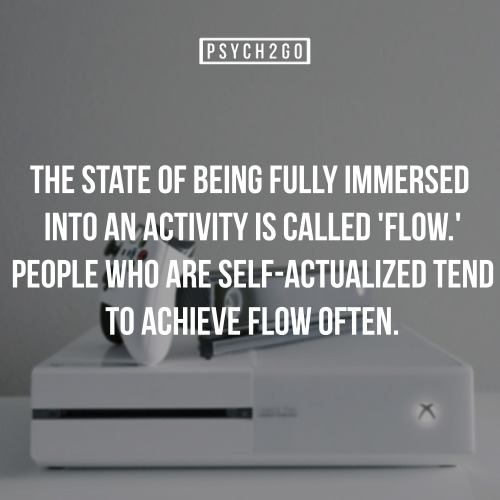

If you like interesting factoids like these, follow us @psych2go. We will also be sharing interesting psychology articles along the way.
83K notes
·
View notes

Photo
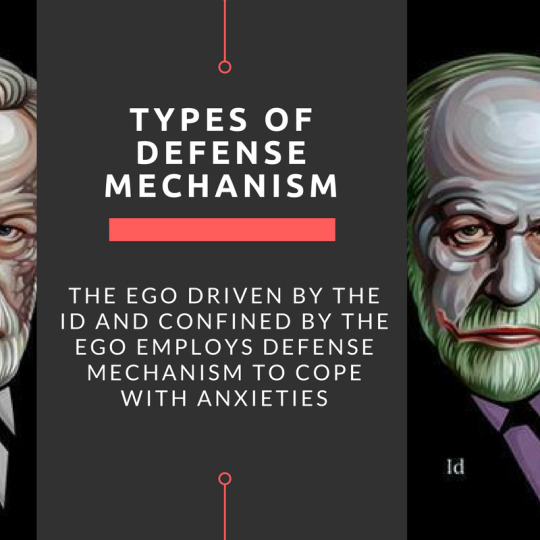

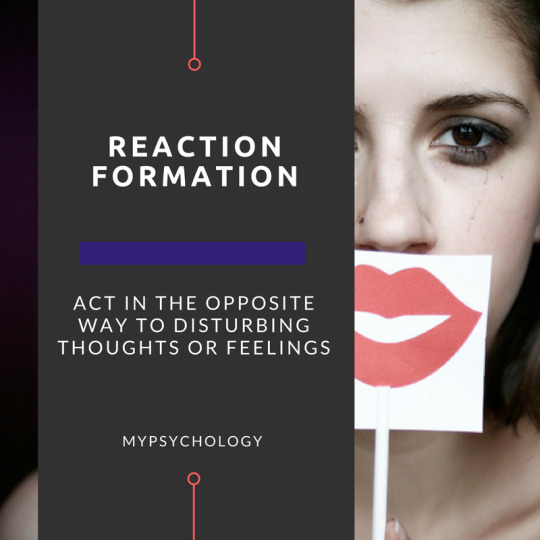
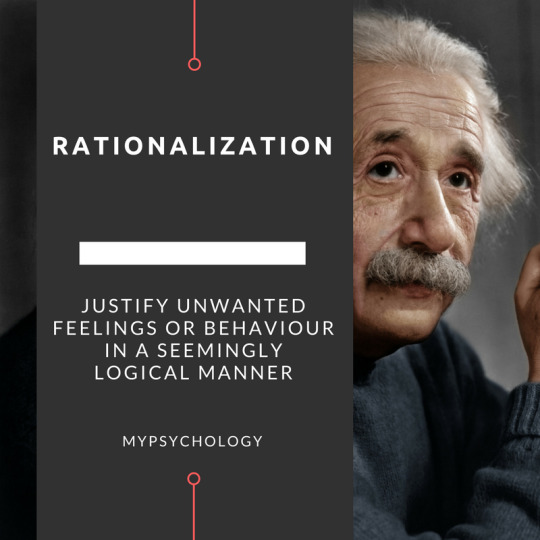
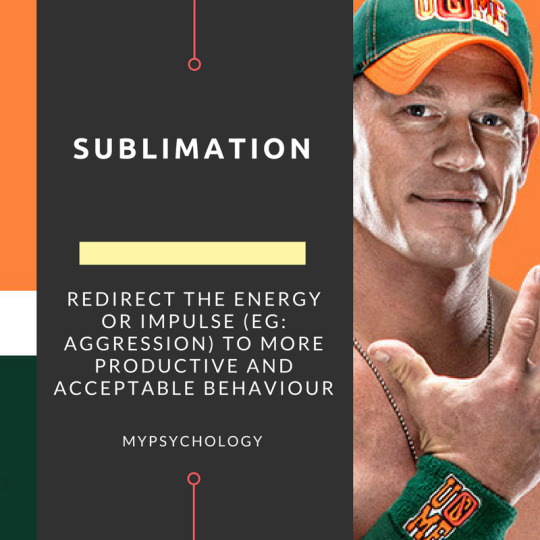


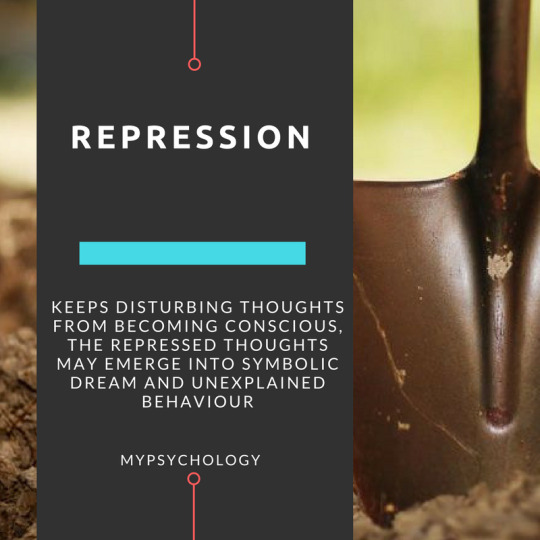
These ideas and concepts will make you respect Sigmund Freud’s early discovery in psychoanalysis therapy.
[MY Psychology]
Further readings => HERE
10K notes
·
View notes

Photo


Round 23!!! Haven’t done this in a while. What’s on everyone’s happy list today/this week/this month? Let me know here or comment on this post. Tag a friend and challenge them too!
5K notes
·
View notes