#AutoPartsGuide
Explore tagged Tumblr posts
Visit Tumblr Blog
Explore Tumblr blogs with no restrictions, modern design and the best experience.
Last Seen Tumblr Blogs


Fun Fact
Post activity is at the highest at 4:00 pm EDT; notes peak at 10:00 pm EDT.
Text
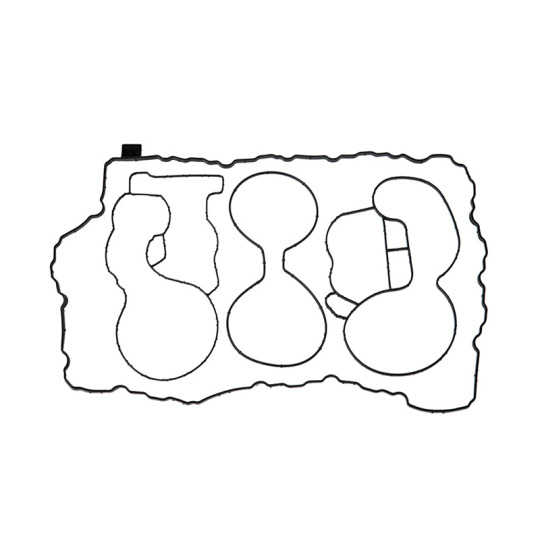
Installing an Oil Filter and Its Seal Properly: A Simple Guide
If you're into DIY car maintenance or just learning how to take better care of your engine, one small component deserves big attention—Automobile Oil Filter Seals.
Automobile Oil Filter Seals are designed to create a tight seal between your oil filter and the engine block. Sounds simple, right? But even a small mistake during installation can lead to oil leaks, low pressure, and potential engine damage.
Here’s how to properly install Automobile Oil Filter Seals and the oil filter itself:
1. Check the Old Seal Before removing the old oil filter, make sure the old Automobile Oil Filter Seal is still attached to the filter and hasn’t stuck to the engine. Double seals can cause massive leaks.
2. Clean the Surface Wipe the engine mounting surface clean. Dirt or residue can prevent the Automobile Oil Filter Seal from sitting properly.
3. Lubricate the New Seal Apply a thin layer of clean engine oil to the new Automobile Oil Filter Seal. This helps it seat properly and makes removal easier during the next oil change.
4. Hand-Tighten Only Once the Automobile Oil Filter Seal is aligned, screw on the filter by hand. Don’t over-tighten—most filters need only ¾ to 1 full turn after contact.
5. Check After Startup After running the engine for a minute, turn it off and inspect for leaks. A properly installed Automobile Oil Filter Seal will stay dry and tight.
Automobile Oil Filter Seals may be small, but getting them right keeps your engine protected and your hands cleaner in the long run.
#AutomobileOilFilterSeals#CarMaintenance#AutoRepair#EngineHealth#OilChangeTips#VehicleCare#DIYAutoRepair#CarProblems#AutoPartsGuide#PreventiveMaintenance
0 notes