#do zbrush and fix displacement maps
Explore tagged Tumblr posts
Visit Tumblr Blog
Explore Tumblr blogs with no restrictions, modern design and the best experience.
Last Seen Tumblr Blogs


Fun Fact
Tumblr is available in 18 languages.
Text
I was so worried ppl won't like my emp/tav posting..... I'm so glad ppl actually do like them......
#i wanna write/draw more serious stuff with them#but i also have to juggle that w college work#born to draw silly squids forced to uh.#do zbrush and fix displacement maps
1 note
·
View note
Text
iamasolarchicken
I thought he looked like a statue as well!
PS the hair would be easier to fix in Blender, if you wanted to pull it in there (or even send it to me if you're not a Blender fan). You could use the alpha overlay on the marble texture. Although I think the current shape looks pretty good too!
It wouldn’t be too hard to apply the hair alpha and preserve the marble texture, but then I think it would just look like a weird white wig? There are some flyaway strands in the test render like that (very hard to see against the background, but took to the left side of the hair), I’d have to remove them actually.
What I would probably do for a ‘real’ render would be to take the hair into Zbrush and use the Pinch tool on the rounded ends to make them pointy, then see what I can do to make the card edges less flat. Probably also fake some displacement maps from the normal maps to help give the hair cards some dimension?
....which may have just helped me figure out what to do with Asra’s hair, actually... 😅
Gods know there’s probably some weird way in Zbrush to retopo the whole thing and obtain a solid skin, but I have no clue lol.
(Thanks for the offer! I’ll consider it if I decide to try this, but the render queue is already so loooong and I keep stuffing it with new ideas daily ahahaha orz)
#iamasolarchicken#replies#3d process#the life of a 3D artist#I just love having more people to spout 3D jargon with lmao#sorry to the rest of you
4 notes
·
View notes
Photo
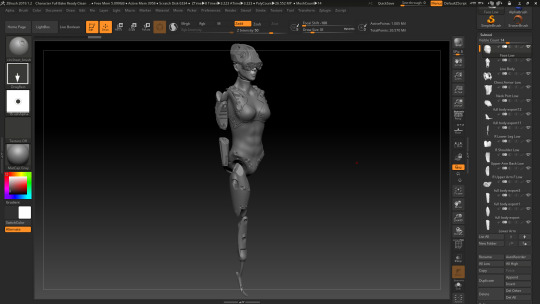
Last couple days have been TOUGH! Lots of trial and error and frustrating moments.
I had to deal with irratating bugs a lot with Maya’s UV editor, but luckily i’ve been able to rectify them, or at least work around them.
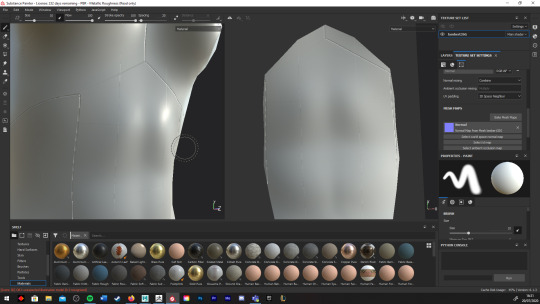
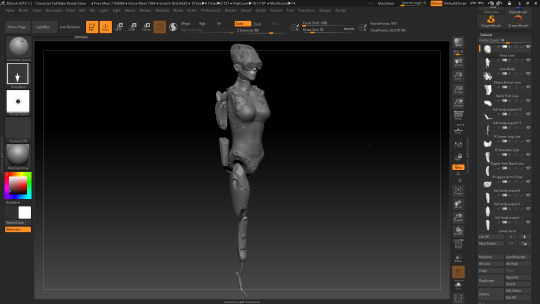
I was originally going to project the high poly onto the maya low poly inside Zbrush, and then combine the normal maps in Photoshop. Sang told me this wasnt the way to do it, so a few hours of wasted work, but it at least meant I knew that the maps would work (I was applying each one in maya as I did them to check the map was clean enough)
After a chat with Sang, I was going to try the name convention baking in Substance. I had some issues where the Low Poly lines appeared to be baking into the normal and ruining the mesh. After lots of googling and trial and error I found out that setting the edges to soft in maya would rectifiy this - such an easy fix! However, after spending a long time setting up both files to work with the _Low & _High suffix, the resulting bake was less detaield and messy compared to the results I was getting from Zbrush. I spoke again with Sang, and even though the method in Zbrush we discussed would take longer, it would produce a better result.
I spent all day today individually baking like last time, but this time, I would bake AT THE END! With all the subtools visable, this way the UV Map would be one unified map. I spent a long time fixing issues, especialy with subd breaking up the profile of the component (I was deleting some faces to avoid bleeding issues) and I was also having a lot of issues with artifacts during projecting. Some of them requried the projection settings to be altered, some required length smoothing and resculpting... It took a while but the resulting subd’d mesh looks good, and will hopefully provide good maps.
The Normal map is currently baking, however the displacement map is an EXR. format, and Zbrush will not allow this type of file to be merged, so I’m waiting to see what to do with this issue.
0 notes