Don't wanna be here? Send us removal request.
Text
Oh, the good ol' days you had to drop your money or you couldn't walk in battle.

0 notes
Note
Hi, do you happen to know where I may find some information on how one could make the background/enviroment in RPG Maker without needing tiles? I feel like making tiles is a cumbersome task, whereas the alternative seems a little less stress inducing. Thank you very much!
Parallax Mapping! (You can do this with tiles or no tiles!)
Important Question: What rpg maker program are you using? This is important because each program (XP, VX Ace, MV, etc.!) uses different dimensions.
Example: VX Ace uses 32x32. MV uses 48x48.
Dimensions are important for placement and eventing/programming!
Mini Tutorial: This example is with VX Ace’s dimensions (32x32).
1: Have a gridline.
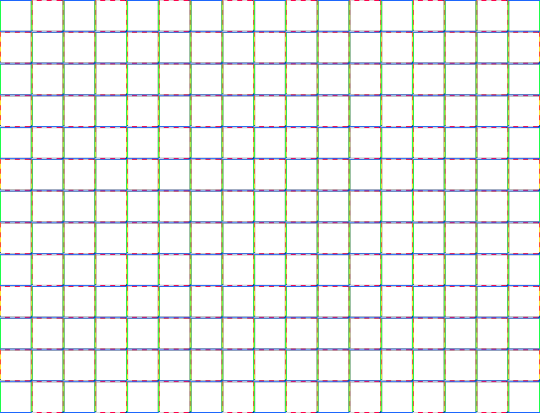
This will help you with mapping and placement! (More info on that later!)
About the Grid:
Each box is 32x32 pixels.
The example above is 544x416, the regular window screen size of VX Ace.
2: Insert your Sprite into the grid!
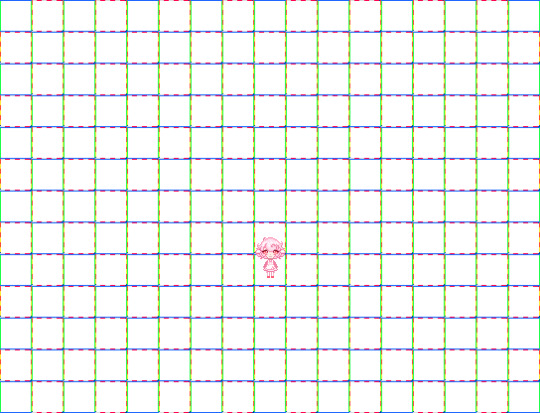
Having your sprite on your map will help with sizing and scaling! You can make items and furniture to be proportional with your sprite!
(Of course, if you want things to be tinier or bigger than the sprite, that’s great too!)
3: Mapping - Planning versus Freehand
Before we move onto mapping, lower the opacity of the grid. (It will make things easier!)
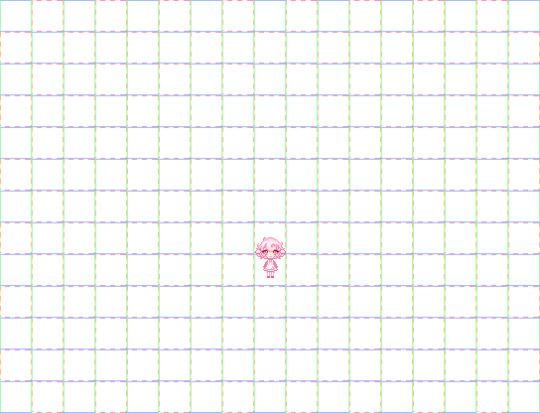
Now you’re ready, and ready to go!
You can start with a sketch and plan out your map as to where you want things to go and how it’d look like: (Planning)
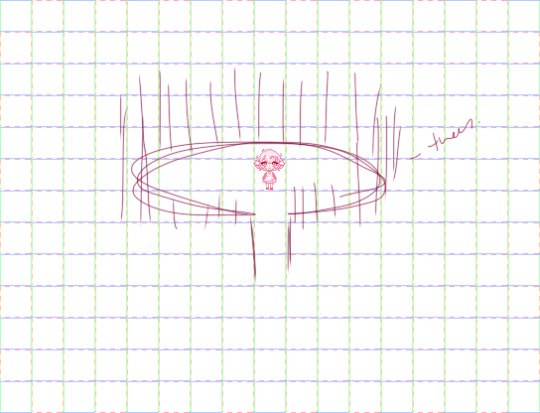
Or you can Freehand it. (Just start drawing and putting things down wherever you like! Just keep in mind the dimensions!)
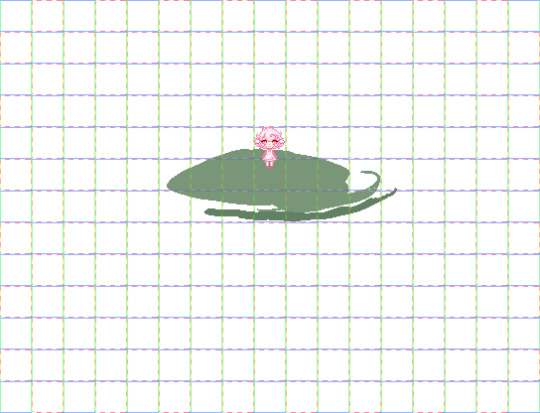
One method isn’t better than the other, just do what you feel most comfortable with!
4: Mapping - “Freehand” Mapping versus Tilesets
With Parallax Mapping, you can use tilesets or you can just draw onto the map itself!
https://i.gyazo.com/9bab2ece457721f0a1c1700233d63c13.mp4
This is me drawing onto the map directly.
You can draw anything you want! And wherever! Just keep in mind the placement and the layers. (Layers are particularly important if characters can walk under something!)
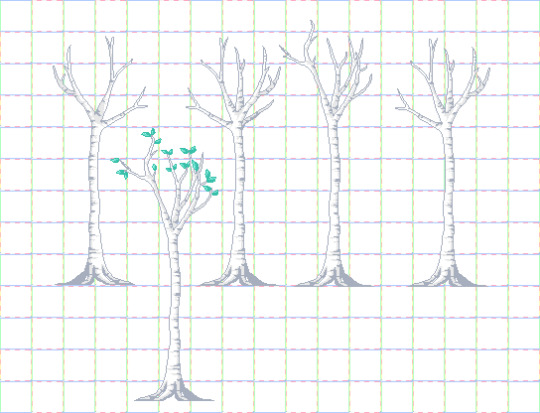
Here are some trees I made beforehand!
With Tilesets, you just need to take the tiles and just place them wherever you want (with placement in mind)!
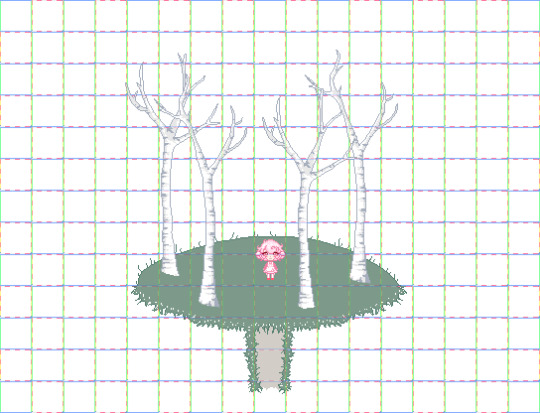
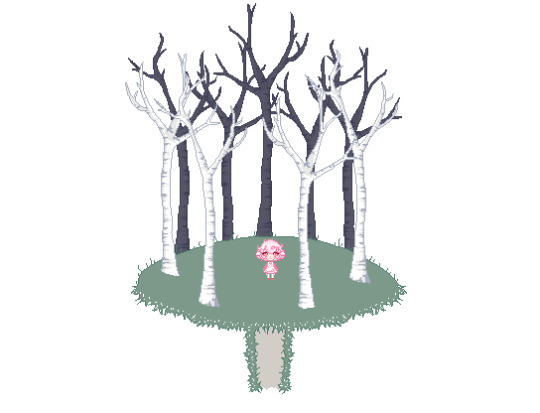
Here’s the map with the trees! (I edited the tree tilesets via cutting off their stumps, and for the background trees, I did an overlay of darker colors.)
Either method is fine. Just REMEMBER PLACEMENT (and layers!).
5: Background Color
If you don’t choose a background color for your map, and it is transparent, RPG Maker will make it black on default! (When you press “Play!”)
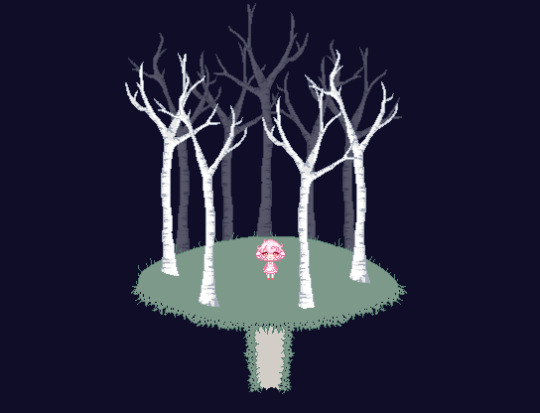
(In the example above, the bg color was chosen.)
And Black is totally okay!
6: Lighting
Lightning is SO important. It can CHANGE a map! It conveys time (daytime? nighttime?), warmth (warm colors versus cool), and feelings and emotions (unease, anxiety, safety, sadness, etc.!).
Lighting can transform a map!
BEFORE:
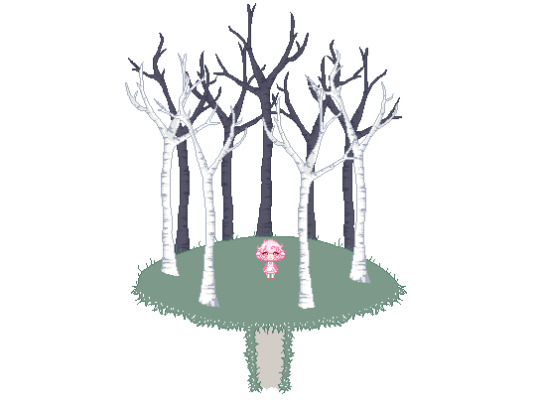
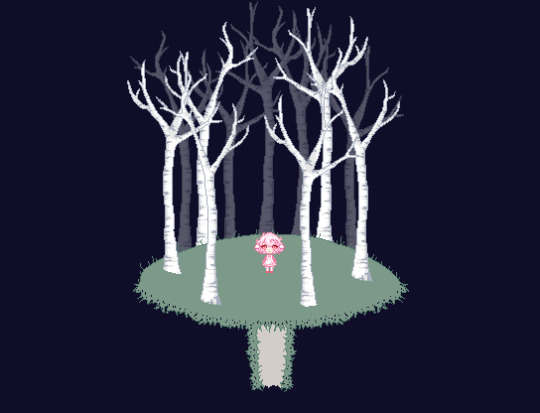
AFTER:
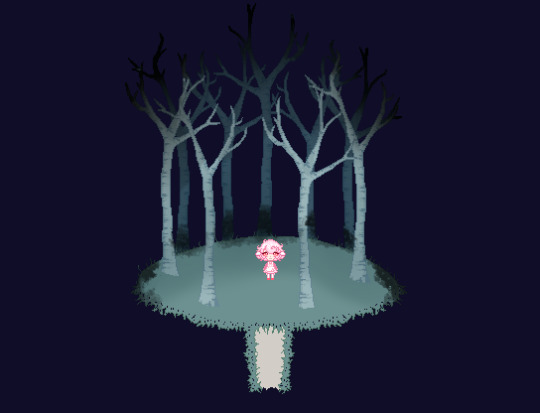
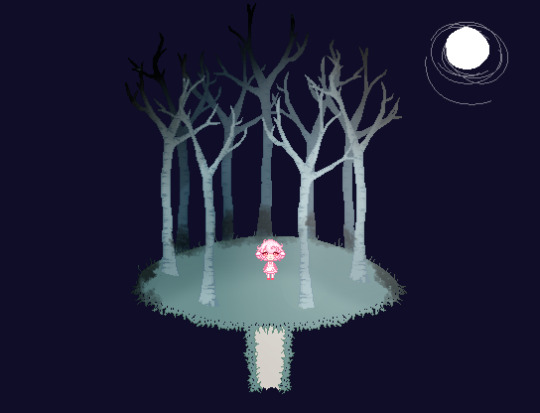
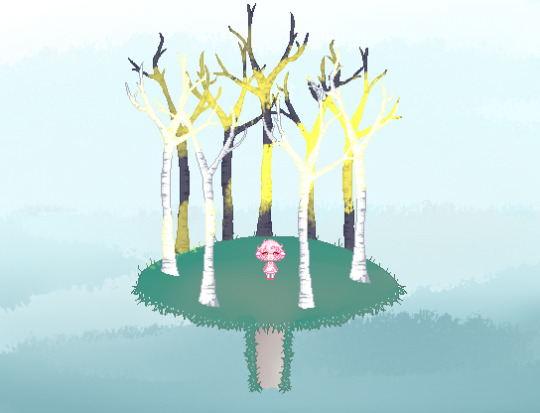
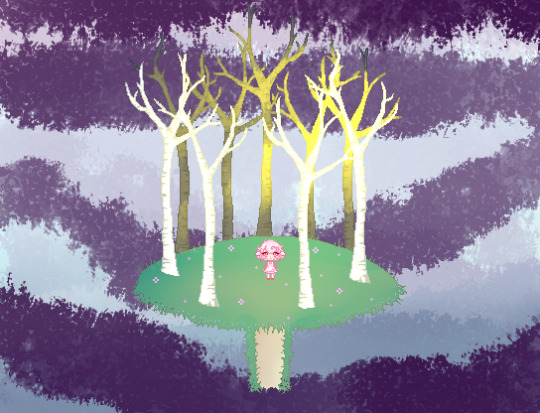
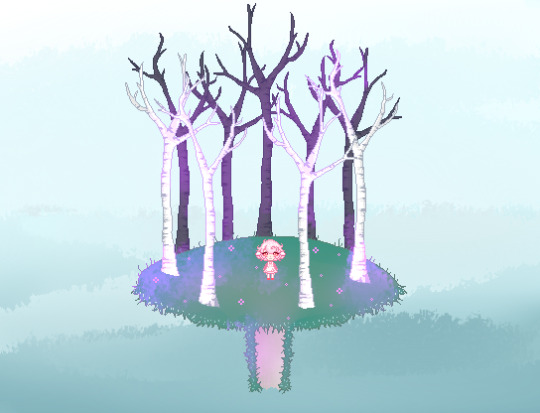
(In some, backgrounds were changed, along with adding flowers!)
Look how different they look from the first example! And you can play with textures too! (They’re fun and great!)
And you can do so much more! (I’m a complete novice! So looking for other examples + tutorials would be really beneficial!)
For Lighting, using the Overlay Layer helps! (You can play with various settings too like Luminosity!)
7: Be free!
And there you have it! Map away!
Keep reading
1K notes
·
View notes
Photo
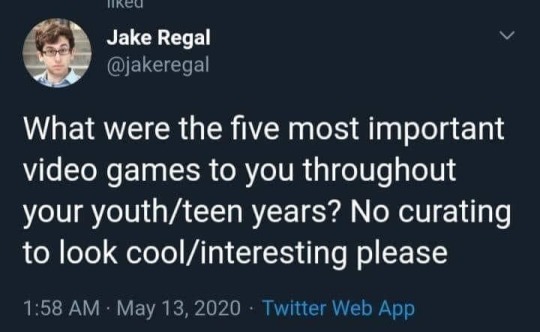
Sonic the Hedgehog, Megaman 2, Castlevania (the first one for NES), Zelda 2 and Shining in the Darkness.
131K notes
·
View notes
Photo

#sky #clouds #trees #urban #Bauru
0 notes
Photo

Game Over #Shantae #RiskyBoots #3Ds #DSi
6 notes
·
View notes
Photo

My backyard #sky #sunset #dusk #sky #rainy #Bauru #plants
0 notes
Photo

Double Rainbow #rainbow #sky #rain #Bauru #city
0 notes
Photo

#RichardParker #book #bookcover #TheLifeOfPi
2 notes
·
View notes


