#Autodesk crashed halfway through
Explore tagged Tumblr posts
Visit Tumblr Blog
Explore Tumblr blogs with no restrictions, modern design and the best experience.
Last Seen Tumblr Blogs


Fun Fact
Tumblr is available in 18 languages.
Text
Week 8 - Digital Iteration
The first pre-class activity was to watch a video on the development of a razor. Andrew Simpson discussed the use low-fidelity and hi-fidelity models when prototyping the razor. A low-fidelity model is usually a very early prototype that doesn’t accurately represent what the final product will look like and rarely allows for user interaction. However, a hi-fidelity model is a prototype close to what the final product will look like and will perform its intended functions almost exactly.
In this week’s tutorial we were introduced to a new modelling software; Autodesk 3ds Max. I have previously worked with Autodesk Fusion360, Rhino and SketchUp, so this software was new to me. However, there are tools that can be found across all platforms such as offset, chamfer, bevel etc. After getting past the MyAccess drama, I was finally able to have a working version of 3ds Max and began with Part 1 of the tutorial. This was mainly getting used to the interface and learning to set up the viewports and units correctly.
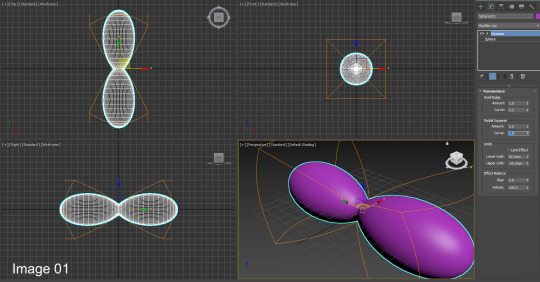
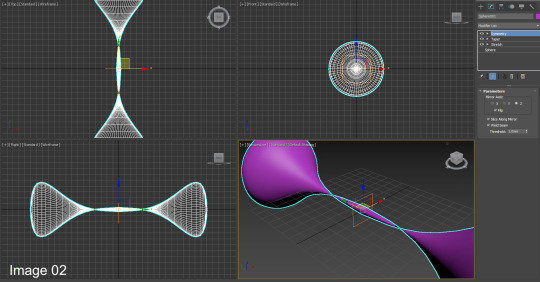
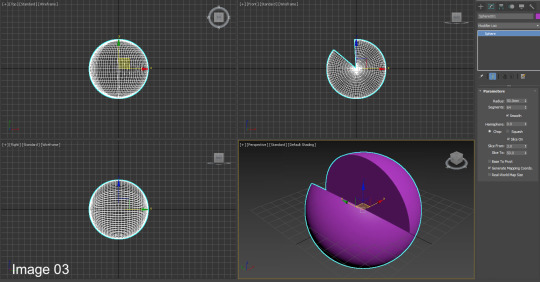
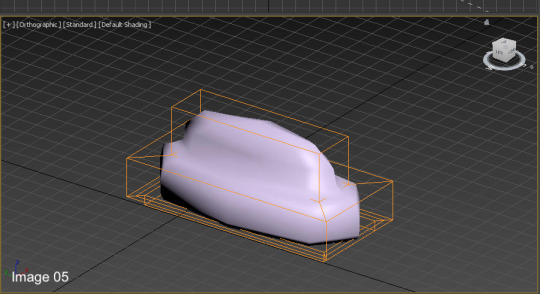
We then started playing around with the different tools such as gizmo, primitives, and modifiers. When experimenting with these different functions, it was interesting to see how changing the values of different elements could drastically change the shape and flow of an object(Images 01-03). For example, I used the melt function on my sphere and played around with the different values and eventually ended up with a donut shape. I also tried stacking the modifiers to see what effect that would have on the sphere. Overall, this section of the tutorial was quite straightforward and easy to follow (apart from 3ds crashing halfway through and not having saved my work).
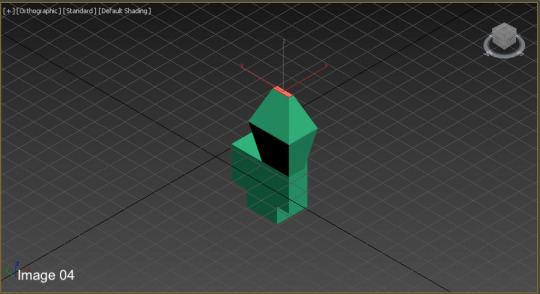
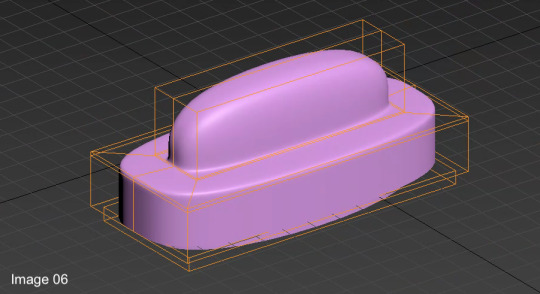
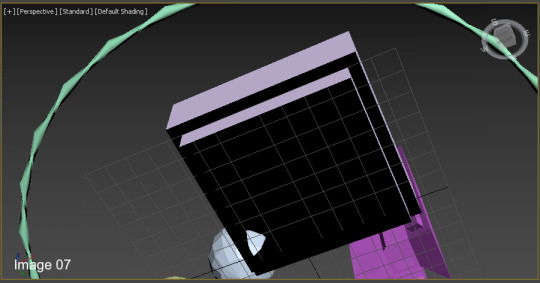
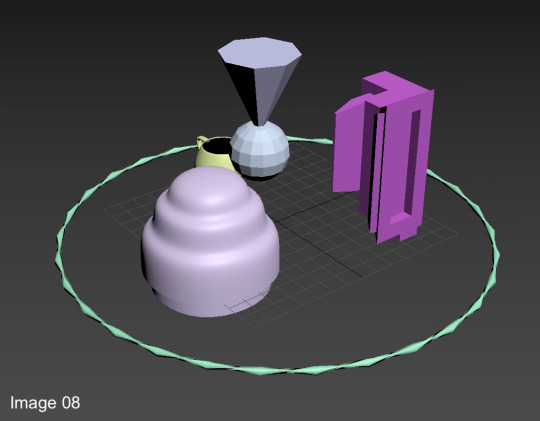
The second part of the tutorial was for creating our own abstract shapes (Image 08) using the new skills we had learnt in Part 1 and in the extra tutorial videos on Autodesk. I found this very enjoyable as I learnt neat shortcuts/tips to make a more aesthetic model. For example, by deleting and/or adding faces onto a polygon, you can create a smoother surface when using the NURMS function (Image 06).
However, next week’s task may be more difficult when we have to create the shape of our Olay moisturizer bottles. This week we were just playing around and creating things on the spot but now that we have a designated shape/design we need to produce, it may be more difficult to create the precise/accurate edges and curves.
11 notes
·
View notes