
Don't wanna be here? Send us removal request.
Statistics
We looked inside some of the posts by lisapurdyhasa and here's what we found interesting.
Average Info
Notes Per Post
146
Likes Per Post
107
Reblog Per Post
39
Reply Per Post
0
Time Between Posts
5 months
Number of Posts By Type
Text
10
Photo
7
Last Seen Tumblr Blogs


Fun Fact
28.6 is the average number of monthly visits per US mobile user.
Text


variety of samplers
cozy blue & kiriki
& 1 self-designed (blueberries, rosemary, and lemons)
3 notes
·
View notes
Text
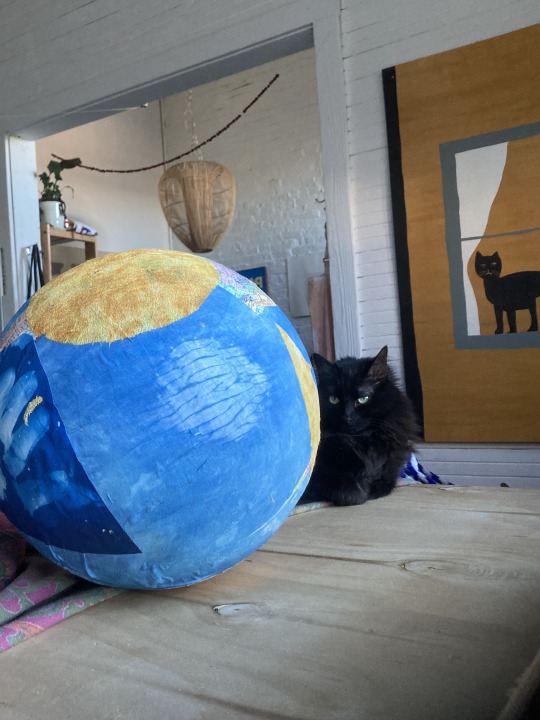
indigo & marigold & cyanotype globe papier mâché (wip) pictured with Lillian
0 notes

Text

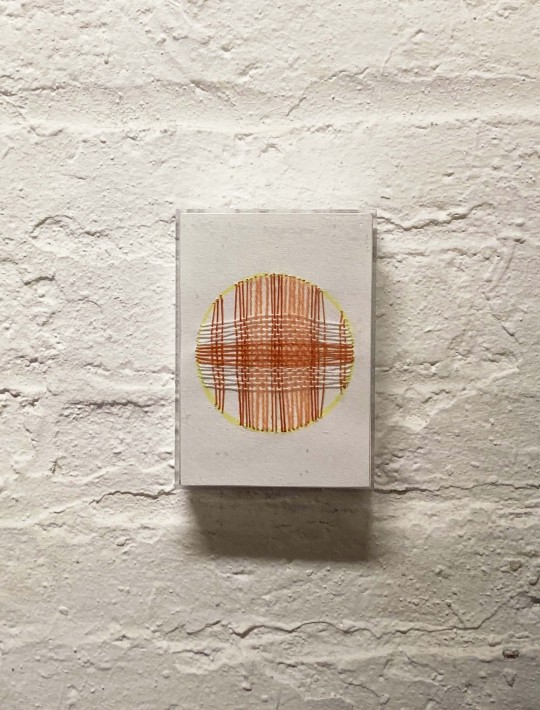
embroidery on paper, 3" x 5" (2024)
1 note
·
View note
Text


(only the text, not the bunny!)
updated this needlepoint by replacing the name that had been stitched below (commission)
0 notes
Text

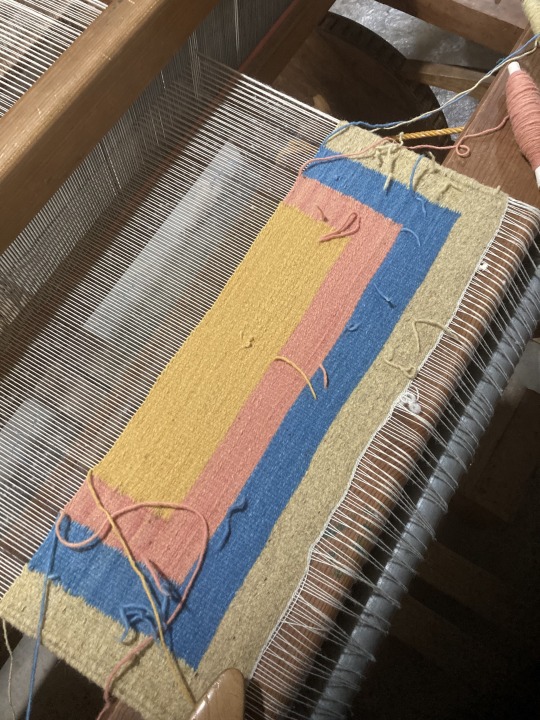
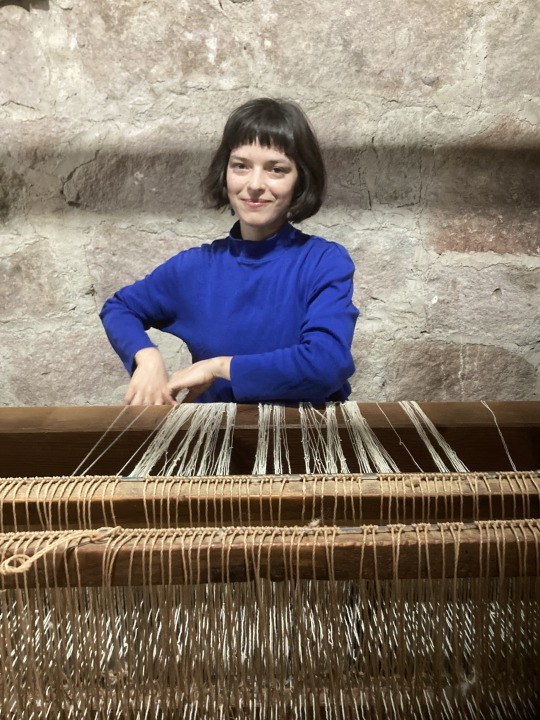
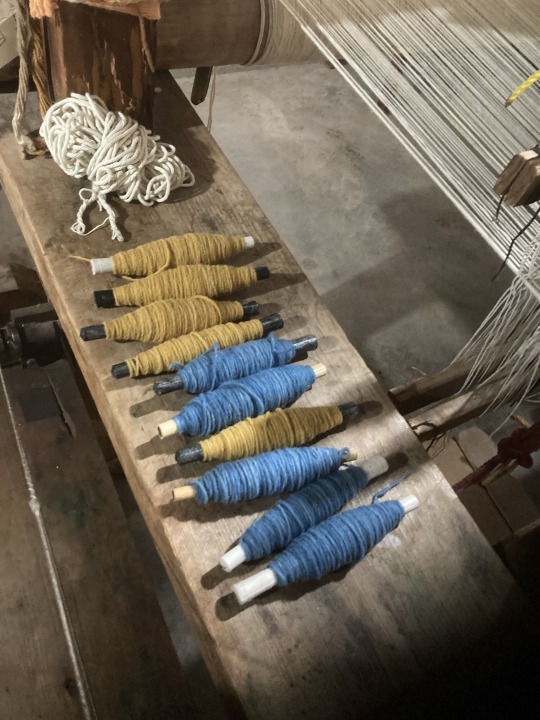
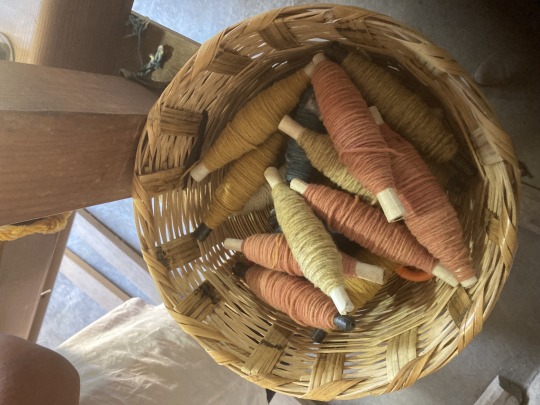
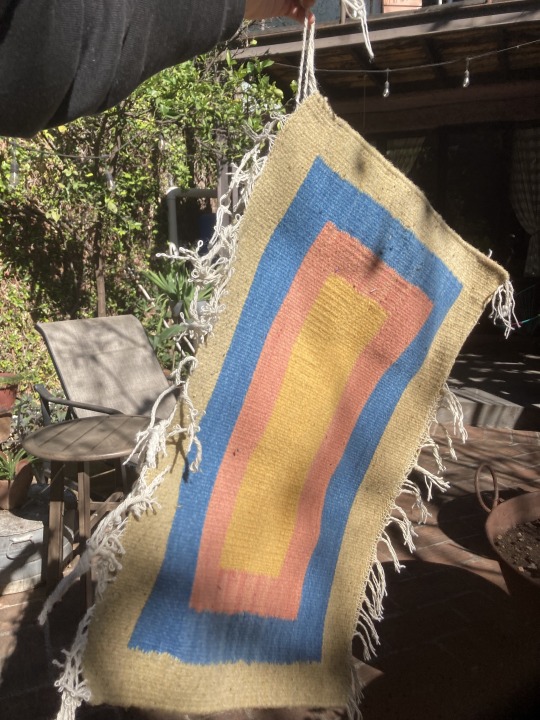
preparación de la trama, de los hilos para las canillas, y el tejido con el telar. no acabo de terminar los hilos blancos pero lo haré :)
en la bella Teotitlán del Valle, Oaxaca de Juaréz
107 notes
·
View notes
Text


suéter para mi sobrino
'avec amour, tatie lili'
7 notes
·
View notes
Text

my contribution to the quilt CSD made for LR's departure from gather here: blanket stitched patches inspired by a 2016 painting by Kristin Texeira
1 note
·
View note
Photo


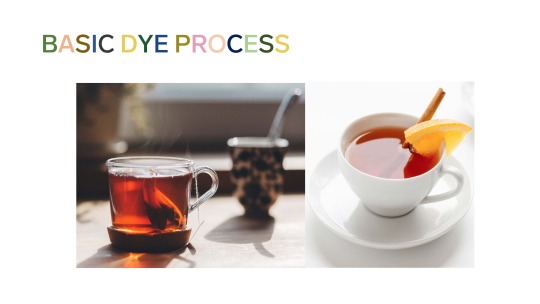
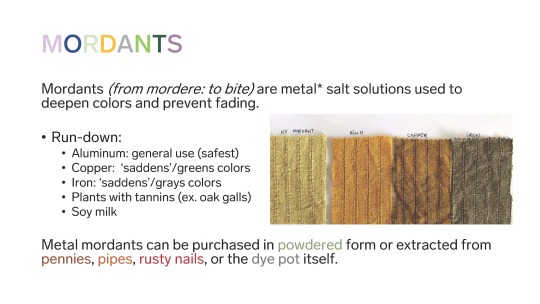
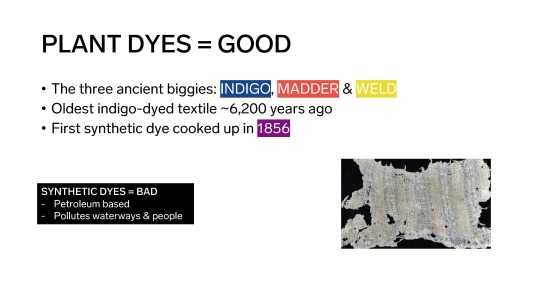
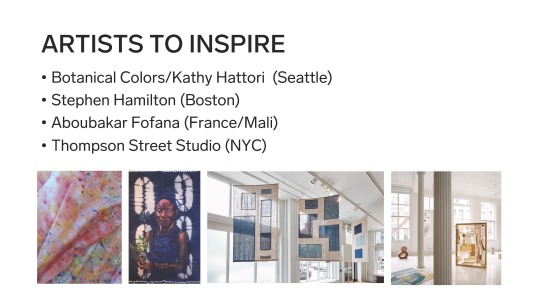
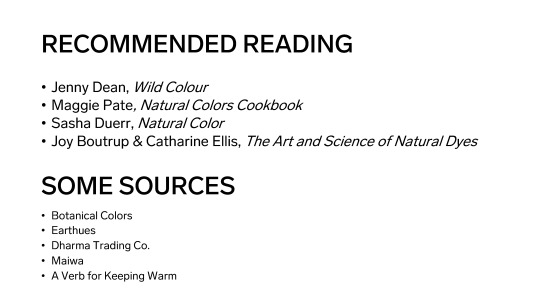

Slides from the natural dye workshop with the Cambridge Public Library on 8/13
3 notes
·
View notes
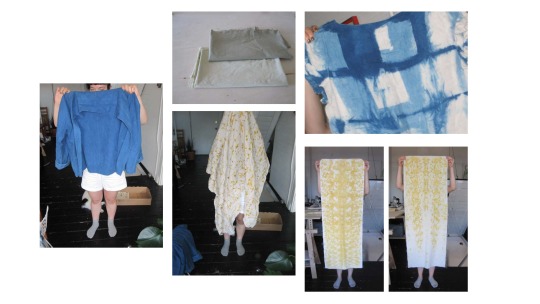
Text
Marigold Steam Bundle
This is one of my favorite dyes thus far. After scouring and mordanting Kona PFD quilting cotton, and letting it dry out I laid out two half-yards and sprinkled them with petals -- just one half which you then fold up lenghtwise, then roll it up tightly and tie it securely with string. You can dye with fresh or dried marigolds, which produce different effects, and there are SO many petals on each flower that just a few flower heads will make quite an impact. I used around two flowers per half yard I think. But in the future I might opt for fewer.

The fresh marigolds produced a more diffuse, watercolor, tie-dyed effect. The dried leaves produced a deeper, more defined petal shape. I particularly like where I combined the dried and fresh which is visible in the top right image here.

5 notes
·
View notes
Text
Dandelion Dye
First you gather the flower heads from the outdoors -- flower heads will create a greenish yellow; you can collect leaves too, which will turn the dye more green, slightly muddied. I based this experiment mostly on Jenny Dean’s Wild Colour. Then you weigh the plant material (they’re in the plastic bag) so you can plan how much fibre you’ll be able to dye. Good to start with a 1:1 ratio here, though for richer colors try making it more concentrated.

I’m using Kona Cotton PFD (prepared for dye). PFD fabrics have likely been bleached and cleaned somewhat but they are not fully prepared for dyeing in that they haven’t been scoured or mordanted -- they just haven’t gone through any extra processes to chemically attach any extra colors to the fabric molecules. It’s a good idea to soak your fabric before dyeing, this is called ‘wetting out’ the fibre. Opens things up on a molecular level.

Also if you are mordanting (explained momentarily) make sure you are using separate tools! This glass bowl I will use for food in the future because it’s just fabric and water in there -- but those tongs and wooden spoons will come in contact with the mordant which makes it unsafe for food consumption. Mordants are typically metal salt solutions that are used to create something for the dye to hold onto which is especially important for cellulose fibers. Since they are typically purchased in a fine powder form it is crucial to wear protection on eyes nose and mouth. I say “typical” because there is a whole world of mordants I haven’t fully explored -- including using rusty nails and vinegar to create iron mordants, dropping a copper pipe into the dye pot, using rhubarb leaves or acorns or soy milk to mordant. Though it’s recommended to take precautions, I’m using Alum Acetate which is actually quite safe. Just don’t want the powder in your eyes or your food. I dye in my kitchen with my cats around.

For Alum Acetate I’ve been using a 5% ratio of fibre to alum. You mix it in with boiling water (above, the Pyrex beaker has the mordant solution in it) and then add that to your water (I’m mordanting in the black enamel pot) which you add the fibre to and simmer for an hour. I try to leave things in their pots for a long time. The bottom photo is me transferring the mordanted fiber straight from the mordant pot into the dye pot. You can totally mordant and dry your fabric and keep it for later. I did not scour the cotton which I really should have (another slightly chemical process of simmering for a few hours which strips the cotton of waxes and other things that will get in the way of dye particles).

The process for making the dye is pretty straightforward -- place the plant material in the pot and simmer for an hour, then let it cool for a while (maybe even overnight!) before straining out the dye stuff (usually by pouring it into another large pot through a colander), heating it up again for putting the fibre in. You want enough water in the pot so that the fibre can move freely around. You aren’t going to dilute the dye this way -- the concentration of plant material will be what determines the color of the dye. As you can see it’s a fairly pale color (it will be paler once dry) but it’s still a pleasant shade! And can be made richer by scouring and making a more concentrated dye. You simmer the fabric in the dye pot for an hour, but again, leaving it overnight will help increase dye uptake.
10 notes
·
View notes
Photo

mug rug from gather here’s quilting basics
1 note
·
View note
Photo

double gauze sashiko-stitched quilt (with nani iro binding) - for M & S
1 note
·
View note
Photo

UNDERTOW, a short film
made for the 2019 International Pancake Film Festival Sci-Fi Extravaganza
https://vimeo.com/380149391
0 notes
Photo
embroidery on white tulle of a snapchat I received, 2017
0 notes
Photo


plastic on birch panel, 2019
1 note
·
View note
Photo

Collage, 2016
1 note
·
View note