
Don't wanna be here? Send us removal request.
Statistics
We looked inside some of the posts by 4ddgarcadeproject and here's what we found interesting.
Average Info
Notes Per Post
2
Likes Per Post
1
Reblog Per Post
1
Reply Per Post
0
Time Between Posts
2 days
Number of Posts By Type
Text
17
Last Seen Tumblr Blogs


Fun Fact
Kazakhstan’s Minister of Communications and Informatics has blocked the Tumblr site because it contained 60 sites of terrorism, extremism, and pornography in 2015.
Text
How paranoia is used in video games
In order to put players in a state of perpetual anticipation and terror, paranoia in horror games is created using specialised gaming mechanics, psychological manipulation, and environmental design. As demonstrated in Amnesia: The Dark Descent, gloomy settings, unsettling noises, and poor vision exacerbate anxiety. Silent Hill and other psychological horror games cause players to doubt their views by fusing illusion and reality. Paranoia is heightened by gameplay factors like powerlessness and scarce resources. This is best demonstrated by the video game Paranoid, which immerses players in the protagonist's mental collapse, making it difficult to tell the difference between hallucinations and reality.
youtube
2 notes
·
View notes
Text
Adding audio into my game
Firstly I start off by downloading music from google drive.

After that when you download the file I drag it into my content drawer and right click on it, then press "Create Cue".
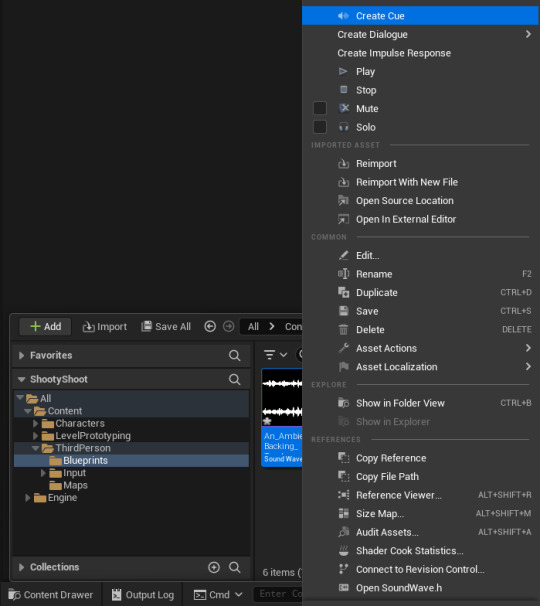
Then press on your audio and tick looping in the top left.

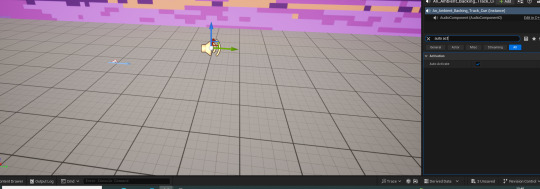
Go back to your game and drag the cue from the content drawer into your game and then make sure to tick "Auto activate" in the details panel so when you start playing you can hear it.
0 notes
Text
Game banners moodboard
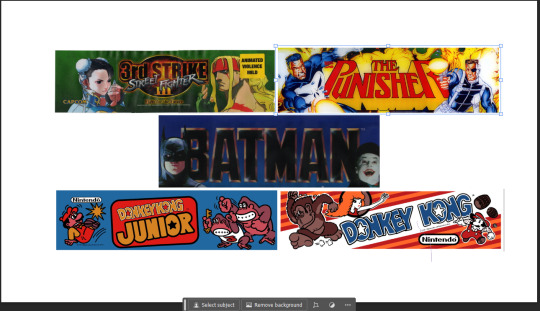
All these 5 games are similar to eachother as they display the game name in the middle with their own custom font which is then surrounded by the characters the user can use inside the game, as you can see the best example of this is "Batman" and "The Punisher" banners.
0 notes
Text
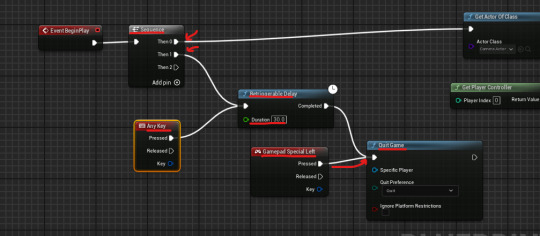
Quitting the game after being afk.
Firstly, I dragged my "Event BeginPlay" out and created a sequence box infront of it. I connected that to "Event BeginPlay" and dragged one node to my "Input mapping" code and the other into "Retriggerable delay" this box will make sure to execute a line of code after a "delay" for example quitting the game. Next make a "Gamepad special left" box as that is what the "select" button is named on unreal engine, what that button does it ensure that the arcade machine's buttons (when they're pressed or moved) will reset the timer in the "Retriggerable delay" box. Finally connect a "Any key" box to it which makes the timer restart after any input is made.
0 notes
Text
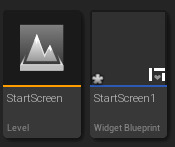
Creating the start screen
Firstly i make a new widget blueprint and new level and name them start screen related.
Next, you make a canvas panel and 2 text boxes inside the designer and design them to your liking.
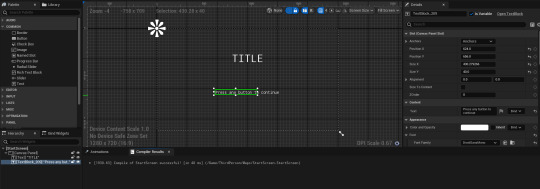
This will work as i have not thought of a title yet.
Finally, inside the event graph I add these boxes to ensure that the smaller text box flashes on the screen to attract players.

and these boxes make you able to press any button to continue.
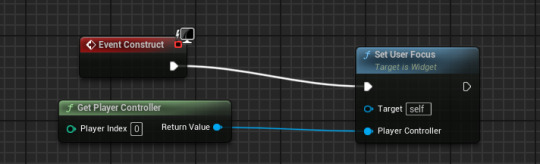
^ Those are inside the "MenuPawn" event graph.
0 notes
Text
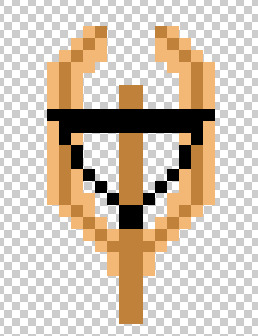
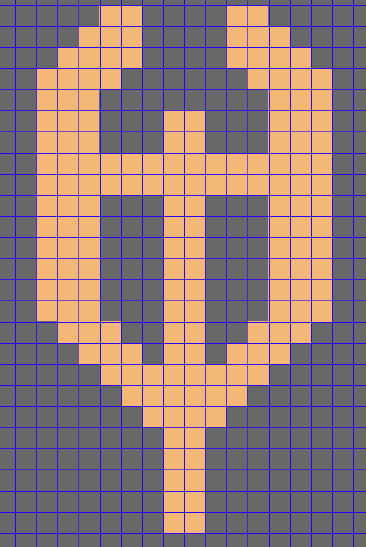
Importing my crossbow into my game and putting it as my character.
Firstly, I extract the crossbow as a png from photoshop. Next I go to my content browser and press the import button and find the file then press open.
Next, I apply 2D paper texture settings and then press the extract button above that.

Now my character shoots projectiles but since I have a crossbow sprite I can apply that as my character. Go into your 3D Person Character and then type into the components bar "sprite" and your sprite should show up as one of the displays.
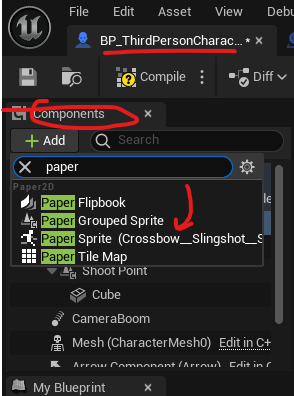
Finally I increased it's sized and tilted it's body.

0 notes
Text
Adding camera actor to display my background
Firstly, I create a new blueprint class and press on the actor class
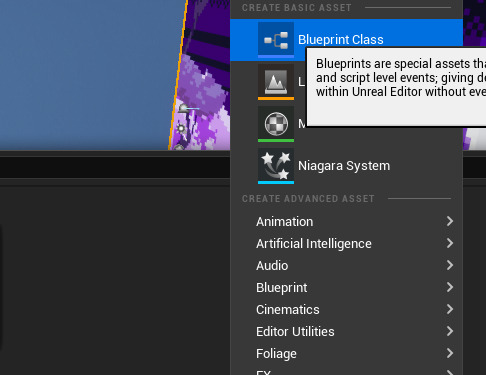

Secondly, I double click that actor and go to the components section and type in "camera"

Finally, add the camera and then drag the actor into your world and when it is highlighted it should have a little window in the the bottom left of what it displays.

0 notes
Text
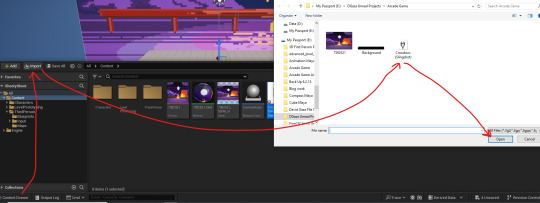
Importing my background into my game
I scrapped my old background and decided to get a copyright free pixel art background and downloaded that one and imported it into my game. Content drawer > Import > JPG image

Next, I applied Paper 2D texture sprite onto my new background image and then extracted it.


Finally I dragged the extracted sprite into my game.

0 notes
Text
Start Screen
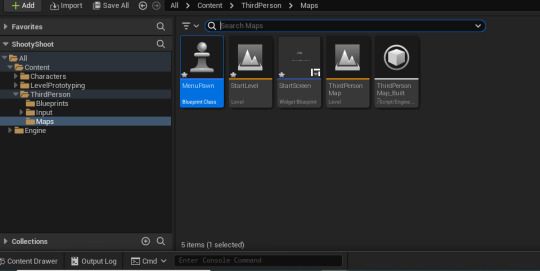
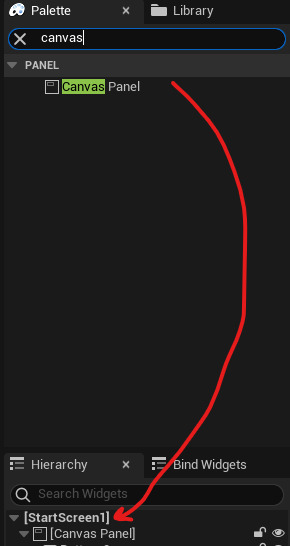
Today I started making my startscreen. Firstly I made a new "Level" blueprint and a "User widget" by right clicking in the content drawer and named both of them appropriately.

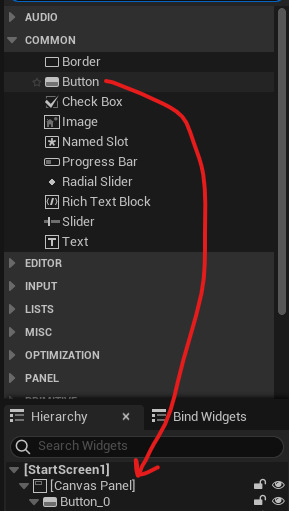
Next inside the designer I dragged a canvas panel into the hierarchy and then a button onto the canvas panel to make a "child" for the canvas panel.
Afterwards, I drag a text box into the canvas panel display and name it appropriately, I also change the font and the colour of the text and change the font. Next I duplicate the button with the play text box but change what the text box says to make a "quit" button.

Now I start making the code for the button to actually work inside of the game, so first press on "PLAY" button and scroll all the way down till you see the events section and press the "+" icon to the right of "On clicked" text.

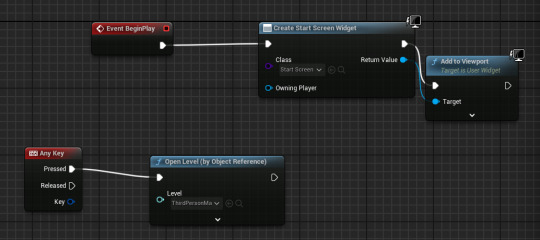
In the event graph you create an "open level (by name)" box and connect it, also do the same thing for the "Quit" button but instead of an "Open level" box you make a "Quit game" box.

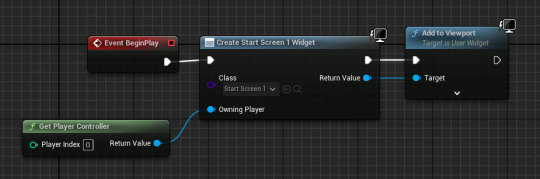
After that we go into the event graph of our "Startscreen" level and delete the event tick box.

Drag out of the begin play box and make a "create widget" box and drag off of that box and make a "add to viewport" box and finally from the "owning player" node inside of the "create widget" box create a "get player controller" box which should look like something like this.
0 notes
Text
Rectangles
In my game ill have some extra shapes to act as shields for enemies and others, at first my initial design looked like this.

But I decided to switch up the colour pattern and made this outcome which ill stick with for now.

This is my final outcome.
Next I started making the damage effect for the rectangle by rounding the corners so it makes the object seem more worn away and damaged.
finally for the second damage hit before it disappears looks like this.

0 notes
Text
Triangle destroyed art
1st hit damage

2nd hit damage
3rd hit destroys it completely.
0 notes
Text
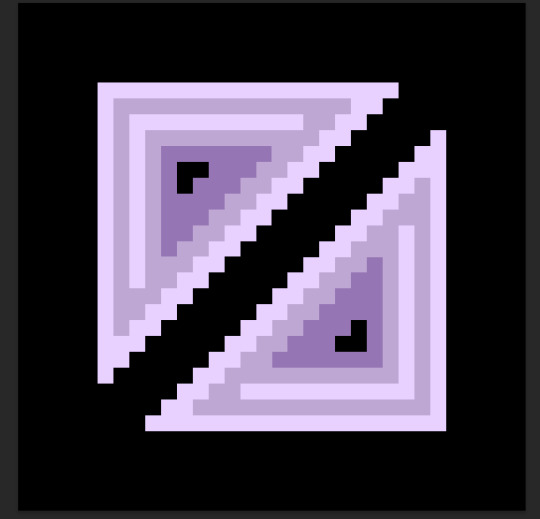
Triangles
My starting design is the same as everything else.
Firstly I make a box and then I attach a line diagonally across the box
Secondly I created a simple right-angled triangle in one section of the box.
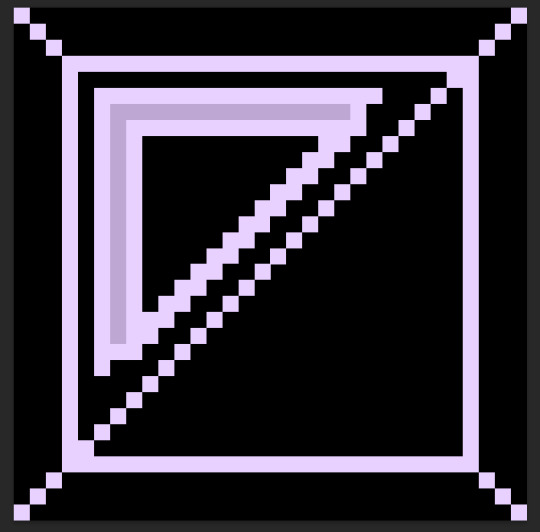
and then colour in the triangle.

Then do the same thing but on the other side.

Finally, remove the box surrounding the triangles and the line in the middle to complete your triangle blocks.
0 notes
Text
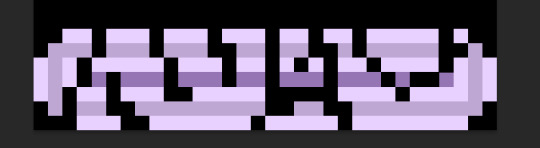
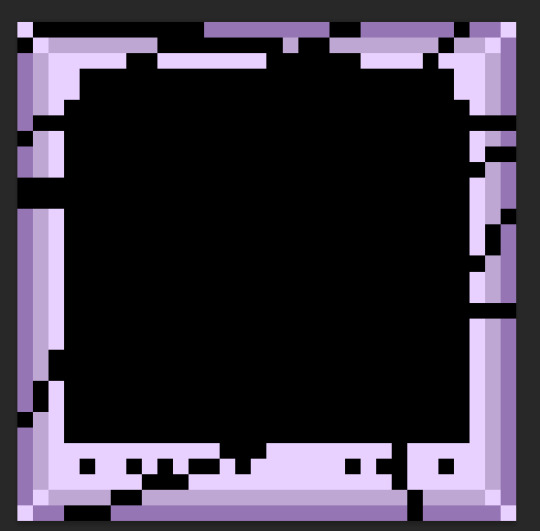
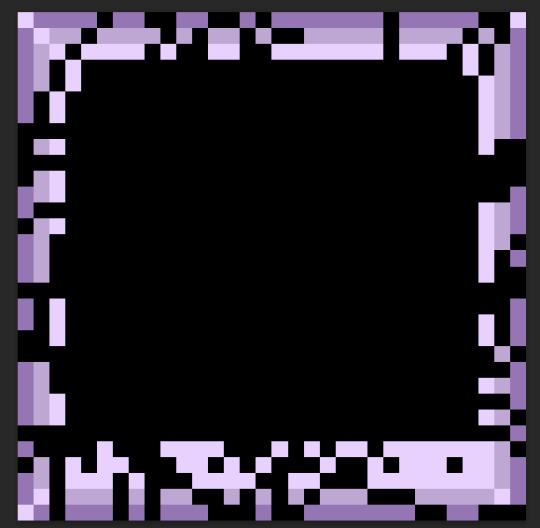
Logo placeholder

I started with the same initial box shape for the breakable tiles but created a blocky triangle shape that sticks out of the box.
0 notes
Text
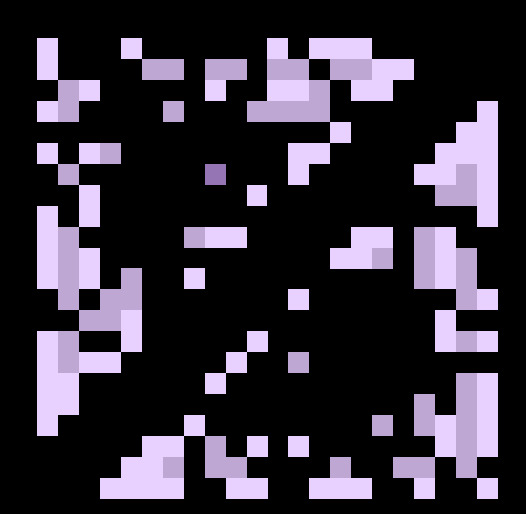
Block tile creation
These block will be included in the breakable terrain for my game as some will house character and other items of value to gain point, or act as a protective barrier from attacks.

for this design I took inspiration from the angry birds block sheet I found on pinterest.
How to Make your own Angry Birds Magnet Set - Kids Crafts & Activities
I have also made the break effect on this block as you progressively hit it.

and after that it disappears
0 notes
Text
Creating background
So far I've decided to base my game in a night setting as it would fit and show off other characters I have made in a more vibrant aspect
So far I've completed the moon which looks like this:

my inspiration for this design was this post on pinterest.
Retrosaur (@RetrosaurDev) / X
After making the moon I decided to make the stars, I was unsure at first how to style them and if to make a bunch of them or barely any of them but I just started clicking anywhere and came out with this.

0 notes
Text
Slingshot creation progress #3
I included more details into the wood aspect of the slingshot and i'm creating a frame animation for the string aswell.
0 notes
Text
Slingshot creation progress #2
I decided to alter the design of the slighshot as I still need to draw the string and I couldn't really connect it properly.
0 notes