
Don't wanna be here? Send us removal request.
Statistics
We looked inside some of the posts by aetherialrose and here's what we found interesting.
Average Info
Notes Per Post
1M
Likes Per Post
406K
Reblog Per Post
895K
Reply Per Post
284
Time Between Posts
11 days
Number of Posts By Type
Photo
12
Text
1
Last Seen Tumblr Blogs


Fun Fact
US Tumblr user growth rate is estimated to slow down to 4.1%.
Photo

The Elusive Lightfury 💜 Can’t wait for the new trailer today!!! =) So excited!
424 notes
·
View notes
Photo
Check out these redesigns!

Photography club redesign (My fav club). Tried to keep the 70s feel and based Sukubi on an Australian Shepherd dog.
51 notes
·
View notes

Photo


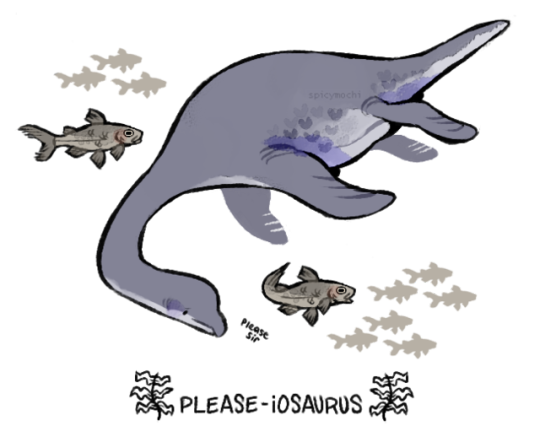
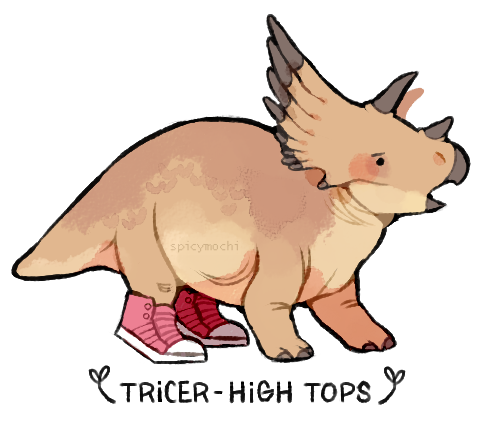
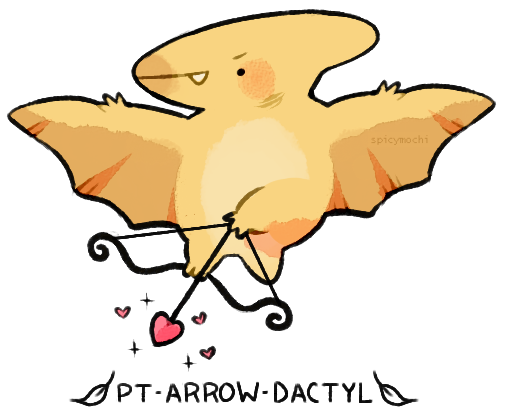
Some more designs from the archive! This is a portion of the work done for another project that fell through. The brief was to design creatures based on music, focusing on the instruments and the kind of sound/feeling they produce.
2K notes
·
View notes

Photo

I know you don’t have to judge a book for its cover, but this is ridiculous…
2 notes
·
View notes
Photo

It’s dinosaur day, so I thought it would be a good opportunity to upload my paleoart of a sleeping Allosaurus.
I might or might not died once or twice while drawing those rocks and skin details
160 notes
·
View notes
Photo

I’m really looking forward to seeing this clever girl again on the big screen!!
Sketch by Nekkyo Usagi © 2018
567 notes
·
View notes

Photo

Every day, we stray further from god


dat leg anatomy tho
636 notes
·
View notes


Photo
Jeez Nanu, what a brutal savage.

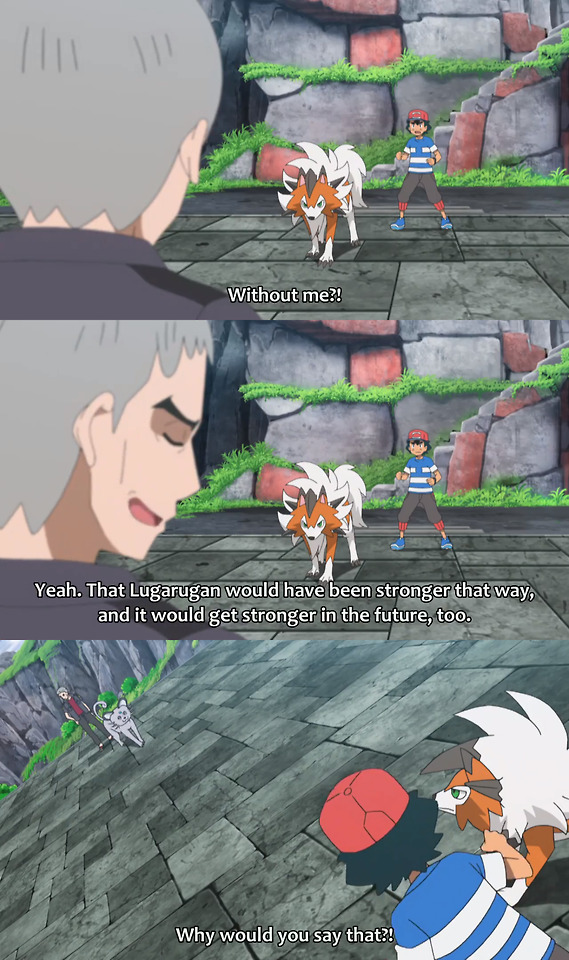


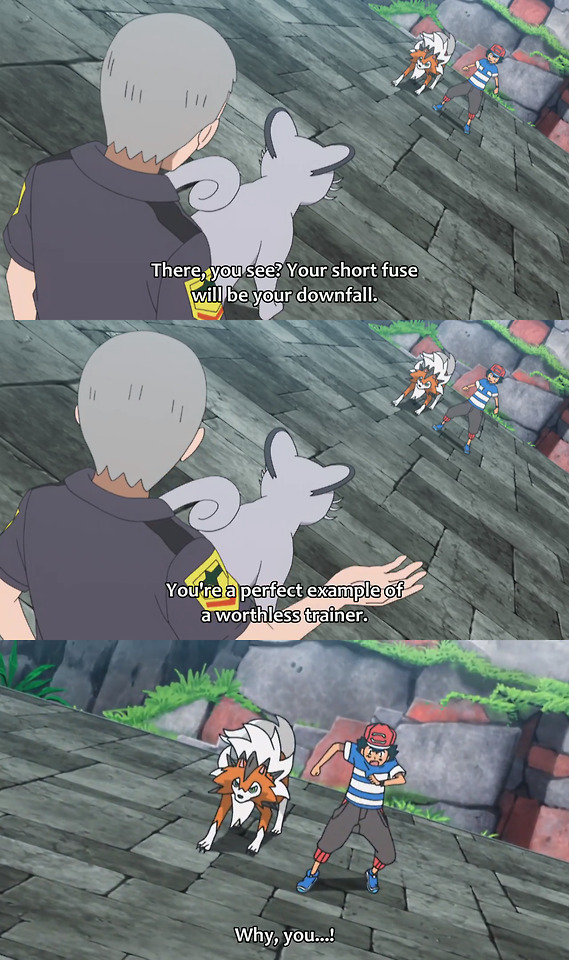


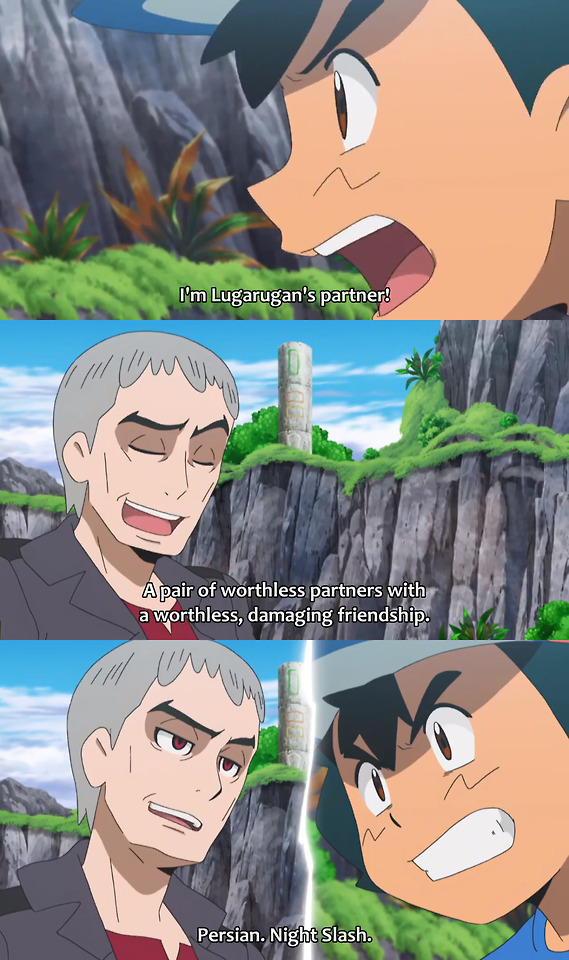

alternate title for this episode: Old Man Brutally Insults 10-Year-Old And Beats Up His Dog For 15 Minutes
39K notes
·
View notes
Text
Lycanroc, Use Hidden Power! (Art Process)
Hello my Solkitties and Lunapuppers, it's ya boi with an art post.
So a while back, I remember making a poll in the Pokemon Amino a long time ago of me demonstrating on how to find/create your Pokemon Art Style. However, due to a lot of personal problems and school, I had to push it aside. It's still on my to-do list for summer break, but I might not get to it real soon. So with that to keep in mind, I decided to make it up to by making an art process and sharing tips along the way.
Don’t mind the watermark right there down below, that’s just me being lazy on putting a new watermark.
Before we get into it, the first thing I wanted to mention is that I use Paint Tool SAI for my drawings. The second thing I wanted to mention is that if you have any questions about my art status or art questions in general, feel free to ask anything down in the comment section!
Now let's get into it!
The sketching process is something I don't enjoy doing, mostly because it takes forever to do. And I mean-
Forever.
I'm going to be honest, I am not the kind of person that likes to map things out and make a general storyboard or a layout of things. That's why I hate using agendas or any planning pamphlet. I rather just go with the flow rather than set a fixed thing that I can't change. Anyways, here is the sketch.

Something I like to do when I sketch is just draw a circle for the head and make quick lines to make a physical form of whatever I am drawing. It's a skill that I learned over time, instead of just worrying of making a clean sketch.
Another thing I love to do about sketching the most is making Pokemon more sophisticated or furry-like (if they are a canine or feline or any other animal that has fur/hair). For example, look at Midnight's nose. It's not just a basic triangle nose, but it has the curves similar to a wolf's nose. It's a simple tweak, but it is enough to change the picture for what I see.
If a Pokemon has a ton of hair, then the sketch becomes less boring. Hair/fur is something I love playing around with because fur/hair doesn't have a fixed shape, it's very flexible so you can draw it in any form you want.
Now with that boring layout, we can finally get to the fun part; Coloring.

When I first start drawing, I normally start with the main color; red. I worry about the white markings, the rock claws and fur later since they aren't the main colors. I lower the sketch's opacity to where I can see both of them at the same time and take it from there.
Now, you may think I would go immediately for the white markings now that the red fur has been completed. Wrong. I then go for the glorious, tan white fur on Lycanroc's head to its lower back.and the tail. The markings can now be done when that is completed. After that, that leaves the eye, rock claws and mouth to be done.
Okay, this time, I lied about the coloring being the most fun part to do. It's really shading and lighting. Lighting and shading is absolutely important if you were to ever create something that has depth.


When I shade like this, I use my airbrush to tool to 'lightly' shade with a slightly dark red color. After airbrush-shading, I repeat the process at least twice or three times with a darker shade of red each time.
The same applies with lighting, but it depends on how many shades of lighting I need to apply on the character's skin/hair/fur/etc.
With all of that done, I transition to the actual attack Lycanroc does. Hidden Power is a Computer Generated Image (CGI) effect move that was mostly popular of Serena's Braixen. Now because of its aura that's surrounding the orb and SAI textures will not open, I cannot create a legit hidden Power orb from the anime. On the bright side, it's up for debate what it looks like in I Choose You or the SM anime.

I thought it was appropriate for Lycanroc's hidden Power to be red, so I just made a bunch of blurry spheres of dark and light orange.
I add lighting and shading for some more depth.

Final Product

#midnight lycanroc#lycanroc#fanart#pokemon fanart#art process#pokemon#pokemon moon#pokemon sun#pokemon ultra sun#pokemon ultra moon
2 notes
·
View notes