
Last Seen Blogs
jaredonlinestore
Jared Online Store
tesswighairmilwaukee
Tess Wig Hair USA Wigshairusa.com

garimpasso
Garimpasso

jcugtadl5388
위블로레플리카

radstarsaur
RadStarsaur
Text
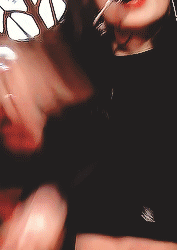
if blackpink wanted to make me anything i would let them
If a hot bi girl wanted to fix me I would let her
91K notes
·
View notes
Photo
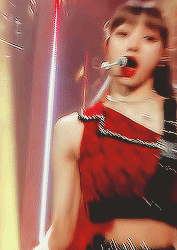
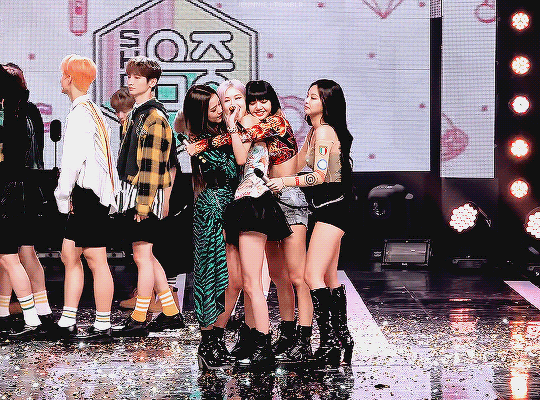
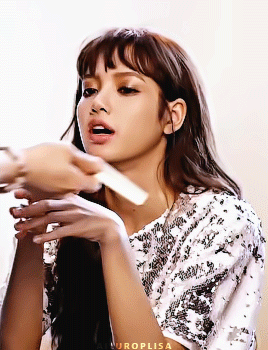
“I'd like to see you wiggle, wiggle — for sure…”


“my money don’t jiggle jiggle, it folds”
2K notes
·
View notes
Photo


[What was it like to perform at Coachella?] “Coachella was a very big festival.We'd been watching that stage ever since we were trainees. We've always wanted to get on that stage. It was our dream. And it was meaningful.”
— Lisa, BLACKPINK on RELEASED
132 notes
·
View notes
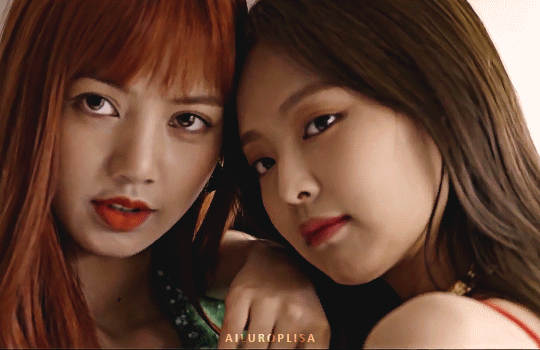
Photo


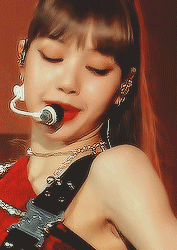
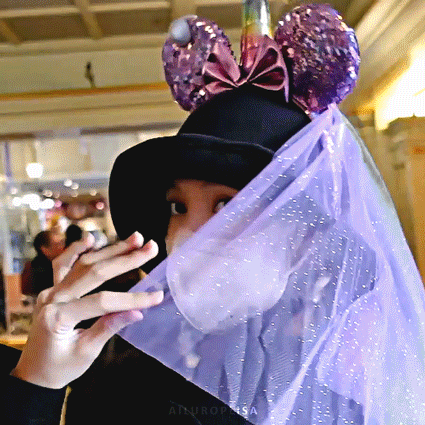
lisa + kill this love era for @ailuroplisa
412 notes
·
View notes
Photo


I miss my four girls ♡
520 notes
·
View notes
Photo


BLACKPINK
NUMERO TOKYO (2017)
#blackpink#jisoo#jennie#rosé#lisa#blackpinknet#jenlisa#chaesoo#ggroupsdaily#ggnet#idolady#femaleidol#femaleidolsedit
299 notes
·
View notes
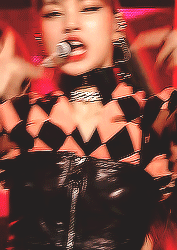
Photo


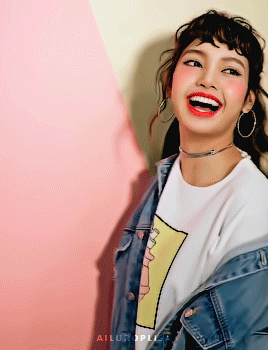
LISA
MOONSHOT THAILAND (2018)
#blackpink#lisa#blackpinknet#ggroupsdaily#ultkpopnetwork#femaleidol#femaleidolsedit#idolady#blackpink gifs#lalisa
327 notes
·
View notes
Photo


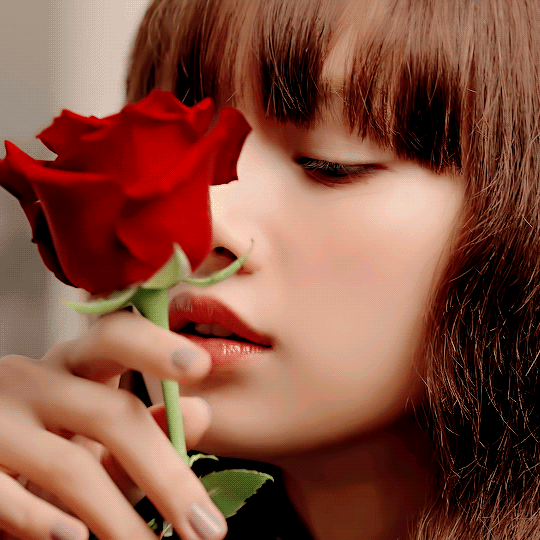
“I went through a rough patch recently but, when I hugged my cat the stress just went away, I felt good. I think cats know when their owners are feeling down. It was so comforting.”
— Lisa, ELLE KOREA (200120)
167 notes
·
View notes

Photo
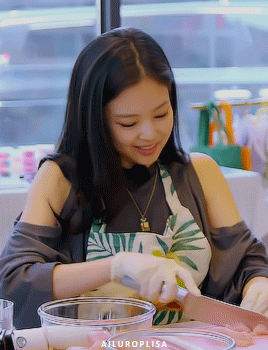

jenlisa making food for their babies
141 notes
·
View notes
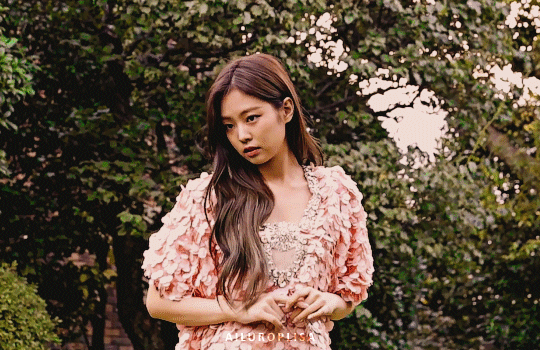
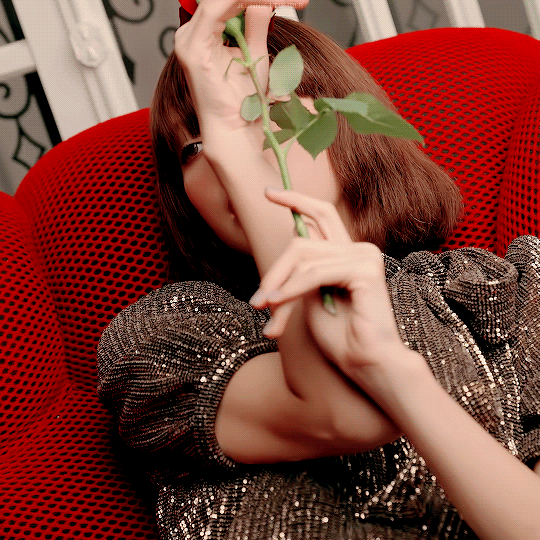
Photo
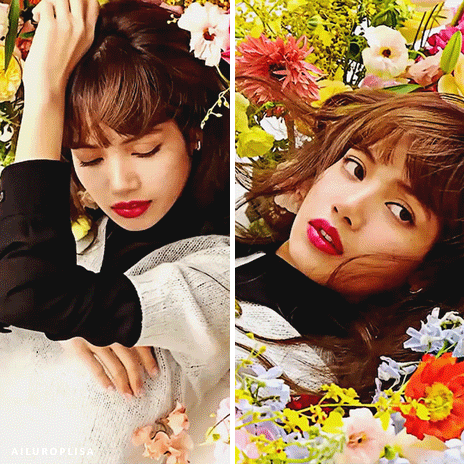


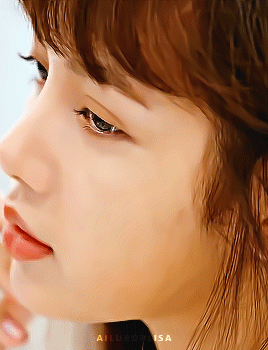
LISA ♡
ELLE KOREA (2020)
265 notes
·
View notes

Photo


2018 (BP House ep.5) ‒ 2019 (Welcoming Collection) ‒ 2021 (Snowdrop ep.3)
#blackpink#jisoo#blackpinknet#ggroupsdaily#tagchey#ultkpopnetwork#rosieposie#userisabelas#jeunnie#kim jisoo#blackpink gifs
153 notes
·
View notes
Photo


seeing your smile like this made me miss you even more
163 notes
·
View notes
Note
Hi! I have a little request. Can you help me find a tutorial/tips for this? Every time I try to make gifs from concert videos, I get stuck on coloring.😿 It shines too much and looks white and lifeless. I've been trying to do it for minutes but this is the result, it's too bad.
Hi darling! I'd be more than happy to give color and lighting correcting tips. I'll use your photo as an example first, and then show how I'd go about it in a gif example.
STAGE COLORING+LIGHTING CORRECTION AND UN-WHITEWASHING TUTORIAL
We're going to talk about Camera Raw Filter for this, as it's the best PS tool IMO. You can find it under Filter>Camera Raw Filter

It's the only way to autocorrect coloring on gifs, whereas with static images you can use the Image>Auto Tone+Auto Contract+Auto Color options.
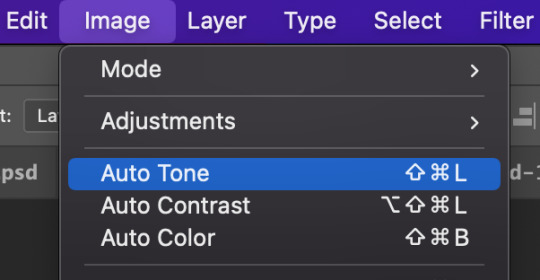
But I still prefer Camera Raw Filter on static images. So without further ado, lets jump in.
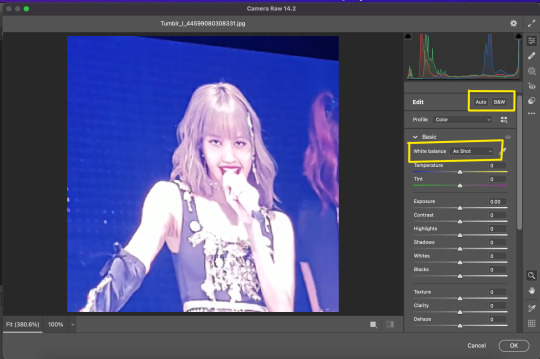
Open Camera Raw Filter (I'm going to refer to it as CRF moving forward). You will see the control panel, which has an Auto button, as well as the Basic category, which contains the White Balance dropdown selection.
2) Click the Auto button to correct the overall lighting
3) Before you adjust the sliders to get the exact lighting you may want (Photoshop is just guessing after all, you'll always need to modify the results to your preferences) make sure you click the White Balance dropdown and select Auto

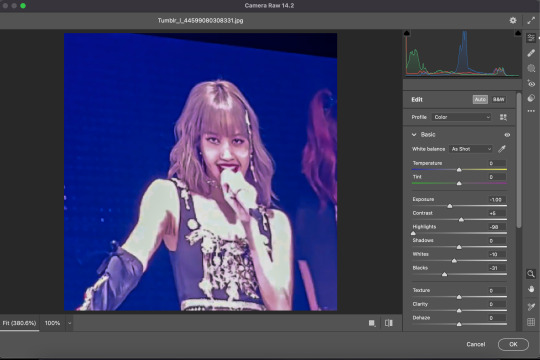
Now you can adjust the sliders or mess with any of the other CRF control categories.
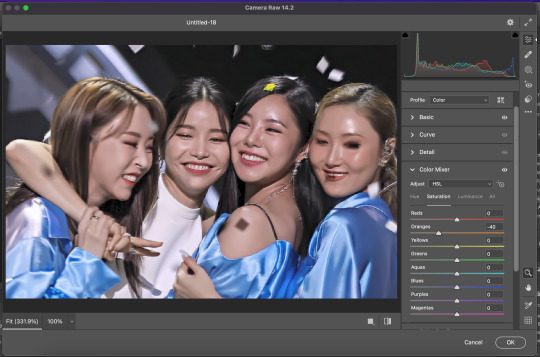
My personal favorite is Color Mixer, which allows full control over Saturation, Luminance, and Hue. Why is that any different from a Saturation adjustment layer? Well, what CRF can do that regular adjustment layers can't is target the color ORANGE.
Many times we editors want vibrant colors and to bring melanin back to whitewashed idols skin, but we don't want them to look like they have a spray tan!
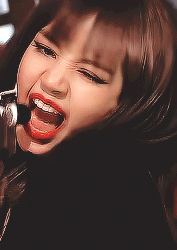
Take this unedited Mamamoo gif for example

They're pretty whitewashed here due to stage lights, so I automatically darken the gif, and then add some vibrancy to bring back skin color. But adding saturation turns their skin orange:

Now I understand why many people would consider this un-whitewashing, but people are not naturally neon orange.
To fix this, we move on to the optional 4th step.
4) Desaturate the oranges in the Color Mixer section of the CRF control panel (just do this while you're adjusting the lighting and color balance so it's out of the way before you start adding PSDs and adjustment layers)
Here is the gif now with the oranges desaturated.

Feel free to disagree, but I think that looks MUCH more natural while still keeping all the vibrancy.
Hope this helped darling!
#thank u soooo much 🤩#i will try it as soon as possible#and yes the last gif looks more natural#tutorial
92 notes
·
View notes
Photo

lisa ♡ lili’s film - europe vlog
#i can't tell you how much i missed her...#blackpink#lisa#blackpinknet#ggroupsdaily#femaleidolsedit#femaleidol#ultkpopnetwork#ggnet#lalisa
152 notes
·
View notes
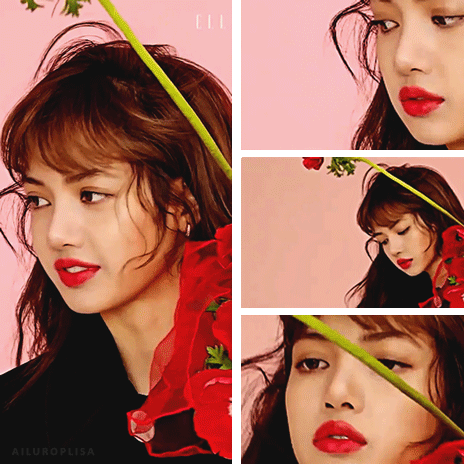
Photo
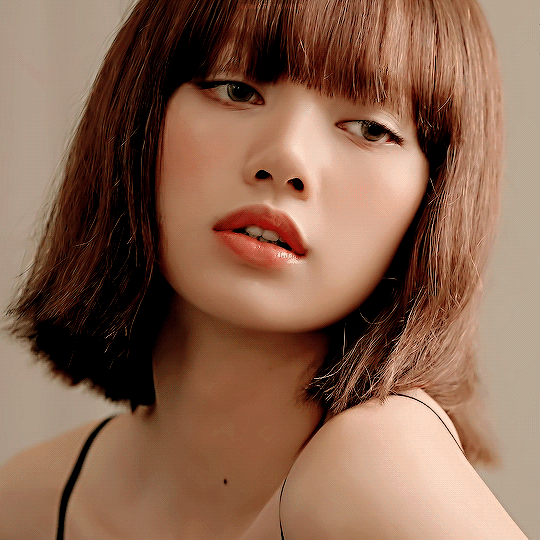

LISA ★ Elle Korea
505 notes
·
View notes