
created to collect and share resources | tracking #allresources
Don't wanna be here? Send us removal request.
Statistics
We looked inside some of the posts by allresources and here's what we found interesting.
Average Info
Notes Per Post
2K
Likes Per Post
1K
Reblog Per Post
603
Reply Per Post
3
Time Between Posts
2 days
Number of Posts By Type
Note
3
Text
14
Last Seen Tumblr Blogs


Fun Fact
Tumblr is available in 18 languages.
Note
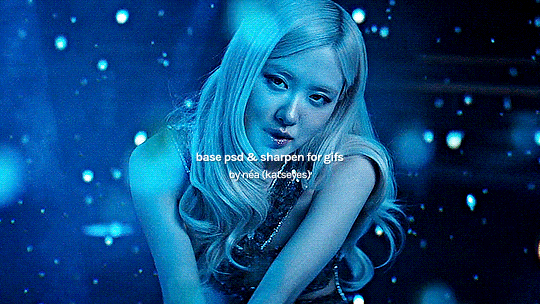
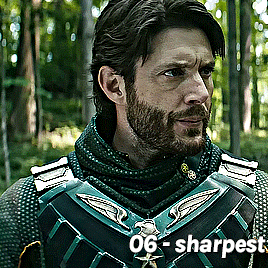
how do you apply the smart filters to the whole gif? It only works on the first layer for me (rookie question iknow sorry)
Hi! sorry for the late answer ( • ᴖ • 。) (i was away for the weekend celebrating my birthday)
I believe you mean applying sharpen to your gifs, right? In order to do so, you need to convert your gif into a smart object:
After loading your files into stack and cropping it to the desired size, select all frames and layers...

And change it to a video timeline by pressing this little icon

then select all your frames and convert to smart object

Now with your smart object selected, go to filter > sharpen > smart sharpen

with these settings...

and i like to apply twice to get a better result:

And just like that your gif will be perfectly sharpened. It may change depending if you're working with different type of media (such as animation) but these are the general settings

Hope this helped and send me another ask if you need anything else!
13 notes
·
View notes
Text

ebd476 - d0753b - b54371 - 563767 - 294874
340 notes
·
View notes
Text

Anakin Skywalker ROTS Icons requested by @buffyansummers - 96 icons - 4 photos with 12 colors each - 250x250 - all icons can be seen here on my icons page or downloaded here - please like or reblog if you take one - credit isn’t required but it’s appreciated - requests are open for other icons/colors!
116 notes
·
View notes
Text
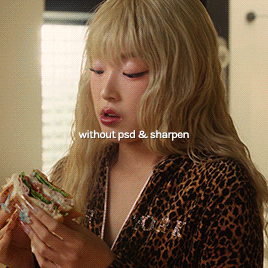
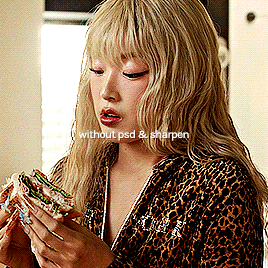
hi everyone, so it's been quite a while since i posted any resources of any kind, so i thought this would be a good time to share a new base psd, as well as my personal sharpen action with you all.
includes:
– a simple base psd for gifs, that you should be able to use on any media with a few small adjustments. – a sharpen action for gifs: using smart sharpen with a smaller, then a bigger radius, with the addition of high pass as a finishing touch.
feel free to use these resources for your own projects, as long as you don't re-upload or claim as your own! 💕
download on my ko-fi page. (for free of course, but feel free to donate if you like my creations.)
please like &/or reblog if downloading!
before & after preview after the keep reading cut:
43 notes
·
View notes
Text

16 Sulley (Monsters, Inc.) icons (requested by anonymous).
200x200 px.
Please like/reblog if using.
Some icons under the cut, you can find the rest of them on my icon page.


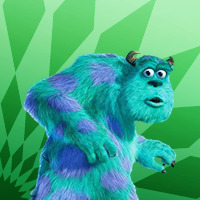


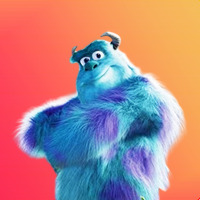


more DISNEY icons HERE.
20 notes
·
View notes
Text

cce8b7 - 9ec187 - 5e914b - 153119 - 336130
357 notes
·
View notes
Text

+240 karen page icons requested by @page-murdock
> 200x200px > reblog or like this post if using > do not edit, steal or claim as your own > find them here
36 notes
·
View notes
Text


popcorncvnt sharpen action set 01
LIKE/REBLOG IF YOU DOWNLOAD Do not modify and/or reupload as your own. Created by me using Photoshop CC 2025 Uses Camera Raw Filter Follow @popcorncvnt for more resources
This is my first time making sharpen actions for photoshop but I like how these turned out and thought I would share for anyone that might find them useful. There are 6 versions, with some subtle differences, so hopefully you find one that works for you. Some of them use Camera Raw Filter so your Photoshop will need to have that for these actions to work. All of the actions are frame to timeline frame - meaning you don’t need to save and reopen your gifs to save them as 0.05 speed as that is already done for you. (anything that saves time when gif making is a must!)
DOWNLOAD HERE
77 notes
·
View notes
Text

25b5be - 91cfbe - fee99e - f6bb7c - 9acf6a
270 notes
·
View notes
Text
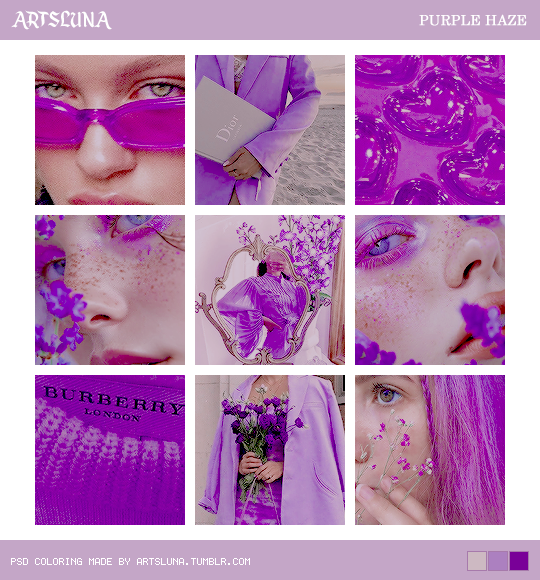
psd coloring {#272} made by @artsluna ⋯ purple haze ⋯ get itcheck out my ko-fi, i always post content there first
• plagiarism is a crime, think before you act
• you can edit the coloring to fit your images, but, please, do not claim as your own.
• this coloring can be used on both images and gifs, but you might have to adjust lighting (levels or brightness)
• credit is not necessary but appreciated
• like/reblog if useful

32 notes
·
View notes
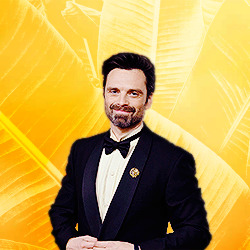
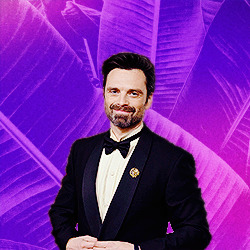
Text

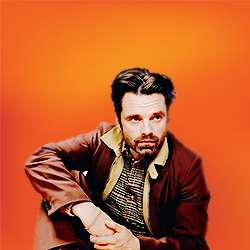
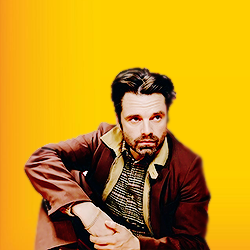
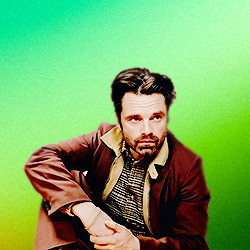
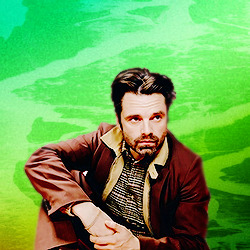
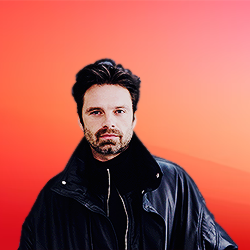
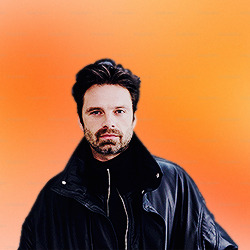
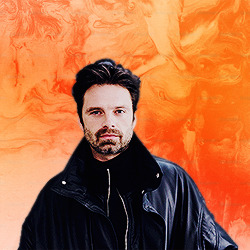
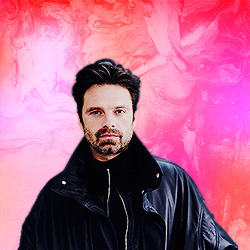
24 icons of sebastian stan
↳ requested by anonymous
250x250
reblog/like if you use
check out more of my icons here.
don’t repost or claim as your own.
request your own icons here.
all icons are under the cut


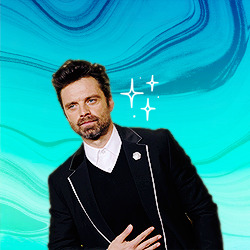


20 notes
·
View notes
Text

+ 100 spring icons requested by anon
> 200x200px
> reblog or like this post if using
> do not edit, steal or claim as your own
> find them here
67 notes
·
View notes
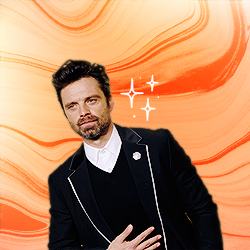
Note
hi! could you maybe do a tutorial how you do these kind of colourings?
Sure! its super simple. tutorial below the cut :)
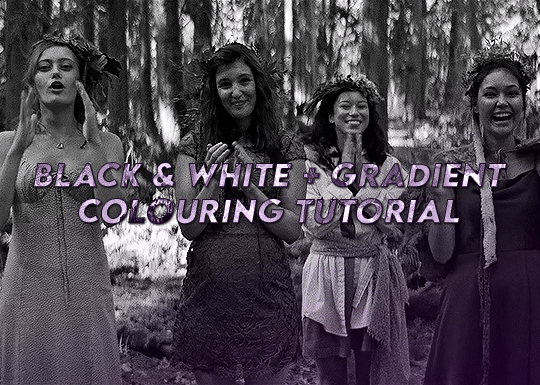
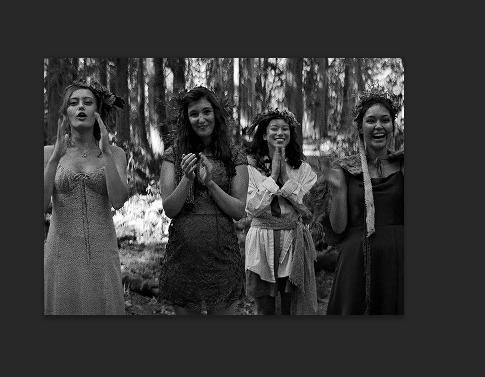
I start by adding a curves layer and setting to "auto". Normally I manually adjust the curves more, but since the gif is going to be black and white I don't bother for gifs in this style.

Then click the black and white adjustment layer (see highlight)

This gives the black and white part of your gif
Create a new layer


Use the gradient option (if this is not showing up right click the paint bucket and change it to "gradient tool")
Set your foreground colour as the colour accent you'd like for your gif. for this one I chose purple :)
At the top of the screen are your gradient settings. For this style of colouring I use the linear option.
To edit your gradient click the colour bar.

select the "foreground to transparent" preset

Click in the middle of your screen and drag to put your gradient layer on. There should be a line showing where you are dragging.

This is the result of the gradient added

If the colour is too strong adjust the opacity of the layer.
I adjusted to about 60% for this gif


That's about it. Just adjust as you'd like and add any text or other effects needed :)
62 notes
·
View notes


Text

20 Ben Hanscom (It) icons (requested by anonymous).
200x200 px.
Please like/reblog if using.
Some icons under the cut, you can find the rest of them on my icon page.


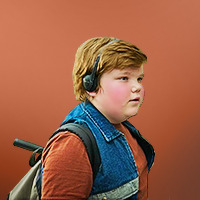


More HERE
Screencaps found HERE
9 notes
·
View notes
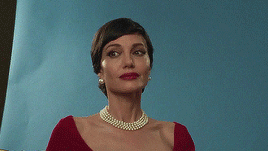
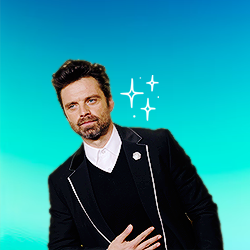
Note
How do you get that square frame on some of your gifs? Is it a template?
Hi I'm assuming you mean like in the first and last gifs of this set?
I don't use a template I just manually draw the rectangle/square in. It's super easy and only a few steps (see below for the cut)
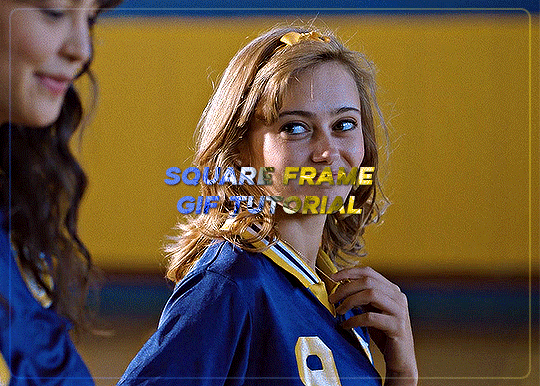
Start with your gif, colour it as you'd like for your set. For this example I'm going with a blue and yellow :)
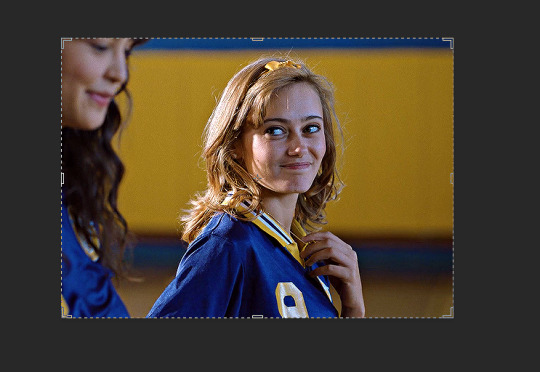

Right click on the rectangle tool and select "rounded rectangle tool" from the drop down list. (you can use the normal rectangle, but I prefer the rounded corners personally)

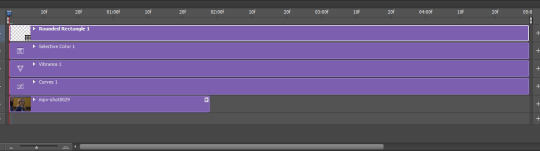
use the cursor to draw from the top corner to the bottom corner, you'll get an outline something like the below screencap.
When you finish drawing a rectangle will show up

Change the settings in the above tool bar to match how you'd like your outline. Always change it so there is no fill

I have changed my stroke to be a blue and yellow gradient

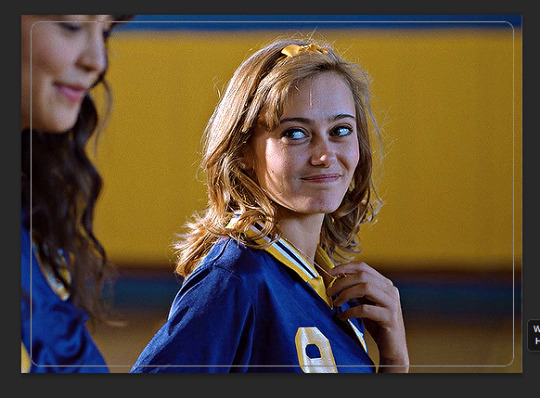
This gives the below result

I think this is a little too strong, so I adjusted the stroke to 2
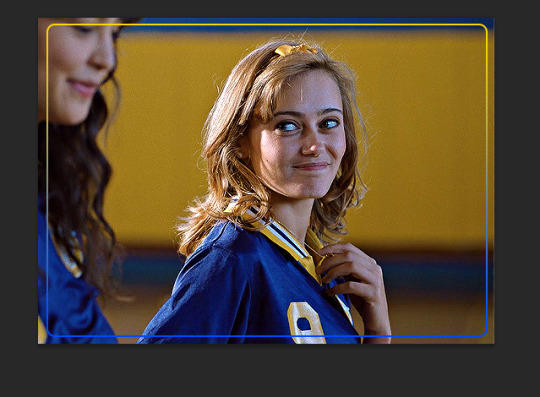
I also would like it to blend in a bit more with the gif so I changed the blend mode to screen. I also adjusted the angle of the gradient from 90 to 28
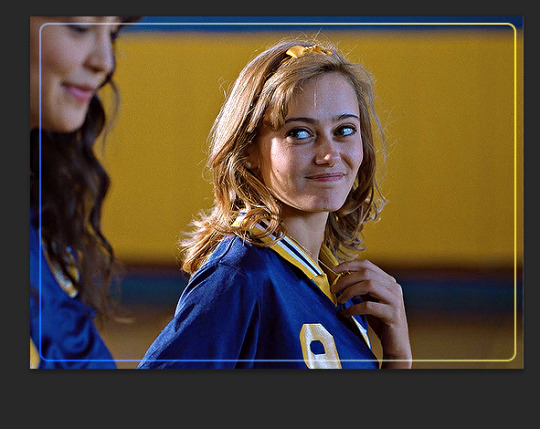
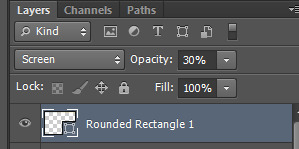
To make it a bit softer still, I'm also going to adjust the opacity of the rectange layer to about 30 which gets us the below result

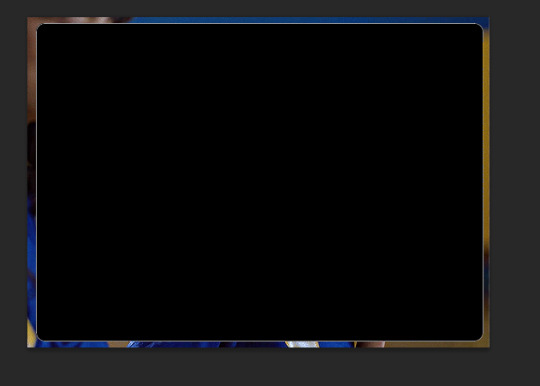
One last step, is because I didn't draw it perfectly in center I align the layer to the center of the gif by pressing ctrl + a to select the whole canvas (should give the below selection lines)
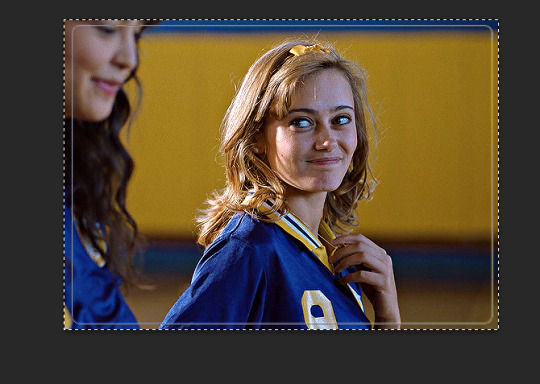
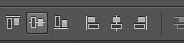
then click over to the move tool

then press the highlighted option

then press this option
this just shifts the layer to be centered
press ctrl+d to clear your selection
this gives the following result

Last step is to make sure your rectangle layer is the same length as your gif. You just either drag the layer to match the bottom gif layer (or you could also just adjust the gray gif slider instead)

and now all you need to do is add text and other effects as needed :)
30 notes
·
View notes
Text

20 Mike & Sulley (Monsters, inc.) + 20 Woody & Buzz + 16 Rex (Toy Story) icons (requested by anonymous).
+ 4 Boo icons.
200x200 px.
Please like/reblog if using.
Some icons under the cut, you can find the rest of them on my icon page.


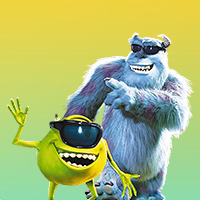

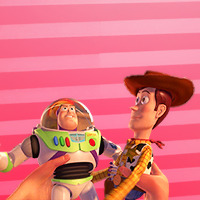


More HERE.
21 notes
·
View notes