cheshuiniza
Artblog
Sonya ¦ 22 yo ¦ she/her ¦ multifandom arts 👻👾🤖🐙🦕🐧
Twitter: @cheshuiniza25
101 posts
Last active 60 minutes ago
Don't wanna be here? Send us removal request.
Last Seen Blogs

twkndxo-blog
love🤞🏼

haleraisedsommers-blog
raised by wolves

electricflames
Lightning in a bottle

dignitasdigital-blog1
Untitled
Text
ヴァージュ 5th SINGLE「千」Official Music Video
youtube
VIRGE😭😭😭😭
1 note
·
View note
Text

Noooo!!! VIRGE disbanded in may.... 😭😭😭
#art#artists on tumblr#drawing#artist#sketch#artwork#photoshop#visual kei#digital art#digital drawing#digital painting#Virge#Virge ryo
2 notes
·
View notes
Text


#art#artists on tumblr#drawing#artist#sketch#artwork#doodle#visual kei#diaura#Diaura yo-ka#vkei art#vkei band#vkei#goth art#gothic#goth aesthetic#goth
17 notes
·
View notes
Text

#art#artists on tumblr#drawing#artist#sketch#artwork#doodle#visual kei#goth art#goth aesthetic#gothic#goth#gothcore#lyrica#usagi
22 notes
·
View notes
Text


⭐JOJO⭐ and Wajow😈
#art#artists on tumblr#drawing#artist#sketch#artwork#doodle#visual kei#vkei art#vkei#j rock#goth art#gothic#goth aesthetic#the gallo#the gallo jojo#The gallo wajow
7 notes
·
View notes
Text
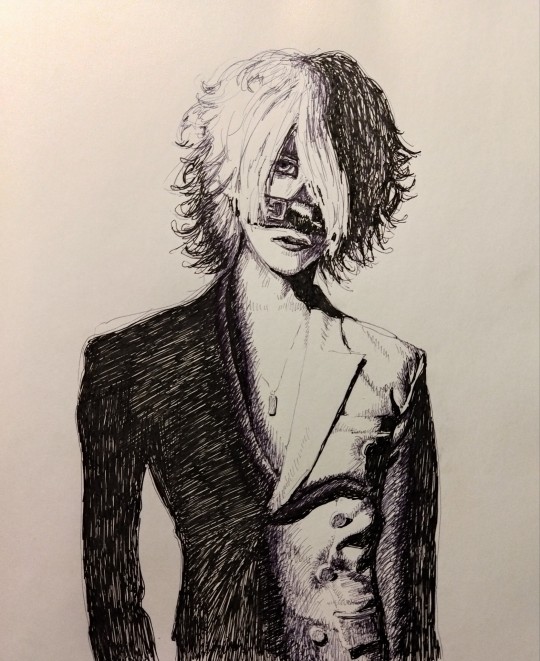
Reita.
#art#artists on tumblr#drawing#artist#sketch#artwork#doodle#visual kei#vkei band#vkei art#vkei#the gazette#reita the gazette
19 notes
·
View notes
Text


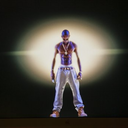
blue and white, throwback to May 1st 2019 of May Sketch a Day
66 notes
·
View notes
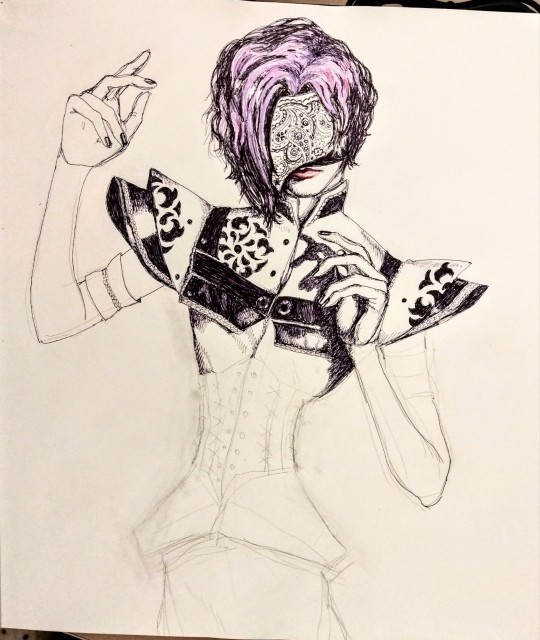
Text

Done!! 💜🖤
#art#artists on tumblr#drawing#artist#sketch#artwork#visual kei#vkei art#vkei#goth art#goth#goth aesthetic#Kiryu
8 notes
·
View notes
Text
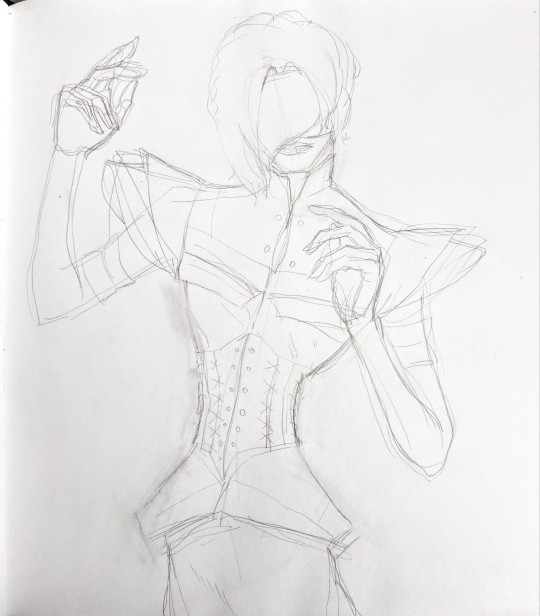
Still in the process
#art#artists on tumblr#drawing#artist#sketch#artwork#doodle#painting#visual kei#vkei art#vkei#Kiryu#goth art#goth aesthetic#gothic
9 notes
·
View notes

Text


#art#artists on tumblr#drawing#artist#sketch#doodle#artwork#photoshop#painting#visual kei#digital art#digital painting#vkei art#vkei#gulu gulu i#gulu gulu
6 notes
·
View notes
Text
i from gulugulu
#art#artists on tumblr#drawing#artist#sketch#artwork#photoshop#painting#visual kei#digital drawing#digital art#digital painting#digital illustration#vkei art#vkei#gulu gulu i#gulu gulu
4 notes
·
View notes
Note
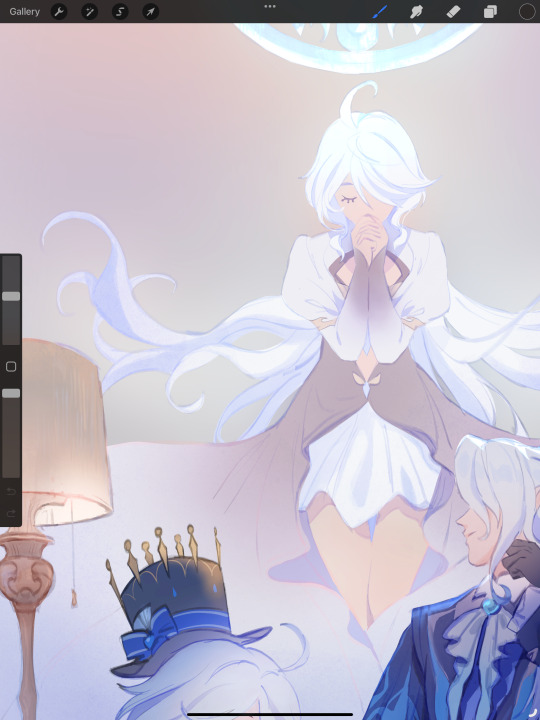
Hi, I'm sure you get this often but I really love your recent genshin artwork, do you think you could explain your painting process? I love the colouring effect in that piece especially. Thank you.
Thank you so much! I got a few messages like this from my previous piece (thank you guys for the staff pick & blaze btw, I really didn't expect all the support😭) so I thought I'd share a bit of my process below as thanks.
I always do my lineart first because it feels less daunting to me when applying colours. I will do some rough colours first so I can easily adjust it to my liking.
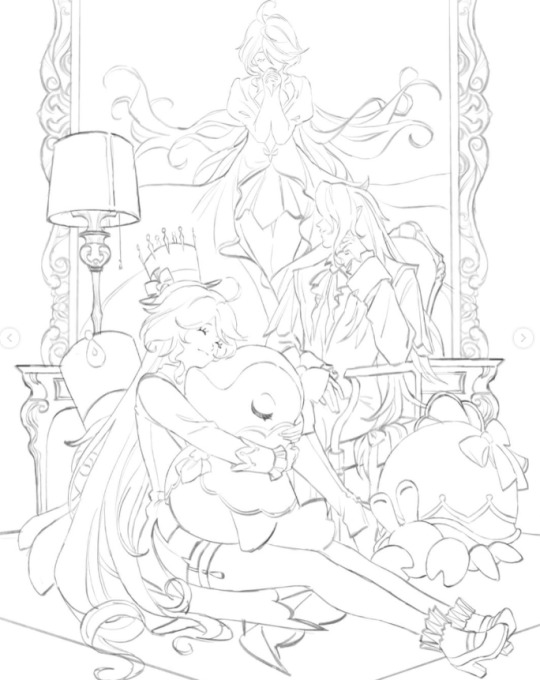

Next, I make sure to separate each character into different layers when I clean it up. I like to work one character or object at a time, it's less overwhelming for me that way, and I can use clipping masks for ease of rendering.

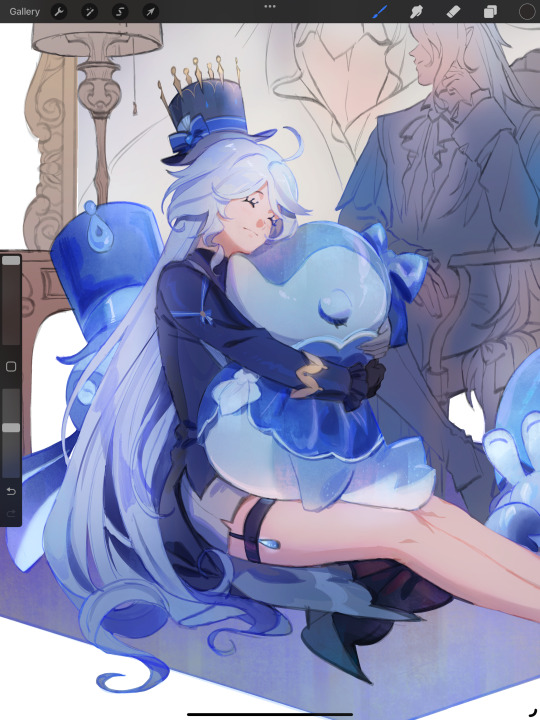
I'll usually apply some adjustment layers on top of the base layer for shadows and highlights. When I say base layer, I just mean a layer of the colour without any effects.
I like using 'hard light' for shadows, and 'screen' for highlights, but you can really use whatever clicks with you.
Rinse & repeat this process for every character in the illustration. Note that I make Furina the focus so everything behind her will be less rendered than the elements in front of them (Neuvillette is a lot less rendered compared to Furina, and the painting in the back barely has much shading).
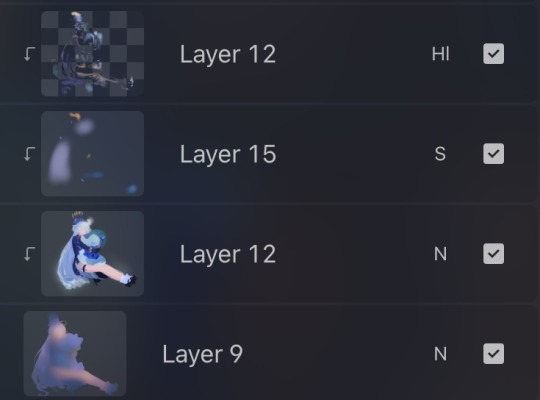
Once I render out each asset in the illustration and add shadows & highlights to my liking, I then to merge foreground/ midground/ background elements so I can make the overall illustration clearer to read. I don't want it to feel messy or overcrowded, and I think it's easy to get tunnel-visioned in small details and lose the clarity of the entire illustration.
Make sure to zoom out constantly and make your illustration B&W to check the values to see if the drawing is clear.

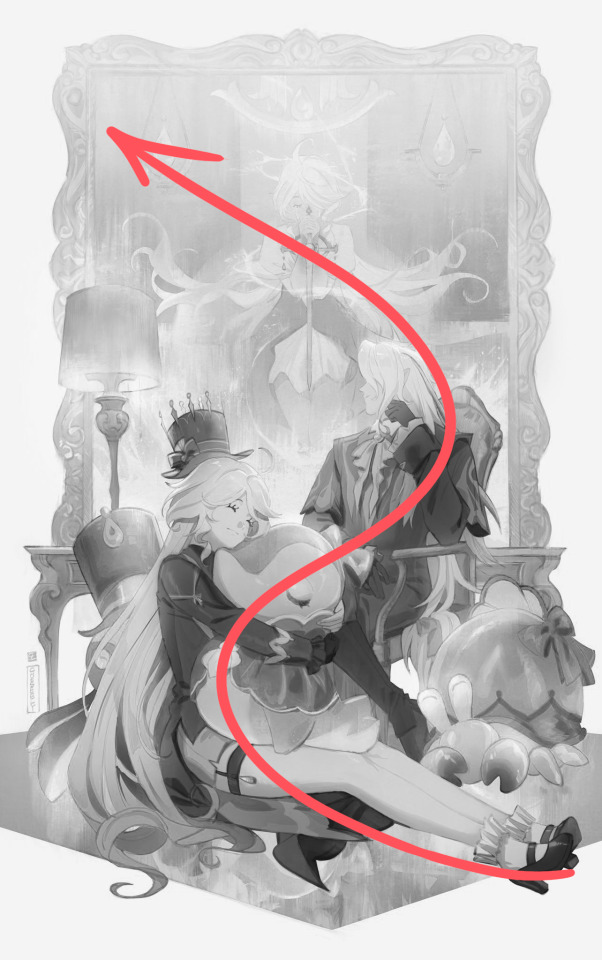
I created a simple S curve with the values for readability, and have the foreground elements have darker values & contrasts.
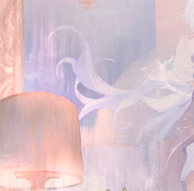
As for the BG, I wanted to add more textures into the drawing, particularly the painting in the back. Here's an image of it when I only added in the base colours.
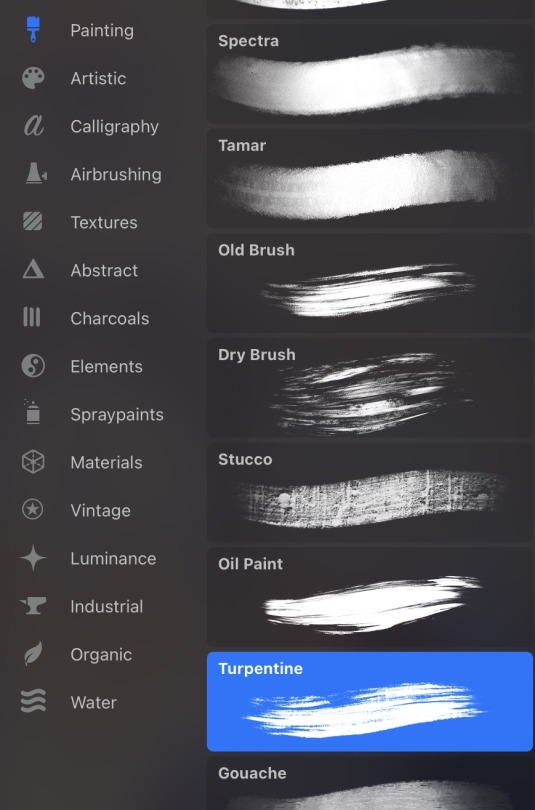
I use the smudge tool to create more texture once I fill in the base colours. Since I don't really 'paint' anything with the textures in, I just put in the base colours and take a textured brush to smudge it. However, over-smudging can lose the painterly texture I want, so I usually smudge vertically or horizontally in a single stroke to create a sense of movement.
Another thing to note is that I only textured the BG, I thought it would help it blend into the background a bit better. I usually wouldn't do this for the foreground because I want those elements to be clearer.
At the very end, I tend to spend a fair bit of time just fiddling with more adjustment layers, various filters (such as blur, or noise), or liquify small details to really finalize the piece. Just vibes...basically this is me

Anyway, I hope that was helpful & it made sense!! Feel free to message me if you have any other questions & I'll try my best to answer! I might've glazed over a lot since I didn't wanna make this too long.
185 notes
·
View notes
Note
Hey, Marcia! I have to use Photoshop now for college, never used the app, and I am here to ask if you could pass your window config cuz the way you organize seems to really useful
Heyo, I was doing a pc migration not too long ago so luckily i have most things on hand :) Here's a link to my PS settings, shortcuts etc and brushes if you want 'em
Vis a vis shortcuts the most important thing is A - eraser, S - brush, Z - smaller brush/eraser, X -bigger brush/eraser. They're all next to each other so its real convenient.
I don't actually remember if those settings include how the app looks?? so here's a quick screengrab of my whole setup.
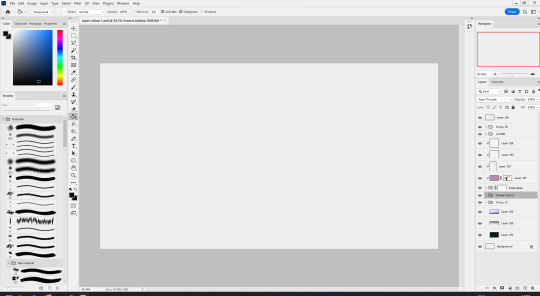
On the left we got:
- color tab (with character and paragraph tabs open behind it for comic making if i need them)
- brushes tab (set to show me brush stroke and brush tip - no brush name, you can do it in the 4-lines-hamburger-menu next to "Brushes")
- toolbar on the inner edge
On the right we got:
- navigator tab
- layers tab
- collapsed history tab on the inner edge
In preferences I set up the app to be the whitest it can be so I can see colours properly (I know the dark mode looks slick but it will mud up your perception of colours big time). The background (behind canvas) is set to light gray.
I dont use photoshop's built in smoothing, I use a separate app called LazyNezumi.
Thaaaat's about it I'd say! If there's something I missed lemme know :)
46 notes
·
View notes
Text

Done!!! 🫠💀
#art#artists on tumblr#drawing#artist#sketch#artwork#visual kei#vkei art#vkei#gothic#goth art#goth aesthetic#goth#gulu gulu#gulu gulu i
16 notes
·
View notes


