
We are professional photo editor services provider company in the world. We have a professional skilled photo editor Team. We are used Adobe Photoshop for Image editing services. Out Team is very sincerely, Carefully and fist delivery to photo editing service. We are assured 100% high-quality service provide to you. We are always ready to your a free trail and show our work skill and our best quality. I'm sure if you will work with us just one chance then you will selected for your next project. Below our Services list Background Removal Clipping Path/ Cut out / object remove Drop Shadow / natural Shadow / Reflection Shadow Fashion Retouch / Beauty Retouch Color Correction image Crop / Image Re-size More information visited our website www.clippingpath360.com Mail: [email protected]
Don't wanna be here? Send us removal request.
Statistics
We looked inside some of the posts by clipping-path-360 and here's what we found interesting.
Average Info
Notes Per Post
2
Likes Per Post
2
Reblog Per Post
0
Reply Per Post
0
Time Between Posts
8 hours
Number of Posts By Type
Text
2
Last Seen Tumblr Blogs


Fun Fact
There are dozens of funny blogs to kill time on Tumblr.
Text
What is Mirroring an Image in Photoshop?
Like other photoshop editing, mirroring is fun and useful. It provides an excellent way to add special effects to the image and gives it a unique touch. Photoshop mirroring effect results in a mirror-like reflection effect by flipping the specific image side horizontally or vertically.
Photoshop mirroring effect works effectively to create shadows on product images and make reflections of anything you want.
You can easily achieve this excellent effect in your image with just a few clicks. So, if you want your images to be reflected on their opposing side, this function will help you to do that easily.
if you more information www.clippingpath360.com or [email protected]
#Mirror#Photoshop#background remove#Clippingpath#Clippingpathinadia#usaclippingpath#photography#photoshoot
1 note
·
View note
Text
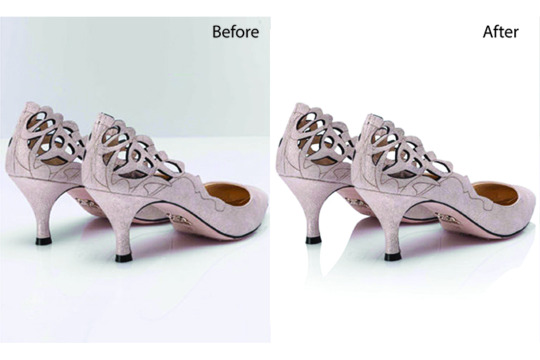
How to Remove Image background Remove
Open Adobe Photoshop and import the image you want to edit.
Make sure the Layers panel is visible (if not, go to "Window" > "Layers" to open it).
Duplicate the original image layer by dragging it to the "New Layer" icon at the bottom of the Layers panel. This step is important for non-destructive editing.
Select the duplicate layer.
Choose the "Quick Selection Tool" from the toolbar on the left side (or press "W" on your keyboard to activate it). It's represented by a brush with a dotted circle around it.
Adjust the brush size in the options bar at the top according to your image's details.
Click and drag over the foreground area you want to keep. The tool will automatically select the area based on color and texture.
If you accidentally select areas you want to remove, hold the Alt/Option key and drag over those areas to deselect them.
Refine the selection using the "Select and Mask" feature. You can access it by right-clicking on the selection and choosing "Select and Mask" from the context menu. This step helps to fine-tune the selection edges for better results.
In the "Select and Mask" dialog box, experiment with the available tools like "Refine Edge Brush," "Brush Tool," and "Smart Radius" to adjust the selection. Use the preview options to see how it looks against different backgrounds.
Once you're satisfied with the selection, click "OK" to exit the "Select and Mask" dialog box.
With the selection still active, click on the "Layer Mask" button at the bottom of the Layers panel. It looks like a white rectangle with a gray circle in the center.
The background should now be transparent, and you can add a new background layer or leave it as is.
Save your image in a format that supports transparency, such as PNG, to preserve the background removal.
Remember, this method works best for images with clear foreground/background separation. For more complex images, you may need to explore additional tools and techniques, such as the Pen Tool or the Background Eraser Tool, to achieve better results.
if you more information www.clippingpath360.com or [email protected]
#photography#photoshop#photoshoot#image description in alt#editor#photo editing#clipping path service#background
1 note
·
View note