
Don't wanna be here? Send us removal request.
Statistics
We looked inside some of the posts by davoooosstuff and here's what we found interesting.
Average Info
Notes Per Post
11
Likes Per Post
11
Reblog Per Post
0
Reply Per Post
0
Time Between Posts
2 days
Number of Posts By Type
Text
13
Last Seen Tumblr Blogs


Fun Fact
Tumblr was the first site to host the blog for President Barack Obama in 2011.
Text
carrying on from lesson 9
Now working on illustrator

getting up swatches on a A4 land scapes page


Then we drew a bird with pen tool.


Then we put the bird onto and black box (arrange bird in front). then selected them together and drag to the swatch pallet

working with the pen tool to practise nice curves with handles


Then we put the swatch we made into the shape.

then we created another swatch for the colour pallet withe this pattern


then we put it on the whole page and went to the swatch and made in hexagon affect so they all fitted together.

Then we put it in indesign to make the end paper.
0 notes
Text
21/03/2024
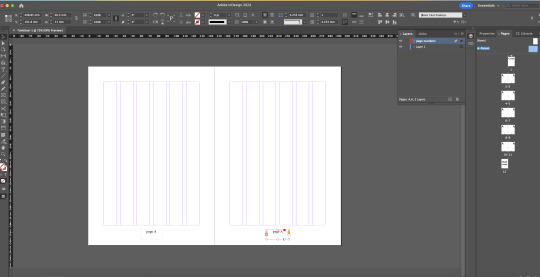
lesson 9 / indesign

firstly we made 11 pages by pressing pages and then the plus button 11 times.

made text box and then made text that said cover and stretch did out to the margins

Then we did the same on the back cover

option + arrow keys change the distance

Then we created the page numbers

a parents applies what u draw to every page

Then we on a parent we selected the number of the 1 and then went type - insert special character - markers - current page number which chnaged all the page numbers to their ones

then we dragged none on the cover and back cover page which up bonded them from the other pages.


Then we changed the margins and columns

Then we selected layers and created a new one, we then got the 2 page number and selected them together and then dragged. So now the page numbers are on one layer


Then we centred the the page number by making sure its on the align page and then pressing the middle flag looking thing. And then using the text centre tool.

Then we use the shape tool and have it selected to black and draw in the margins. Because of the margins they bounce to the lines making it easier for us.

then we did the same with text. made text box and then went type - fill with place holder text


Then we made smaller text and made into 2 columns and placed the tex and square (instead of photo) until it looked good

We filled the double column more and then we pressed the red + and put it in the another text box and that went into the other text box


Then we played around more with the texts and placement. We even did wrap text that we learnt about last week

then we worked on a new layout on a different page


Then we created a B parent to make the lettering of the page number that is black to white so we can see it on the black squares. We created the B parent by dragging the A parent to plus.

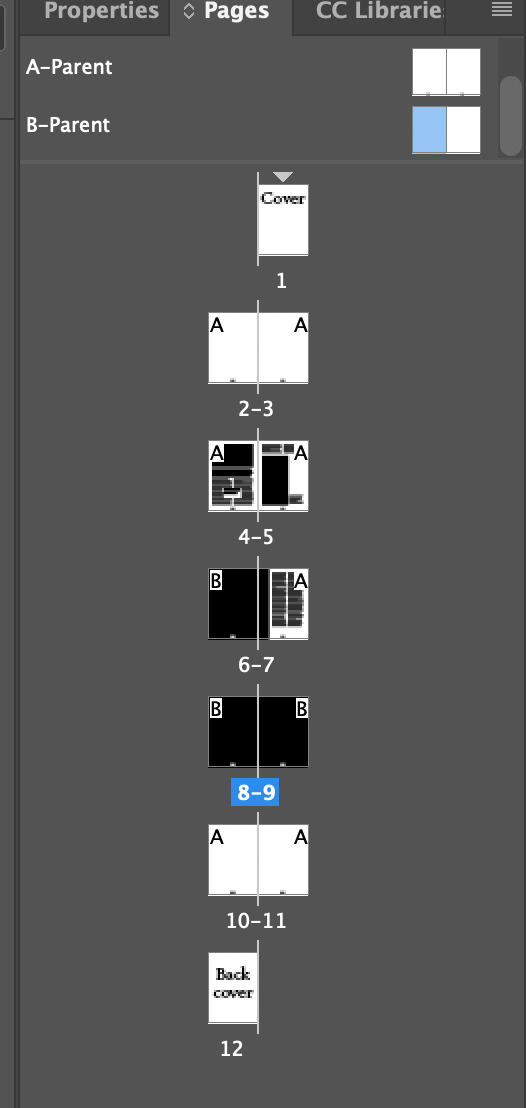
Then we dragged the B parent pages to the pages we want this to be applied too.
0 notes
Text
lesson 8
Today we are learning how to use indesign
in design shorts
space = pan/create a space
zoom = 2 mouse in and out
T = type tool
V = selection
A= direct selection
We made a large text box and then split it in half by changing the colume number to 2 and then filled the box's with random text

Then we changed the paragraph style (font and size). make sure preview is on so you can see the changes as you go.
then for this part we are fixng the gaps between letters to tidy up the paragraph and made it look better.
When in rext editor shift + arrow keys to hightlight text
up and down = lines
left and right = charactors/words
also hold command to select layer element
shift return
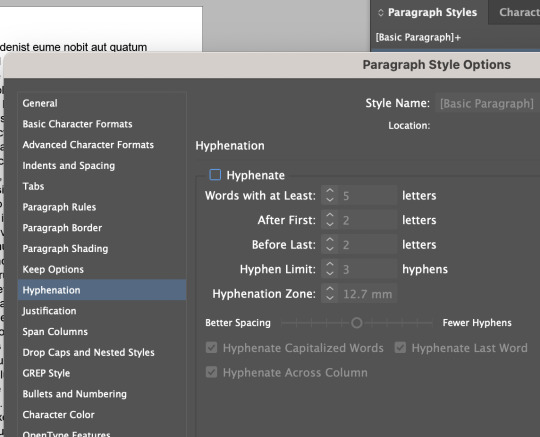
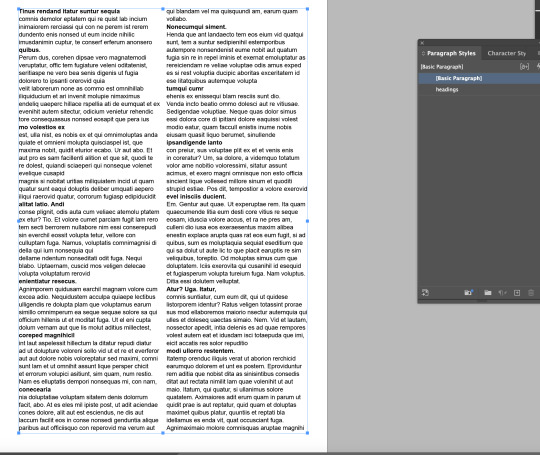
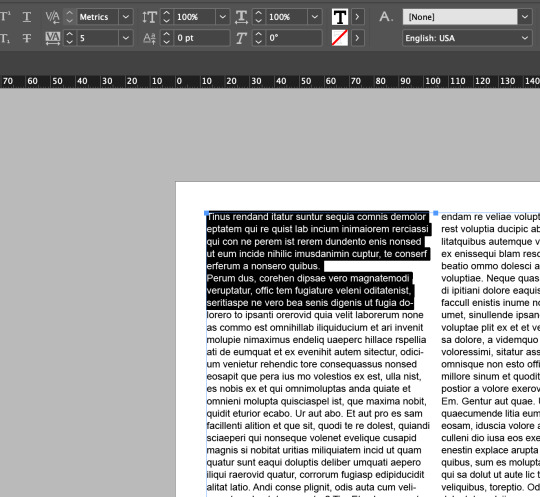
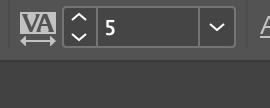
Then we took off hyphenation and made our headings aswell. We did this by making layer and every time we highlight a text and press this layer it turns it into a heading.

Then we changed the indents and spacing
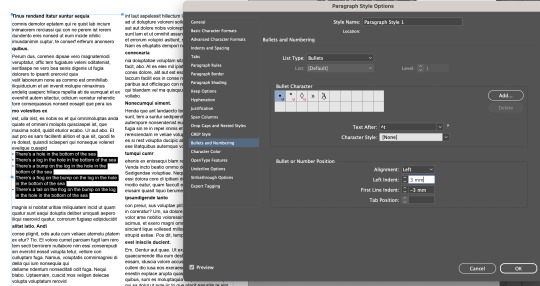
after bring in this text we made it into bullet points. We also changed bullet poistion to make it look better
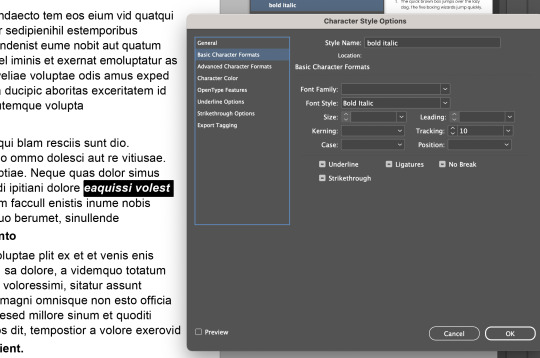
now we are doing the charactor style option, this means that it only changes what u select, where the other one it does the full paragraph. We changed the layer to bold italic


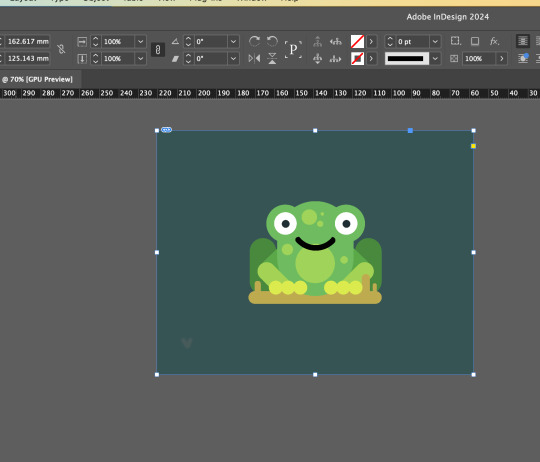
then we went to photoshop and made a crown to put on the frog and then linked it with the frog that we put in indesign. We were just getting familiar with the linking from photoshop to indesign.
The image is always in a frame
to rescale am image in its frame = shift command
to make the frame smaller press shift + option
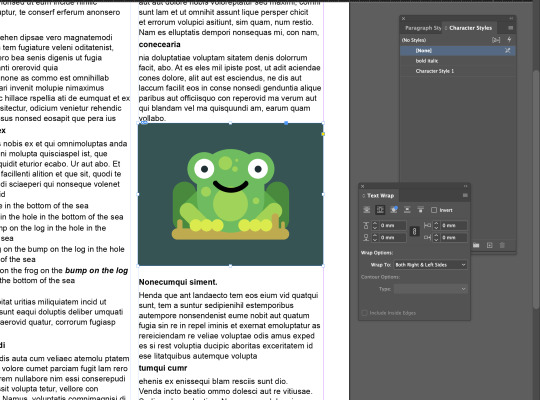
after rescaling it we put it into the text. we had to select wrap text in the order of the text to be around the frog and not behind

then for this frog we changed the distance from the photo and text to 3mm away

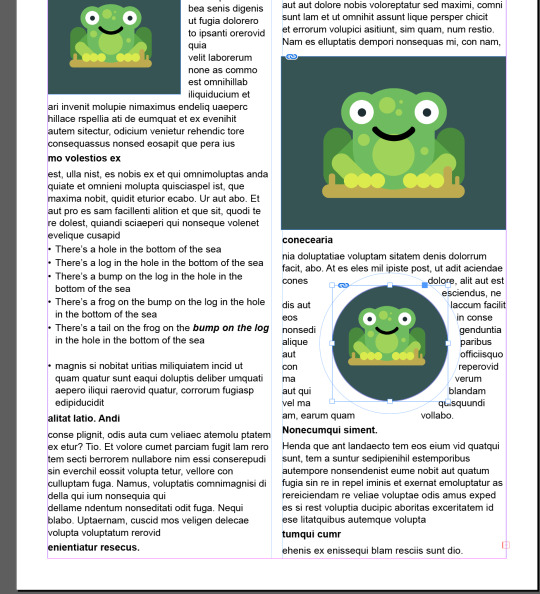
then we tried it with the image in a circle
0 notes
Text
Homework Task

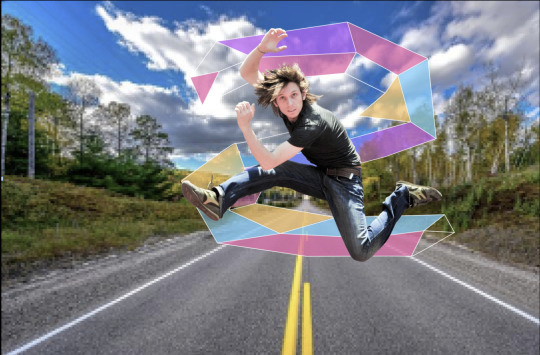
For this task we got the image we created in class and had to add on to it. I firstly draw a hawk in illustrator and then imported into photoshop to incorporate into the image. Then imported the hedgehog into photoshop and removed the background.
1 note
·
View note
Text
session 2
Straight lines into curved lines.
There are several steps involved in creating curved lines. We made the lines and the handles are pulled out from the end points to accomplish this. We kept creating new forms and tried out different approaches as well as different keyboard and mouse shortcuts.

Practising straight lines with pen tool that we learnt in the first session.

Then we did single arc curves where we held down as we clicked to make a handle and then clicked somewhere else and dragged to manipulate the curve.


I think I need more practise with these, I can do them but I want need to get faster and more used to it so I don't have to think so much during this process.
0 notes
Text
Homework Task
BEFORE AFTER


To improve this image I wanted to enhance some colours to make it appear lighter and brighter. So I started off with the curves tool and adjusted it a little bit as it wasn't doing anything for the image. Then I used the hue tool which I enhanced the sunset a little to be slightly darker but not too dark as started to look fake. Then I used the colour balance and adjusted it to cyan so that water pigment was brighter and lighter. Making it stand out more. I think make an improvement On this photo even if it's not huge.
BEFORE AFTER


For this photo I wanted to make this image look a bit softer, as looking a bit harsh on the eyes. It was a easy fix and only used curves for this process. I played around and manipulated the points until I was happy with the results. The change softened the white on the flower. I feel like the second image is clearer and easier on the eye.
BEFORE AFTER


For this photo I noticed that the original was very dark and harsh in places. So I wanted to soften these areas. I used the curve tool and adjusted it, which had a little affect on the photo. So I went in with the brightness and contrast tool. I adjusted the brightness up which lighten the photo, but still didn't look right. Then I went in with contrast and lowered it a bit which brought a god balance back to the photo.
BEFORE AFTER


With this photo I don't actually know if it is an improvement, I did lighten it up but still doesn't look the best. I think it doesn't help that the photo is bad quality. I went and used the curve tool which brightened the photo up quite well. This a used exposure a tiny bit which made a little improvement. Then I used the colour balance which brought out the a little more colour in the buildings and grass.
I feel like the more I'm doing this the better I'm getting, I'm understanding which all the affects do and which are benefical to each photo, Instead of just pressing random buttons. I enjoyed this task.
2 notes
·
View notes
Text
07/03/2024
lesson 6
In photoshop
Marque is the selector
select most of the thing, using the easiest tool
work on the layer mask with more manual tool
paint on layer to finesse selection
when selecting
holding shift + adds to selection
holding option - subtracts from selection
holding space allows repositioning of marquee

using the marquee and polygonal tool to create and take bit out of the circles.


creating mask and drawing with the white and black to earse and add


using the pen tool to draw around the shape that we want to delect and using the path to make it a cutout and then making a mask and having the fill on black and deleting it
command A = selection all
command D = Deselect
shift command I = Invent selection


to remove this ball we used the polygonal lasso tool by tracing around foot and the ball and connecting the two points and then deleting the ball.


using the paint brush tool to fix up the hair and other little bit that were needed.
Then we transferred it into illustrator

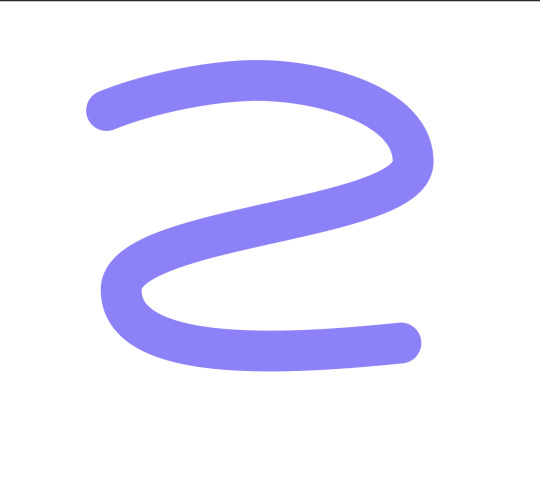
We used the pen tool to make this squiggle. then save the squiggle on its own and then placing it onto the man.

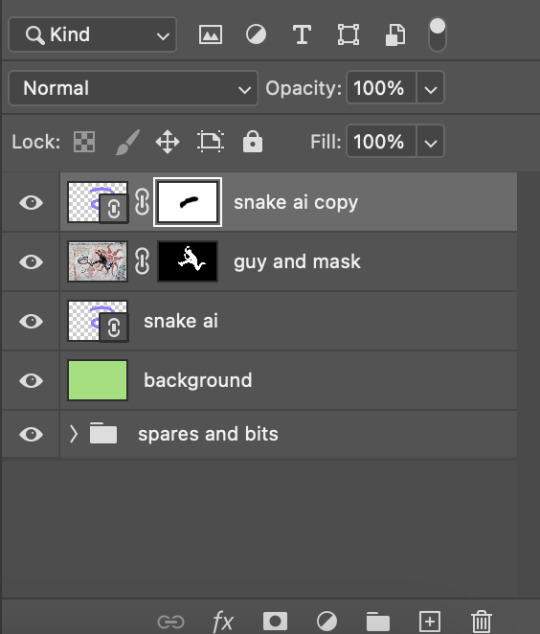

Imported to photoshop. Then we made a copy of the snake and put it in front and with the mask we rubbed out some bis that were on his body


Then in illustrator we made the shapes and filled them in with colours.


and save them into photoshop with this image and put a road in the background.
1 note
·
View note

Text
06/03/2024
lesson 5
working on layers
back ground colour is solid

X = swap for the stroke and fill
B = brush
E = Erase
[ ] = shrink/enlarge tool

playing around with the brush and eraser, stroke size and harshness
option = colour swab
option delete = full layer with colour
command = delete = full with background colour
command A + delete = colour layer

playing with a new layer, the opacity of he stroke.

shift = add to selection
option = subtract from selection
space= repositions marque
using the marquee tool to make coloured shapes, cutting out shapes and multiplying shapes.
while using move tool (v):
photoshop will move whatever is under your pointer (selection or whole layer)

command j = select w/ marquee and go onto own layer
command t = tranform gizmo

We copied and pasted the boat and then blended it into the water, by creating a mask on the copy and pasted layer and then going option and clicking the mask. then we had brush on making sure it was on black as,
black = visible
white = hidden
and then we made the stroke soft to help blend. Then to finish it off we made it smaller and put the opacity down as in background.

We used the orange to practise with the elliptical morquee tool and outline the orange, then adding more to make the outline of orange. then used the polygonal lasso tool for the other part by pressoption then go to hue and satuation and change the hue.

We used the pen tool for this plant. by making handles and pressing option to direct the handles. We trace around the coloured parts and then we went to satuation and hue to change the colouring.
path tool (p)
pen tool
arrow tool
tweak path
window path
command click path thumb nail to turn path into select

For the Humming we used all the skills we worked on the other photos and put them all together as one.
1 note
·
View note
Text

1/03/2024
Lesson 3
Today we worked on using techniques that we learnt over the last two lessons and new technic. Recap
For this project we used the pencil tool to draw our penguin.
We started off with the penguins body by making a circle with the ellipse tool. then we split the circle in half dragging it down and then connecting the circle to make the body.
Then to make the tail we used the add anchor point tool, and added 3 anchors points and manipulated them to make the tail.
Then we made the bit on the top the same way so using the anchor tool and manipulating it.
Then we created the beak and the eye. For the beak we got a rectangle tool and then changed it to what it look more like a beak, using the direct selection tool. Then for the eye we got ellipse tool to make the circle. Then we used the gradient tool to make the inner eye. We used black and blue for the colours. We then moved the gradient around the eye until it had a good placement. Then we stretched out the eye making it a good size. Then copy and pasted it and made them smaller. 1 black and 1 white to put in the eye. then we copy and pasted the eye to create 2.
Then we drew the wing with the pen tool and adjusted until it was right.
Next we worked on the feet. We started by drawing half the foot and then mirroring it the make a whole foot (1. select 2. press o 3. click 4. shift option + click. Then we copy and pasted it and deleted some lines to made the 3D part. We put a stroke around it and grouped it together. Then for the leg we draw a little bit of a curved line and duplicated it vertically to each other, and then connected them. Then we put them on the feet and gave them some colour. Then copy and pasted for the other leg and rotated a little to show an affect of walking. We also put the legs behind the body and rotated the body a little so on a lean.
Then we finished off the penguin by adding colours and details.
1 note
·
View note
Text
lesson 4 - 04/3/2024
WE worked with the colour wheel
hue, tone, tint and shade
RGB = Additive colour
CMYK = Subtractive colour
Value
shade = add black
Brightness for both
tint = add white
more satiation = more pure and intense
less satiation = more grey and less intense
Today we worked with photoshop. We started on a light-low end. we worked with the curve tool (command M). to look at the white to grey scale of the photo. We played around with the scale to see the contrast off the lighter and darker shades.
BEFORE

AFTER

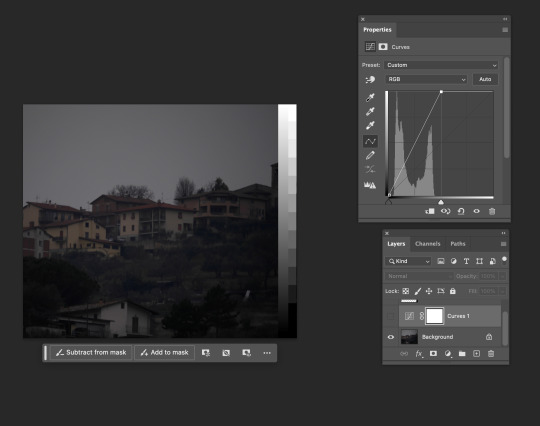
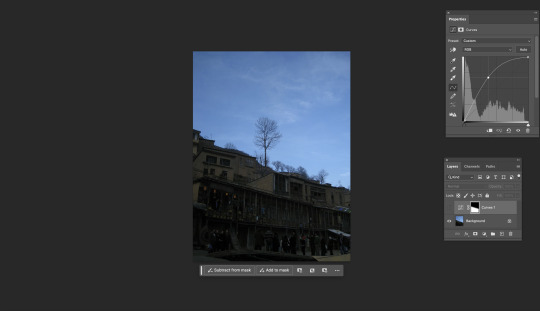
With the next image portrait - low high endss. it's lacking white shades therefore why the imagine is so dark. So we corrected it.
BEFORE

AFTER

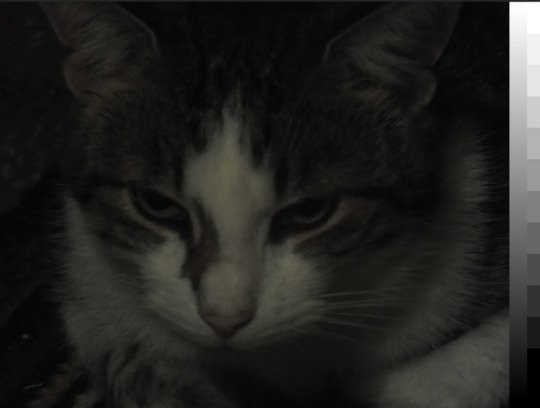
For the next one is the cat. The satuation is low is this image so we fixed it. it was dark so we needed to brighten it. So we used the curve tool again to adjust it we then used another layer for the hue as the quality wasn't great and needed to put some more colour into the cat.
BEFORE
AFTER

This Next one was a very underexposed image. So used the curves again. we made more points of the scale. We also used the Hue again
BEFORE
AFTER
this next image we just had a play around. So did make it look better just practised more curves and we played around with colour balance and just look at the effect it had. we changed the midtones, hightlights and shadows


with the next image we are just playing around with everything we have learnt and used today. practising we looks good and what doesn't.
BEFORE

AFTER


then I did a bunch of normal adjustiment to the next photo. Then we made a new layer and made it black, then we used the elliptical marquee tool and made a circle we then deleted circle, making a circle cutout. We then went filter - blur and adjusted it to be blur slightly seeing it. So just looking a little darker around the edges. we also put down on the opacity. We then used photo filter to wrm the image up
BEFORE

AFTER

For this image we used a mask with the gradient which fix the potion of the sky. black is hidden and white is show.
BEFORE
AFTER

1 note
·
View note
Text

28/02/24
today we were using the pen tool for straight line shapes. we were getting used to using by doing various shapes. Since learning all the shortcuts it really helped make this process easier and faster, as getting to all the tool without clicking
1 note
·
View note
Text
Computer Shortcuts
FINDER
Command N = New finder window
ILLUSTRATOR SHORTCUTS
Z = Zoom Tool - Space = PAN
V = SELECTION
A = DIRECT SELECTION
IN DRAW MODE
Command = click away = stop drawing
2 notes
·
View notes