dazedbyeol
𝘥𝘢𝘻𝘦𝘥
"𝗆𝗒 𝗁𝖾𝖺𝖽 𝗂𝗌 𝗂𝗇 𝖺 𝖽𝖺𝗓𝖾"
𝙏𝙍𝘼𝘾𝙆𝙄𝙉𝙂 : #𝙢𝙮 𝙗𝙪𝙢 𝙖𝙨𝙨 𝙜𝙞𝙛𝙨.𝙜𝙞𝙛
24 posts
Don't wanna be here? Send us removal request.
Last Seen Blogs
futarinokizuna
Mimi N
degaine
Dégaine
kiralimee
Kira Lime
harryp0tterfan-hinny
HarryP0tterFan-Hinny

kakaktus13
My Dirty Little Hotwife
Note
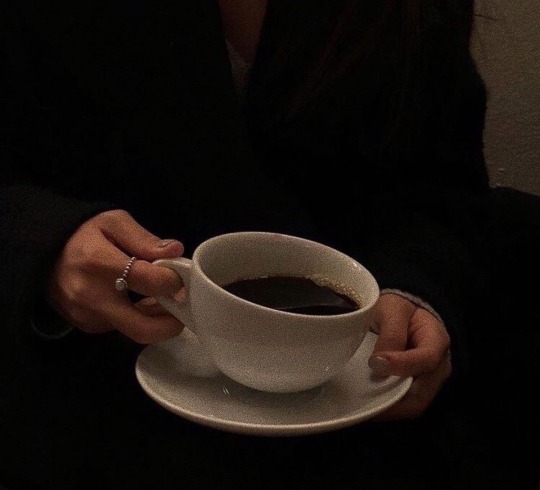
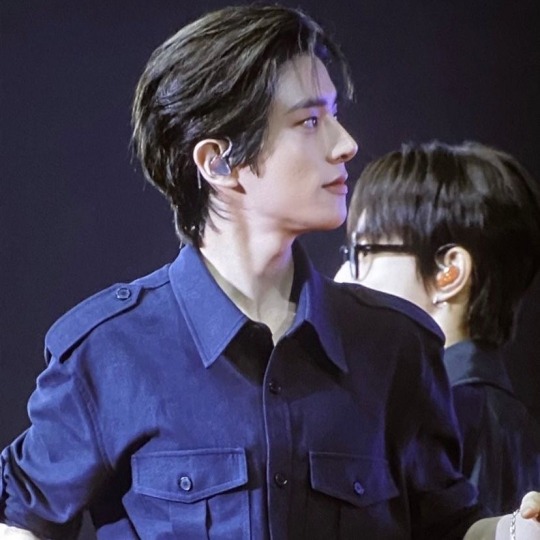
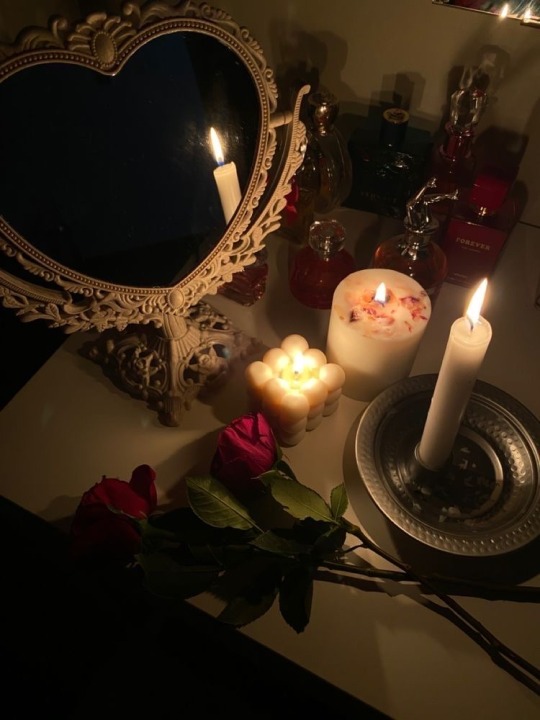
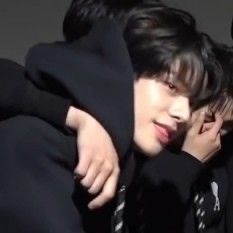
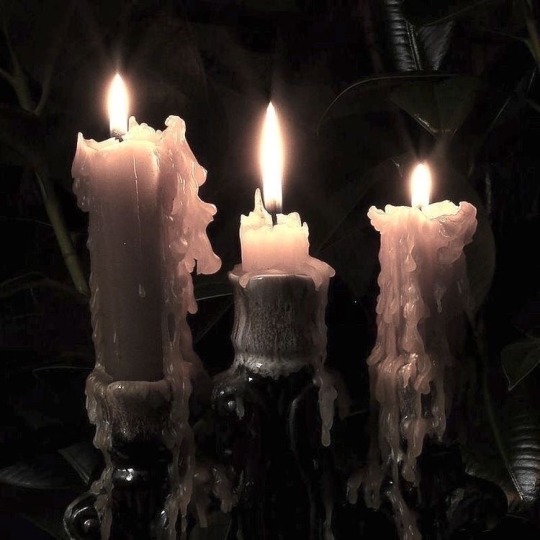
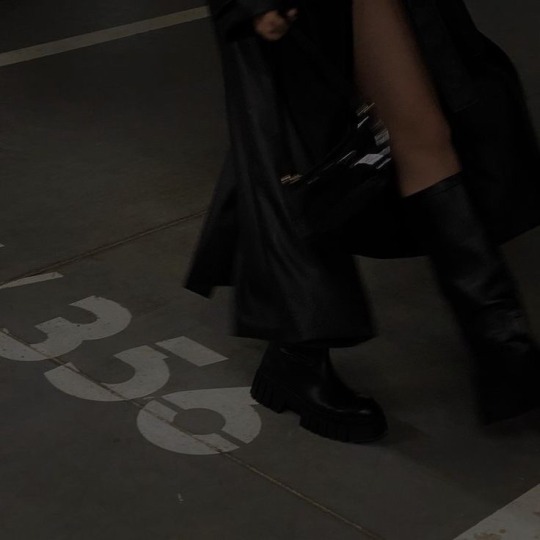
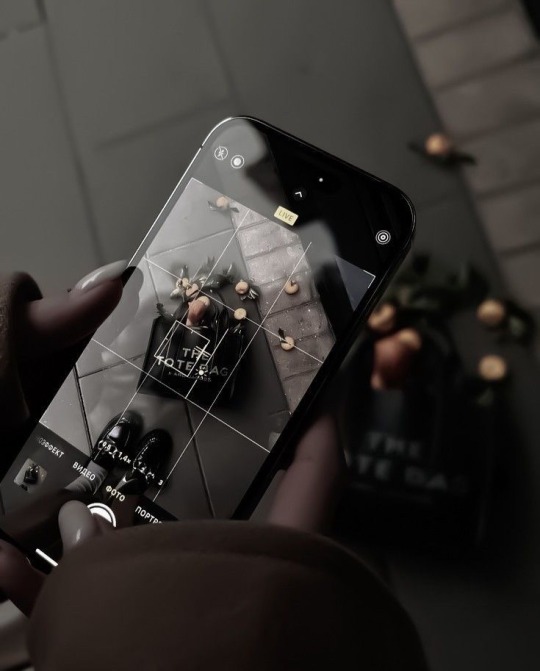
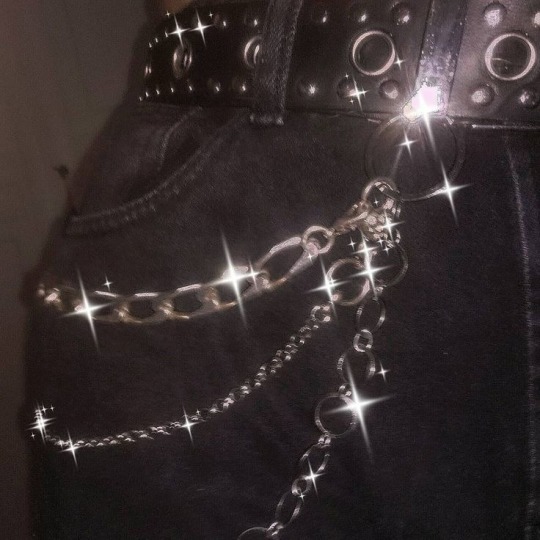
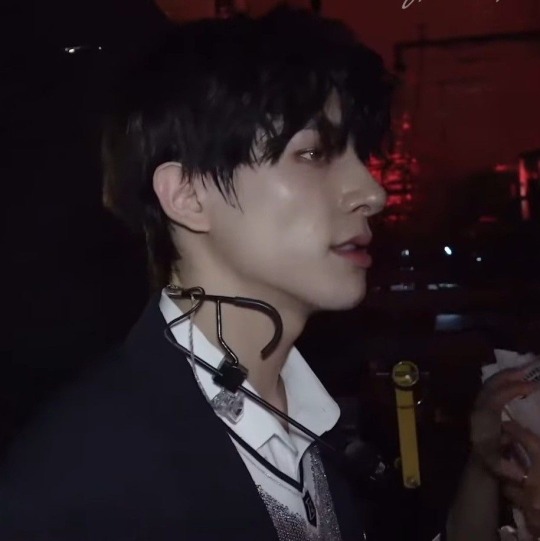
Hi cinna!!!! If u can could u make me a moodboard? I love jake from enhypen and im goth so like bats, black, dark blue and dark feminine stuff
Loves and kissesss take careeee mwah🖤🖤
hi hi yes ofc :) hope u like it !!
24 notes
·
View notes


Text


KIM OK-BIN in THE VILLAINESS (dir. Jung Byung-gil, 2017)
SEJEONG in TOP OR CLIFF (dir. Hobin, 2023)
267 notes
·
View notes
Text
Blurring out captions (with video timeline)
Ever had those times when there are just plenty of captions, text, and logos on the videos that you want to gif and you want them to be less intrusive and/or distracting? Well, an option is to blur them out~ Although personally, I’m not a big fan of it, I thought that it might be helpful for those who want to learn about it ^^ ♥
So in other words, turning this kind of gif…
Into this kind of gif…
Requirements:
Photoshop that has a “convert to video timeline” option
Prior knowledge about making a basic gif
Prior knowledge about sharpening gifs with the “convert to video timeline” option
Keep reading
515 notes
·
View notes
Note
i wanted to ask was, how do u make ur gifsets (like in what programs, etc)? and, what do u rec to upcoming gif makers like myself to figure out how to make gifs? plzzz n ty btw but i understand if u dont wanna answer my questions bcuz ik google is there. its just u seem nice lollll !!
hi!! absolutely no worries, i don't mind answering questions <33 below i've linked some programs/tutorials that i personally think are useful and have helped me a lot, especially when i was first starting out.
programs
the first program i reccommend is 4k video downloader. this is what i use to download the videos i want to gif. while there are other methods you can use, like using your laptop to screen record specific clips, or screen capping (which is when you use a sequence of images to make gifs rather than clips of videos - i'm not super knowledgeable on this), but this is the method i prefer the most.
this next program is optional, but if you want high quality gifs, i highly recommend installing vapoursynth. vapoursynth allows you to clip specific timestamps from videos, resize them to fit tumblr's dimensions, and sharpen them. it can be complicated to use at first, but i promise it's easy once you're used to it!! again, this program is optional because you can technically do all of this in the programs listed below, but i use it because it helps with the quality of my own gifs. here's vapoursynth for windows, and vapoursynth for macos (and both of these links are complete with guides that walk you through the installation process).
adobe photoshop is the most common program gifmakers use to make gifs. you can do basically everything in it - clipping, resizing, sharpening, coloring, etc. but if you can't afford to pay for it (like me), you can pirate it :D this document has a list of links you can use to pirate photoshop. make sure to download the right one (windows vs macos) and follow all the directions listed so that it goes smoothly.
if you feel overwhelmed by photoshop and don't want to download a program that takes up so much space on your laptop, you can also try photopea!! i actually did use photopea at first when i started out making gifs. it's basically a web browser version of photoshop, and while it doesn't have all the features, it's still good enough for making gifs.
tutorials
there are so many different methods for making gifs, and if i went over them all, it would take forever lmao. so i'm just going to link some of my favorite tutorials, and you can look through them and decide what method is best for you. the ** indicates the tutorials that are the most similar to the methods i personally use.
gif tutorial by @jeonwonwoo (full gif tutorial; uses photoshop)
**basic gif tutorial by @shuaberriez (full gif tutorial; uses vapoursynth and photoshop)
**basic giffing guide by @wonwooridul (full gif tutorial; vapoursynth and photoshop, though the former is optional)
**giffing guide by @iive (full gif tutorial; uses vapoursynth and photoshop)
gif tutorial by @dqmeron (full gif tutorial; uses photoshop)
gif tutorial using photopea by @lacebird (full gif tutorial; uses photopea)
coloring/sharpening tutorial by @parkloves (coloring/sharpening only; uses photoshop)
how to color kpop stages by @jeonghan-yoons (coloring only; uses vapoursynth and photoshop, though the former is optional)
**sharpening settings from @football (sharpening only; uses photoshop)
sharpening settings from @jeonwonwoo (sharpening only; uses photoshop)
how to fix grainy gifs by @kangyeosaang (exporting gifs; uses photoshop)
masterlist of coloring resources from @asiandramasource
i hope this is helpful!! feel free to reach out if you have any questions regarding any of this information <33
33 notes
·
View notes
Text


HEAVEN AND HELL
44 notes
·
View notes
Photo
my brain right now for no reason... aka
[ HOYOUNG IN UNDERCOVER ]
20 notes
·
View notes
Photo

if [ ditto ] was a netflix series [ pt4/?? ]
A VERSION ✦ B VERSION
BONUS A :
Keep reading
#new jeans#newjeans#ditto#new jeans ditto#newjeans ditto#new jeans!!#my bum ass creations.multimedia
233 notes
·
View notes
Photo
THE SECOND COMING OF SEONGHWA ✬ HALAZIA
48 notes
·
View notes
Photo
my brain right now for no reason... aka
[ HOYOUNG IN UNDERCOVER ]
#vrvr!!#HOYOUNG!!#vrvr hoyoung#verivery#vrvr#verivery undercover#vrvr undercover#bae hoyoung#my bum ass gifs.gif
20 notes
·
View notes
Photo
CAN’T STOP SHINING | TEMPEST
5 notes
·
View notes
Photo


my brain right now for no reason... aka
[ PENTAGON – CERBERUS ]
1 note
·
View note
Photo
my brain right now for no reason... aka
[ HOYOUNG GET AWAY 20210306 ]
1 note
·
View note
Photo
my brain right now for no reason... aka
[ HYUNSUK IN 458 ]
4 notes
·
View notes

Text

HELLO!
Welcome to method 3; written by me, Lee <3
♡ ♡ you can check out @buwuyu method (1) and @soonhoonsol method (2) here and here in a masterpost ♡ ♡
thankyou my besties for doing this !! we had so much fun 🥺💖
we will use gradient map and hue / saturation and mask them with paint brush tool and selective colouring for adjustments.
- this will require basic knowledge of photoshop and colour schemes.
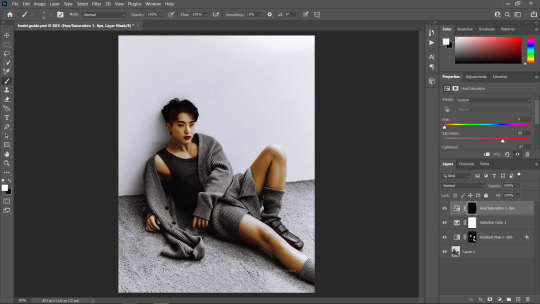
STEP 0: OPEN YOUR B&W PICTURE IN PHOTOSHOP (file > open) AND YOUR REFERNCE PICTURE
we start of by using a reference photo photo with similar lighting as a reference for the skin tone. This process won't be needing to do contouring cause adjustments in gradient map and blending will ensure highlights and dark tones.
I was too lazy to remove teh allure mark so i just coloured the without watermark photo @iiasha posted. thankyou zero<3
STEP 1: MAKING SKIN TONE PALETTE WITH A REFERENCE PICTURE
Pick colours from different tonal values. I'd suggest one colour of skin from each of the degree of contrast; different levels of brightness from the ref picture.
here's something basic about tonal value.
darkest being called blacks and lightest being called whites.

Go to brush tool and set its size according to you and its hardness to full. Make sure your Sample Size settings are set at 5 by 5 per average and Sample is set at All Layers.
With Brush tool selected, Press ALT and you'll see a colour picker, select a colour ; use that brush to make a swatches on any place on the b&w photo so that its easy to access during gradient map.
Select the marquee tool and select the palette and press CTRL + J / CMND + J. this will create a new layer which you can later delete after you're done using the palette.

STEP2: MAKING GRADIENT MAP WITH THE SKIN TONE PALETTE
go to adjustment layers and select Gradient Map. Make sure your palette layer is above the gradient map layer. If not, the it'll become a part of the gradient map and we don't want that since we will be using it for sampling.
click on the small bottom left square, it will open up a colour picker. Select "whites" from the Reference skin tone palette. Select "blacks" from the ref palette. You don't necessarily have to stick with the palette you created. Sometimes, to may be too extreme because in the end it is from a different photo. To adjust the skin tone, you can play with the tones according to your wish.
Now, the gradient may look pretty dark. Select Gradient Map layer and set its blending as "COLOUR".

To add more colour to the skin, you can adjust saturation of each colour too. Select the small box who's colour you want to change and it will open a colour picker, on the right side you can see Hue, Saturation, etc. You can play with both the Bars

The skin tone still looks very unrealistic. To manage that we will edit the layer style. Now, right click Gradient Map layer and Select Blending Options.

If you try to adjust directly with left & right triangle cursors, it will be too extreme. Photoshop allows us to break each of these cursors into two. Press ALT and click on the Triangle cursor and it will split it into two parts. These settings may defer from picture to picture.
STEP3: PAINTING THE SKIN WITH GRADIENT MAP INVERTED MASK

Select the White part on the gradient map layer and click CTRL + I / CMND + I to turn the mask into an inverted mask. The mask will turn black. It looks like we came back to square one, doesn't it? Don't worry! We just turned on inverted mask for us to colour the skin.
Select your brush tool again and start painting/colouring the skin parts. It's okay if you went out of lines. We can easily correct it by erasing the colour that went out of lines. Smaller the eraser, precise the colouring looks after touching up. i'd suggest Kyle's Eraser- natural edge or Soft brush Eraser.

adjust more of skin tone by using Selective Colour adjustment layer and playing with reds and yellows.
reds: +10, +7, +9, -56 | blacks: 0,0,0, +11 | whites: 0,0, -48, +3 | yellows: -43, -10, +5, +29
To darken the Vest and Hair just increase blacks in the Black Colour in Selective colour.
COLOURING THE LIPS & CLOTHES
LIPS
Select Hue/Saturation adjustment layer and turn on inverted layer mask with ctrl + i / cmnd + i and tick Colourise in properties of the layer so that it's the actual colour and not a colour influenced by the gradient map colours.
Select your lip colour and you can lighten or darken it with Lightness bar and adjust the saturation with Saturation bar.
my settings were: HUE= 0 (red), SATURATION= 70, LIGHTNESS= -27
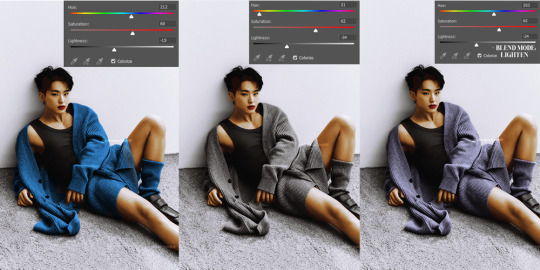
CLOTHES
with the same process as of colouring the lips, mask the clothes and socks part with Hue/Saturation inverted mask and adjust the colour of the clothes according to your linking by playing with Hue, Saturation and Lightness.
To change overall settings of the picture, use Brightness/Contrast and/or Selective Colour. I added more brightness and increased the contrast a little too.
One upside of this method is that you don’t have to re-mask or re-colour if you want to change colours, you can just play with the Hue and change the colour. So, no double work!
if the Skin tone seems very yellow-ish you can use Red PhotoFilter (50% opacity) and colour on the skin using inverted mask again.
FINAL OUTCOME
if youre done with your whole colouring process and still want to change colour, of example clothes; just play with hue/saturation adjustment layer and blending mode ! Ta-Da you have your new colour.
thankyou for reading my method! i hope it was a little helpful ! for any doubts you can reach out to me <3
92 notes
·
View notes