
Don't wanna be here? Send us removal request.
Statistics
We looked inside some of the posts by eliasfundamentals and here's what we found interesting.
Average Info
Notes Per Post
0
Likes Per Post
0
Reblog Per Post
0
Reply Per Post
0
Time Between Posts
12 days
Number of Posts By Type
Text
9
Last Seen Tumblr Blogs


Fun Fact
Tumblr was acquired by Yahoo for $1.1B in 2013.
Text
Notes. 29/07/2024
Basic Indesign, scaling images using Command and Shifting the image inside the frame to crop pieces out or not.

Slowly we'll be learning how to piece together a comprehensive slideshow with a well organized theme and neatness.
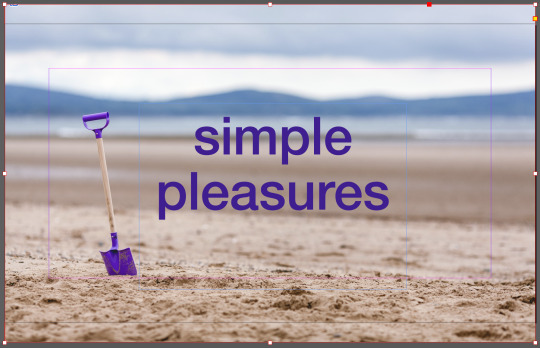
Simple dark text on light background composition.


Light vs Dark image... Left is current final for the slideshow example.
note: use package when transferring files between different locations when it includes custom entries (InDesign, Premier Pro.)

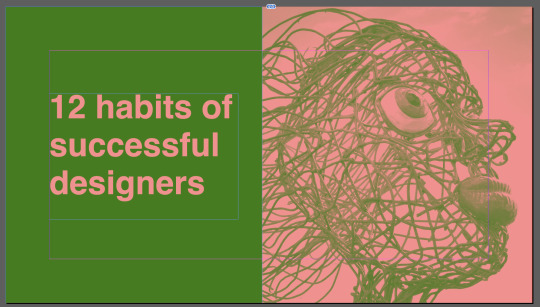
Using a gradient we highlighted one spot above the trees, letting the black text standout from the darker forest areas in the image.


Next we took a flat panoramic photo that used to be an uneven rectangle and generatively filled the upper section to create a more full photo, this also allowed the text to be highlighted in the empty sky area.

The final part involved turning an image into a gradient map to match the overall colour theme, this was done pretty easily through the inbuilt programs and once adjusted fit perfectly.
0 notes
Text
Notes. 24/07/2024
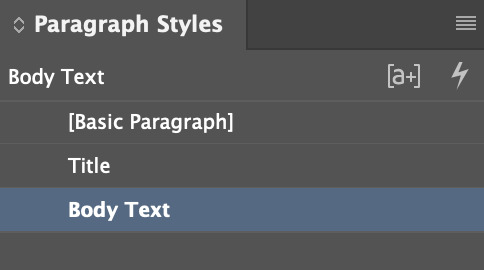
Fundamentals we're learning paragraphs and sentence styles again, helping us easily switch between one or more styles for each section of text. From headers, and titles, to body text, and footnotes.
The page styles will help us create page numbers and column styles so we can have a unique look for each page or a more uniform format to not get lost in the huge amount of blue lines dictating where some boundaries are.

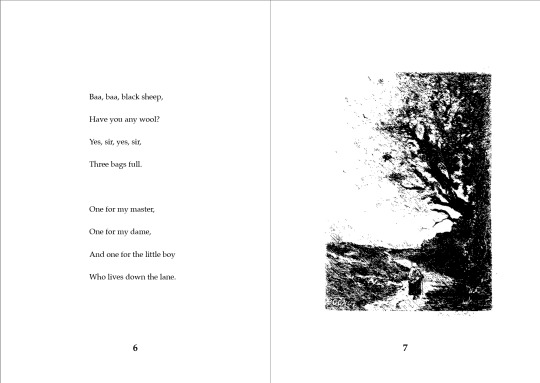
Classical children's book style goes for a more Victorian-era design to keep it minimal and clean but also has some decent illustrations to keep up the hard work of a small rhyme and image to go with it.
For the 2 Illustrator drawings we've been tasked with I'd like to try and recreate a classical style while also staying clean and readable.


A quick revision and research into classical book layouts have proven to even out weight from page to page and give an authentic look and feel.
Every page:


0 notes
Text
Notes. 16/04/2024.
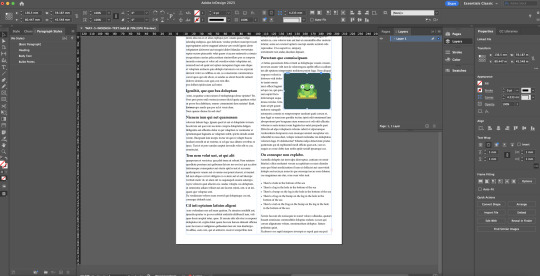
InDesign is a program used to edit and form text neatly into columns or bodies to create book pages, magazine pages, posters, etc. Using it is difficult at first but getting the hang of it is easy enough once you figure out the basics.
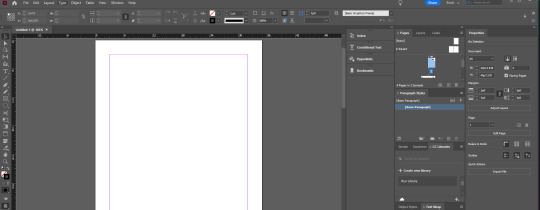
Using this we created two columns and then filled them with filler text separating different headers and paragraphs.
When creating multiple paragraphs using paragraph styles allows you to set them for each word, sentence, or paragraph making it easier for you to create large bodies of text with unique styles.
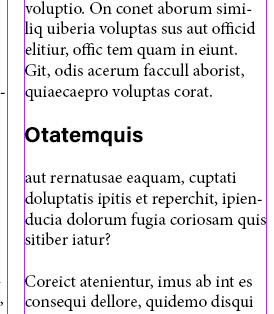
Later we added an image to the page to break up text and create a new challenge for ourselves, this led to us discovering the image margin editor allowing us to create a border around the object pushing away text.
0 notes
Text
Notes. 7/03/2024.
Through masking and Live Editing. it is possible to combine a masked image with a vector shape straight from illustrator.
Smart objects uses a symbiotic relationship between Photoshop and Illustrator to combine a live edited shape straight into Photoshop in order to have accurate and tool heavy design than compared to photoshops range of shape tools.
This process allows us to effortlessly merge the two to create stunning images with photo and vector.


From Normal to edited image it clearly shows the mask in the green screen but has some unfortunate artifacting which I have no clue how to fix.
0 notes
Text
Notes. 6/03/2024.
Masks. A form of cutting shapes out of other shapes to create a more unique form quickly and efficiently. Usually it is utilised to target certain areas of images inside of photoshop to single out an effect for that area.
Transparency, dictated by the alpha pixel which is considered non-solid by the computer program.


B = Brush E = Eraser I = Eyedropper OPT + DEL = Fill Space with Colour CMND + DEL = Fill Select with Background Colour We ave created fantastic abstract art in class with brush practice :)

While Selecting: SHFT = Add to Selection OPTN = Remove from Selection SPCE = Reposition Marquee
Select Family: CMND + A = Select All CMND + D = Deselect CMND + Z = Undo SHFT + CMND + Z = Redo
Dear god, our abstract skills are growing with every new tool discovered.

______________________________________________________________
Masking And Selecting Practice.

Using a multitude of tools including Photoshops exclusive Pen Tool which is mildly confusing when you deselect it and disappears forever.
We also used a Object Select Tool, making this basket of fruit easy to manipulate and change the colour over cause it uses some significant tech to single out items.


Shenanigans continue onto inserting a humming bird where no humming bird has ever been... From bland image to bird filled.


Using the masking process we create an outline around out humming bird, selecting the essentials only and slowly editing it. The tool 3rd from the beginning (white box dark circle) is the masking tool.
this will create the outline needed to transfer the humming bird from one background another with some flaws here and there.

After filling the background (CMND + DEL = Fill background with selected colour) we edit the silhouette inside the masking layer, creating cleaner edges and a soft blur to the wings edge to mimic the previous images speed since object select can not detect this.


Creating a mask, Feathering and Blurring, cutting, pasting, and adjusting. All so it fits into the spider infested image ;)
0 notes
Text
Notes. 4/03/2024.
We finished off the mastery of using the different points in Illustrator.
Today we move on to...
ADOBE PHOTOSHOP!
Using the tools available to us we'll be editing images and adjusting them to look the best they can, maybe even enhancing them.
Colour correction is our first tip, fixing images to help the exposure, contrast, saturation, and blacks and whites. Helping to form a balance.
Color grading uses similar effects but to stylise and create unique styles like a sepia tone making the picture look very old.
This is what we'll be using today on this photo;
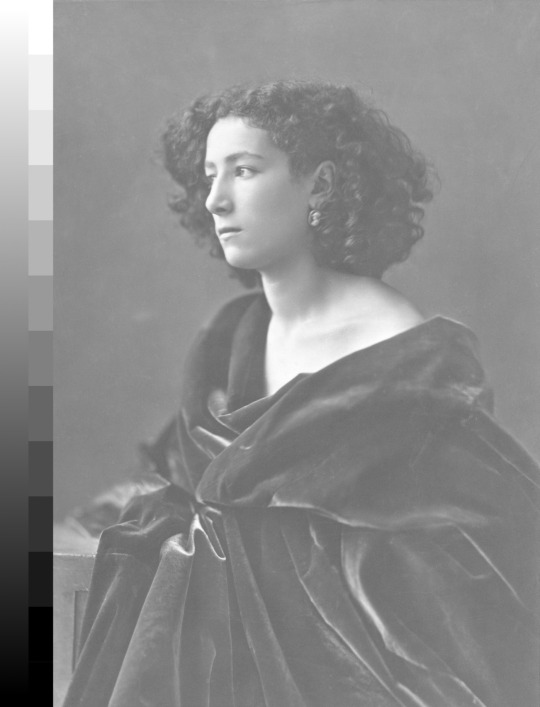
Histogram - A series of graphs showing light levels inside of an image/pixel data.
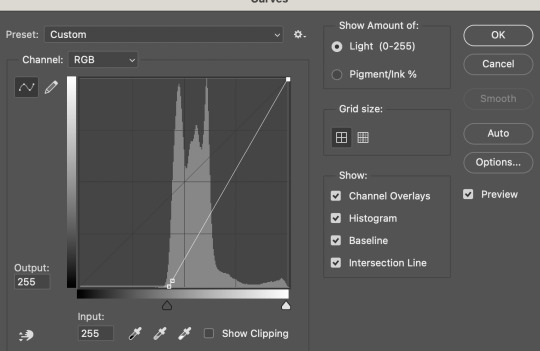
This is the histogram of the image currently above this, after moving the points at either end the pixels are shifted to the right levels creating a fairly balanced image.

The two dominant model for colour of CMYK and RGB everything else is hybrids or very unique to a certain type of light/paint this helps us narrow it down to two things, one for print and one for web/game design.
Value. Tint: Add White. Shade: Add Black.
Hue. Yellow Turquoise Red Blue
Saturation. Colour vibrance. More Saturation = More pure and vivid colour. Less Saturation = More greys and muddier colour.
This all leads up to correcting this cat from dark and grey to fairly bright and colourful.

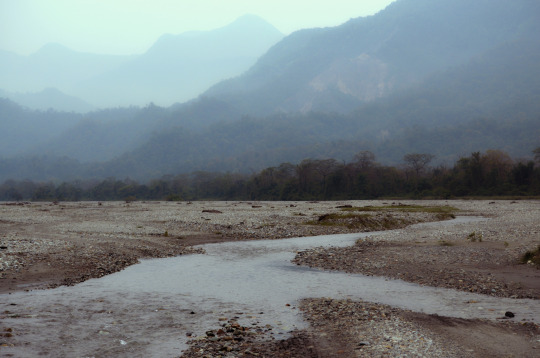
This continues onto the next image where we're correcting a dark, cloudy day image.
The corrections are going to be brightness, saturation, and exposure.

Managed to show a very Red pill vs Blue Pill fixing of the matrix shading in this photo edit to actually make it feel real.

Another edit where we managed to edit a very old almost sepia tone over exposed image where shadows were red and all information behind the trees was lost to the bright light. Using a mix of 3 edit layers changed it from hard to look at to pleasing to the eyes, almost.

0 notes
Text
Notes. 1/03/2024.
Today we're creating our first proper image using vector drawing, creating a penguin from nothing!

Using copy and paste we basically cut a circle in half and used the bottom half to complete the pill (creative pilling) which is to be the body of our franken-penguin.

CMND + Shift + V = Paste In Place
Extra handles to create the tail of the penguin and give us more options for shape, size and diameter.

The handles continuing to come in handy as each point preserves or changes the angles while editing, keeping the form but letting you add more detail and character to this little penguin. The Handles hacing to be neat and tidy so that when someone looks at this they can easily understand what you were doing and how to do it!

The evolution of the penguin continues with a beak and eyes added, using gradients and highlights to give the life right away. The process simple enough using the interior slides and handles of the gradient editor to create the illusion of a pupil and just some white ellipses for the highlight.

The feet! Creating one side from a guideline from the side rulers available in Illustrator (CRTL + R = Rulers) Then click and drag from the respective axis and you'll create one!
The handles come in clutch to create the first half of the foot which we use a shortcut to reflect and make an identical other half! ( O = Reflect, Click point one then point two, while holding Shift + Option/ALT telling the program to copy!


Joining them is easy enough selecting body sides and clicking the join button on the right side underneath everything.

(The dotted line is Connect/Join/Merge (Only if the points are overtop of each other))
Like the evolution of man we have created stylised foot!!! In an insane use of black magic (Keyboard shortcuts) we created this.

Almost looks like something you'd see on a professional website.

He walks.


and behold the final three steps, from lines, to full colour, and shading! This process is an easy one but you getting there was easy with the tutorial and even more so doing right in class, accompanied by the neat layers assisted by our lecturer.

After this I can feel confident creating Illustrator, each tool memorised and written down for jogging of the memory! I can't wait to continue onto the homework project of creating a simple object of our own.
0 notes
Text
Notes. 29/02/2024.
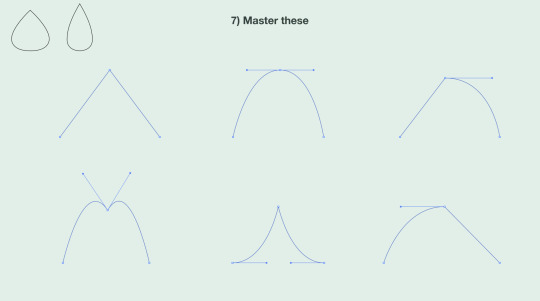
Today we're learning to use curves in the Adobe Illustrator suite, mostly to create basic objects but I suppose by tomorrow we'll be creating a mix of complex shapes to make either an object, building, character, and etc.
Z = Zoom Tool P = Pen Tool V = Whole Selection A = Direct Selection Space = Pan Shift + CMND + 4 = Screenshot Select CMND + N = New Finder Window

We were tasked with drawing these six shapes, some were easier than others but the star and lightning bolt were honestly the worst, getting the angle right in the bolt and the points even on the star.
Each point almost even but definitely not pixel perfect, but now we're looking at the Bezier Curve! A math equation that is fairly complicated and I have no time to explain but show!

It uses a form of points to create the curve flawlessly and sometimes in very hilarious ways.
Using the tool is fairly easy but it's getting a smooth angle instead of a weirdly acute curve thats hard. sometimes you'll get it right the other time it might look like the side angle of a pimple.

The handles are very important having short is good but having long can make a huge mess and end up confusing you or anyone else who looks at your work on this technical level!

Handles! Still important.

Tasked to create basic curves to show our skill using the tool, this went smoothly (hehe smooth... curve.) Having long handles is sort of essential to have tall sharp curves.

Curves have become a little more advanced in nature, creating even shapes and twists to coordinate the smoothness. It wasn't that challenging for the most part but towards the end trying to get rid of the harsh angles that can appear with sharp turns was difficult.
Using smart guides definitely helped. (CMND + U = Toggle Smart Guide Lines.) They help even things out and create equal spacing.

Worked on more closed shapes, creating tear drop shapes as even as possible. Complete. Uniformity.
0 notes
Text
Notes. 28/02/2024.
Set up Tumblr account. Learning what programs we're using for the course; Photoshop, Illustrator, InDesign, and etc. Probably going to post an artist inspiration post later on to help us set a goal.
File Keeping Tips. - Personal named file. - Inside Create: "Project Name 1-99" - Inside of Project Name create: "PRJ", "IMG", "DOC", "OUT". These are all the necessary files for keeping a tidy working process. Learning to use the manipulation tool to move around points of an object in Illustrator, to create shapes.

We've also learnt what the corner Manipulators do; Rotate, Resize, Drag, and Scale.

CMND + Z = Undo
CMND + Shift + Z = Redo
CMND + C/V = Copy/Paste
CMND + X = Cut
0 notes