esdcardboardwall-blog
ESD CARDBOARD WALL
Tayla Walker - Nicholas Groh - Miranda Hallyburton - Ben Swift - Amanda Riseley
34 posts
Don't wanna be here? Send us removal request.
Last Seen Blogs

youjustgotzizes
You just got Zizes


nikkinevergoesoutofstyle
Nikki

themerrymallgoth
everyday is like halloween

mako-sinclair
one-winged angel
Text
Design Response
Through the course of this group task we achieved our goal to design and build a scaled wall that provides both stability and resistance to 5 minutes of ‘rainwater’. Although along the way there were doubts as to the viability of the wall, the final test proved otherwise and that treated cardboard can indeed be used as a construction material.
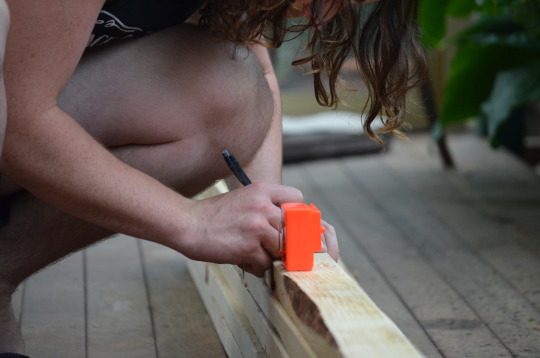
There were many obstacles during the construction and planning phase which included material use, waterproofing methods and structural requirements. By testing our materials and methods before starting construction on the wall we resorted to the use of flat cardboard pieces instead of tubes, in conjunction with a stud frame, and Granger’s performance proofer (waterproofing spray) alternatively to surfboard wax. There were many alternate methods of construction and application and so it was during testing we concluded to pursue our previously listed methods due to either their visual appeal or ability to provide consistent coverage.
Ultimately the use of cardboard surpassed our expectations as an external cladding, whilst we could improve on the finishes of the wall we can also conclude that treated cardboard is an adequate material choice.
0 notes
Photo


After 5 minutes of simulated rainfall our wall did not fail us. No water had seeped through the cardboard or leaked through the window.
0 notes
Photo


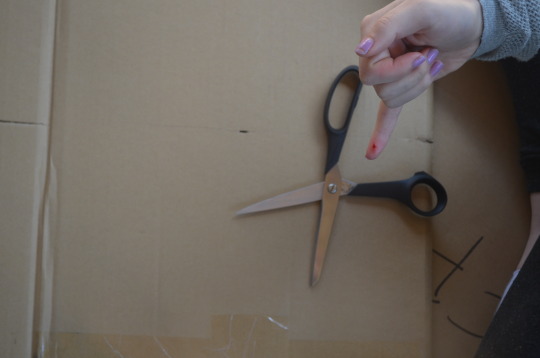
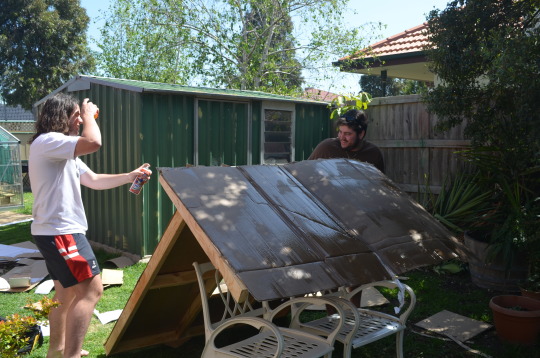

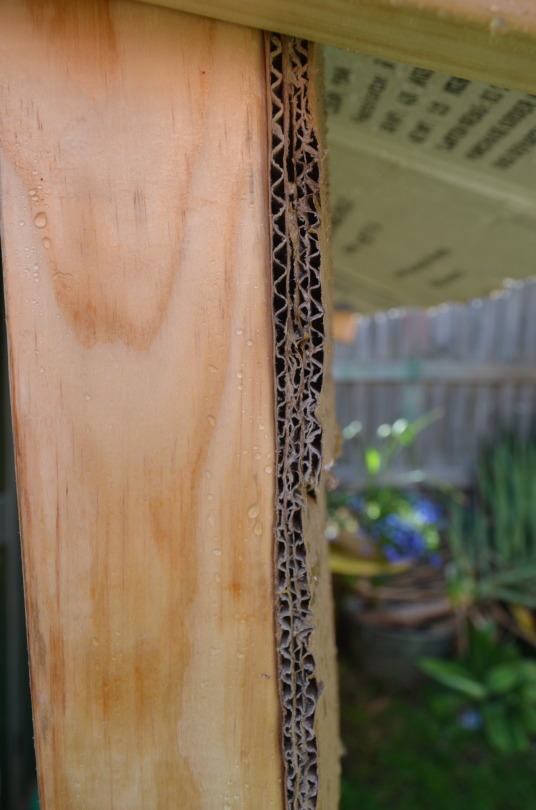
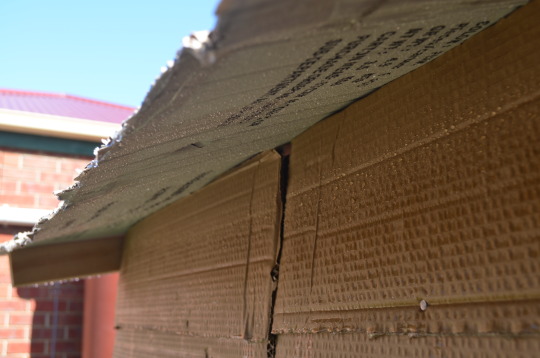
The roof was then added to the wall and using the waterproofing spray the entire wall and roof was waterproofed. Cardboard weatherboards were then cut out along with Tayla’s finger, some people just can’t handle adult scissors. The cardboard weatherboards were then fixed to the frame and were also waterproofed.
0 notes
Photo

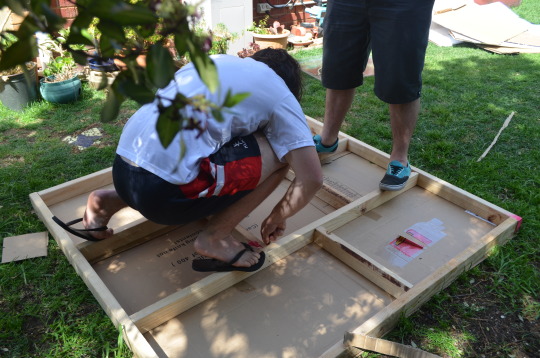


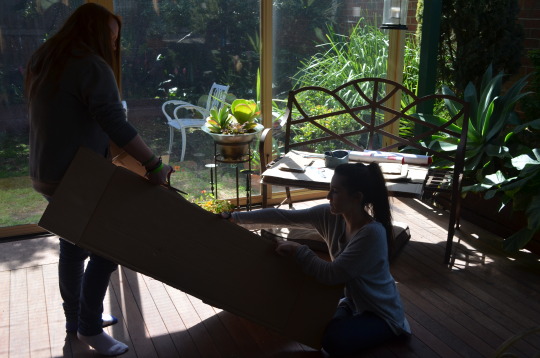
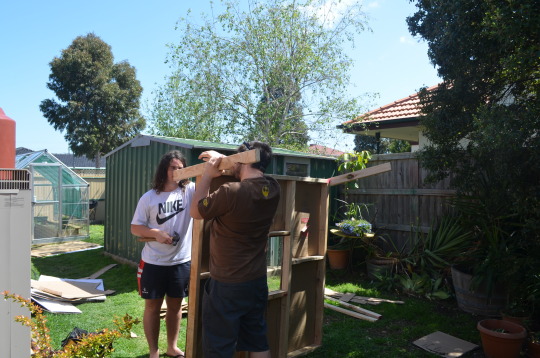
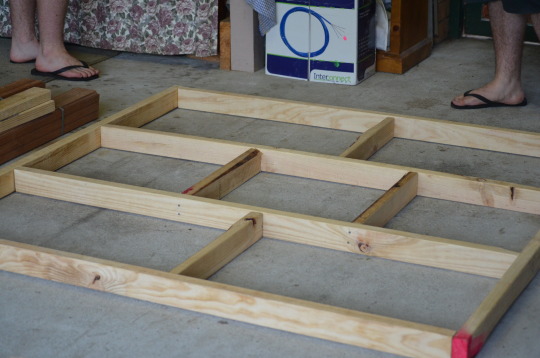
After the stud frame was finished we started fixing the window and cardboard to the frame.
0 notes


Photo


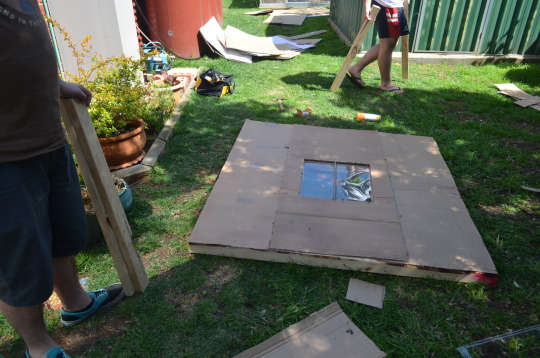
Window material
To keep with recycled materials, a spare polycarbonate panel from my dad's greenhouse as seen above was used. With the existing greenhouse at our disposal we could see first hand that the material was an ideal choice with its durability and waterproofing abilities.
Glass offers visual clarity and can last indefinitely in fully protected situations. However, it is heavy and this necessitates very strong frame design, typically with a large number of relatively small panes. Polycarbonate is virtually unbreakable, having an impact resistance 250 times that of glass. It is also light, which enables larger glazing panels to be used and reduces the need for heavy and bulky frame structure. It's important to ensure that a good quality UV protected polycarbonate is used, whilst a UV protected polycarbonate has a service life of 15 – 20 years, a poor quality product will not last for more than 3 or 4 years in typical Australian conditions.
With the idea gardener's set up were we built our wall we were also able to use water from the water tank during testing phases and whilst filming our final 5 minute rainwater test.
0 notes
Photo
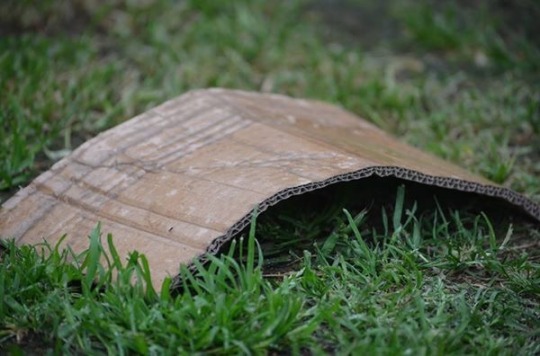
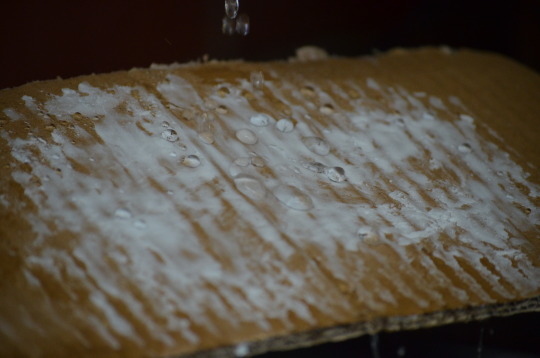
CARDBOARD WITHOUT ANY APPLIED WATER REPELLENT
Firstly the most important initial test to undertake was to see how untouched cardboard reacts when exposed and drenched in water.
So both in leaving a sample piece in the rain for under an hour it was clear how unsuitable it is in being durable against weather as it swells rapidly fast as it absorbs all the water it comes into contact with and begins to buckle and weaken proving to be an unsuitable cladding material... IF left and not applied with any water retardants.
0 notes
Photo

Toe Jam Surf Wax
Apart from being extremely soft and a compatible material to use on surfboards in assisting with grip control it also makes for an excellent repellent of water therefore acting as a waterproof cladding material that is sustainable and eco friendly due to it being, as researched, biodegradable, non-toxic (chemical free) and petroleum free which lead us than to the wax being trialled through applying it to cardboard in order to waterproof it.
An interesting fact that was discovered also in choosing the type of surfboard wax to select from a surf store, Ozmosis, was that it was 100% a Product of Australia since 1997 and the packaging is made from using recycled environmentally friendly wax sack to create the paper packaging.
The test we conducted was to a small scale at first to ensure it was going to work and be a practical material that would efficiently waterproof the a small sample of recycled cardboard.
> To melt wax you should use old kitchen ware as it proves difficult to remove as we discovered later on.... and should be kept on the lowest heat and melted slowly so as for the temperature to raise gradually until it reaches 85 deg. and no higher
> When we melted the sample batch however the heat crept upwards rapidly fast creating a positive reaction to the wax and as it is of such a thick consistency the heat gets tapped and can not escape therefore creating it to explode after a short amount of time to release the trapped heat
> We were able to salvage and adequate amount and in retesting the melting process to half the speed of it, than it proved successful
> Using a paint brush the thick almost unworkable, if left to cool for too long, wax was than spread across the cardboard creating a dense layer almost like a shell over the top and clung to the cardboard with ease.
> Than it finalising the trial by running under a full streaming tap the water ran completely over the top of the ruff, textured surface, proving to be a successful waterproof retardant.
0 notes

Photo

Wax
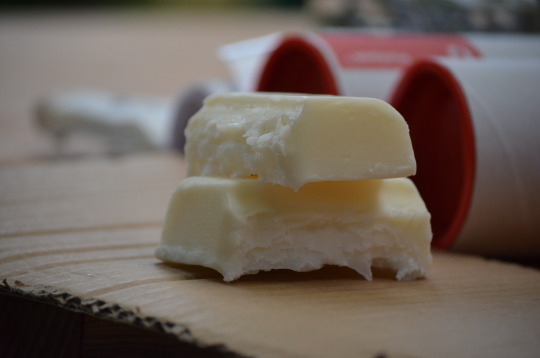
Surfboard wax was purchased and used as an option for waterproofing the cardboard. Out of the 3 materials we used to test for waterproofing the wax is the most environmentally friendly but also proved to be the most difficult to both apply and get a good consistency/coverage.
Firstly we attempted to rub the wax onto the cardboard to create a thick layer to repel the water. When rubbing against and along the grooves of the cardboard, gaps and large deposits of wax residue would be left unevenly on the surface which wouldn't work for the final test.
Then we tried melting the wax in a pot so we could 'paint' it on which seemed like the way to go but in reality we were worse off when the wax, whilst in the pot, exploded suddenly on the stove leaving a large radius of wax all over the floor, walls, roof and ourselves. From this we learnt that although we thought wax was the best option, ultimately it wouldn't work to waterproof the whole wall.
0 notes
Photo


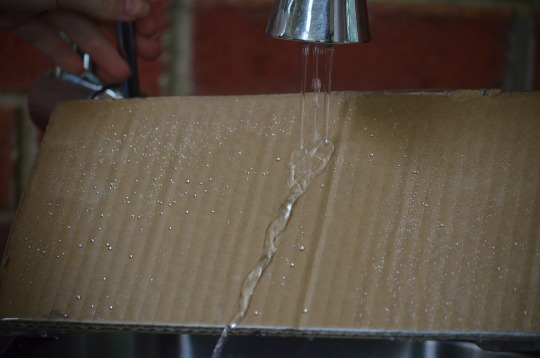
Waterproofing/protection spray
Store bought waterproofing sprays are a common product found at your local boating/camping/outdoors stores and with modern technology are no longer as toxic and fuelled with chemicals as previously. Our chosen product is a durable water repellent spray applies thin coat to the cardboard and dries instantly, working even better if left for up to 24hrs. This product also dries odourless and doesn’t unnecessarily stiffen materials.
Testing this method on a cardboard section required applying a thick, saturating layer, appearing wet (the spray is released as a thin mist so it doesn’t seem like enough is produced from the can so we over compensated). Learning from this we sprayed a thin layer on a separate piece of cardboard. A couple of hours later both samples where practically therefore tested under a high pressured tap where the water proceeded to run off in beads on both samples and withstand the water without weakening.
Although we had reservations with the waterproofing spray, it did indeed exceed our expectations especially considering once dried the cardboard looks as though it’s had no treatment and is odourless. The application of this is much easier than others and only requires drying time but in respect provides the better visual aesthetic.
0 notes
Photo

Clear Contact
One of our first ideas for making the cardboard waterproof was using clear contact and applying it to the cardboard. The contact was wrapped around a small piece of cardboard until it overlapped so that no water could seep into the cardboard through the joins. This was one of the most successful materials we tested, however clear contact isn't sustainable at all as it is made out of plastic and chemicals. Clear contact could also be easily scratched or damaged which would then allow water to seep through and destroy the cardboard. Apart from the clear contact not being sustainable the material didn't work aesthetically because as soon as the contact was in the sun the contact’s reflection burns out your retinas.
0 notes