
Statistics
We looked inside some of the posts by heybaetae and here's what we found interesting.
Average Info
Notes Per Post
9K
Likes Per Post
6K
Reblog Per Post
3K
Reply Per Post
1
Time Between Posts
2 hours
Number of Posts By Type
Text
17
Last Seen Tumblr Blogs


Fun Fact
The Tumblr office adopted Tommy, an 11-year-old Pomeranian.
Text


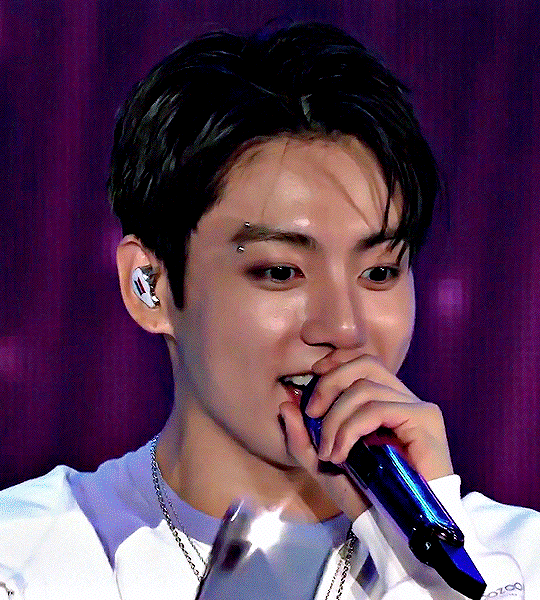
taehyung practicing his throw before the first pitch ⚾🧢
181 notes
·
View notes
Text
taehyung practicing his throw before the first pitch ⚾🧢
181 notes
·
View notes

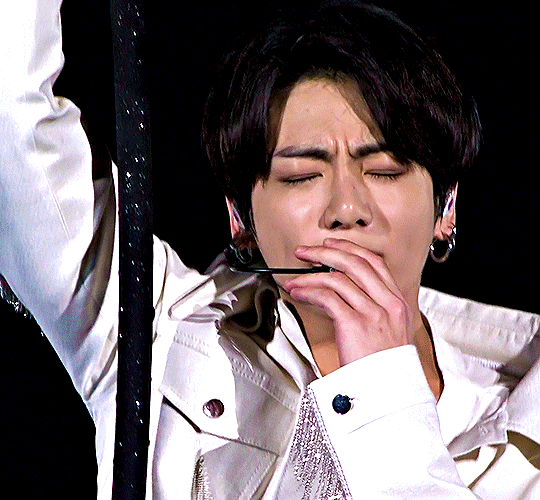
Text
his face when shohei ohtani was approaching him, BRO WAS STARSTRUCK 😂

31 notes
·
View notes
Text
all the local news stations here in LA have been showing clips of taehyung at the game because it drew so much attention and fans to the stadium today 😭
3 notes
·
View notes
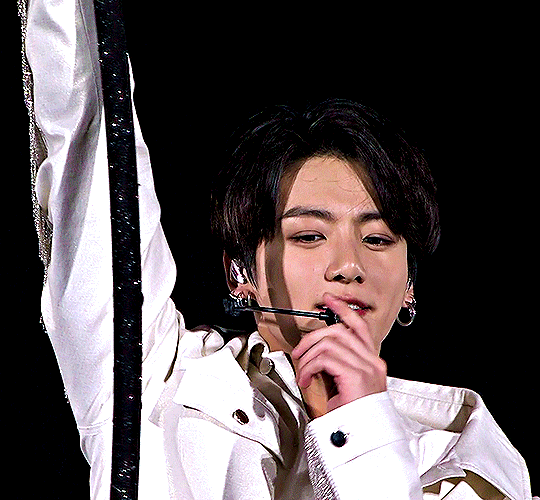
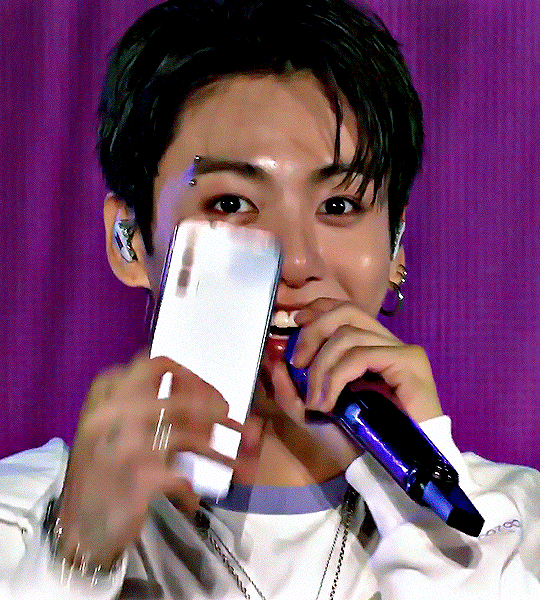
Text
taehyung practicing his throw before the first pitch ⚾🧢
#tae#taehyung#taehyung*#kim taehyung#taehyungedit#btsedit#btsgif#dailybts#userpat#useranja#trackofthesoul#usersevn#annietrack#tuserandi#usersky#uservans#dashatrack#usermaggie#*gifs#i'm so sorry for the quality
181 notes
·
View notes
Text
i'd like to gif taehyung at the game since it's my team but i don't want to waste my time if nobody is gonna care 😭
3 notes
·
View notes
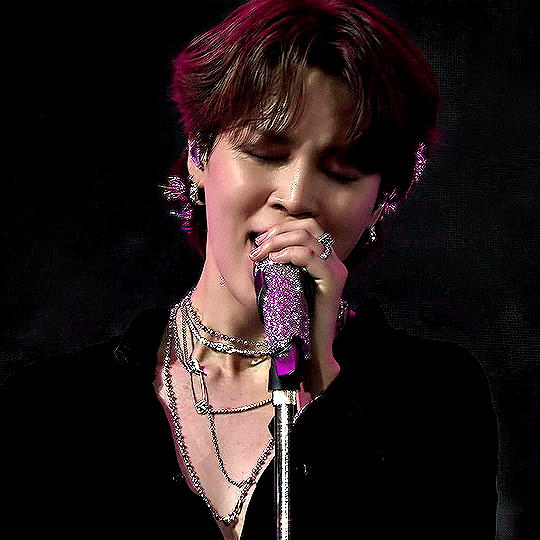
Text


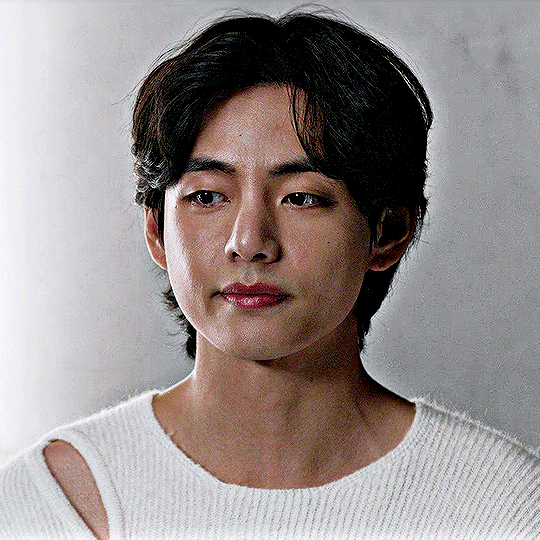
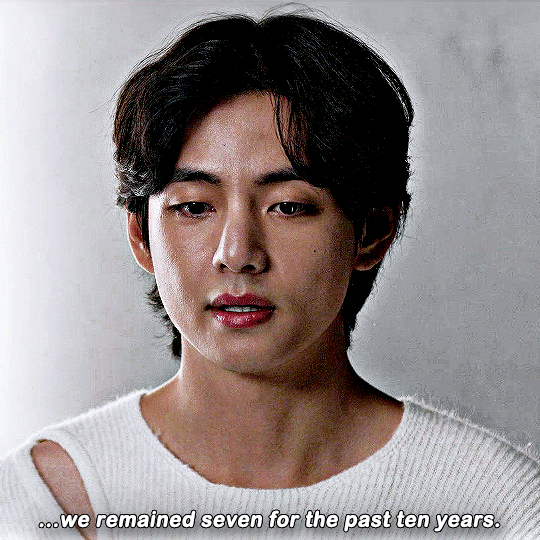
you are the cause of my euphoria cr. namuspromised
811 notes
·
View notes


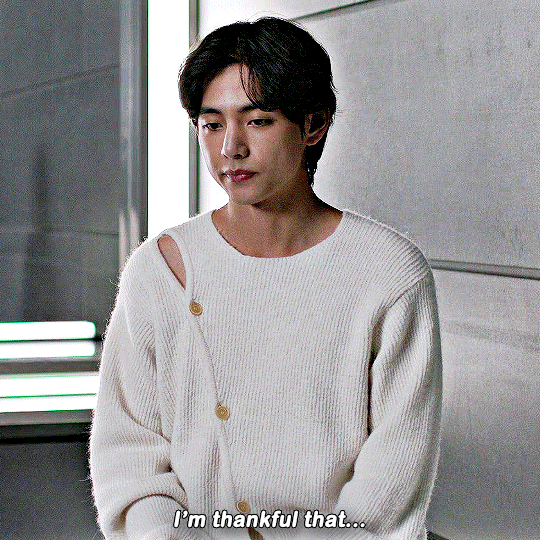
Text


V is photographed for "Snow Peak - Winter Wear" catalogues
34 notes
·
View notes
Text

✨ tips for giffing photoshoot content ✨
this is not a tutorial, but merely an example post showing how EASY it is to remove camera flashes while giffing subjects that are posing for photos. i know some people already do this, but i haven't seen any posts about it.
this is entirely optional to do, but beneficial to those who are sensitive to flashing while scrolling tumblr. it also saves everyone the time it takes to add a trigger warning to the tags when posting or reblogging (and it's just way nicer to look at), so everyone wins!
basic giffing knowledge is required for this post. i will not be giving specific directions for any certain giffing technique. i trust that you will know how to locate single frames yourself depending on your preferred giffing method. <3
while this may seem like a no-brainer to most creators, sometimes i see gifs that still contain these pesky frames. did you know that 99% of the time, the camera flashing we come across in behind the scenes content only last about one (1) single frame?
let me explain why in case you've ever wondered!
this is because in most studio settings, a photographer is using artificial speedlighting to light their subject and balance the highlights and shadows. there are many ways to do this, including with an external flash attached to the camera or with strobe lights carefully placed and angled around the subject, sometimes with modifiers (like softboxes, umbrellas, or grids) placed over them to diffuse the intensity of the light burst when the shutter goes off.
all this equipment is synched to the camera's settings such as the shutter speed, ISO, and aperture. these settings in turn determine the amount of power the flash will emit when a photo is taken. typically, that burst of light will only last one fraction of a second to our naked eye. if there also happens to be a videographer in the room filming the same subject, their camera settings are likely shooting video at (ideally) 30fps. so the single flash from the photographer's camera will overexpose the video frame that the videographer was capturing when it was fired. the frames before and after it should look normal again in the playback.
so when a gifmaker is at home taking screen captures to turn these beautiful moments into gifs, our software will capture those overexposed frames as well, which leaves us with gifs like this:

as you can see, there is one visible flash in this gif because the photographer pressed the shutter once. since taehyung physically can't move faster than the camera's shutter speed, the one overexposed frame can easily be deleted without causing any choppy movement within the gif.
here is the frame containing the flash:

simply find that brighter frame on your timeline and delete it. i personally prefer to do this in frame animation mode. you could even delete these frames from your screen capture folder before you import them into photoshop.
here is the gif without the flash:

hardly any noticible difference, right? you may notice that the file size even decreased a little. of course deleting frames helps lower the size anyway, so you're kinda killing two birds with one stone here. once you add your coloring and adjust the shadows even more by darkening the black points, it should (hopefully) be even lower when you save it!
for the sake of this post, i left these examples uncolored.
here is an example of a gif with two visible flashes:

sometimes a flash might not overexpose the entire frame because the power was weaker. it might only leave something i call a "flash strip" at the top or bottom of the frame. sometimes they're really wide and sometimes they might be really slim. just look for them carefully!
here are the two frames i'm going to delete:


now we've got this result:

here's an example where three shots were taken in quick succession:

here are the three frames with visible flash:


the first two almost look entirely overexposed apart from a few visible pixels around jimin's forehead.
here is the gif after deleting them:

you'll notice in this example, the file size went up slightly. this is probably because he's against a blue background and by removing those three almost entirely white frames, there are now more colors in the gif.
in this last example, i'm going to show you a rarer scenario in which there are not only four visible flashes, but two of the overexposed frames are back to back because the video i captured them from had a slower frame rate. it's also a darker setting in general, so the file size is surprisingly low for a gif resized down from 4K frames.

here are the frames i will delete. the second and third are back to back:


because of this, the final gif has a slight jump to it, but it's so subtle you can hardly notice it:

to avoid this, try to gif moments with scarcer flashes. this method obviously wouldn't work for giffing subjects on red carpets or airports with hundreds of flashes going off consistently, but why would you be giffing that stuff anyway? ...right?
it's really as easy as that. i hope this is helpful for you! it can be trial and error sometimes, but it usually works out for me just fine. i hope you give this a shot next time you're giffing photoshoot content and are satisfied with the more appealing (imo) results. :)
32 notes
·
View notes


Text


I just hit 8k followers in January, and I've never really done a celebration giveaway before. And not many do nowadays, but I figured someone out here may benefit from a new action or two!
You are authorized to change or add-on to my actions as you seem fit, but please do not redistribute them as your own work. If you are to take pieces from these actions to create your own and end up redistributing them, please credit this post.
[ Download ]
Disclaimers:
Basic colorings used in examples are not part of the actions.
These actions were made in Photoshop so they will not be compatible for PS-alternative programs like Photopea.
These will only work with the frame load-in way of making gifs with scripts. They do all the work for you including converting your frames into timeline.
Many of these contain camera raw filter. If you have an older version of photoshop that doesn't have this feature, some may not work properly.
If your computer doesn't have decent RAM, converting gifs that contain raw camera filter may be a struggle for your computer. If this is true for you, you can try deleting this feature from the applicable actions or making the smart filter invisible before saving, but unfortunately you won't get the full benefit of the action.
Creator's Notes:
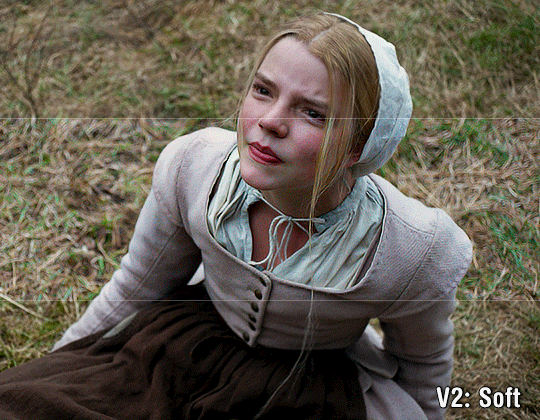
⭐︎ V1 Basic: Self-explanatory, can be used on just about anything.
⭐︎ V2 Soft: If you still prefer softer looking gifs this could be your go-to; brightens colors naturally.
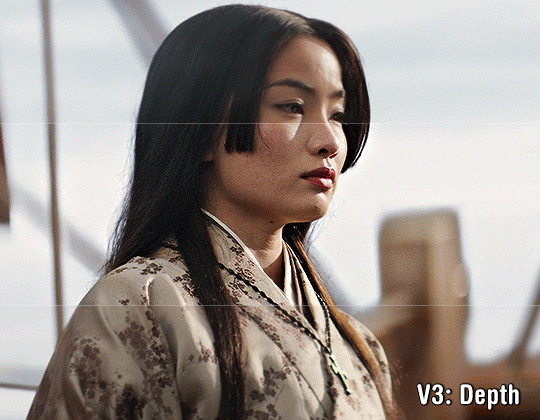
⭐︎ V3 Depth: Creates contrast that makes the subjects appear more HD.
⭐︎ V4 Texture: Similar to V3 but with less noise; has a slight smoothing effect; Brightens colors naturally.
⭐︎ V5 Ultra Sharp: This can can be used on anything if your footage is high quality enough but looks great with 4K footage including 4K youtube videos. Looks AWFUL on anything with high grain though.
⭐︎ Animation (soft): Looks good on animation that has harsh lines.
⭐︎ Universal (crisp): Similar to V1 with more contrast. This also looks good on most animation.
595 notes
·
View notes