
Have a question, or just feel like saying hi, feel free to ask! I love hearing from people ^^
Don't wanna be here? Send us removal request.
Statistics
We looked inside some of the posts by homestar1812 and here's what we found interesting.
Average Info
Notes Per Post
17K
Likes Per Post
13K
Reblog Per Post
4K
Reply Per Post
59
Time Between Posts
2 days
Number of Posts By Type
Text
14
Note
1
Video
1
Photo
1
Last Seen Tumblr Blogs


Fun Fact
The KCSC sent more than 20K requests to delete posts related to prostitution and porn to Tumblr from January to June 2017.
Text


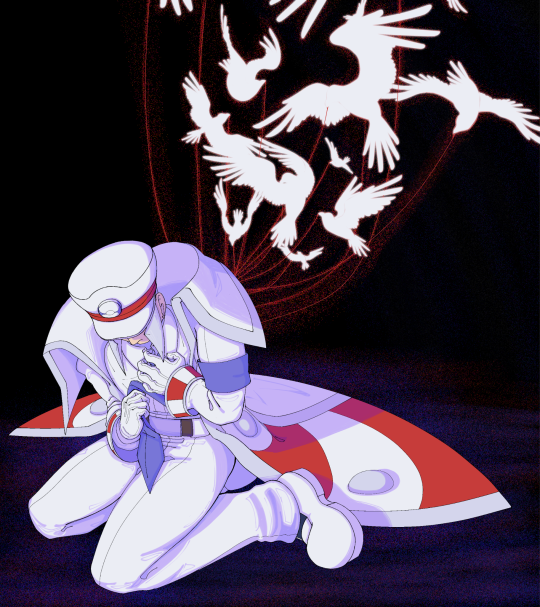
-Final Wonderland: Prelude-
🔼Prologue comic to this video I made!🔽
youtube
🔽Since this post is already long, I will leave my thoughts in the tags!
225 notes
·
View notes
Text

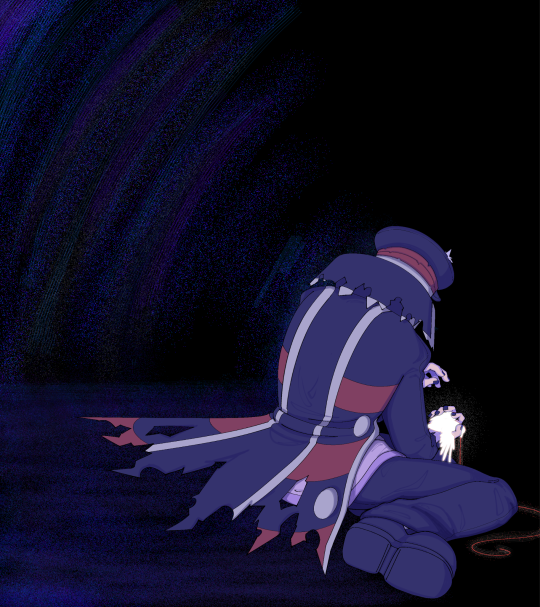
Even without you here, I will continue to see in polychrome. That is what you would want.
(Y'all I'm so sorry if Tumblr ends up not loading this -- pls give it a minute. It really really doesn't like colorful images sdfghfds)
96 notes
·
View notes

Note
I believe in hard of hearing Submas


hard of hearing vs auditory processing disorder
1K notes
·
View notes
Text


DxP REWRITE - Verse 7 Pt.1
Collecting the Old Verse in the order of our Hisuian journey felt like how it should’ve been gathered (Verse 7 being the final verse I collected).
Likewise, we can see some of the accelerated progress that happened in the past 2 years, thanks to Hisui’s growing friendship with Pokémon: in the Obsidian Fieldlands, Mizumi’s just catching Professor Laventon (& his Decidueye, Archimedes) up to everything’s that’s happened.
In the Crimson Mirelands, we see the beginnings of the track that will eventually become the Quick Tram, originally built to help move excavated stone from Veilstone to the Diamond settlement.
In the Cobalt Coastlands, not far from Sunyshore Village, we can see a cameo appearance of a fellow time traveler, & in the still largely wild Coronet Highlands, Ingo scales the mountains with Lady Sneasler & Pilot (Gliscor).
—
🔼 Diamond x Pearl REWRITE 🔽
<< Previous / Next >>
460 notes
·
View notes


Video
vimeo
[video has no sound]
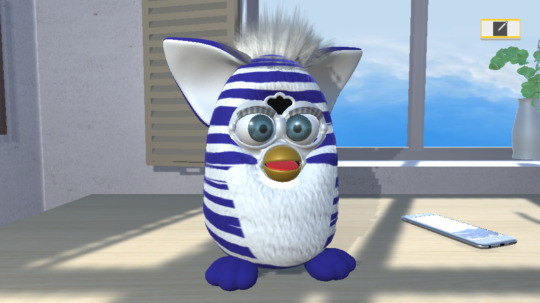
Here’s the tutorial vid / post on how I “dye” furby fur with acrylic paint similar to how I did with Snowcone, ft. a scrap of fabric that’s a similar texture to furby fur!

This kind of tutorial works for nearly all dye pattern types, whether you want a full block of color, a gradient, spots, stripes, etc. in your furby’s fur! Plus the same method of application works for furby manes / feet / ears / tails, so get creative with it and have fun coloring your furbs! :D
Materials used:
Acrylic paint
Water (room temp., hot water can be bad for furby fur as described in step 6!)
Paint brush
Paper towels OR a fabric cloth you don’t mind getting paint on
Dry (CLEAN and UNUSED / CRAFTING ONLY) toothbrush
Optional:
A wire-bristle pet-comb brush
Below are the steps I use as shown in the video + some extras before and after.
1. ***SKIN YOUR FURBY!*** This means carefully removing the outer fabric layer of the body + ears from the robotic shell that holds all the furby’s circuits and such inside, which is SUPER important because any water / paint that leaks or soaks into the shell + electronics can be very bad for your furb! Example video / tutorial for this: https://www.youtube.com/watch?time_continue=386&v=N9kzEVvW-Rc
2. Put a tiny bit of acrylic paint into your container of choice and add enough water for the mixture to be a watery dye instead of actual thick paint, making sure to mix it well enough that little to no excess clumps of paint are floating in the water / stuck on the bottom of the container / etc.
3. Use a paint brush to gently pat / ‘paint’ the dye into the furby’s fur as you desire **making sure to account for any paint bleeding along the way!** You may want to use less paint in a spot than you plan to just to see how much the paint mixture will bleed / cause the color to grow beyond your control and/or learn how to use that bleeding to your advantage to make gradients / blend colors / etc.! (If you want to add ‘tie dye’ / gradient effects, now would be the time to add your other colors too while the paint mixture is still wet to help them blend better! You can do all your colors at once, do some in batches after drying sessions, etc., it’s all up to you + the look you’re going for! :) )
4. Let the mixture soak into the fur a bit before gently patting the access paint mixture away with a paper towel / cloth, and decide what to do with your color from here.
If you feel the color is too light, you can add more layers by doing the same steps over the same spot OR adjust your mixture (as I did in the video) with a bit more paint to help make the color a bit more vibrant.
If you feel the color is too dark, you can add just straight water (no paint or anything in it) to the area with a clean brush and press the paper towel / cloth into the area to help soak up the extra color and lighten it up as needed OR paint over it with a lighter color of paint mixture (white / yellow / etc) to adjust the color from there. (Like when I was adding the other colors after the pink to achieve a tie-dye look, I added too much blue / purple at first and made it look darker than I intended, but then painted more pinks + yellows + oranges over it to help balance it out as shown in the final pic at the bottom of this post!)
If you feel the color is just right, then you can stop and move on to the next step! :)
5. Once you’re happy with the color(s) you’ve added, brush the fur out with a dry toothbrush to help get rid of clumping / excess paint while the fur is still a little wet, but **be careful of smearing the colors!!** Use a very light and gentle hand to brush it out and/or wait for the paint to dry about half-way before trying to brush the fur in order to prevent smearing! (UNLESS of course you want your colors to be smeared / help blend them together better by hand, at which point feel free to use this step and the toothbrush to do exactly that!)

6. Let the fur completely dry! You can leave it to dry naturally and/or use a fan to help speed up the drying process. ***DO NOT USE HAIR DRYERS / ANYTHING ELSE HEAT-BASED!*** Anything with heat could actually melt your furby’s fur fibers a little bit and make it a bit clumpy / chunky (and not in a good way) !
7. Once the paint mix is funny dried into the fur, brush the fur out with the (now dry if it got a little wet before) toothbrush again to help gently work out any clumps / paint chips in the furby’s fur. If the fur still doesn’t feel as soft as you want, use a pet brush to help separate the fur fibers more and return the fur to it’s soft and fluffy glory! **Just be very light / careful when using a pet brush, ‘cause if you pull too hard / use it too roughly it might actually pull little chunks of fur out, which doesn’t grow back on a furby!**
8. Repeat steps 2-7 as needed with any other colors / dye patterns you wish to add to the furby’s fur, and once those have all dried / been styled to your liking via. toothbrushes and pet combs, you’re done! :)


Have fun dyin’ your furbs! :D
(If you have any questions, feel free to reply to this post or message me directly and I’ll try to help ya out asap! <3 )
683 notes
·
View notes
Text
~ furby beret - crochet pattern ~

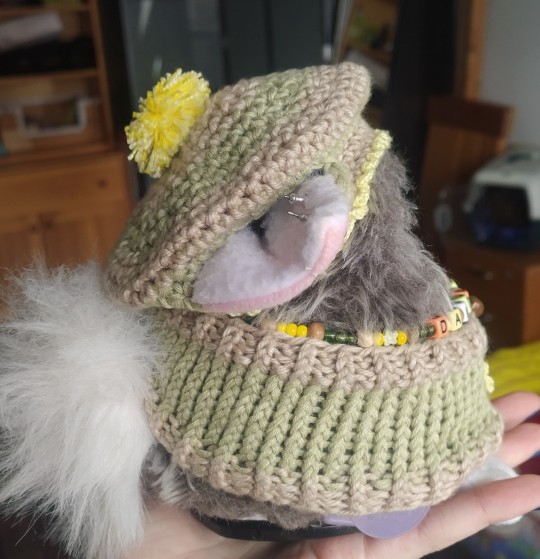
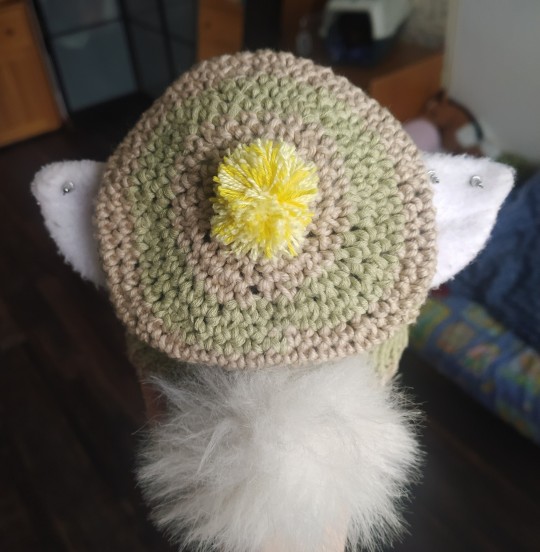
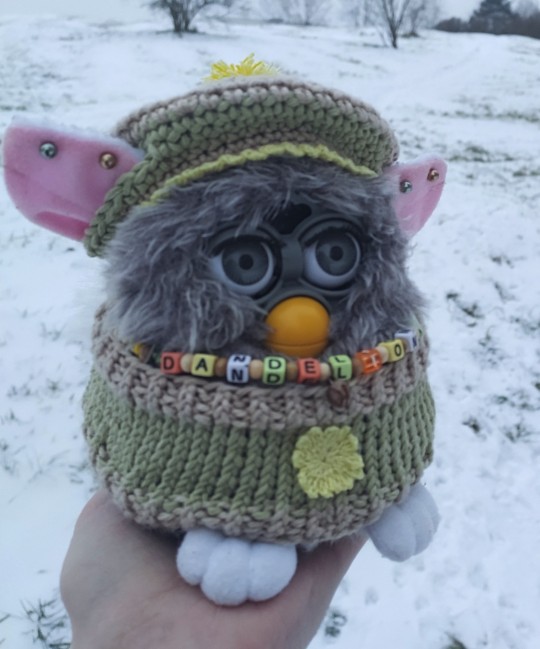
I´m new to actually writing patterns up for others to use, so please tell me if there is anything that´s hard to understand or if you find any mistakes. Also, if you do make your furb a beret, please send me a pic or tag me in your post, I would love to see what you make!
ꕀꕀꕀꕀꕀꕀꕀꕀꕀꕀꕀꕀꕀꕀꕀꕀꕀꕀꕀꕀꕀꕀꕀꕀꕀꕀ
Gauge: 10st X 5 rows -- 6,5 cm X 2,5 cm (I used a 3, 5 mm hook)
Finished size (fits a 1998 furby): total diameter - 11cm, head hole diameter - 9 cm
Abbreviations
sc - single crocet ss - slip stitch inc - increase (two into one) dc - invisible decrease (go through only the fron loops of two stitches, sc as one) [] - nuber of stitches in the row () - repeat sequence
ꕀꕀꕀꕀꕀꕀꕀꕀꕀꕀꕀꕀꕀꕀꕀꕀꕀꕀꕀꕀꕀꕀꕀꕀꕀꕀ
Main hat - stripes not included, I changed color every 3 rows
R1 - chain 50, ss into first stitch [50]
R2, R3 - sc all aroud [50]
R4 - 10sc, (chain 9, ss into 10th stitch from hook), 14sc, (chain 9, ss into 10th stitch from hook), sc rest of the round [50]
R5 - sc all around [50]
R6 - (9sc, inc)x5 [55]
R7 - sc all around [55]
R8 - (7sc, dc)x6, sc [49]
R9 - (3sc, dc, 3sc)x6, sc [43]
R10 - (5sc, dc)x6, sc [37]
R11 - (2sc, dc, 2sc)x6, sc [31]
R12 - (3sc, dc)x6, sc [25]
R13 - (2sc, dc)x6, sc [19]
R14 - (sc, dc)x6, sc [13]
R15 - 6dc, sc [7], bind off and leave a longer tail
Take your taill and your needle and "pick up" the remaining 7 stitches (just whip stitch around), pull on the tail to close the hole
Weave in your tails
Pompom - please look up a separate pompom-making tutorial, i suck at making pompoms. After you make one, just use the same thread you used to tie the pompom together to sew in to the beret on top
The trim - entirely optional, I used a crochet thread and a 2mm hook
(ss, 5sc, ss) into each [50]
ꕀꕀꕀꕀꕀꕀꕀꕀꕀꕀꕀꕀꕀꕀꕀꕀꕀꕀꕀꕀꕀꕀꕀꕀꕀꕀ
Decorating ideas
different trims! just look up "crochet trims" and find one you like more stripes! crazier stripes! center-out stripes! replace the pompom with someting else - a flower, or a bow maybe? crochet emroidery add some lace or a ribbon
565 notes
·
View notes
Photo

Furby Resources!
[UPDATED 3/15/23]
I added a lot of things since originally posting, so you may want to delete your last reblog and replace it!
Incredible Google Drive folder with a huge variety of Furby content and history
Guide to Furby Fandom Tags
Tips For Buying Furbies
Adult Furby Price Guide | Furby Value Guide For Dummies
Furby Discord Server | Furby Wiki’s Discord Server (direct invite)
Archived Furby content on archive.org
Colorful Google Doc to track Furby projects and collections
Furby Certificate Of Adoption | Furby Adoption Certificate
Images ripped from flash games
Official Furby Tiled Backgrounds
Furby Carrier Pattern | If that doesn’t work patterns are sold on Etsy
All Official Furbys
Eye colors on official models | Common 2005 Furby Eye Colors
Differences between Curly Furby Babies and Sheep Furby Babies
Furbtober Prompts
Pixel Furby Page Dividers
Furby Sticker Scans
THE FURBY ORGAN, A MUSICAL INSTRUMENT MADE FROM FURBIES
Lore
Furby Paradise Manga - 1 chapter scanned and translated
Desktop Furby - 2005 Burger King Freeware
A Deep Dive Into The Furby Fandom
Furby Island Movie Free On YouTube
Printable furbish-english dictionary | Official PDF Dictionary | All Known Furbish Words
Official Furby trainer’s guide
Furby Songs YouTube Playlist
Dancing Furby Gameplay & Interacting with Furby - Game Boy Color Japan
Unofficial Guide To Furby Species And Biology
Furby Lore Zine
Every printable from Big Fun In Furbyland (contains lore, Furbish words, phrases, coloring pages and photos)
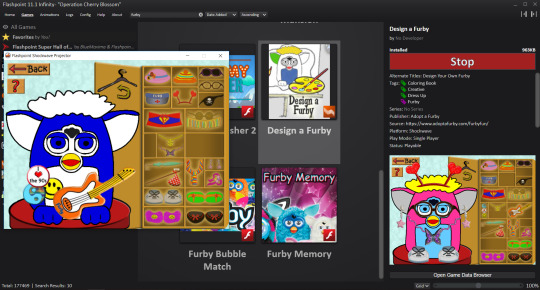
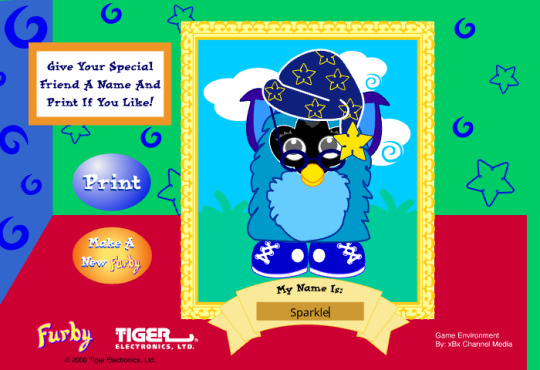
Make A (non-plush) Furby
Furby Bases Collection on deviantART | Extra Furby Base
Design A Furby Shockwave Game (pictured above , also has a few old Furby mini games) | Can be played through Flashpoint which archives old web games
Official Coloring Pages
AdoptAFurby.com Coloring Pages | List Of Official Coloring Books
Color A Furby Online (pictured above)
Furby’s Design-o-Matic (pictured above) | Works with Ruffle’s browser extension
Make A Furb Game (pictured above) | Preview Video
Furby Creator Games on Picrew
Origami Furby Tutorial
Big Fun In Furby Land CD-ROM has a very limited Furby maker pictured in a gif above (works with Windows 10, just right click, click “Mount”, then open Furby.exe it’s an application file)
Real Life Furby Mods
FURBY TUTORIAL MASTERPOST
1998 Furby Pattern
Long Furby Pattern
How to Long Furb | Longifying Your Furby
How To Skin A 1998 Furby
Eye Chip Tutorial
How To Make Accurate 1998 Eye Chips
Furby Buddy Pattern
replacing a 1998 furby’s speaker
~ furby beret - crochet pattern ~
Curing Me Sleep Again (when you’re Furby won’t stay awake)
How To Skin A Shelby
Real Life Furby Care
How To Find Your Furby’s Birthday
Furby Name Generator | Another Furby Name Generator
How To Brush Your Furby In Depth Guide
How To Clean A Tilt Sensor
Sync Screw Adjustment
Please suggest additions!!
3K notes
·
View notes
Text
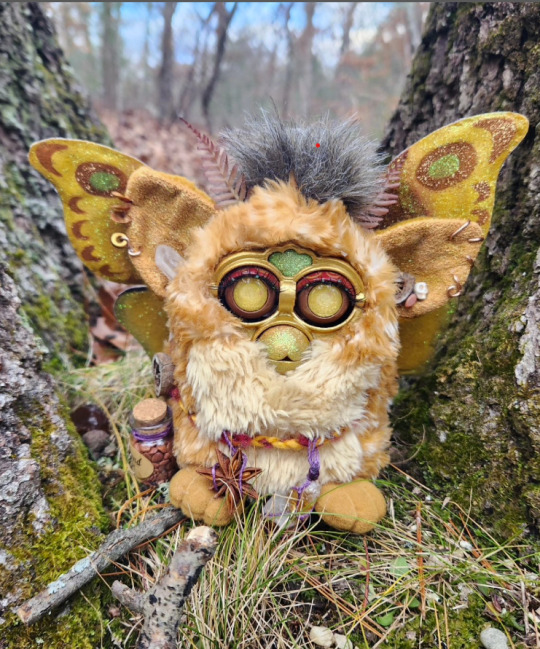
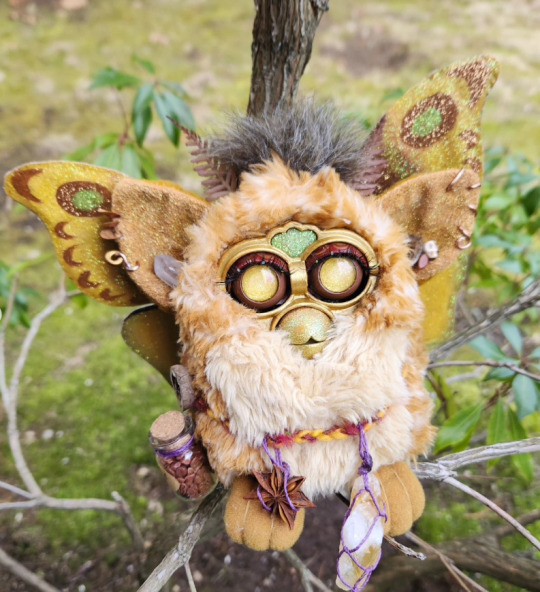
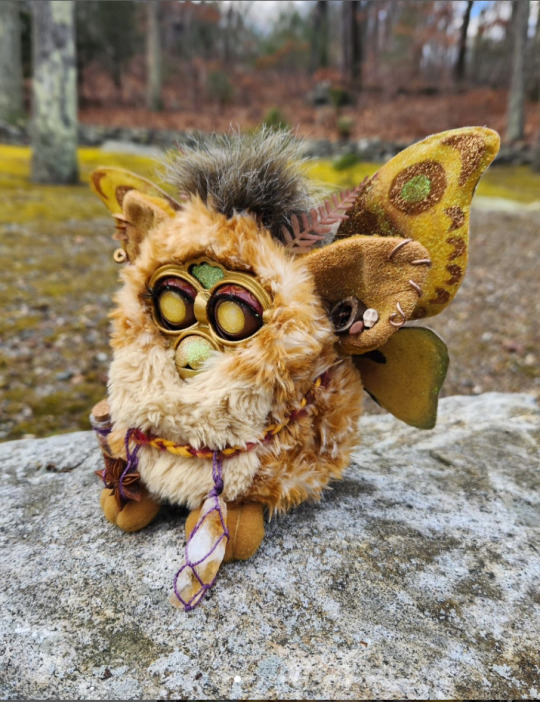
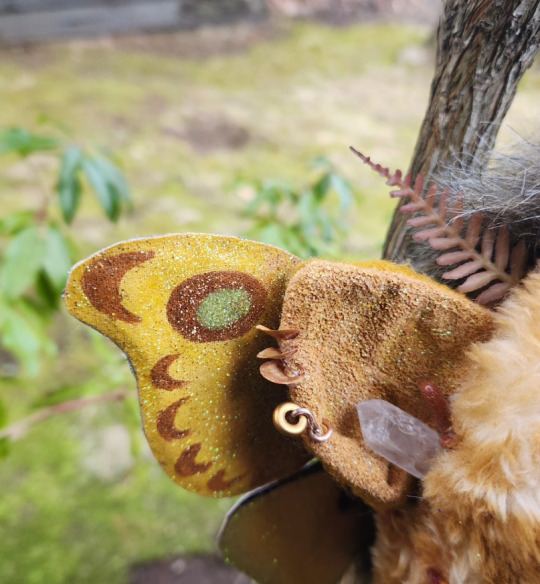
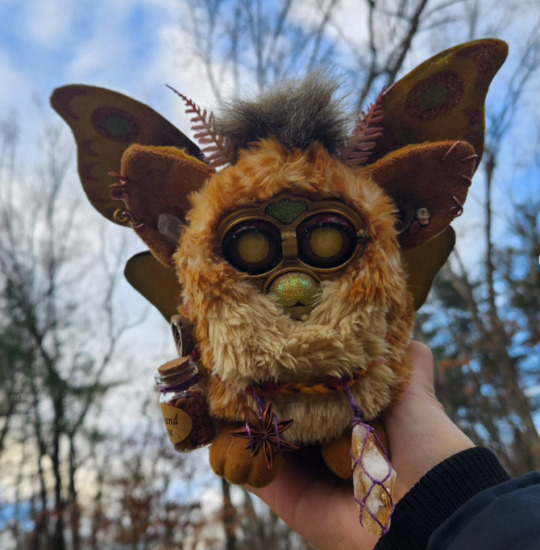
I finally made a mothby!
This was a gift for my friend and was done by me and my sister. All my friend said was that she wanted earthy tones and do wild so we did! She named them lellow


1K notes
·
View notes

Text

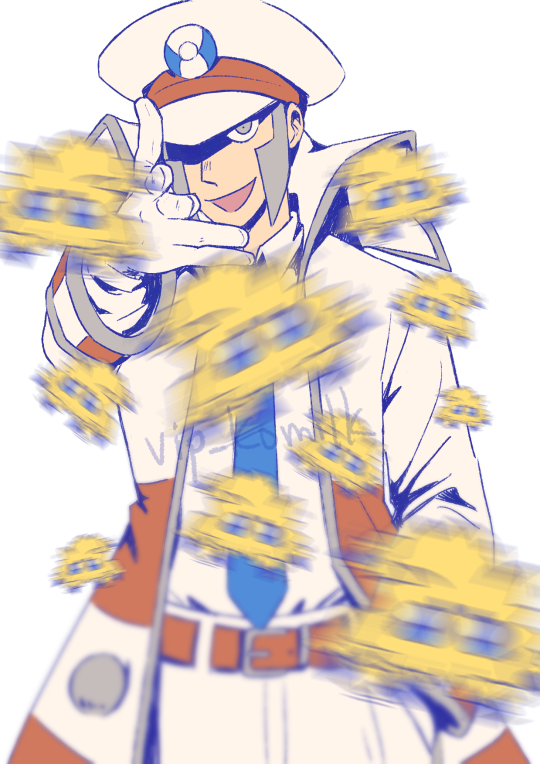
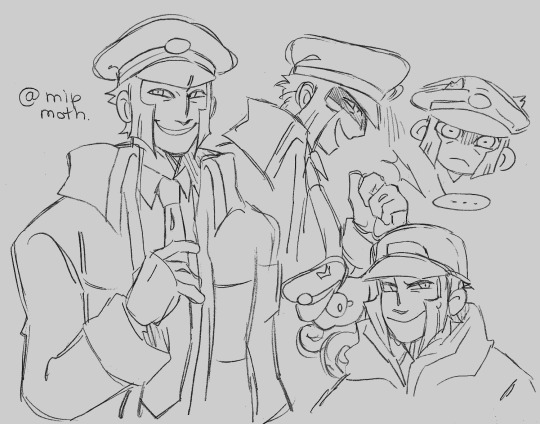
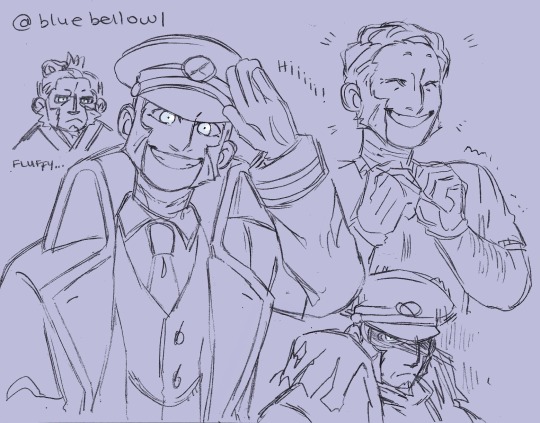
Manga Emmet core, I think
You better watch out fr <3
258 notes
·
View notes
Text


me when I'm too stress to eat anything except water and hot pockets for 10 years and my missing brother came back to force me to eat udon.
1K notes
·
View notes
Text

Lose yourself to reach beyond your highest state

666 notes
·
View notes