absolutely NOT spoiler free. follow at your own peril.
Don't wanna be here? Send us removal request.
Statistics
We looked inside some of the posts by infallible-ineffability and here's what we found interesting.
Average Info
Notes Per Post
116K
Likes Per Post
91K
Reblog Per Post
25K
Reply Per Post
520
Time Between Posts
11 days
Number of Posts By Type
Text
15
Photo
1
Note
1
Last Seen Tumblr Blogs


Fun Fact
Premium Tumblr themes are available from anywhere between $9 to $49.
Text
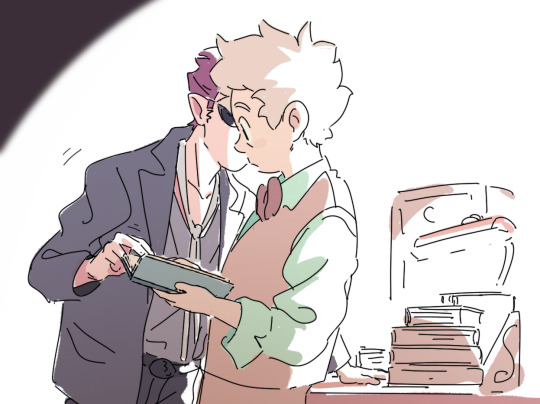
Good Animated Omens - Behind the Scenes


Here's a behind-the-scenes look at the walk cycles I animated of Aziraphale and Crowley (original post here).
I'll reiterate that the character designs are @lookitsstevie's creation! I made builds in Toonboom Harmony based on their designs, and then animated the builds.
Long post under the cut, organized into four parts. Feel free to jump around or just click through the images and gifs to get an idea of the gist. (At least take a look at Part IV, where you'll see a version of Aziraphale without his jacket and a closeup of Crowley's torso!)
Hopefully this is interesting even if you don't know the first thing about animation. It's not a step-by-step-from-scratch tutorial, but it might give animators some ideas to think about when trying this software!
I'm happy to answer questions about what I cover here - comments, DM's, or ask-box questions are all fine by me. If you like any of the new gifs and want to reblog it on its own, I can make new posts for those upon request! (I'd prefer you don't reupload them, but if you do please at least credit me with a tag to my account - thank you!!)
Part I: The interface and some basics

Above is a screencap of the software interface.
In the centre is the Camera window, where all the drawing and animating is done.
To the left, the Node View. It's a representation of how the pieces and layers that make the characters are grouped and connected to each other, which is what makes a character "build". Every piece in this window is called a node, and there are different types. Light blue "drawing nodes" contain the drawings themselves. Each drawing node usually has a green "peg" attached; the peg is used to move and rotate the drawing piece; you set a pivot point on each peg. Light grey nodes are groups that have more nodes within, and dark blue nodes are added effects (eg masks, the blur for the halo, etc).
Below, the Timeline - it's where keyframes are set and tweened. The red square dots indicate there is a new keyframe on a particular frame; the white dots indicate keyframes are on layers nested somewhere under the topmost visible layer. All the pieces of the characters can be found in the timeline and correspond to the pieces that exist in the Node View (and Camera). Typically you work with a collapsed view of the build layers in the timeline, which allows you to set keyframes on multiple layers at once.
To the right, a few tabs in this window - Tool Properties, Colour Palettes, and, shown on top here, the Library. The library is where you store your builds, so that you can bring in a fresh copy when animating a new scene. This library tab also has the Drawing Substitution window, which shows thumbnails of every drawing contained in a drawing node when that node is selected.
A second of animation is 24 frames long. Finished animation will often have keyframes on every second frame with the tweens removed, to help simulate the look and feel of traditional animation - this is known as animating "on twos", and saved time, money and paper in the old days. If you leave the tweens on, and/or have keyframes on every frame, the animation is "on ones".
My walks are on twos - it's the look I prefer.
When I say "tween" I'm specifically referring to the software feature that will automatically calculate and interpolate the path between two different poses/keys of a peg. An inbetween could be the result of using a tween, a new drawing, or both. On twos, an inbetween will look the same as any other keyframe on the timeline when you're finished - its relevance as a concept is during the process, not the end result.
Quality animation is achieved via a combination of moving/tweening pre-existing drawings using their pegs, and adding new drawings as hand-drawn inbetweens when needed. Toonboom Harmony also has nodes called "deformers": they offer a way to tween the shape of a drawing without needing to redraw inside the drawing node. (Part IV has the explanation for which pieces I used them for, and why.)
Part II: Navigating the builds

This is what their default poses with no animation look like.
Animation using builds is sometimes colloquially referred to as "puppet-style animation" because the way you can connect body parts to each other feels like making and handling a 2D digital puppet: you can connect a hand to a forearm so that they can move as a unit, and you can connect that unit to an upper arm to move the whole arm as a unit, and that arm gets connected to the torso, and so on.
When you want to connect two pieces, like a hand to a forearm, then you create another peg in the Node View and attach the two body parts together under that new peg. The screencaps below show the nodes that make up Aziraphale's and Crowley's entire builds inside their respective groups:


Things got a bit sloppy ... It looks extremely complicated, but once it's set up, you don't have to think about it too much when you're animating!
And I've zoomed in on the nodes that make their arms so you can see how there are pegs on top of pegs (all the green nodes), with wires connecting everything:


As I explained in Part I, new drawings are added and contained within a body part's drawing node (the light blue ones under the green ones), and the Drawing Substitution window is where you can see all the drawings that exist in a particular node. In the timeline, you set keyframes for moving the pegs, and you also choose which frame the new drawings will appear when applicable. You might have a lot of drawings stored in the nodes, but only what you set to appear in the timeline will be visible in the final animation.
You can select a body part in the camera view, and then find the corresponding layer in the Timeline or the Node View by pressing the "o" keyboard shortcut. If you select a body part by clicking on it, and then press the "b" keyboard shortcut, you will jump up to the next peg it's connected to. You can hide and unhide pieces using "d" and "a" respectively.


In the first capture above, I'm showing that the arm pieces can be moved separately or together, and you can see how the pegs in the Node View light up when I select them in the Camera window (hiding them turns them red). In the second capture, I pop down to the timeline to step back and forth between the poses - the light grey row (it appears between the rows of red dots) represents the hand's drawing node in the timeline.
Part III: Summary of animation process
In my head I imagined how their walks would differ from each other - Aziraphale bouncier but with very straight posture and limited arm movement, vs Crowley slinking and swaggering all over.
I also knew that I wanted the animation to look good for both a walking-on-the-spot version, and as a version walking across the screen (both versions are at the top of the post!).
Then I started doing some rough animation.
I set aside my finished builds for the roughs. For each character, I made a few drawing nodes and two pegs; a peg for the up-and-down upper body motion, which I tweened, and a peg for moving them across the screen. The legs and arms are drawing substitutions.
With these extremely rudimentary rough "builds", I worked out - how many frames long the walks would be, - how far the characters would move across the screen each step, - how much the upper bodies would move up and down, and - the key drawings of the legs and feet.
I didn't worry about animating clothing, hair, or Azi's arms in the rough stage. For those elements, the drawings would be spaced really close together and would be easier to figure out with tweens. (Note: this rudimentary setup would be sufficient if you want to clean up and inbetween characters by hand frame-by-frame instead of making full builds; my preference is build animation because the process is more fun for me)


Then I started working with the finished builds, using the roughs as a guide, and established the broadest motions first: the up-and-down motion in the upper bodies (I set a keyframe at the lowest point, a keyframe at the highest point, then tweened between them) and how far they'd travel across the screen. Then the feet were done.
I went back and forth between viewing them walking on the spot and walking across the screen to make sure that both versions worked. I also made sure they crossed the same amount of ground relative to each other.
After those crucial parts, I moved on to animating their arms, hair, torsos, clothing details, and finishing the legs, not necessarily in that order. I simulated twisting/rotating their torsos in 3d space by moving their waistcoats and lapels.
The first gif switches back and forth between versions (imagine a background scrolling by when they walk on the spot). The second gif is an example of bad "footslip" - they're moving at different speeds, and if you pay attention to their feet, Aziraphale appears to slip on ice while Crowley appears to slide forward on skates.


"You go too fast for me, Crowley!"
Part IV: Extras and details
Here is a version of Aziraphale's walk without his jacket, and a closeup of Crowley so you can see his swaying hips better:


One of the cool things about animating with builds is they lend themselves well to small modifications; the jacketless version took all of five minutes to make.
I'd be remiss not to include a close-up of Aziraphale's hair, the real star of the animation :) (Crowley's hair is also animated but I purposefully kept it understated since it's a much different texture.) And a closeup image of Crowley's snake tattoo:


The biggest unit for both of them are their upper bodies, which includes their pelvises. The up-and-down motion is only on one peg instead of on every single piece, which is handy because it means I can hide just that part of the animation when I want to work on the clothing details:


During the process of animation, I am often hiding then unhiding pieces like this so I can see what I'm doing.
Their clothing ended up being a lot of separate pieces, which I kept adding during animation rather than before, as it was hard to predict everything I needed. Their clothing also incorporates cutters (aka masks), and deformers (see explanation in Part I). In the next set of gifs the deformers show up as green outlines with handles and get turned on and off.
Aziraphale's torso functions as a mask for his clothing. The shape of his torso subtly changes via deformer. His lapels and waistcoat have V shapes that are masks/cutters (they cut a V shape out of those pieces); the same pieces that make the cutters also are used for the black lines of those V shapes via a special layering setup. The main shapes of his lapels are animated with deformers, and you can see how far beyond his torso shape they extend when I turn on the deformers in the second gif.


Deformers work best for shapes that change a little bit, and/or slowly. The minor shape changes in his and Crowley's clothes ended up being a great use case for deformers, because they pretty much tweened perfectly.


The reason I didn't use them on Aziraphale's legs was because those shapes change significantly between keys; I predicted I'd have to re-adjust every frame of a tweened deformer, so I drew the inbetweens by hand (halfway through, I realized I probably should have used them after all, but I was in too deep by then; hand drawing was fun though!). Deformers worked well on his bottom jacket:


Crowley's pelvis is layered above and below his thigh pieces and has a deformer. Also take a look at all the drawing substitutions for his hands:


And lastly the deformers on the hair:


Epilogue
I'm hoping the gifs all play at the same speed for everyone as they play for me. Hopefully the demo gifs are at least watchable, if not super clear... (I'll listen to feedback on the presentation of the information, for if I do similar posts in future!) Don't hesitate to ask questions about anything I covered, or about any details you noticed that I didn't elaborate on!
ko-fi.com/marieanimate
I'm shy about mentioning it, but I set up a Ko-fi account in case this post compels anyone to leave a small "tip" (but reblogging and sharing is just as good)!
Thanks for reading, and have a nice day!
988 notes
·
View notes
Photo
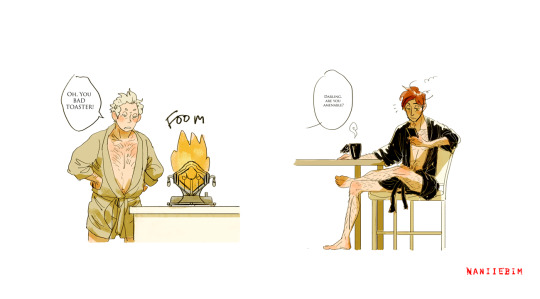

TOASTED
Aziraphale wants his toast.
19K notes
·
View notes
Text

Statua di Sant'Azraphel
support me | commission me | buy a print | buy a sticker
long hair crowley my beloved...
12K notes
·
View notes
Text
I love @lookitsstevie's adorable designs for Aziraphale and Crowley, and wanted to see them move - so (after asking Stevie first) I animated these walk cycles! It took longer than I thought it would, mostly because I got a bit carried away, having fun translating their personalities to a very cartoony style. Hope this makes a few people smile today!
7K notes
·
View notes
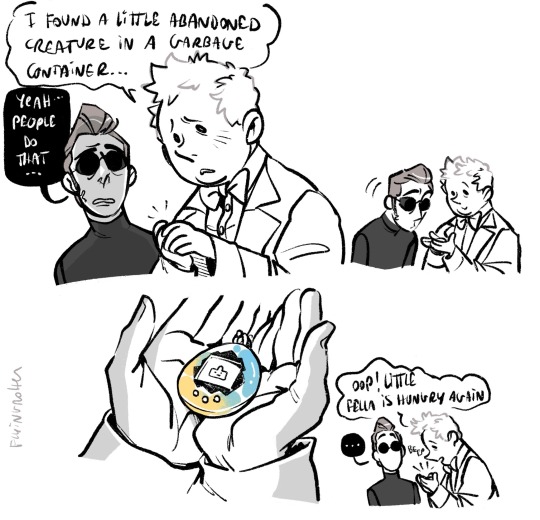
Text
ABANDONED CREATURE(s)
_
_
_
TODAY
19K notes
·
View notes
Text
I have no excuses and I offer no apologies, only angels <;
Prints and other stuff on my RedBubble, Teepublic and Threadless
1K notes
·
View notes
Note
What’s your favourite line from good omens?
The invisible and unbreakable one that joins Crowley and Aziraphale.
16K notes
·
View notes

Text
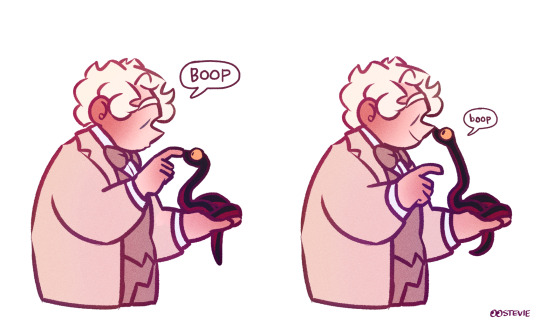
...I missed the whole boop thing on here 😭
12K notes
·
View notes

Text

nanny and the walking-on-water gardener
6K notes
·
View notes
Text


drawing these little rooms is so soothing ...
6K notes
·
View notes
Text
My finished frame for @dotswithbrainrot ‘s “EVERY” project 🤭
211 notes
·
View notes

Text


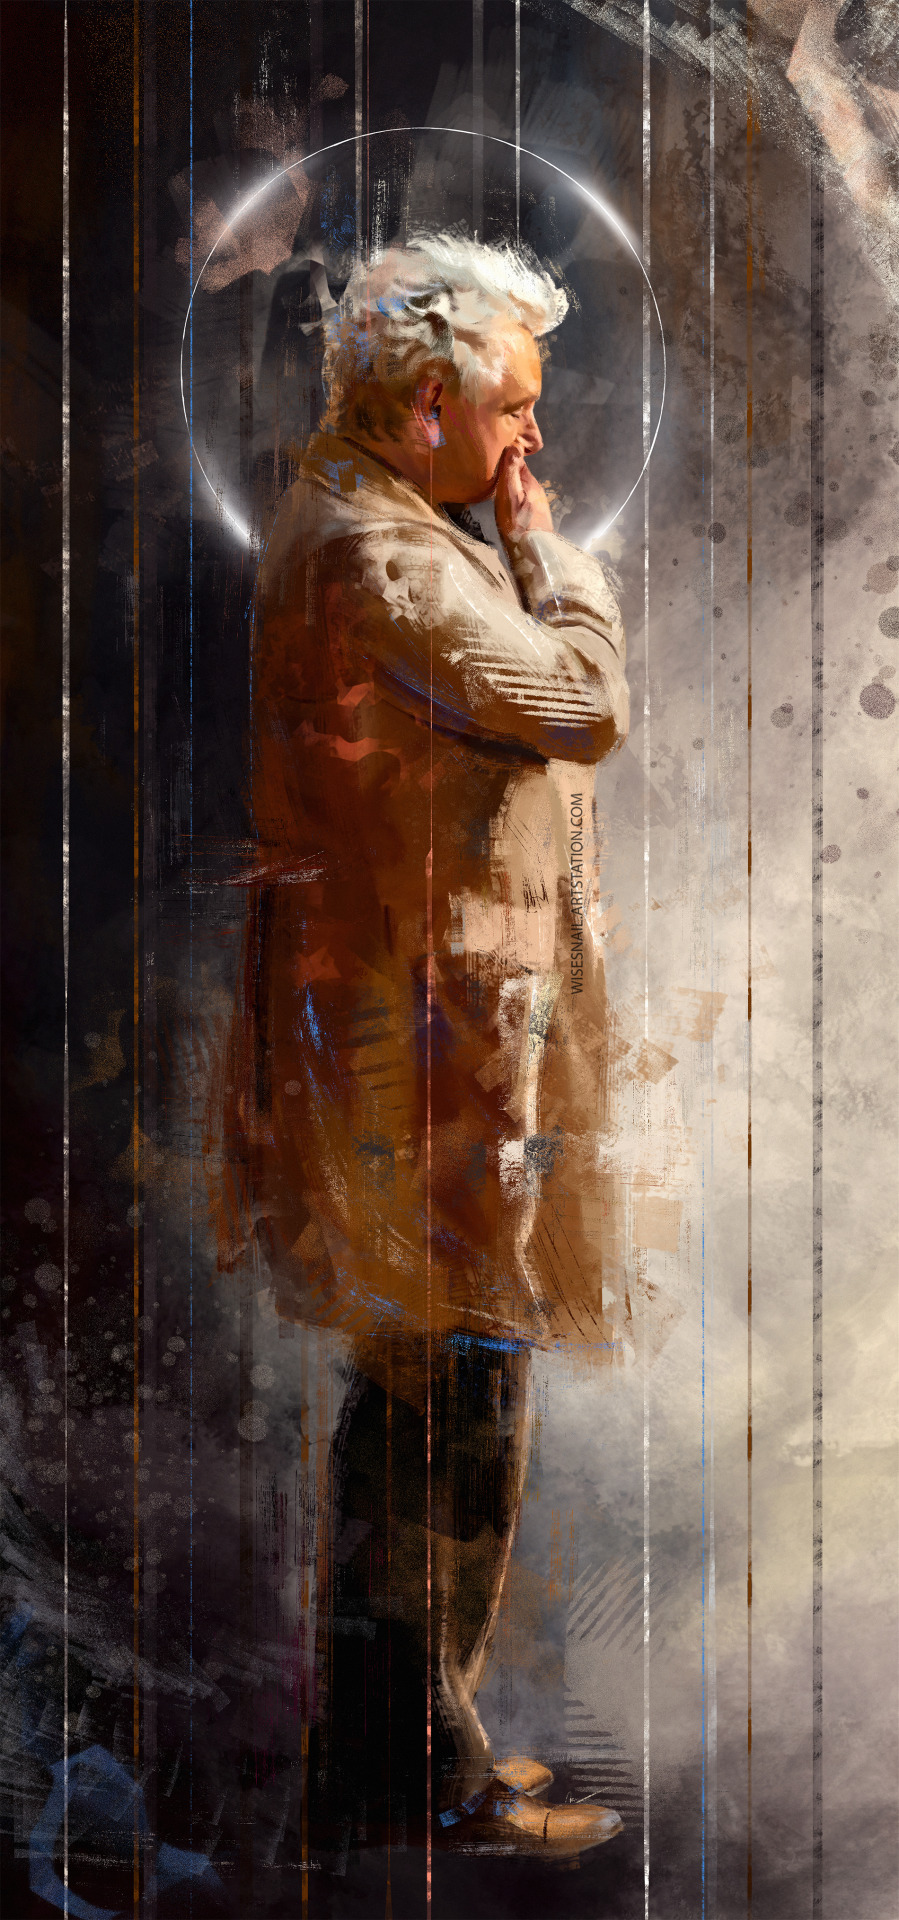
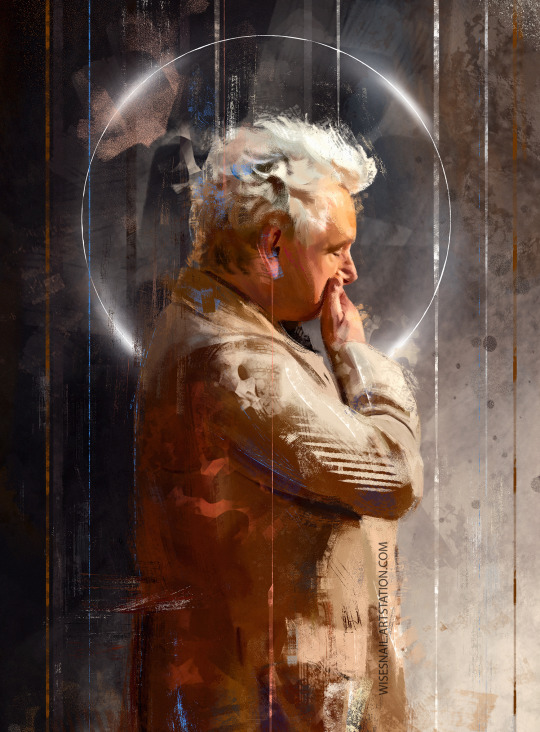
I have completed this body of work in the last month, mainly for my own therapy, after s2e6, but the feedback I have had has been awesome, from loads of people on here, I feel extremely humble, and just so happy that you like it... I'll keep doing it... thank you all again...
368 notes
·
View notes
Text

This was supposed to be a general artblog but it’s kinda turning into my goomens brainrot hole sorry (?) 😸
1K notes
·
View notes