lilydud
potential icon blog
we'll see where this goes
250 posts
Don't wanna be here? Send us removal request.
Last Seen Blogs
motherbearof03
motherbearof03

hyper-sensory-feels
Ride My Reality

wanted2024
Untitled

fightersquivers
Stay

wishbodyspagurgaon
Wish Body Spa
Photo


Comics and adaptations nominated for
the 33rd Annual GLAAD Media Awards
381 notes
·
View notes
Photo


similar pasts don’t make us the same. plus, i moisturize my edges.
2K notes
·
View notes
Photo


So strong and so quick. So brave and so cunning. I know you. I know everything you are and I love you. Very, very much.
2K notes
·
View notes
Photo
So strong and so quick. So brave and so cunning. I know you. I know everything you are and I love you. Very, very much.
2K notes
·
View notes
Text


S T U D I E S (never enough)
Will be very happy if you consider supporting me on Patreon! (Also check out all tiers for more early access and exclusive lemon arts).
Link could be found in My social media and Patreon info
652 notes
·
View notes


Note
please write a tutorial on how you did the "you" on this set /post/638052813746978817/when-you-run-you-dont-think-about-whats-behind and also what font? tyyy
Hi, Anon! Thanks for your question and sorry it took a while to answer.
First of all... font was Youthink.
Secondly... how I did that effect:
1. Added and formatted my text as normal (selected the font, changed the font size, weight, spacing, etc.)
2. Setup the gradient overlay on the text. I learned from this tutorial.
3 After setting up the gradient overlay, I right-click on the text layer again > select “Rasterize Layer Style”
4. From here I play around with that layer’s blend mode, opacity. If I have to, I would also duplicate the layer, change the blend mode/opacity of that layer, etc., until I get the look I want.
So for this one, the first layer is set to Overlay, with 100% Opacity and Fill Opacity, which I also duplicated (blue arrow) set to Overlay with 60% Opacity and 40% Fill opacity.

For my other Run On set in the same text style, I had 3 gradient text layers set to Screen, Soft Light and Overlay (from bottom to top...), with different opacity settings... So, play around with the blend mode.
Optional: as you can see, I also have an offset ~border. To get that, I selected one of my gradient text layers, click on Select menu > Load selection. Under “Operation”, New Selection should be selected, then click OK.
With the selection loaded, I create a new layer, then go to Edit menu > click Stroke.

You can change the colour to whatever colour fits your theme. For this particular set, I had a light purple colour selected.
Afterwards, I also decided to change the layer blend mode by setting it to Overlay. Again, you can play with the blend mode, opacity, duplication, etc. until you get your desired look.
EDITED TO ADD: to offset this ~border, use the Move tool to nudge/move this ~border layer to your desired position.
I hope this helps.
35 notes
·
View notes


Photo


I really like the art used for the boons in Hades so I upscaled some of them and made a few icons, feel free to use or do whatever with them
2K notes
·
View notes


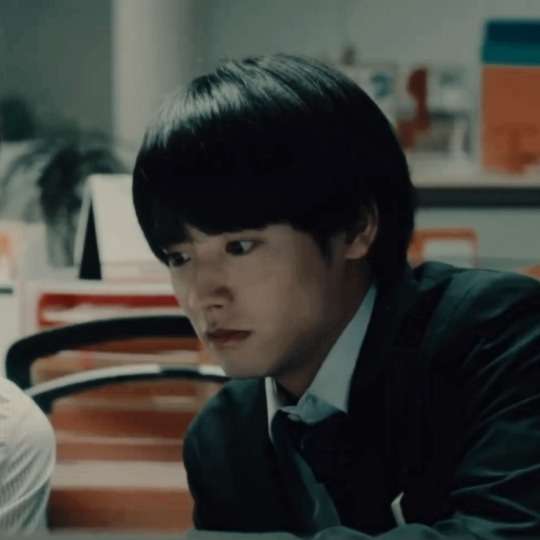
Text


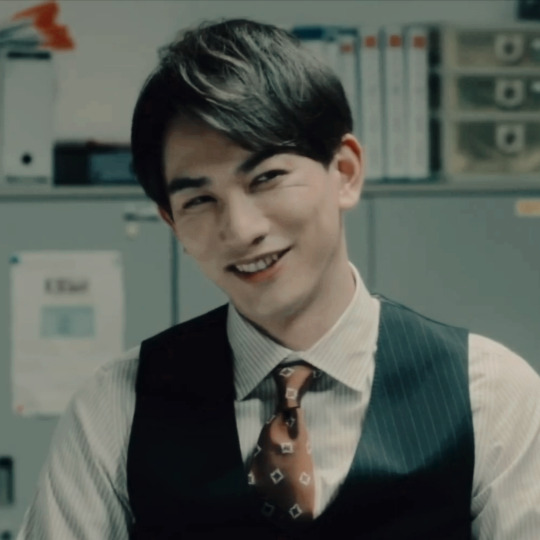
BL: Cherry Magic
Icons 🌼
Please like or reblog if you saved
133 notes
·
View notes


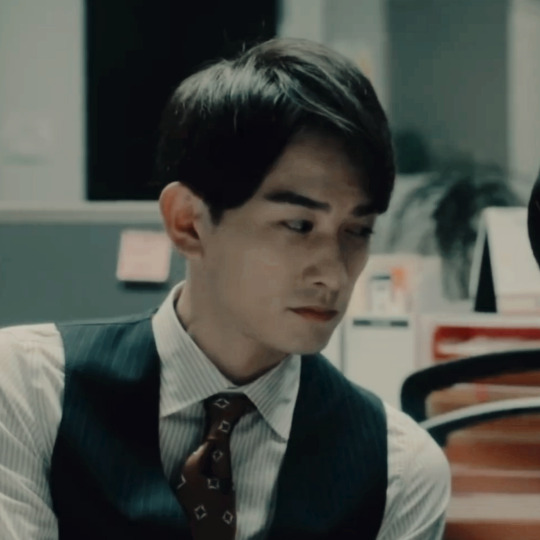
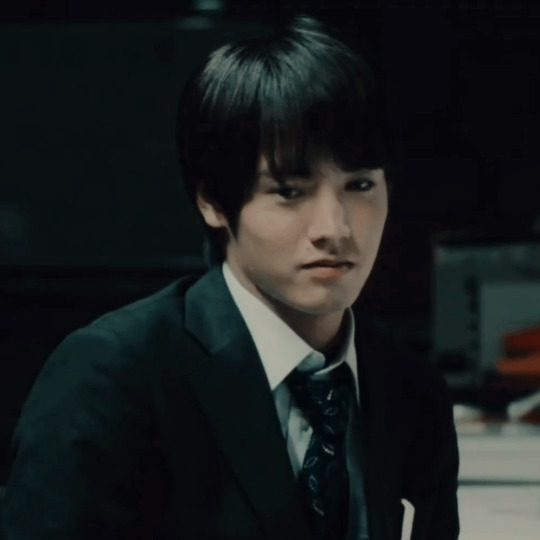
Text


cherry magic ep 6 icons!
pls like or reblog if you save it
cr @exotaeil
149 notes
·
View notes
Text

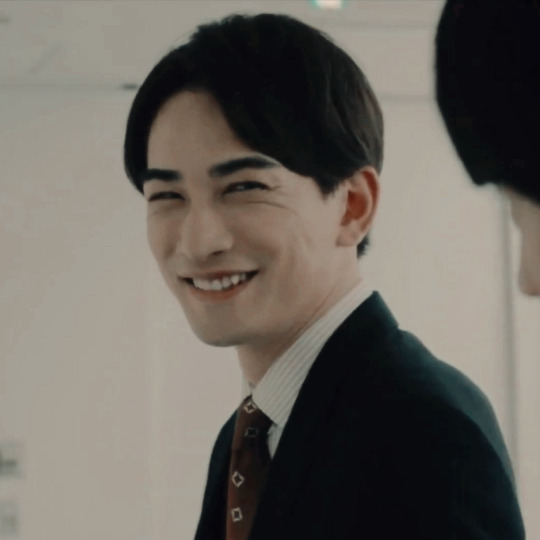


━━ Cherry Magic icons 。*゚+
━━ like or reblog if u save/use
━━ don't claim as yours please
134 notes
·
View notes
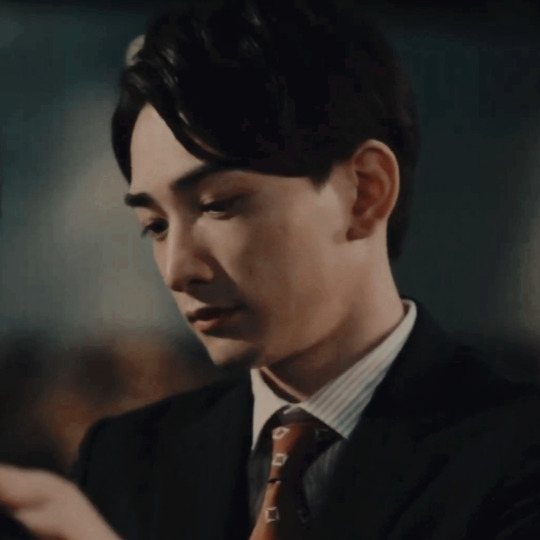
Note
hi, could you make cherry magic icons and headers? Thanks in advance


• Cherry Magic (packs)
• © rhysillyrian on twitter
☆Please like or reblog if you save☆
183 notes
·
View notes