
Don't wanna be here? Send us removal request.
Statistics
We looked inside some of the posts by mmarino97-blog and here's what we found interesting.
Average Info
Notes Per Post
4
Likes Per Post
4
Reblog Per Post
0
Reply Per Post
0
Time Between Posts
23 days
Number of Posts By Type
Text
3
Last Seen Tumblr Blogs


Fun Fact
Forty percent of Tumblr users are between the ages of 18 to 25.
Text
Project 3: Responsive Portfolio Site
Part 1:
I began by researching portfolio sites of other artists and picking out a few that I liked. I compiled the links to the sites I liked and took notes on what it was that made me like them:
- https://dennisberti.com/ - Once the website loads, the hover state on the designer’s name and descriptor is really cool.
- https://www.craftedbygc.com/ - The effect of the heading as the website loads as well as the separation of the text when you scroll is a unique interaction. Parallax scrolling is present once you reach actual projects.
- https://livekaufman.com/ - The way color-changing effect in the logo is attractive and I think the slight bounce on scroll at the bottom of the screen is an effective way to bring attention to how to navigate the website.
- https://buzzworthystudio.com/ - Plain background and then hover on project name and the screen is filled with a full-screen image of that project. Mobile switches to full screen images that are always present with the project name on top.
- https://www.marcomarino.design/project.html - Similar hover properties as the buzzworthy site, but more simple and not full screen pictures. Also, has different images depending on size – tall pictures on desktop, wide pictures on tablet/mobile
- https://juliebonnemoy.com/ - The parallax scrolling on the website is a little distracting but also pretty cool to interact with. Other interesting interactions include: letters on hover in about me, the logo changing on hover, blurring of pictures on hover. Parallax scrolling somewhat remains in mobile.
- https://www.little-jacket.com - Another hover property that then shows full screen background image of the project. Full screen image on individual project pages with a constant padding. Smaller images that are in a 2 column wide flex.
-------
Part 2:
I then created wireframes for the homepage and project pages in mobile, tablet, and desktop for my three favorite sites.
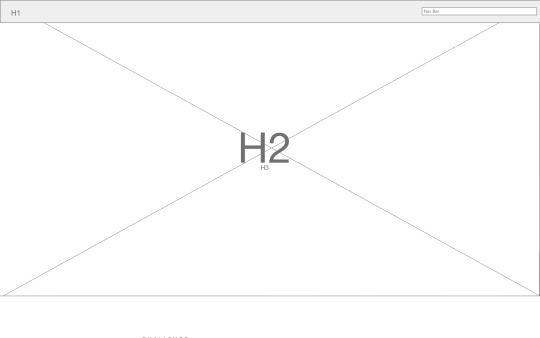
First, the Buzzworthy homepage:


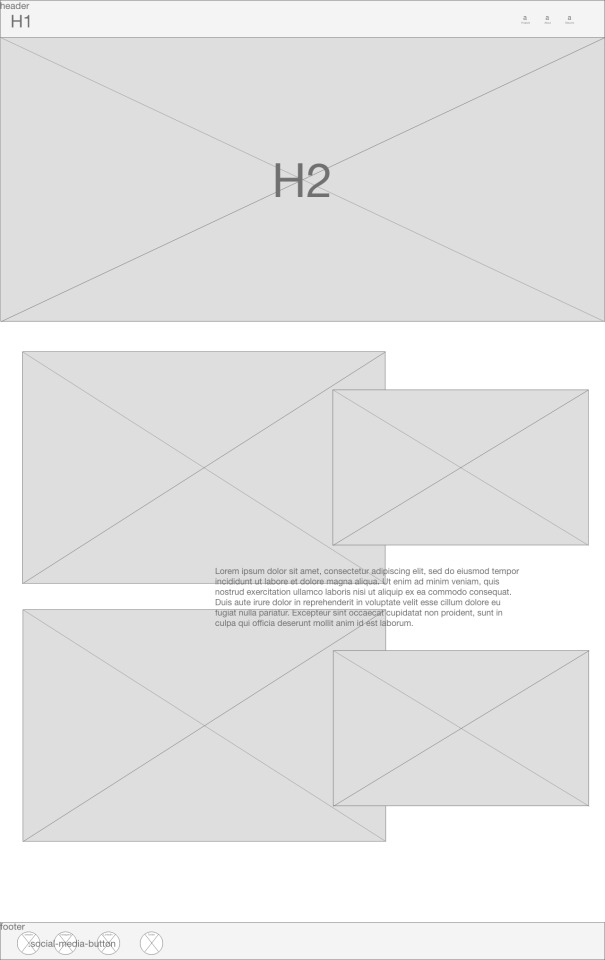
Next, the Buzzworthy project pages:


The next wireframes are for Julie Bonnemoy’s home page:

Then for Julie Bonnemoy’s project pages:


The last site was Marco Marino’s portfolio and the wireframes for his home page are:


Finally, the project pages for Marco Marino:


-------
Part 3:
Using the wireframes of websites I liked, I developed my own wireframes for my portfolio.
The wireframes for the home page:


And the wireframes for the project page:


A coded digital wireframe can be found at the following link: https://mmarino97.github.io/project3.wireframe/index.html
------
Part 4:
In gathering my content, I decided to make this website to represent all of the Web Design projects that I have done the past semester including the two from class and my thesis. As a result, I knew the styling and colors I was planning on using prior to starting the site, because I wanted to create a similar feel to my full portfolio website (https://www.maggieannmarino.com) and my resume.
------
Part 5:
Next, I created digital mockups of what the final product would look like on Adobe XD.
The homepage at different sizes:


and for the project pages:


------
The complete website can be found at: https://mmarino97.github.io/project3/index.html
1 note
·
View note
Text
Project 2: Game/Learning Tool
Part 1: Brainstorming
The project began with different brainstorming exercises including brainstorming lessons from elementary and middle school and routines from daily and professional life.

--------
Part 2: Preliminary Sketches
Once I had brainstormed a bunch of different routines, lessons, and passions. I chose 6 possible sites to create including teaching about fouls in various sports, teaching how to do credits and debits in accounting, a quiz telling people what to see on broadway, and a nail painting game. I created wireframe sketches for all 6 ideas.


--------
Part 3: User Testing
After discussing the possible games with classmates, I settled on my first idea of creating a database where sports fans could learn about the rulebook definition and the actual application of fouls and penalties. Next, was creating a lo-fi prototype and user testing it. The videos can be found at this link:
https://drive.google.com/drive/folders/1-kmZzsW4VM7s3VkJ0m-TScGGIu3XXto3?usp=sharing
--------
Part 4: Static and Interactive Wireframes
I began this stage with a static wireframe created in Adobe XD.


I then used html and css to code a interactive wireframe which can be found by following this link: https://mmarino97.github.io/project2.wireframe/index.html
--------
Part 5: Mood Boards, Style Tiles, and a Static Mockup
Next, I focused on the creative side of the project and created mood boards, style tiles, and a static mockup to decide exactly how the website would look. I focused on bringing in sports imagery and a bolder text similar to those seen in logos for major sports leagues.
Mood Board:

Style Tiles:


Static Mockup:


--------
Part 6: Final Site
Finally, I began coding the actual final site which can be accessed at: https://mmarino97.github.io/project2/index.html
1 note
·
View note
Text
Project 1: Process
To begin, I looked through Adobe Fonts and found 6 typefaces with varying characteristics. For each typeface, I picked a letter or character that I found interesting within the family. The six options are below:


-------------------------------------------------------------------------------------------
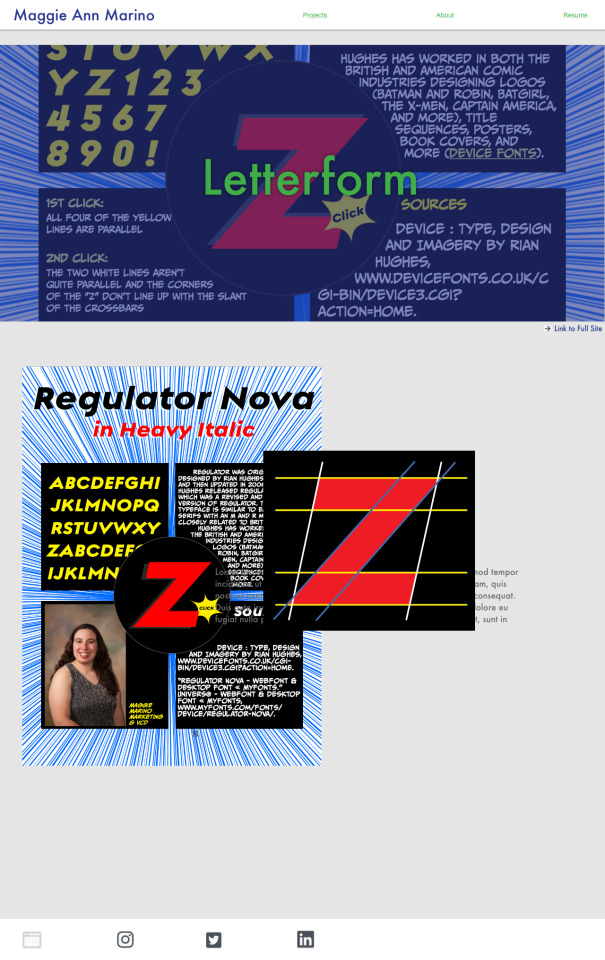
Going into class discussion, I was undecided about which of the characters I would use for the final. My group almost unanimously chose the Regulator Nova Z. So, I began looking into the typeface and its designer. Some of that research includes:
About Regulator Nova
- First released in 1995 and updated in 2006, then with 5 weights plus italics perfected by a Cameo style. Revised and extended to 7 weights as Regulator Nova in 2018
- A high lower-case x-height geometric sans with open counters, Regulator Nova is extremely legible at text sizes and in extended settings while the range of weights also make it suitable for headlines.
- The stoke terminals are all cut at close to 90 degrees, lending a sharp precision to the characters. Alternate versions of the g, j, r, w, K, R, W, # and ampersand are available in both upright and italic, and can be toggled on and off in the Opentype panel or the Glyphs palette. Clean, elegant and legible, Regulator Nova has a classical proportions based on a circumscribed circle and square, and shares structural similarities to early sans serifs such as Rudolf Koch’s Kabel, while adopting more British forms for the M and R.
- Regulator Nova is an extension and reworking of Regulator, now with extra weights, reweighed italics, Opentype-savvy alternates and a full European character set.
About Rian Hughes
- "One of the most successful and prolific designer/illustrators of the past 20 years" [Roger Sabin, Eye magazine].
- studied at the LCP in London before briefly working for an advertising agency, i-D magazine, Smash Hits magazine and a series of record sleeve design companies
- has since worked extensively for the British and American comic industries as both designer, typographer and illustrator, notably creating many logo designs for DC and Marvel, including Batman and Robin, Batgirl, the X-Men, Captain America, Wolverine, The Spirit, The Invisibles, Shade the Changing Man, The Atom and more. Work also includes title sequences for The Box, poster designs for Tokyo fashion company Jun Co.'s Yellow Boots chain, the animated on-board safety film for Virgin Airlines, Eurostar's poster campaign, a collection of Hawaiian shirts, a range for Swatch and a BDA International Gold Award and Creative Use of Print Award-winning brochure for MTV Europe's Music Awards, written by Alan Moore, numerous book covers including the BBC Radio Drama version of Philip Pullman's His Dark Materials trilogy.
-------------------------------------------------------------------------------------------
After looking through the history, I decided to focus on the comic background of Rian Hughes and began creating wireframe sketches.


-------------------------------------------------------------------------------------------
At the same time, I was putting together a visual analysis of the Z and settled on showing the different straight lines in the letter. In Illustrator, I realized that none of the diagonal lines were parallel which adds character to the shape of the z.

-------------------------------------------------------------------------------------------
Next, I began laying out a digital mockup on Adobe XD. I originally liked the look of the sketch with the city landscape and buildings. However, once I began to transpose it to a digital setting, I liked the central circle with 4 squares behind it. Playing around with different settings in Adobe XD led to the following digital mockup:

-------------------------------------------------------------------------------------------
The completed project is available at https://mmarino97.github.io/project1.jquery/index.html
2 notes
·
View notes