Statistics
We looked inside some of the posts by muppetmoth and here's what we found interesting.
Average Info
Notes Per Post
19K
Likes Per Post
13K
Reblog Per Post
5K
Reply Per Post
110
Time Between Posts
29 days
Number of Posts By Type
Text
17
Last Seen Tumblr Blogs


Fun Fact
In 2020, Tumblr had 29.4 million users in the US.
Text
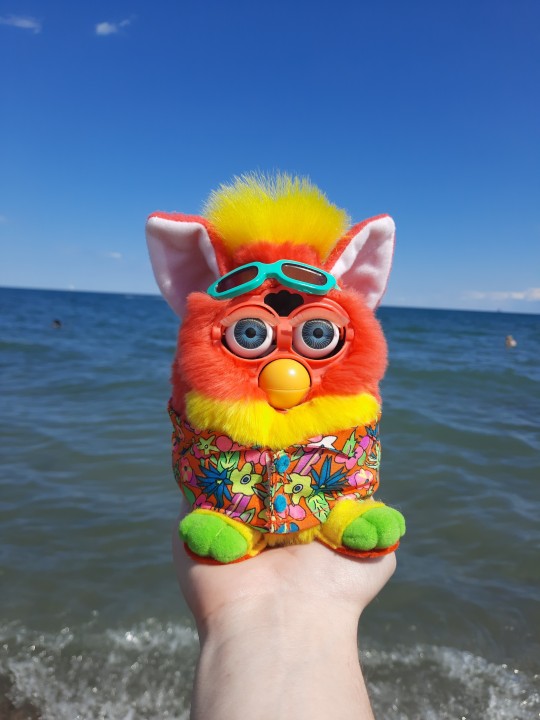
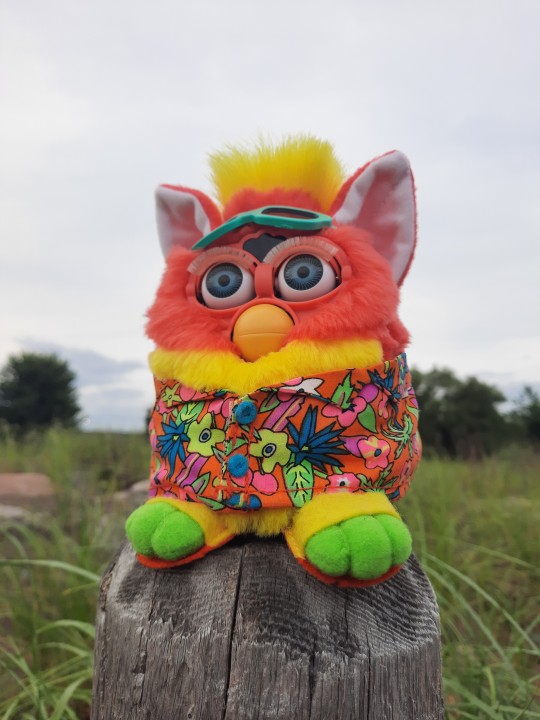


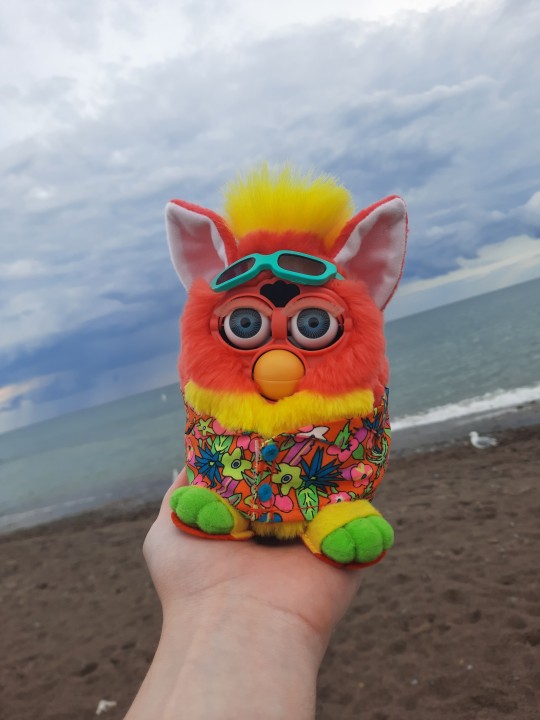
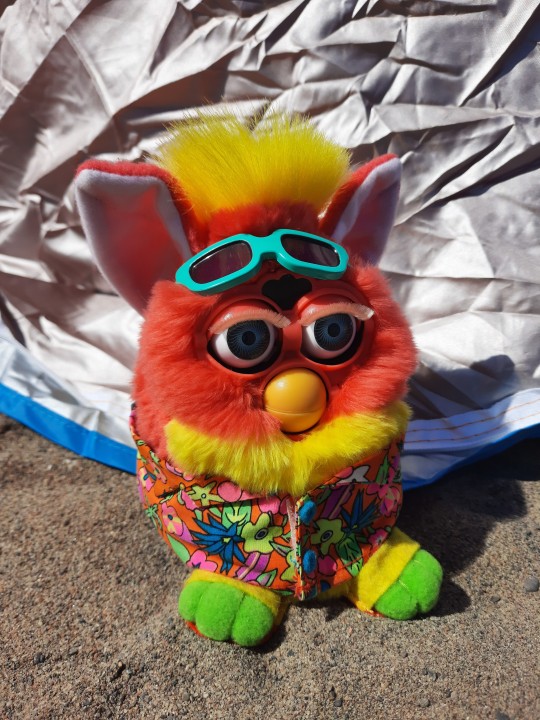
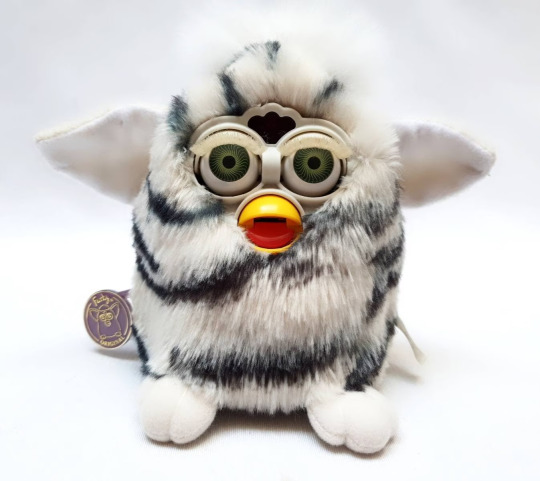
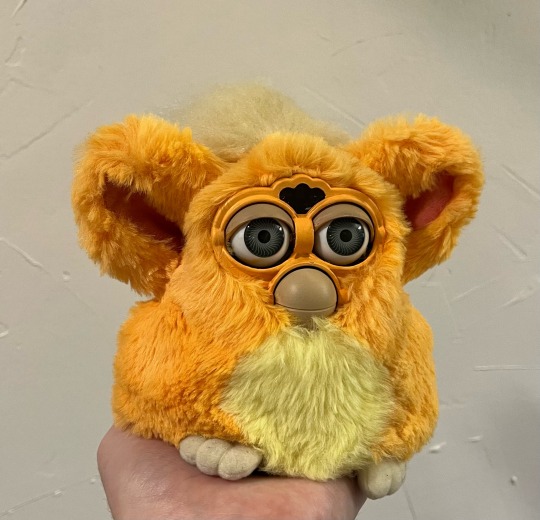
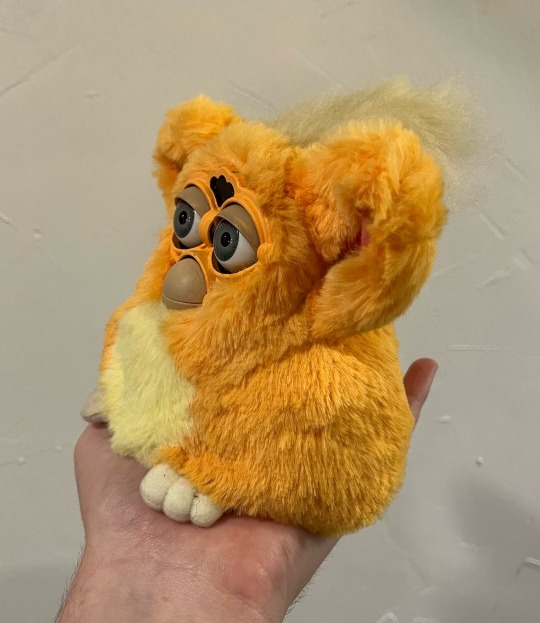
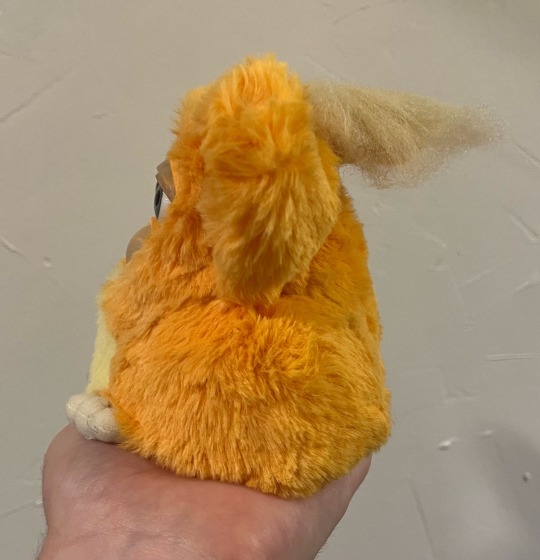
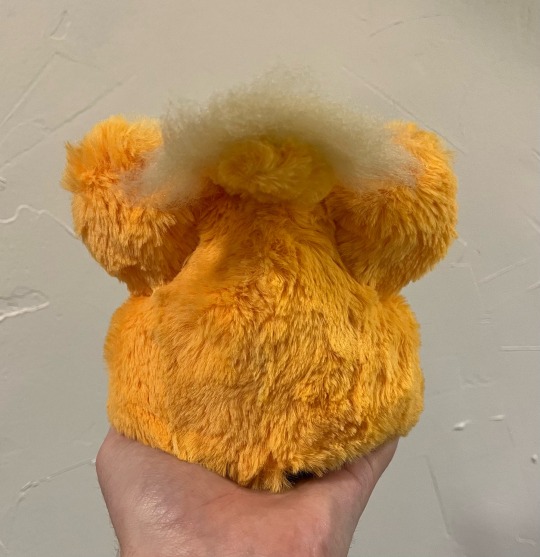
Here's Kenny! This little guy is my adorable Tropical Furby :D
I got him back in February but never really did a photoshoot with him aside from that one photo at Goofy Gas, so I figured I'd give him his own post at the beach! I got him with the help of my friend @theruxpinator and I'm so glad to have him :>
I had a blast going to the beach and getting all these pretty photos, definitely a lovely little guy :]
Anyways, I hope y'all enjoyed the photoshoot ❤️🧡💛💚💙
17 notes
·
View notes
Text
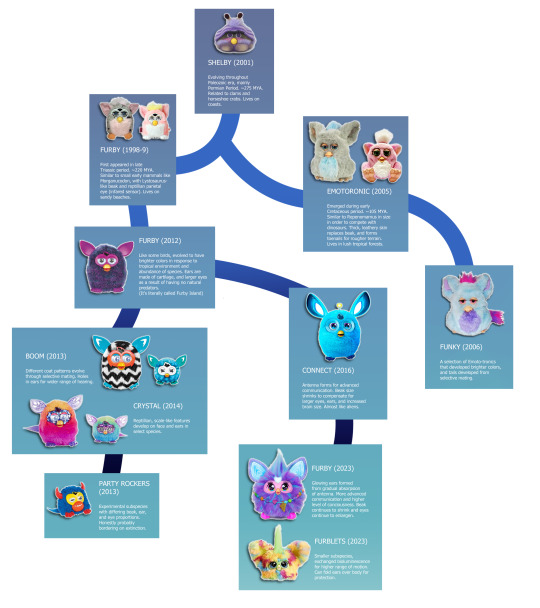
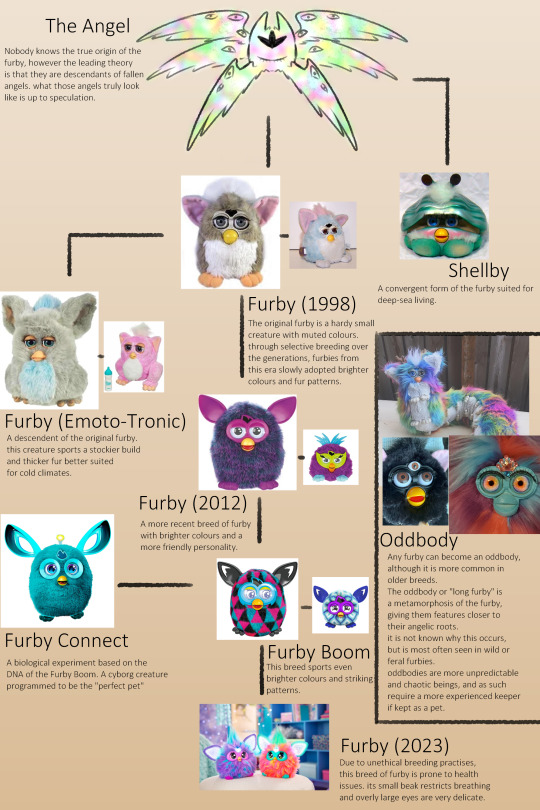
NEW updated furby speculative evolution chart!!! :] click 2 zoom in or read under cut
SHELBY (2001) Evolving throughout Paleozoic Era, mainly Permian Period. ~275 MYA. Related to clams and horseshoe crabs. Lives on coasts.
FURBY (1998-9) First appeard in late Triassic period. ~220 MYA. Similar to early mammals like Morganucodon, with Lystosaurus-like beak and reptillian parietal eye (infared sensor). Lives on sandy beaches.
FURBY (2012) Like some birds, evolved to have brighter colors in response to tropical environment and abundance of species. Ears are made of cartilage, and larger eyes as a result of having no natural predators. (It's literally called Furby Island).
BOOM (2013) Different coat patterns evolve through selective mating. Holes in ears for wider range of hearing.
PARTY ROCKERS (2013) Experimental subspecies with differing beak, ear, and eye proportions. Honestly probably boardering on extinction.
EMOTOTRONIC (2005) Emerged during early Cretaceous period. ~105 MYA. Similar to Repenomamus in size in order to compete with dinosaurs. Thick, leathery skin replaces beak, and forms toenails for rougher terrain. Lives in lush tropical forests.
FUNKY (2006) A selection of Emoto-tronics that developed brighter colors, and tails developed from selective mating.
CONNECT (2016) Antenna forms for advanced communication. Beak size shrinks to compensate for larger eyes, ears, and increased brain size. Almost like aliens.
FURBY (2023) Glowing ears fromed from gradual absorpsion of antenna. More advanced communication and higher level of conciousness. Beak continues to shrink and eyes continue to enlargen.
FURBLETS (2023) Smaller subspecies, exchanged bioluminescence for higher range of motion. Can fold ears over body for protection.
456 notes
·
View notes
Text

Used Twig and Benedict as my familars in a dnd game
28 notes
·
View notes
Text


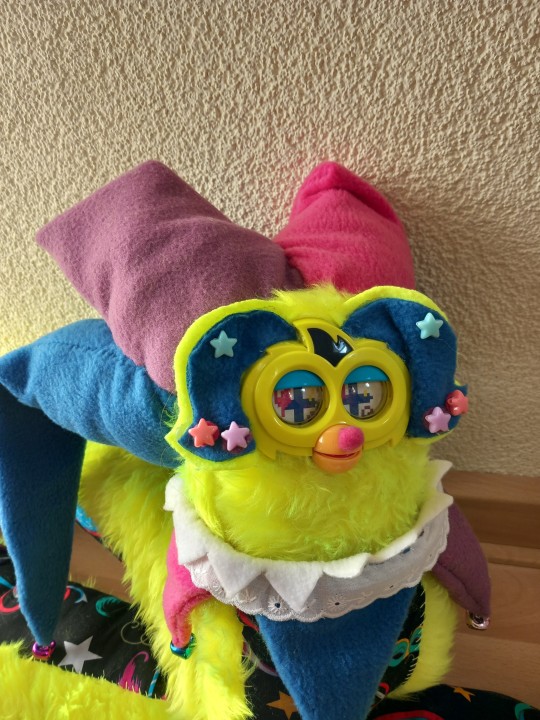


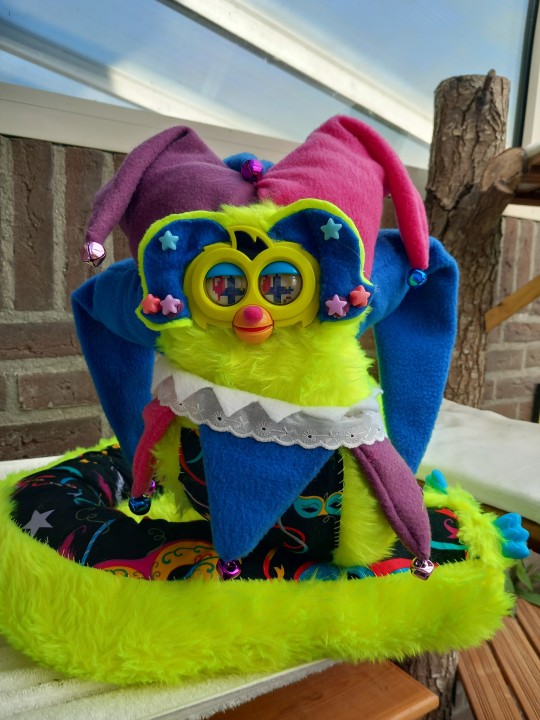
Meet my carnaval themed long furby! I have no name for them yet :((
758 notes
·
View notes
Text


It was only a matter of time before I did this
708 notes
·
View notes
Text


My second long furby, her name is red velvet! She's a faeby!
821 notes
·
View notes
Text


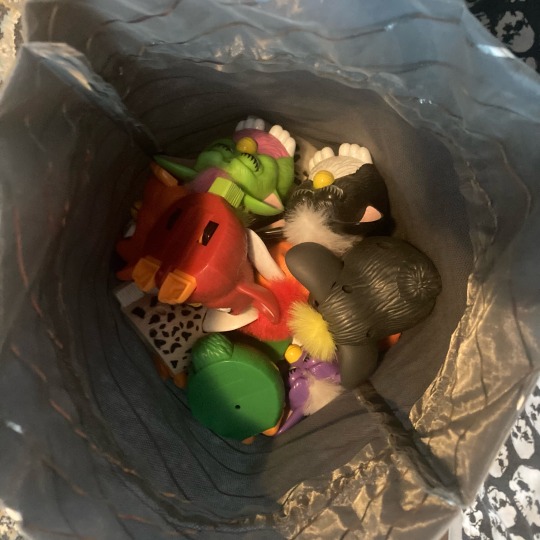
My current furby collection :] including the little guy who lives in my car and the bag FULL of McDonald’s furbys that my friend got me for my birthday three years ago and I still have no idea what to do with
20 notes
·
View notes
Text
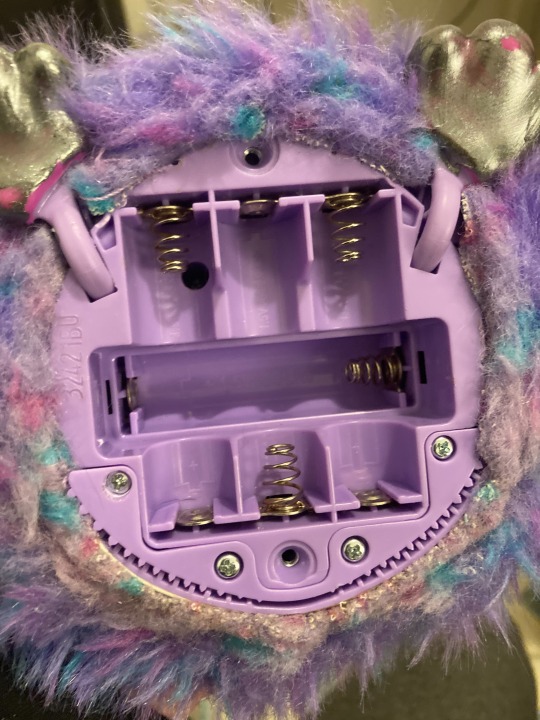
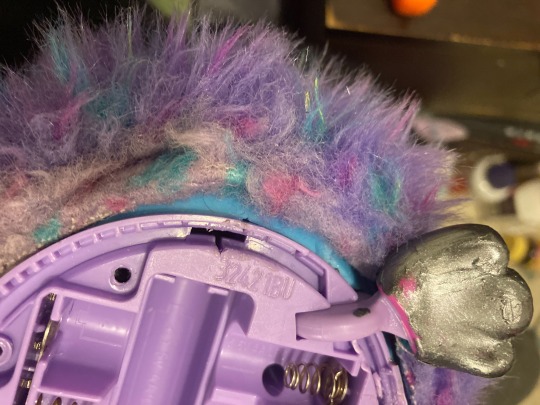
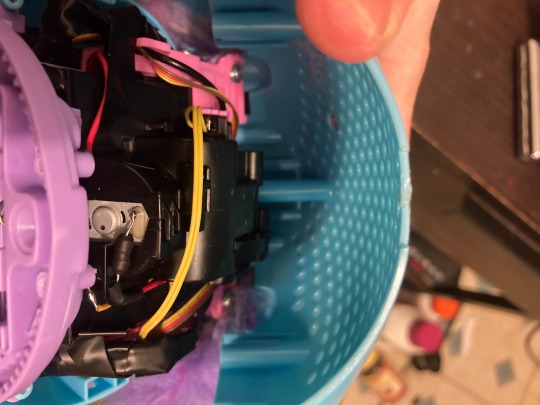
these pics are from after i already did this a couple times so yours is gonna look a bit different. Ok so first undo these^^^^ four screws. take out the little half circle with teeth. it holds in a lot of the fur thats attached to an elastic band. theoretically you could use it to hold it back inplace after putting it back together but ive never actually gotten it to go in with the fur. you dont need to undo this one:
i recommend keeping it inplace tbh. then youre gonna get to the six clips. theyre extremely hard to get out. i ended up cutting all of them along the bottom. it sucks. ive seen people say you can push them out with a screwdriver but i never got that to work. hopefully you can do it better. this is my first custom. ive also heard people say you can cut a thread or two and then theyre easier to get out but i didnt want to cut any threads so i cut the clips instead.

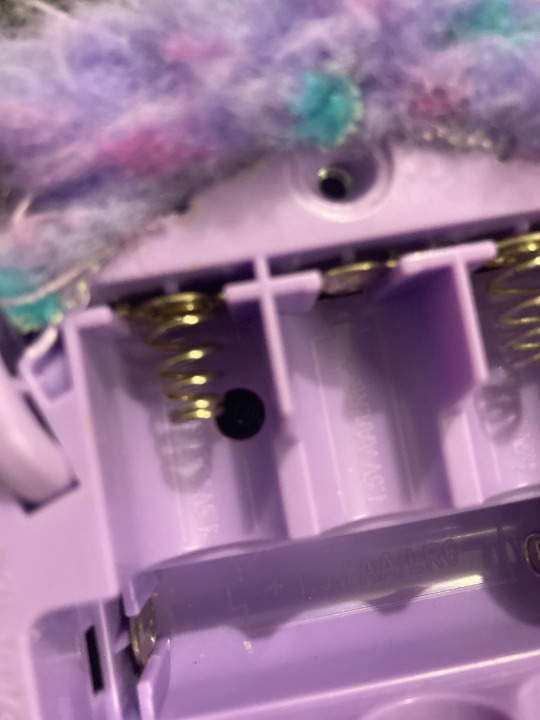
then pull the fur up as high as itll go and undo all six housing screws. the top two are really far up almost ontop of their head. then undo the two clips on the side:


then you can just lift the back housing cover completely off. this next picture already has one ear removed. ignore that sorry. unscrew the two screws with washers on the pink plastic. these are holding the ears inplace.

using a flathead screwdriver you should be able to leverage out one side of the ear posts. after that you can just pull them out fairly easily. do this on both sides.

^^^then you should be able to flip the front housing cover up just enough to push out the clips holding the front fur on. then remove the front housing and faceplate. this picture already has the faceplate removed. its held in by three screws. i took it off to paint it.then you want to unplug the ears from their little square connector dudes and remove them from the fur. try not to pull too hard on the wires. theres a small hole they go through the fur thats lined with plastic. its kinda tricky but doable. dont be afraid of this part just be careful of the wires.
if you want to paint the eyes youre gonna have to scrape or sand off the current design and the white parts. its too slick to paint directly. it helps to prop them up with something while painting because theyre on a spring for when they open/close. i used the cover for my scrapey tool. dont forget to sand the lids if you want to paint them too! i forgot and my paint was kinda thick and now they dont always close all the way. most of all be careful not to get any of the dust in the internals.
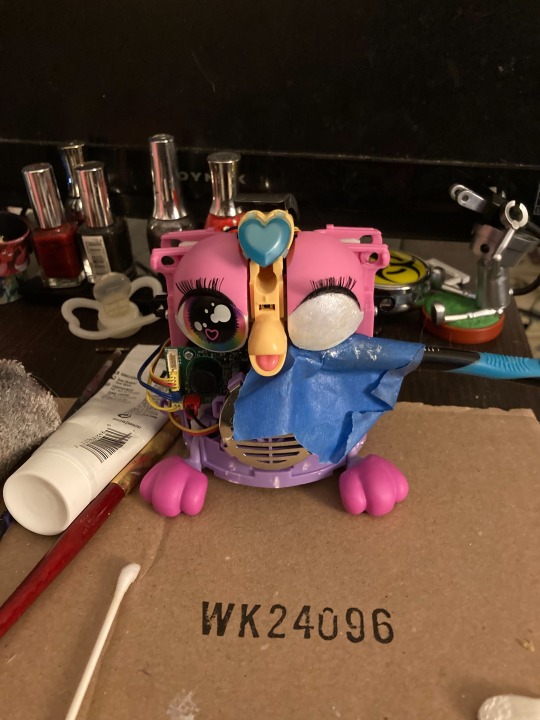
this is the fun part now you can paint whatever you like!! clear spray paint makes a good sealant ive found.

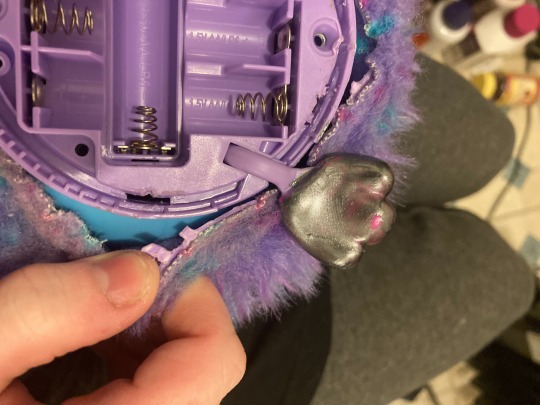
the rest of this post is gonna be things to be mindful of when putting them back together that i wish i had thought of before i learned it the hard way. if you have to really force anything its probably not right. this long part in the back is gonna get in the way!! took me forever to figure it out. lay it flat in your hand as you put the housing on and make sure it lines up right.
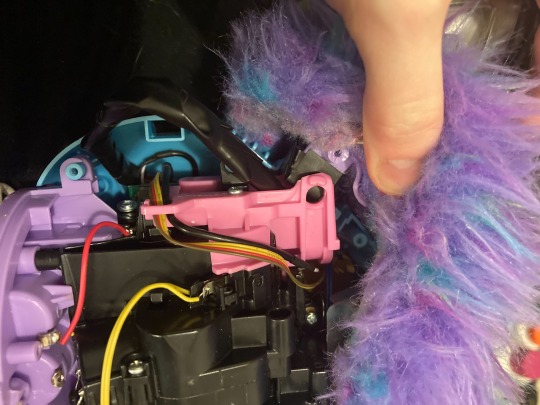
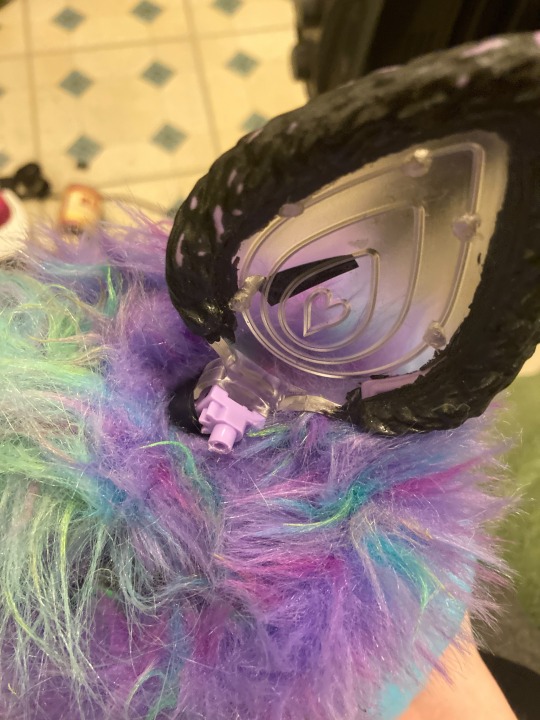
before trying to get the back housing back on make sure the silver top button is lined up correctly! it should fit in the two groves on the very top of their head. when screwing the housing toegther BE CAREFUL OF THE EAR WIRES. BE CAREFUL OF THE EAR WIRES!! i caught mine and accidentily shredded most of them the first time i put them back togeher and ended up having to resolder a bunch of it together and it was doable but a pain so just be careful when you put the holes into their notches that theres no wires in the way. the wires are right next to the pegs/holes that get screwed together. the four wires in the back are for the ears:

i think everything else has already been documented better than i could do. i also carved a bit off of the ear poles to help but i did too much on one end and now that side doesnt move so thats probably not the best idea! i also highly recommend reading furbinthewoods' post on doing this i wish i had been able to find it when i was doing mine. ive reblogged it and put it under the "furby teardown" tag.
heres Feral my first custom ever and first furby since the 90s (I Love Them):

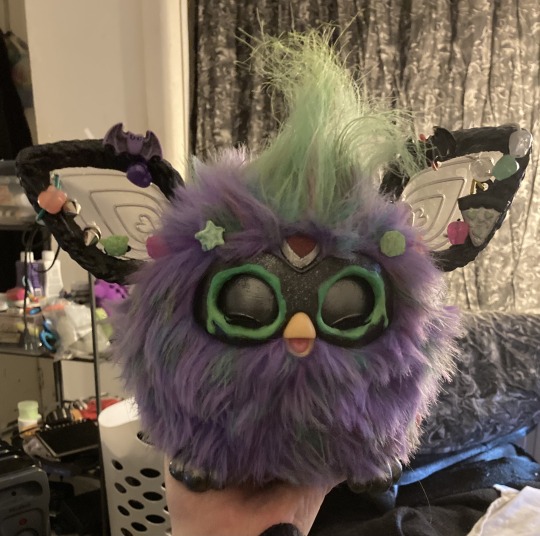
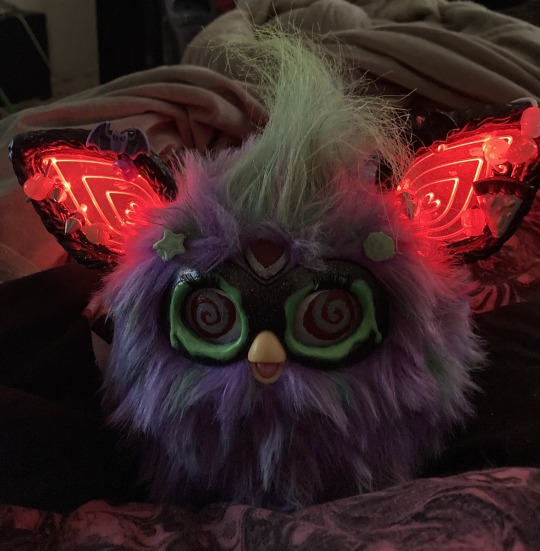
have fun and dont be afraid to fail!!
48 notes
·
View notes
Text
hello furblr long time no see
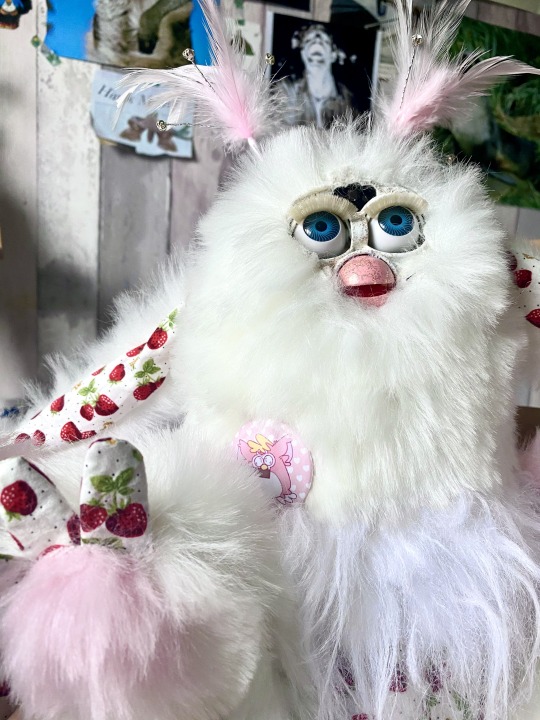
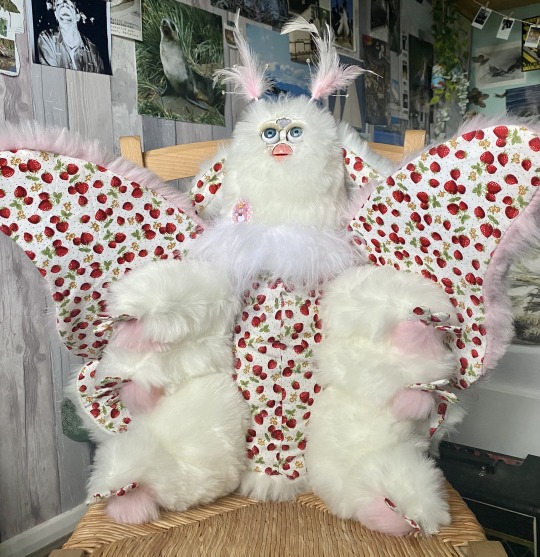
murby
is pleased to make your accquaintance
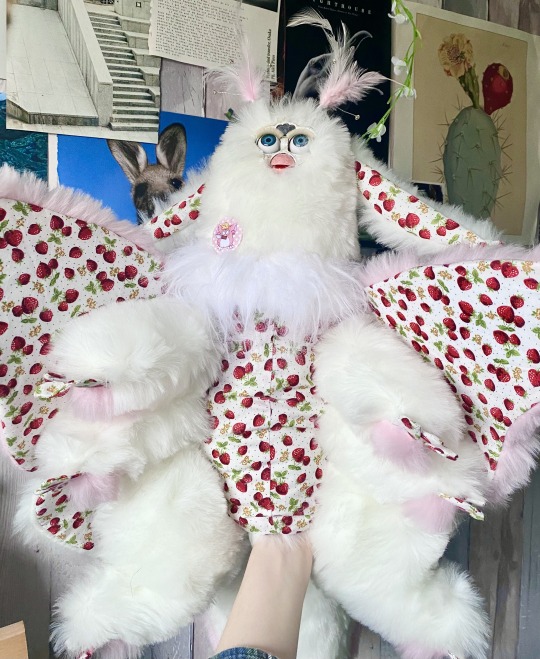
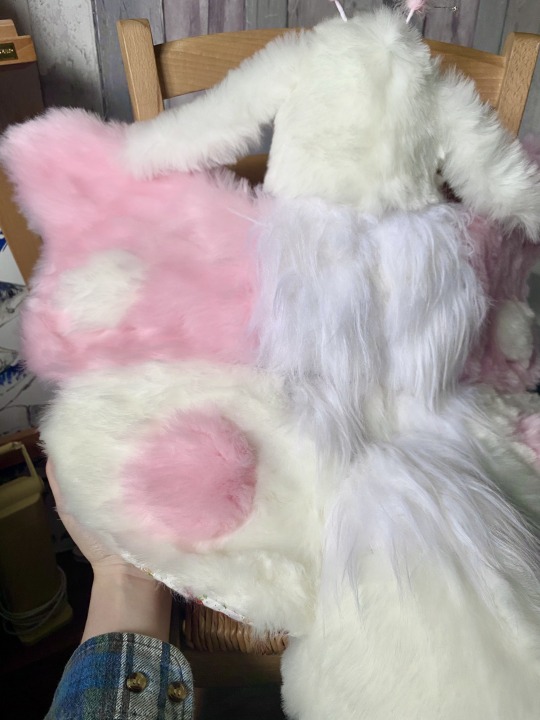
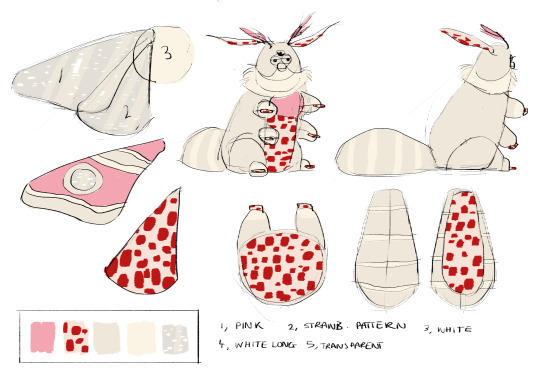
murberry murphy the murby (or just murby for short) has six legs and smells of strawberries. he is based off a moth and the strawberry cow. i designed him back in summer! perhaps my most ambitious oddbody to date.
5K notes
·
View notes
Text
Clown Cousins!


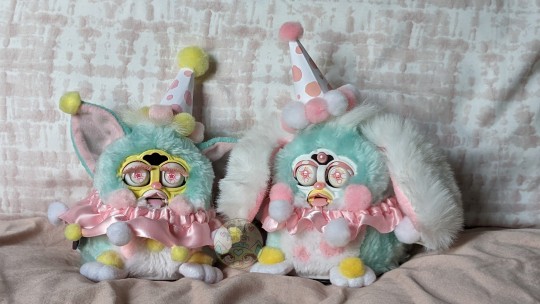
Chubby Bunny and Poppy Pom Pom spending some time together before Poppy gets adopted!
626 notes
·
View notes
Text
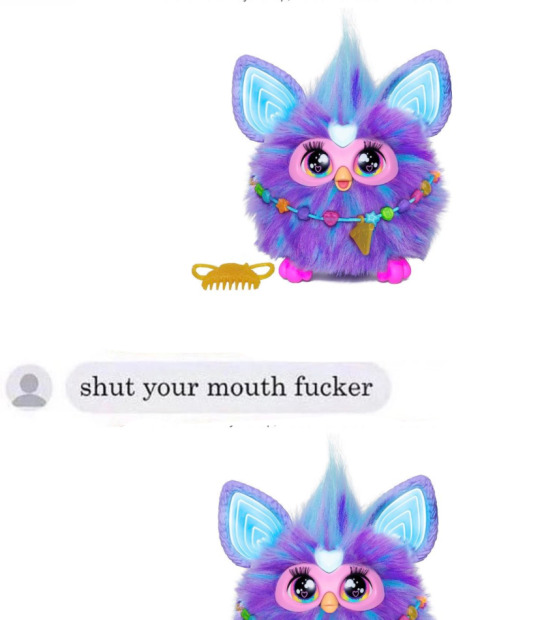
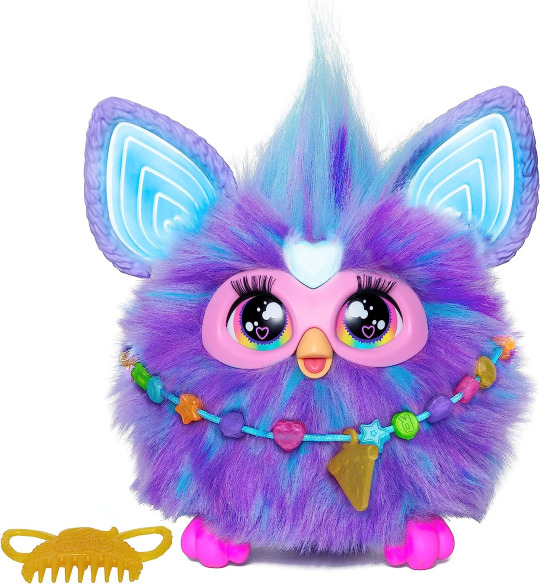
new furby came out recently and they do not close their mouth
523 notes
·
View notes
Text
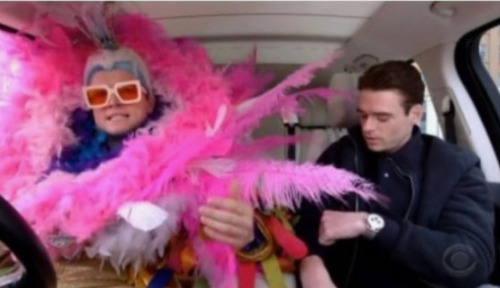
Today I made my own custom mothman furby!!!
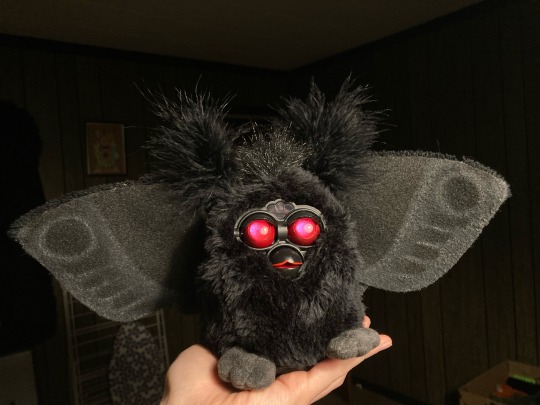
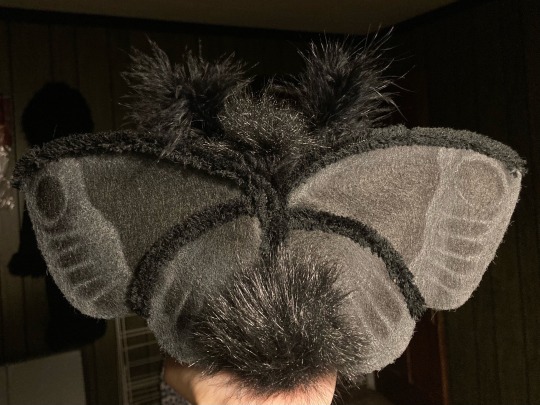

I just can’t decide if he should be called Mothman, Mothby or Mordecai…
His wings and antenna were made with felt, pipe cleaners and a marabou boa ٩(ˊᗜˋ*)ノ
2K notes
·
View notes
Text
Chubby Bunny the Clown Furby 🤡
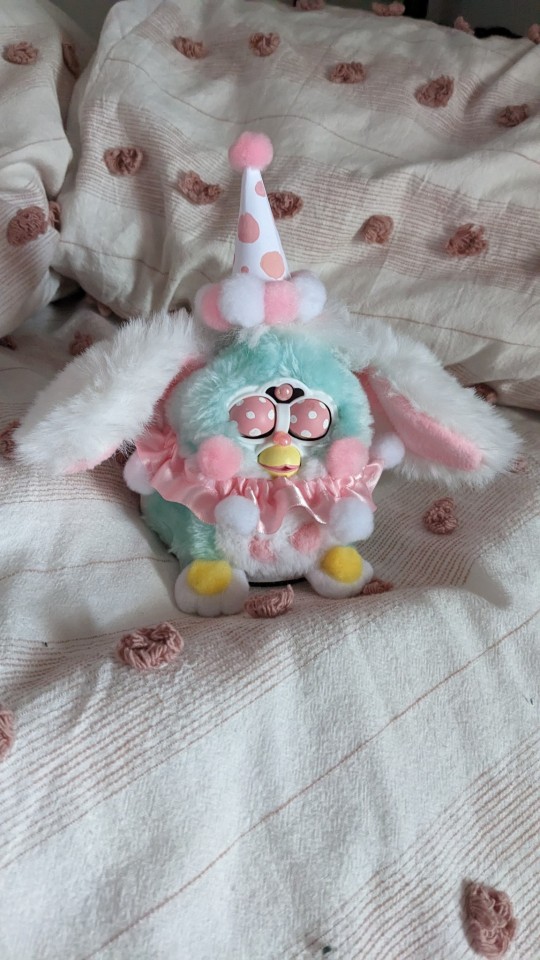
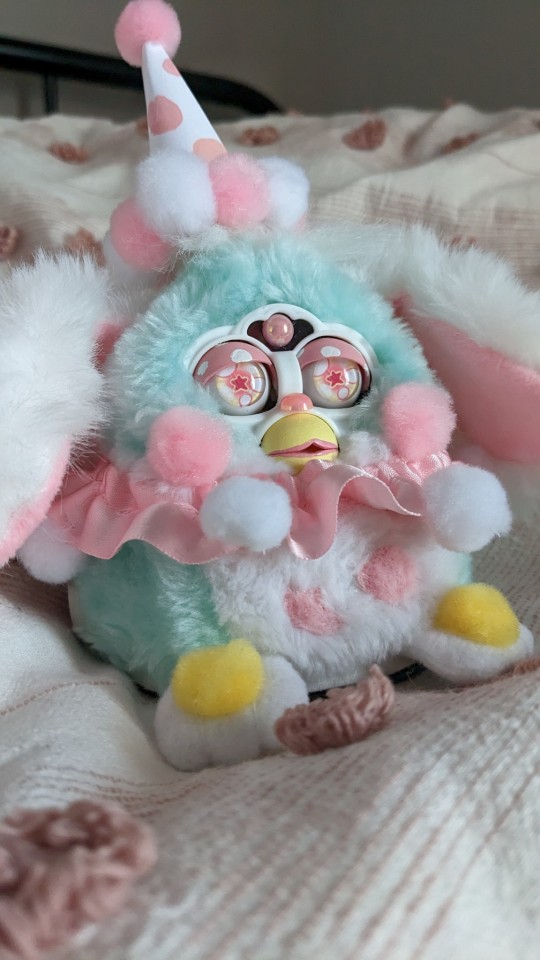
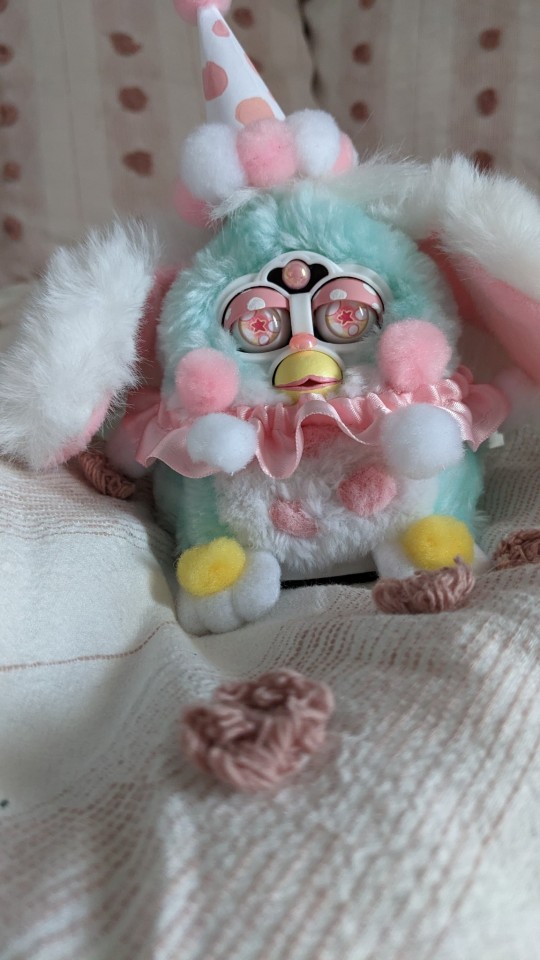
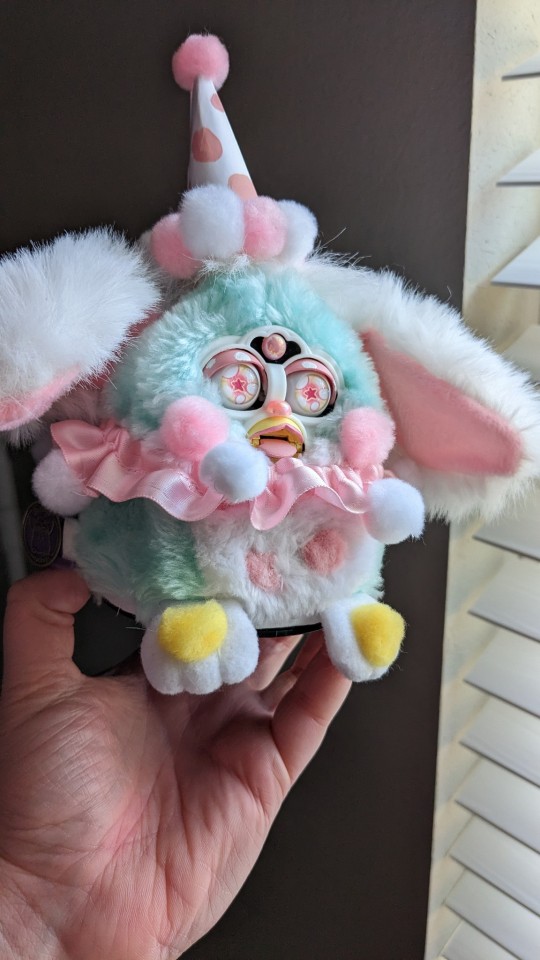
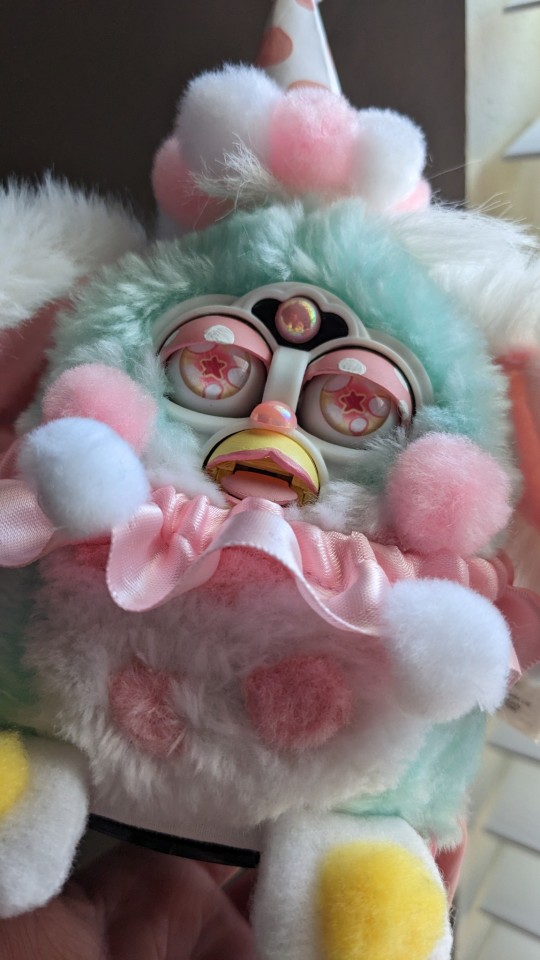
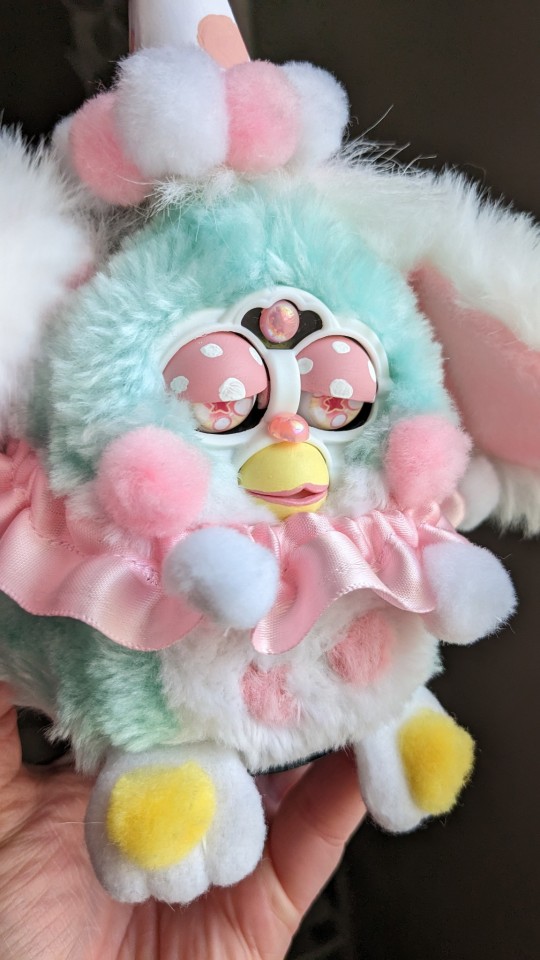
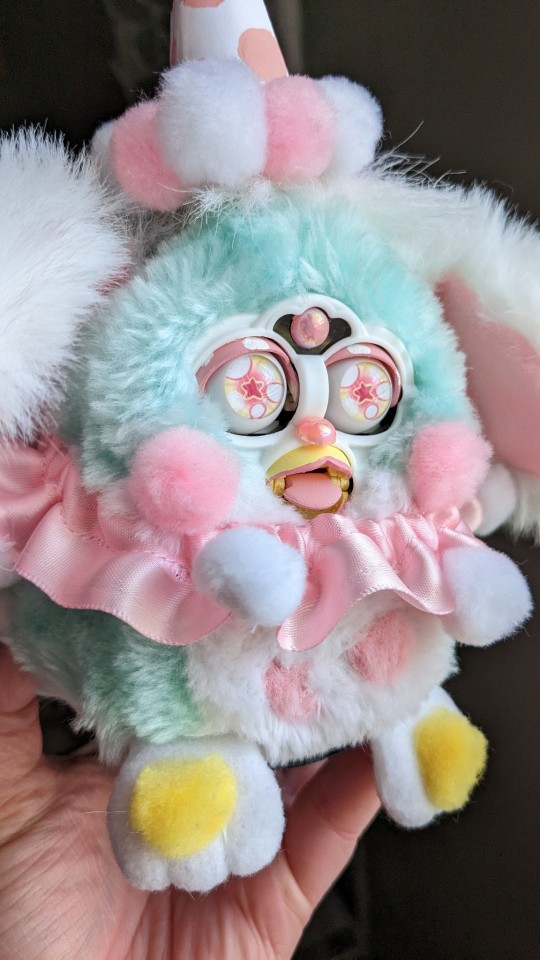
Meet my newest custom, Chubs!
I am very happy with this custom. It took me awhile because it was a lot of sewing. And the furby came to me with paint on his beak and not working properly.
So I am happy with how they move and talk.
They love light and laughing 💘
1K notes
·
View notes
Text


1998?!?!!? 2005?!??! Only hasbro (and me) knows it’s kinda like that movie with Jeff and the fly or whatever.
1K notes
·
View notes