
Ok, so you're a developer and you want to try Jamstack, the architecture that gives you the power to build a highly optimised performant frontend (html, css, javascript) while outsourcing external back-end services for things like authentication, content -and asset management or e-commerce services via APIs. We are able to reduce complexity, build time and risks for our application by leveraging the products these domain experts are offering. It also is very flexible because we can easily scale to our requirements (by upgrading or switching out a service for instance). All above is just nerd sugar. All I wanted was to host my blog free and have full control over the layout and design of my pages.
Don't wanna be here? Send us removal request.
Statistics
We looked inside some of the posts by petticode and here's what we found interesting.
Average Info
Notes Per Post
1
Likes Per Post
1
Reblog Per Post
0
Reply Per Post
0
Number of Posts By Type
Text
1
Last Seen Tumblr Blogs


Fun Fact
Tumblr is available in 18 languages.
Text
How To Deploy and Publish a Website with VueJS 3 and Netlify
AKA Free hosting for static websites, w00t!
Netlify is a platform that will have your website deployed and up and running fast. It has lots of features such as server functions, identity management, form handling and much much more. Most extensions can be used free up until a reasonable point. Perfect for prototyping, small sites, POCs etc. For this post I would like to introduce you to the CI/CD workflow it has to offer and how easy it is to implement.
This tutorial will cover the bare minimum. Check other posts where I deep dive into some additional cool stuff Netlify has to offer (like when you secretly DO need a little back end). And some fun VueJS stuff as well (entirely serverless will get us a long way).
To follow along you can use any existing site or (web)app, be it vue, react or otherwise that is on git (github/gitlab/bitbucket/Azure).
Oh my god, start coding already, will you?!
Getting Started
Warm up your code editor, upgrade your node to 16.19.1 (@time of writing this tutorial), have your web project ready OR clone this example OR:
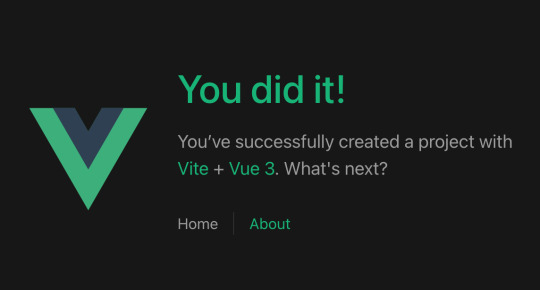
Create your Vue project
Anywhere you want your project directory:

You will be prompted to answer some questions. At least use typescript to follow along with my other tutorials and to make you feel like a grownup.

Follow the instructions once the scaffolding for your project is done:
Push your changes!
Deploying your webapp with Netlify
Now that we have created the most unoriginal of webapps, let's head over to Netlify and publish the site and configure our deployment workflow.
Sign up if you haven't already. Then choose to import an existing project from git.
Connect to your git provider, select the repository and branch to deploy.
Hit 'Customize build settings' .

Branch to deploy: When changes are pushed to this branch, it will trigger a deploy to production.
For this tutorial we need to set the Base directory to 'webapp', because that is the location of our vue project. Adjust accordingly if you are using a different setup. The Build Command and Publish directory are by now populated.
Hit 'Deploy site' .
Your are redirected to your Site overview page. When the deploy has finished you can visit your app using the provided production URL.
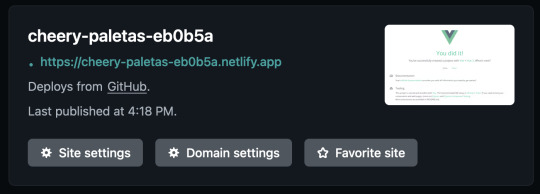
Your static website is now hosted on https://cheery-paletas-eb0b5a.netlify.app/ . Secured automatically with a Let's Encrypt certificate.
Pushing changes to the branch you selected in Netlify deploy settings will trigger a deploy automatically. Control any of these settings from the Deploys tab.
Next steps
Turn your boilerplate vue app into a jamstacked kickass resume!
Use your own domain name: You can delegate an existing (sub)domain to your netlify app. Or register a new custom domain.
Setup up a staging environment
Config done right with Netlify CLI and netlify.toml file
1 note
·
View note