Last Seen Blogs
crappy-unpoetic-words
Unpoetic Poet

gritsandbrits
grits
kay-mp3
kay.mp3

mikey-ways-knees
The one and only
Text
different types of texturing
Color maps
By mapping a texture to the Color attribute of an object’s material, you create a color map which describes the color of the object.
To learn more about how you can work with color, see Common surface material attributes.
Transparency maps
By mapping a texture to the Transparency attribute of an object’s material, you create a transparency map which lets you make parts of an object opaque, semi-transparent, or entirely transparent.
To learn more about how you can work with transparency, see Common surface material attributes.
Specular maps
By mapping a texture to the Specular attribute of an object’s material, you create a specular map which lets you describe how shine appears on objects (by controlling highlight).
To learn more about how you can work with highlight, see Common surface material Specular Shading attributes.
Reflection maps
By mapping a texture to the Reflected Color attribute of an object’s material, you create a reflection map which lets you describe how an object reflects its surroundings.
To learn more about how you can work with reflection, see True reflections.
Bump maps
By mapping a texture to the Bump attribute of an object’s material, you create a bump map which lets you add the illusion of surface bump detail to a surface.
0 notes
Text
texturing
the reason i wasn’t able to do texturing to my model was due to the time limit and it’s a long and difficult process and covid was a big problem for me since maya is not free to use and i don’t know if my computer could handle it
youtube
youtube
0 notes
Text
George hull
http://www.ghull.com/

his process is to look up on some research of the thing that resembles the spaceship that he wants to make and then he makes sketches of the ship and does little sketches of how it will work and look on the inside. i should of done a lot of stuff the he’s done as and this i were i could’ve improved on more
0 notes
Text
hugo martin
undefined
youtube
undefined
youtube
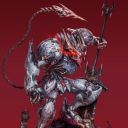
His work is really amazing and I love how his art style when he makes robots and make them look damaged
0 notes
Text
Other 3D Models
youtube
youtube
so looking at these i can see that their work is very good but compared to my work they did a lot of things that were different to what i did and they make it look easier than what it felt like for me because it was hard and difficult
0 notes
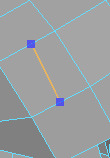
Text
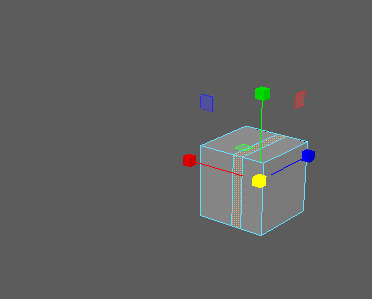
this is what happens when you use the multi-cut tool and then extrude the highlighted area
0 notes
Text
Media and techniques
Evaluative section on the media and techniques that were used and explored in your project. What did you learn? How did research help this? How did these techniques meet your proposal?
Most of my research on Gundam was done using Pinterest, Twitter, and concept books. I wanted to take it in a different direction than the traditional ideas and try to make them my own unique creations, expanding the ideas and concepts of how they work. By exploring other artists' work, I was able to see how they constructed their creatures and rig the model to look alive.
Using Maya to create my concepts, I learned that it was difficult to create my version of Gundums as I had planned. This caused a few setbacks. I found it difficult to manipulate the separate components of the items. However, by looking at it from a different perspective, I was able to surmount the issues encountered.
I have been told about Blender, specifically that it’s much smoother to use. I began to explore that, but ran into time issues and was not able to explore it further. I will however explore it on my own time and use it in my future projects.
Purpose / theme / concept
Evaluative section the thought processes and the way you solved problems. The creative journey and the decisions you made to meet the context and theme of your project. What did you need to change or explore to make sure you hit the themes of your proposal. Did you need to alter your idea or direction / outcome?
I had to change a few things. For instance, the head I had to change. Instead of going for an animalistic head, I made it a basic human head in Maya. I found it difficult to construct in Maya given the time constraints and my skill using the program.
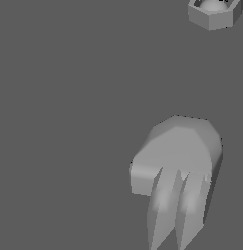
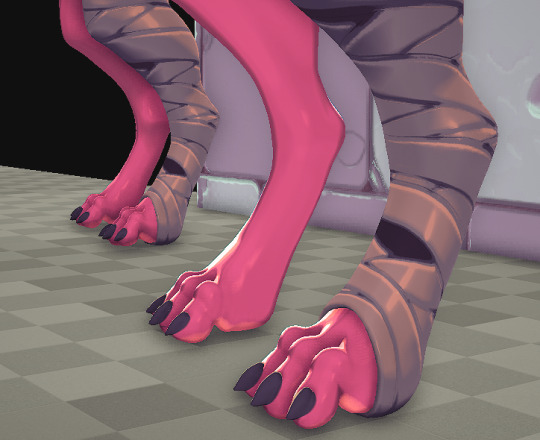
The feet were also an issue. The perspective of a foot in action was a concept I was unable to create, so I placed them flat. I wanted it to look like a wolf standing on its hind legs, but ended up placing a human head and feet flat on the floor for my final piece.
The tail was an issue as well. It would’ve taken hours to build and attach it to the model. I did not have the time I needed to create it for my final idea. My original idea was that the robotic exterior would detach exposing an animalistic creature. The final concept however ended up being more humanistic without any reference to the wolf-like creature I wanted.
Outcome
Evaluative section on the final product. Did you meet your expectations? Does your outcome fulfill the project that you set and meet your FMP brief?
The outcome of my project did go the way I intended it to but I could have done more if covid wasn’t around. It came out well enough that I'm happy with the final outcome.
Conclusion
Evaluative section on the processes of evaluation, feedback and peer assessment. On reflection how could you have improved your project and what could you have done to support the improvements needed. What have you learnt and what do you need to make sure you do next time to improve your project?
My time management could have been better. I did not have Maya at home, so I was constrained to complete whatever I could while at college. I was also lacking in skills to use Maya, which delayed me further.
If I had known how easy Blender was to use (and that it was free), I would have changed the software package I was using to complete my FMP. I would have accomplished more by working at home.
I have decided to download Blender to my home computer and use all my extra time to learn it. I will also get help on how it works by people who currently use it.
0 notes

Text
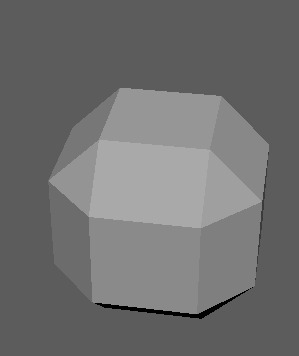
this is what happens to the shape when you use bevel and you can also add more divisions to your model
0 notes
Text
this is the multi-cut tool we use this to add more shapes to the model then we either
0 notes
Text
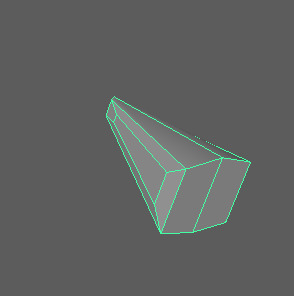
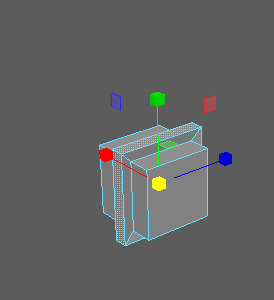
this is what the object looks like when extruded this is how you alter the object, this was super hard to get my head around it but i got used to it after a while
0 notes
Text
development
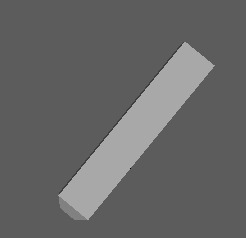
this was built from a square and then built up and made into a sort of armour for the model
i was using this as a joint for the model to be able to move and articulate
this is the bone structure if you can call it that but it was used to help keep the structure sound
for this i used a bunch of squares and combined them together and a few cylinder shapes to make them as joints
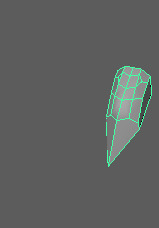
this was also made from a square and then i would extrude them over and over again and then make them into a point

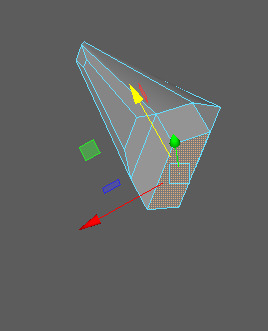
these are the tools that i have used to either click on the object or to change the shape and size of my object
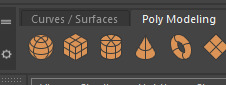
these are the selection of shapes that you can use to mess around with and make something new out of it
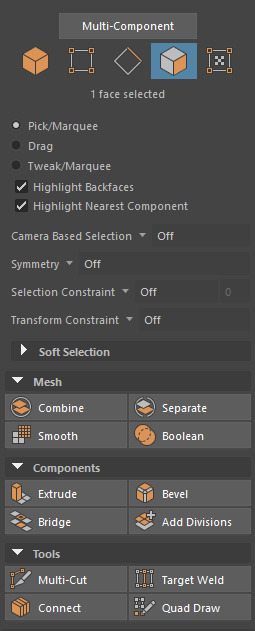
these are the tools that i use to either combine them or to bevel them to change the way it looks and functions
0 notes
Text
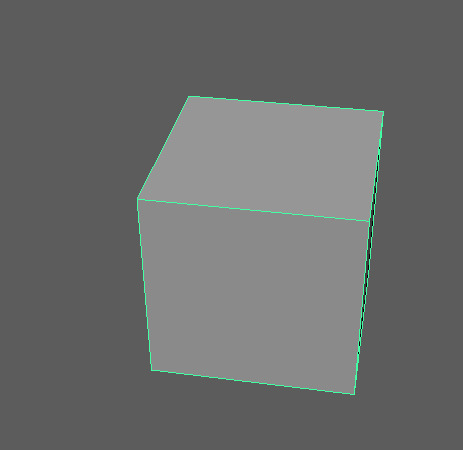
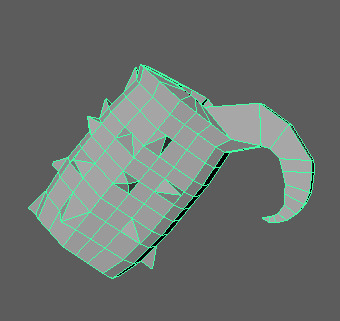
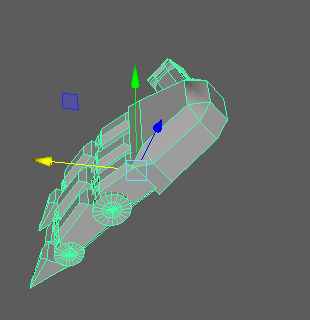
final looks on my FMP
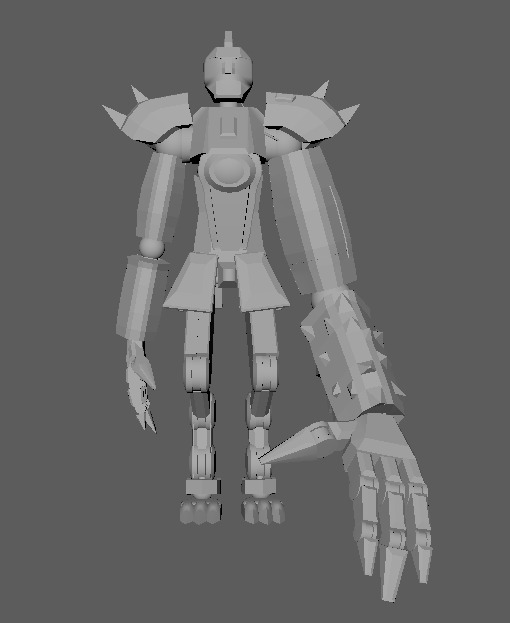
this is what my model looks like at the end of my FMP i wish i could of done a lot more but with the software that had at the time wasn’t going to cut it and the software i’m using isn’t free to use so that was going to make my development of my work a lot harder to complete
0 notes
Text
This person has a lot of good artwork and it is inspiring me to use blender
0 notes
Text
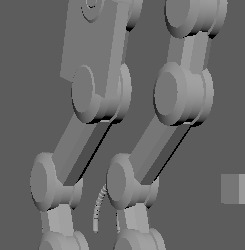
This is where is was where i started with the model and the legs were a hard thing to try and make at first and then built up for there the body was going to be hard at first mostly because I had to try and create my own body from the ground up.
0 notes
Text
real steel
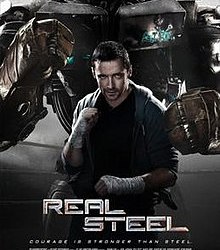
Real Steel is a 2011 American science fiction sports drama film starring Hugh Jackman and Dakota Goyo and co-produced and directed by Shawn Levy for DreamWorks Pictures. The film is based on the short story "Steel", written by Richard Matheson, which was originally published in the May 1956 edition of The Magazine of Fantasy & Science Fiction, and later adapted into a 1963 Twilight Zone episode. Real Steel was in development for several years before production began on June 24, 2010. Filming took place primarily in the U.S. state of Michigan. Animatronic robots were built for the film, and motion capture technology was used to depict the rodeo brawling of computer-generated robots and animatronics, respectively.
Real Steel was released by Touchstone Pictures in Australia on October 6, 2011, and in the United States and Canada on October 7, 2011,[7] grossing nearly $300 million at the box office. It received mixed reviews, with criticism for the formulaic nature of the plot and the fact that elements remained unresolved or were predictable, but also praise for the visual effects, action sequences and acting performances. The film was nominated for the Academy Award for Best Visual Effects at the 84th Academy Awards, but lost to Hugo.
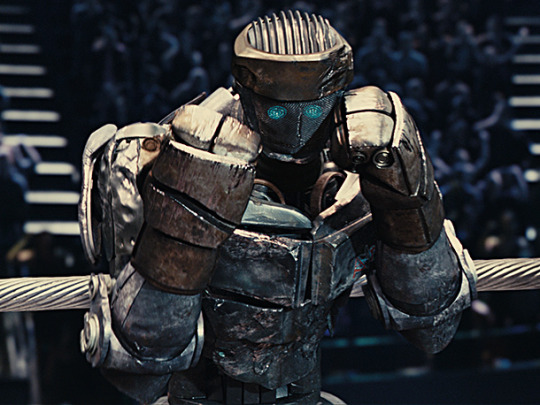
i like the style of the robots and the way they are used in the movie more for the fighting and boxing style that they use them for
1 note
·
View note