#even if the process is screaming and sliding sliders around til someone looks human again
Text
GGWM - Get Giffy With Me
I am not professing to be anything even remotely resembling good at giffing, but I got a little message from @thisautistic (hope you don't mind the @, bb! I'll remove if you prefer) asking about how I did my Jay Does Corporate Pride bold gays Ayan set. We quickly realised I can't do anything concisely, and so was born this idea.
All my secrets laid bare. Not that I consider anything here a secret. Go ahead and steal my methods. Steal them. Run with them. They're yours now.
Specifically, I'm going to talk about background isolation and boosting, here, but I'm gonna start a new gif from scratch and show the steps to getting there.
So, I have Photoshop 2020. Or 21. I don't really know. That's the only tool I'll be using, other than the empty cereal box I call a brain.
We're going from this to this. (These are very, very quick and dirty, but they're for demonstrative purposes.)
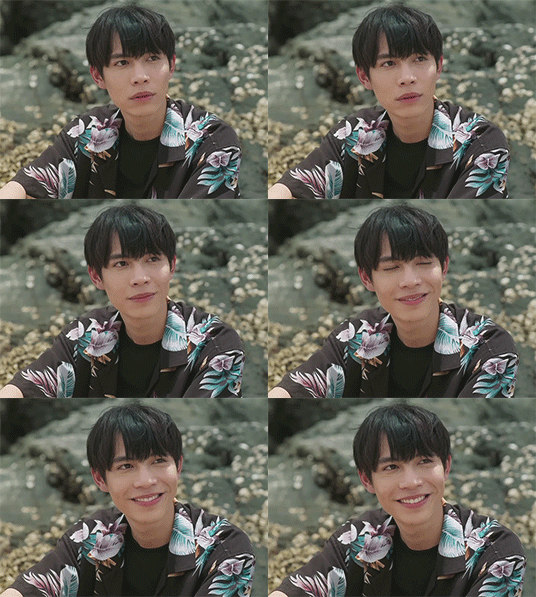

And this to this.
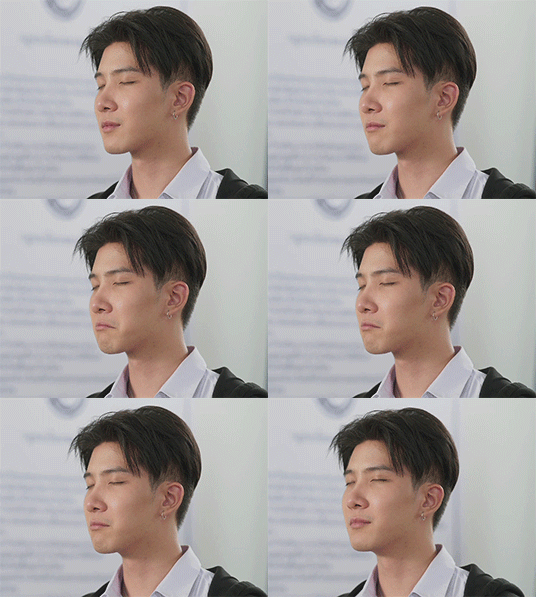
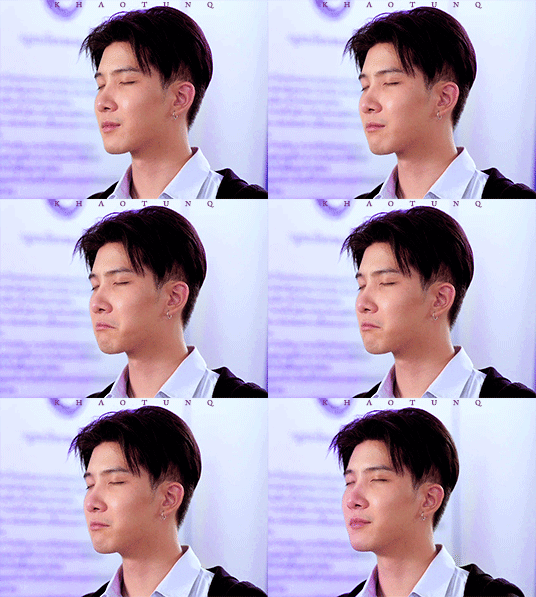
Annoyingly, I think I prefer the "bad" example, but anyway.
Fair warning: this post is exactly as chaotic as you'd expect it to be, considering it's me writing it and I wrote it in an hour... which includes the time spent making the gifs.
Are there easier ways? Probably.
Let's go!
1. CAP SELECTION.
I have the entirety of The Eclipse capped already, but you'll want to cap your scenes if you haven't already. I prefer working with caps rather than video clips - they both have pros and cons, and I can talk about that some other time if anyone wants me to.
I'm doing two gifs for this little tutorial-turned-dissertation - one that's easy peasy to colour for the purposes of Corporate Pride, and one that makes me want to consume my own elbows. For comparison, or something.
First thing to consider, is if the background is a feature, you want your subject to stay fucking still Kanaphan I swear to god.
You also want to pick something with fairly good contrast. I hate black/white and otherwise relatively neutral backgrounds because they're so difficult to make look natural, but something already predominantly coloured? Lemon squeezy, baby.
2. IDENTIFY COLOURS.
I've taken the easy route and picked green, which is almost always going to contrast nicely with skin tones and makes my life easier, and purple which I have many many issues with, but also contrasts.
Also, this step isn't massively important, it just helps. For example, I didn't know I was going to use green for the First gif until I boosted a bunch of colours and realised how green that rock face behind him is.
I tend to use my beloveds Selective Colour and Colour Balance rather than curves. I don't understand curves. I only use it if I have to lighten something.
3. QUICK AND DIRTY BASIC GIF TUTORIAL ft. my boy Pawin:
Timeline> Video Timeline> Add Media> put in your frames, change your frame delay. Boom, basic gif. Or, to get particularly meta... gif gif tutorial!
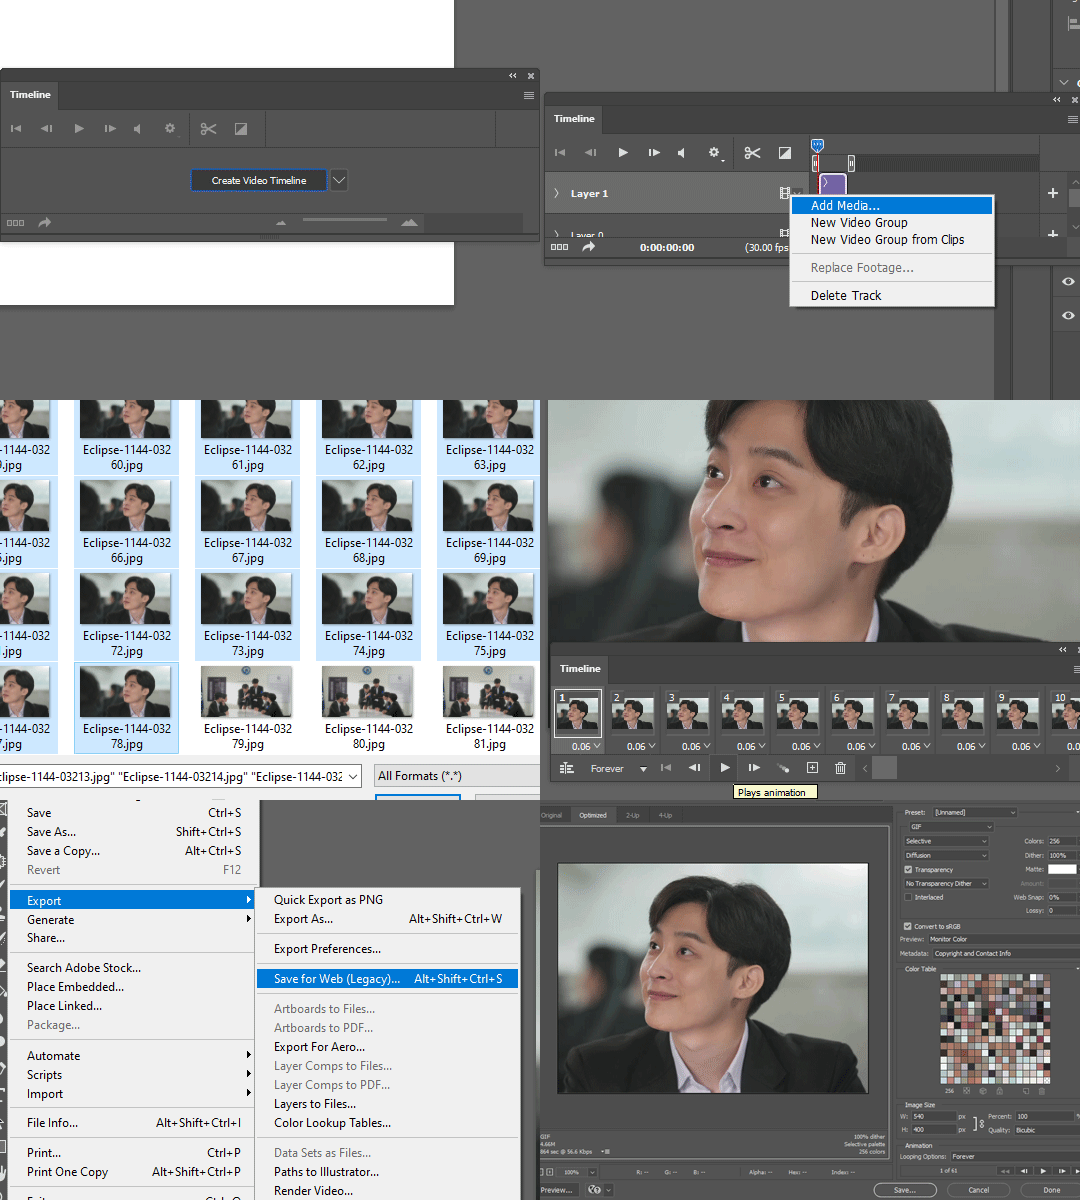

What a babe. 🥰
And no, I can't explain why he's here. I have two perfectly fucked up gifs to fuck up, but I chose to spend 60 seconds of my life making a Pawin gif just for this.
4. COLOURING!!!
Go nuts. But here's my process for the Akk gif in specific.
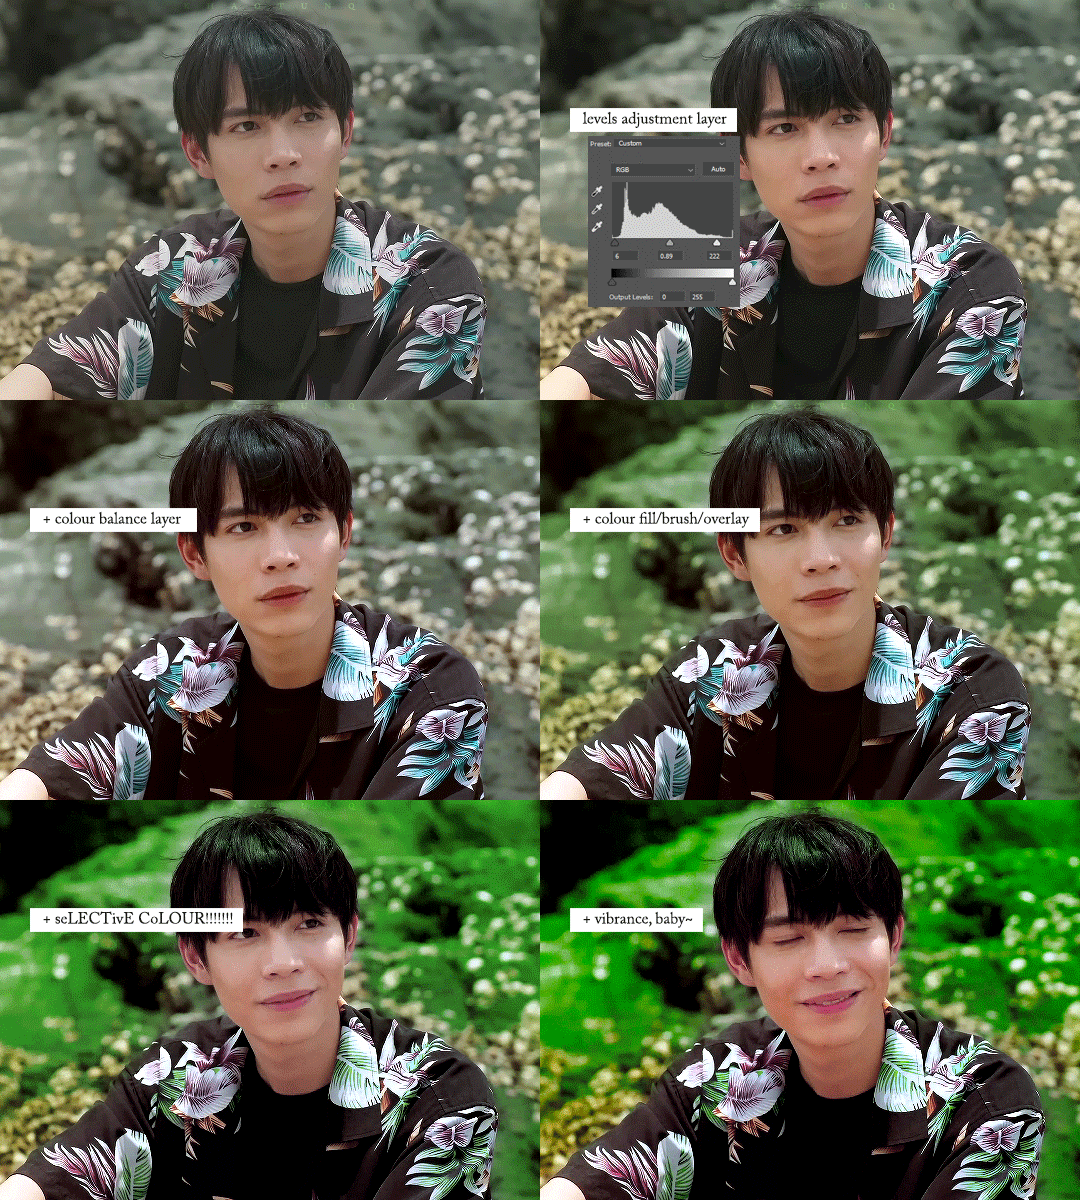
This tells you precisely nothing, but it was fun to make.
I have no idea how to share the specific settings other than to give you the .psd. So as soon as I figure that out, you can have it. I don't recommend using the psd for any and all gifs, because my approach to colouring is interpretive at best, but I really don't care all that much so. Do what you like. S'what I do.
Not included in this: cropping/resizing, my sharpening action, swearing about First, apologising to First, laughing at the fact I changed his shirt colour entirely, swearing at First some more, shrugging and saying, "That'll do."
5. COLOUR FILL / BRUSH / OVERLAY
So, all of this is for this one step.
Here I will demonstrate why white/neutral backgrounds can suck unless you're looking for that particular effect.
For something like the gifset I made, I wanted to punch people in the face with colour, so I had to use scenes with backgrounds I could lean on. In the Akk gif, I noticed the green after fucking around with the colour balance (I tend to boost shadows blue or red, then highlights cyans, but I've been known to go wacky. I leave mid tones alone... for the most part.) so that's what I decided to lean into. When I started this little ramble 500 years ago, I was originally planning on orange. How fickle fate is.
Anyway! I prefer using brushes rather than a full colour-fill layer, because I feel like it gives me greater control. I also prefer adding colour gradually rather than starting with a block. So, I use either a large soft brush at 50% opacity, or a watercolour brush at 100% because it's semi transparent anyway.
I'll use broad strokes - I ain't here for detail work. Set it to Overlay or Soft Light, whichever floats ya boat. And then rather than erase anything, I'll create a layer mask and, using the same brush, splodge it around til nobody's face is green.
And then on the off chance things are eye-burningly saturated by the time I finish other colouring things, I'll just go kill the opacity on the overall colour layer. Like seu~
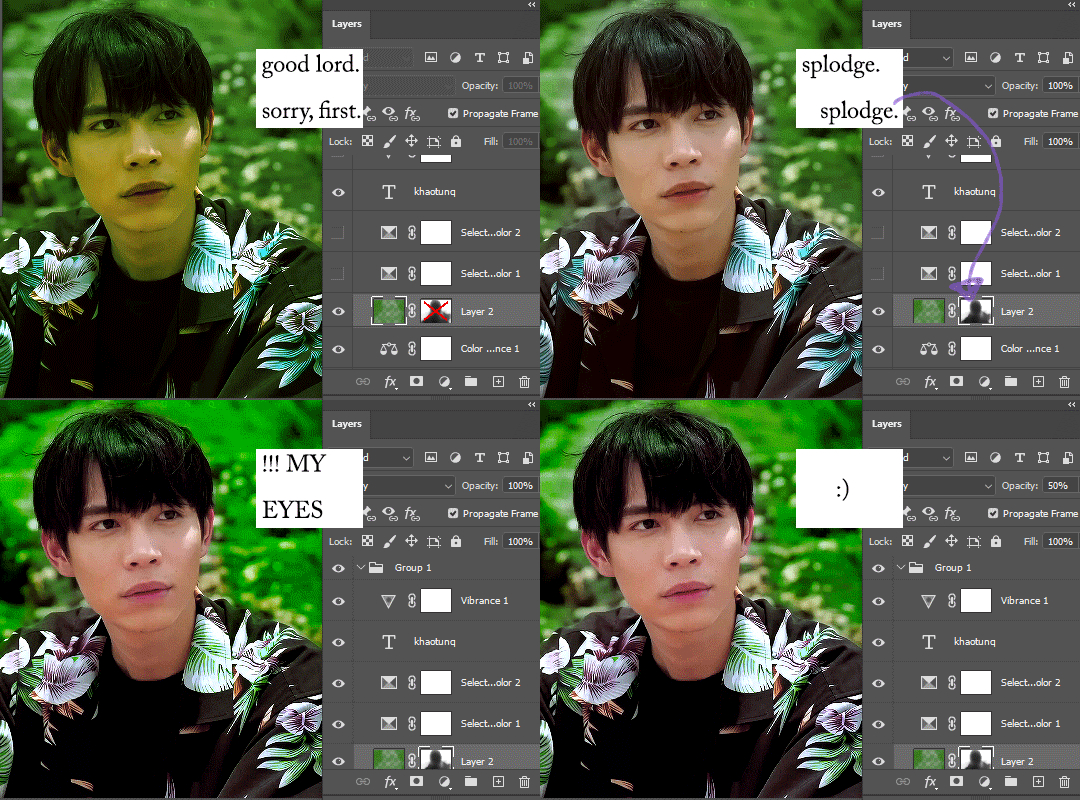
You have no idea the strength it's taking to not go back and redo this entire tutorial because I've taken too much yellow out of his skin and it's bugging the shit out of me.
This is a fake tutorial, Jay. Breathe.
TO KHAOTUNG!
I am man enough to admit I stole my own damn .psd for the other gif. I literally used the same settings other than futzing about with the neutral balance to try and get some kind of colour undertone.
This is the second gif with just the colouring, no additional fill or overlay:
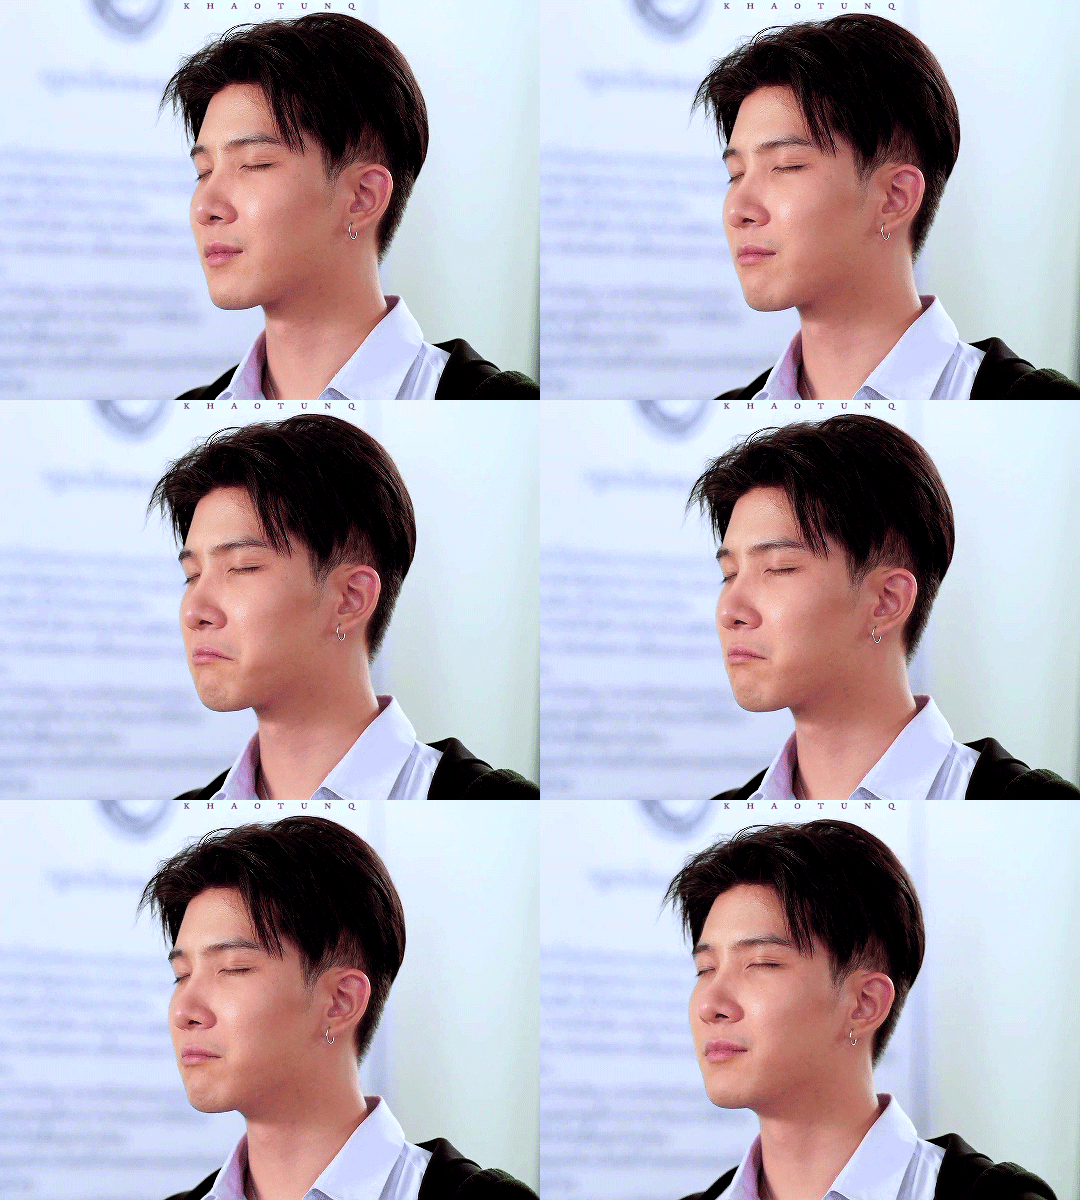
Isn't he pretty? Don't we love him? I love him. He's so asjdkfhg. Ugh.
Anyway. I figured there was sort of a blue/purple tone. Knowing what I do, I know it's gonna be way too pale for what I want, and he also moves quite far across the frame, so it's gonna be a pain in the arse if I want to go SUPER saturated with any colour background,but this is a demonstration and nothing more.

I could use Linear Burn instead of Overlay but I always get annoyed at it. Because I am a deeply rational person.
Anyway, the point of the above is to kind of show that sometimes u just gotta leave a massive puddle of colourlessness around someone's head if they're moving a lot. I've gotten away with it in this case because it's pale, but if I tried to put any further boost to the saturation, it'd look insane:
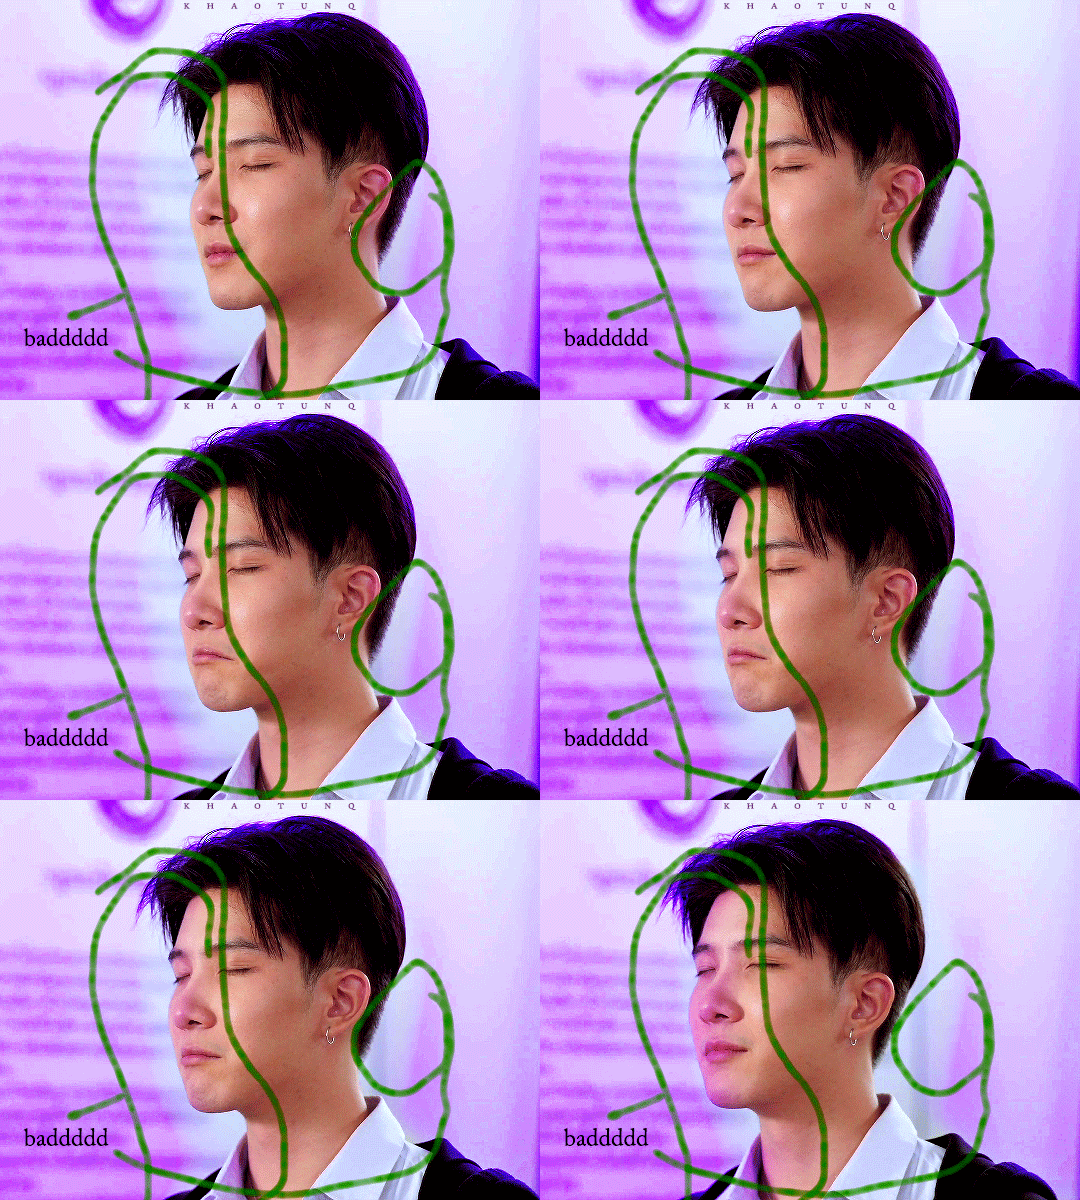
I HOPE THIS HELPS
I apologise for my incoherence. It makes sense to me. Which should worry us all.
Anyway, final gifs:
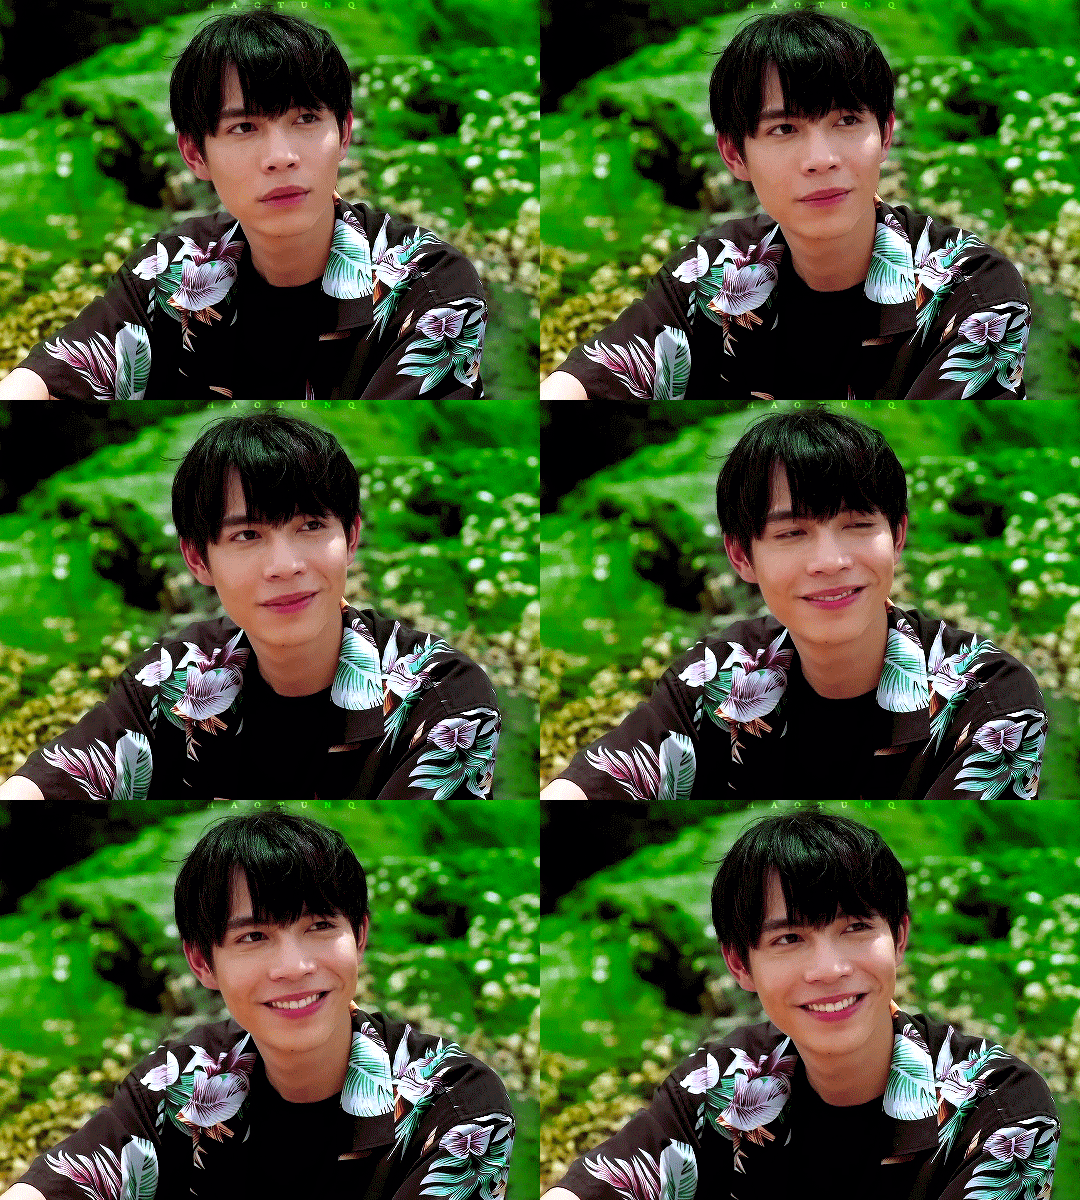

+
Rejects of my War On Purple, because I promised those. Notice how they're all white, black or neutral (dark brown/red) backgrounds? Rage.
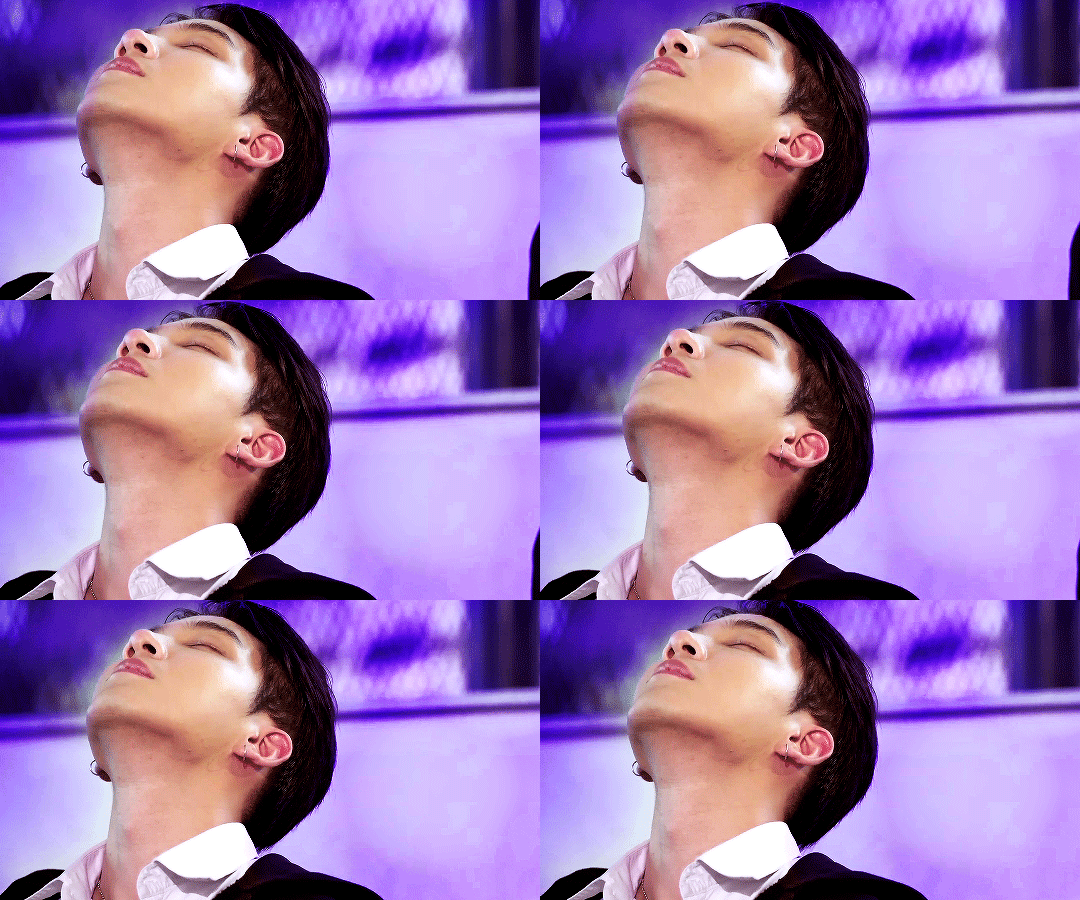

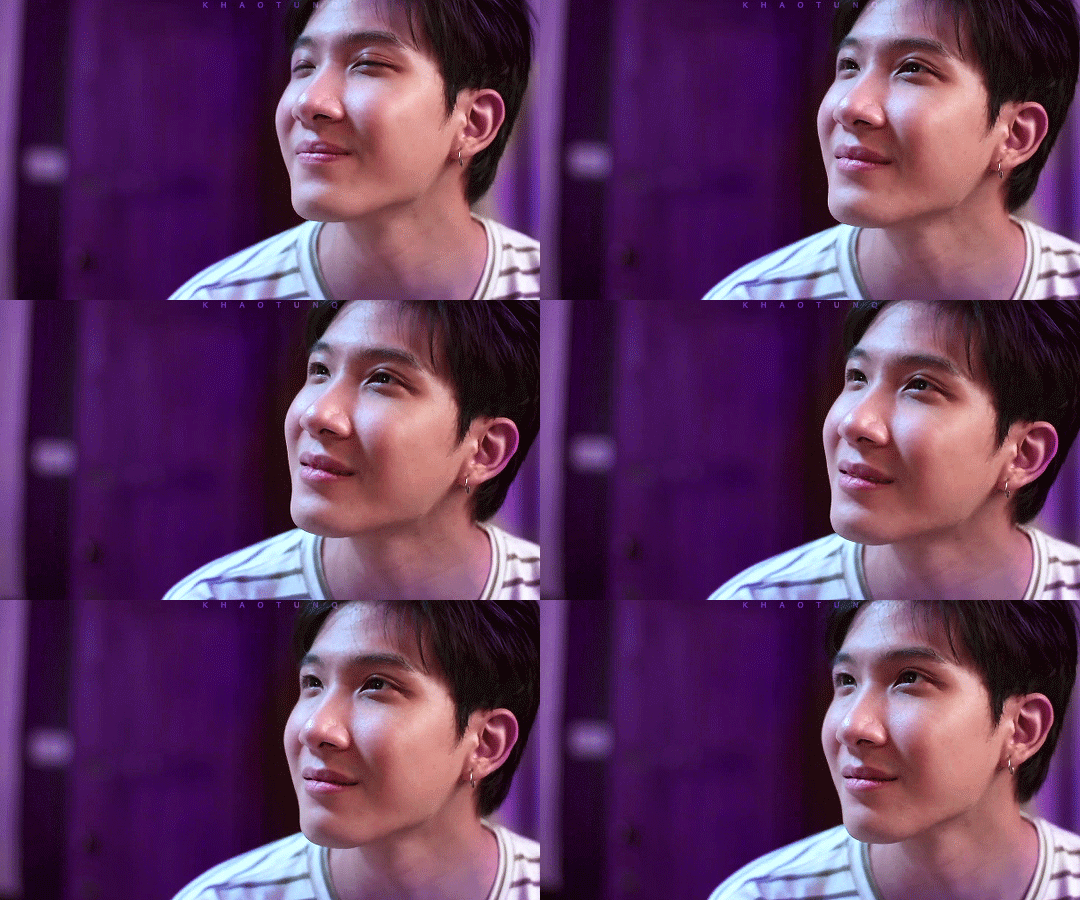
#i had far too much fun making this#it's entirely possible i'm slightly manic#i have no idea how to tag this#my gifs#i guess? i'm going to hate coming across this later but lmao#trust the process#even if the process is screaming and sliding sliders around til someone looks human again#adventures in gifmaking
11 notes
·
View notes