#inkcapjester tutorial
Explore tagged Tumblr posts
Visit Tumblr Blog
Explore Tumblr blogs with no restrictions, modern design and the best experience.
Last Seen Tumblr Blogs


Fun Fact
Tumblr has 16.74 million mobile monthly users in the US.
Note
Hello! I was wondering if you would think about posting tutorials or stuff like that! I really admire your art style, and there are a lot of things that you were capable of drawing that I and many others are not.
You don't have to respond to this if you don't want to, bye honestly I just need to know how you're able to draw a kiss and make it look natural or, certain poses with characters
You're just really talented and I admire your work! I would love to learn from you if you were inclined to teach💕
i typed this almost all out once and tumblr deleted it so here we go again 🥀🥀
OFCC!! this is so sweet 😭😭 I broke my process down into steps so hopefully it’s easier to understand. This is just a general tutorial, but if you’d like a more in depth one on something specific do let me know and I can try!! I am not a professional (yet) and only a student but I hope my tips can be useful!!
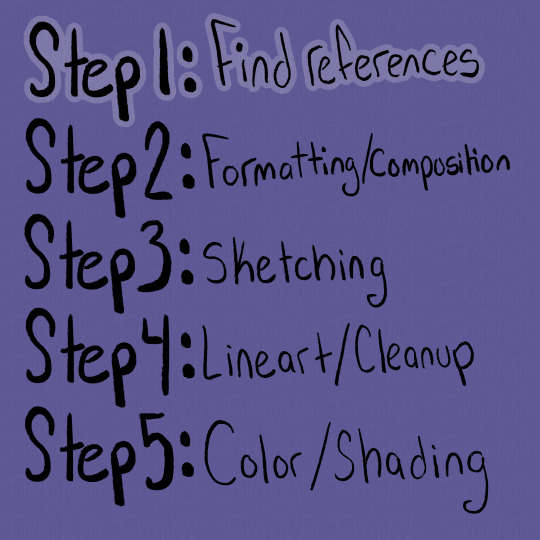
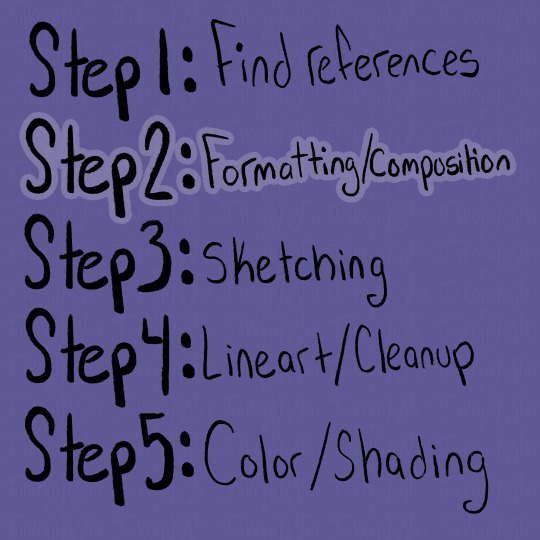
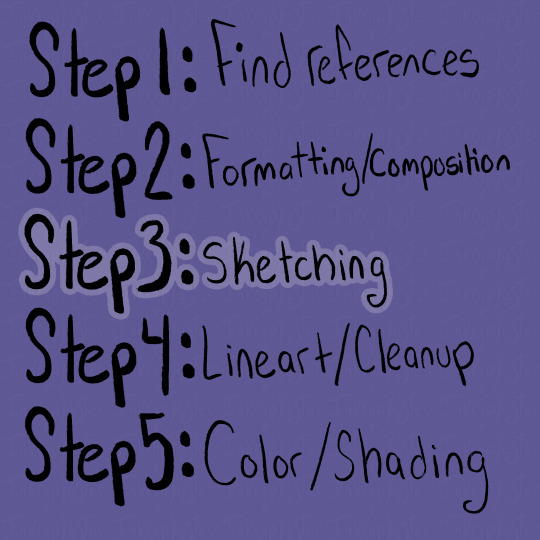
Step by Step tutorial + full speed-paint of my Cassius drawing below cut 💜

Using references has been something I’ve more recently gotten into the habit of, and by god I’ve improved so much because of it. Studio classes really forced me to get used to drawing from reference, and I’m glad I got that push.
For finding references, I usually use Pinterest, or I take my own photos (like for this cover image!! i couldn’t figure out the pose LMAO) For this tutorial, I’m going to be using my recent drawing of Lord Cassius from KotLC as examples of my steps. When I’m searching for references, I like to type phrases and emotions I associate with the character and see what it gives me. For Cassius, I literally searched “Judgmental facial expression man” as my beginning search LOL.
From there, if I’m not immediately finding pictures I want to use, I try finding one that’s within the realm of what I’m looking for, and then continue deep diving under the recommended pictures below the one I clicked on. I find this is a good way to more quickly get the specifics you want, and it’s something I love about Pinterest.
You can also combine images together to create a new pose if you’re not finding exactly what you want! I love hodge-podging pictures together to create my scenes.
Along with pose references, I also like to gather emotion/body language references. Sometimes it’s just looking at different aesthetics I’m going for, and sometimes, like when I’m drawing sokeefe, it’s looking at pictures of couples. I study their facial expressions, and how their bodies interact in a space together, compared to more platonic relationships. I also just think it’s fun to study human behavior lol.
An extra thing I do when find references is also look for clothing inspiration! Especially with fantasy works like KotLC, it’s sometimes hard for me to come up with fashion for them. I often really like taking random elements from a couple different pictures, putting them together to create an outfit, and unifying them through color!
Once I have gathered a bunch of references that I like, I sift through them and pick out the ones I think will go well together, both stylistically and composition-wise. I think it’s important to note that your drawings don’t have to be a 1:1 replica of the reference!! The pictures are there to guide your drawing, but not dictate it. Some parts of the picture I will reference a lot more heavily, often things I struggle with like hands, while things I’m more comfortable with like expressions I will stray from the reference a bit and give it my own flare.
Whether your making a drawing like the ones I will show below (of the multiple smaller drawings of Cassius all laid out on one spread) or more of a scene drawing, I find using the reference photos to roughly “sketch” out how I want the composition to look to be extremely helpful. Especially with digital art, using the images as a rough guide is easy to create multiple compositions to choose from.
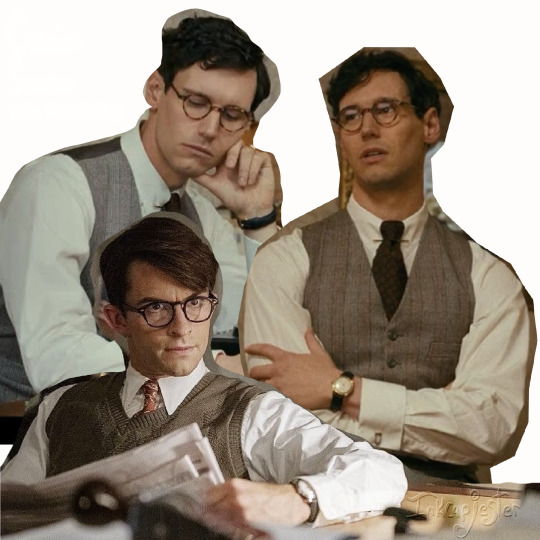
As you can see in this picture, I’ve cut out the backgrounds/parts of the reference photos that I don’t need, so I can better see what my composition will actually look like. I’ll have the full speed-paint of my Cassius drawing at the bottom of this post, and in that you can see briefly at the beginning me cutting apart and piecing together a bunch of images, until I landed on this layout.
When actually laying out the images, I always have in mind the viewer’s eye. I want to guide the viewer through the drawing, giving them lots of entertainment while not being an overwhelming amount of information.
When it comes to sketching, I have a lot of different approaches that I use, depending on the time I have and what I need to draw. Most of the time, I lightly trace over the reference image, blocking out any large and important shapes. This makes it a lot easier for my brain to understand and replicate. When I’m tracing, I also like to mark where certain features are, like the nose and eyes, along with the curves of the shapes. That is especially important on the face.
I like to turn the reference off, or put it in another window, bring my traced shapes to the left side, then begin my own drawing on the right. At first, I focus on making sure the proportions are correct and the shapes match. After that, I go back over and adjust the sketch to my style, and the characteristics of whoever I’m drawing. Often the reference image’s face/body will look different from the character, so it’s important to understand the fundamental shapes of the body, and how they are interacting, rather than just copying the image straight up. Here are some examples below from the speed-paint 👇


If I’m feeling stuck and like something doesn’t look right, I’ll hover my drawing over the tracing, and sometimes over the reference to see what is not lining up. Then putting it back off to the side and working on that section. I also flip the canvas a lot, to help my eyes not get too used to my drawing.
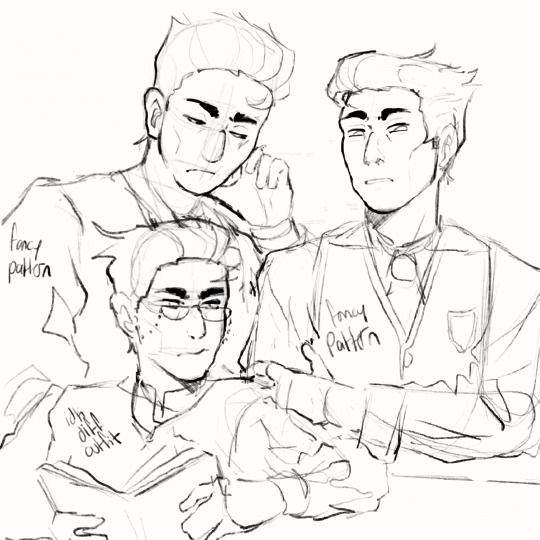
I keep repeating that process until all of my images are sketched out in my style and look like the character I want. I’ll also leave notes for myself to remember details I need to add when I’m closer to being done, and don’t want to draw LOL
Also note that some people’s sketches are incredibly neat and thought out, while others’ (like me) opt for figuring out the details in the later stages. Either way works, it’s kinda just what works for you. What sketches need to have are solid fundamentals, and if that’s looking good, then you’re set.
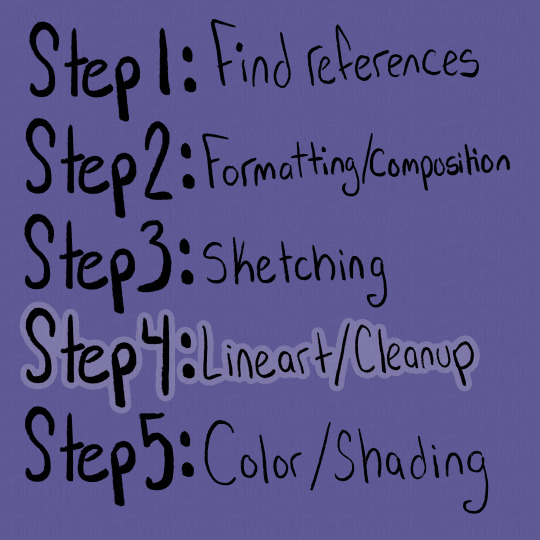
I looooovvveee line art /gen and i know a lot of people don’t which makes me sad 🥀
I get it, it can be tedious, but I really do enjoy bringing my drawing to life and finding all the details I want to add. I used to really struggle with my lineart feeling very stiff compared to my sketch, and it took me a long while to learn how to keep the vibe of the sketch in my final drawing. I’m not always as successful as I want to be, but that’s okay, my goal is to keep learning not to be perfect.
I’ve found that utilizing line weight helps that problem a lottt. Also just having fun with your lines, like in the sketching stage. When I was younger I remember doing line art and needing every.single.pixel to be perfect, and it really sucked all the fun out of it. There are tons of different ways to do line art, and something that helped me get out of that perfectionist mindset was just looking at artists I admired. I studied their speed-paints, what kinda of brushes they used, and how they used line in their line art.
A lot of them had more expressive strokes than I realized, often using the weight of lines to exaggerate the drawing.
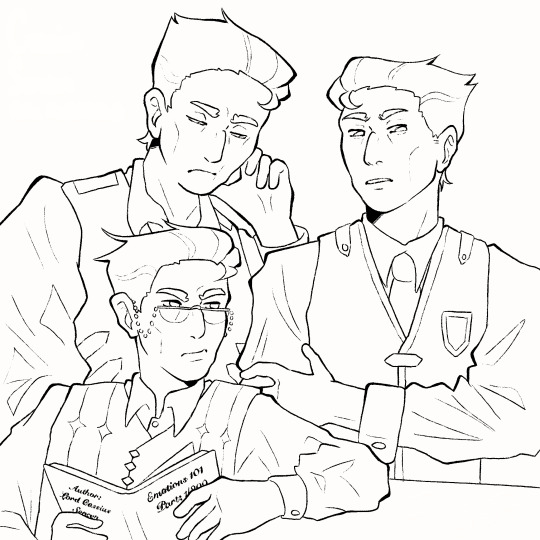
The line art doesn’t need to be out-of-this-world to be good. I like using a textured brush, with lines that connect for the most part. I try to put heavier lines on places of emphasis, like the outlines, folds, points, and where lines connect. Usually, the smaller or softer the details, the lighter and thinner the lines.
It took me a long time to find a style of line art that I really enjoyed, and even now sometimes I switch between brushes. Something that art school taught was how important play is. Even just messing around with brushes helped me find how I liked to draw. All of the brushes I use I've found for completely free on Gumroad. If you're ever curious what I use I'd be happy to make a post about it!

Color!!! This is one of my favorite steps, and also the one I find most frustrating. I absolutely love color theory and tweaking colors to look completely different than reality, and it sometimes bites me in the butt lol. Recently I've gotten a lot better with base colors, and I always try to set the background to a mid-tone grey instead of blaring white. I tend to favor saturated yet darkish colors if that makes sense.

The grey background allows the colors to not have to fight so much to be seen against a white background, and also helps me keep my values in check. I'm always thinking about readability in terms of value as well as saturation when I'm coloring.

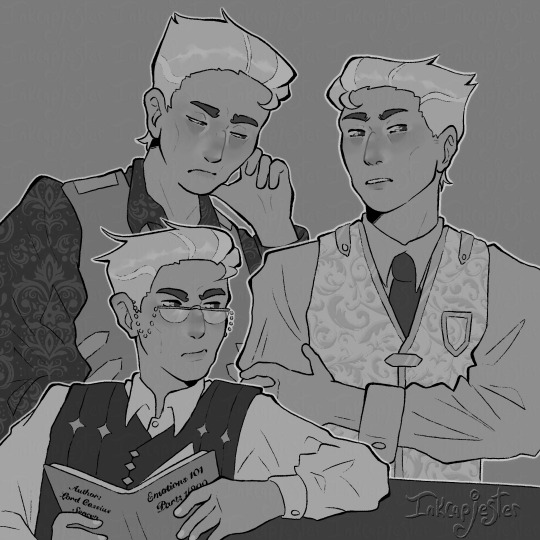

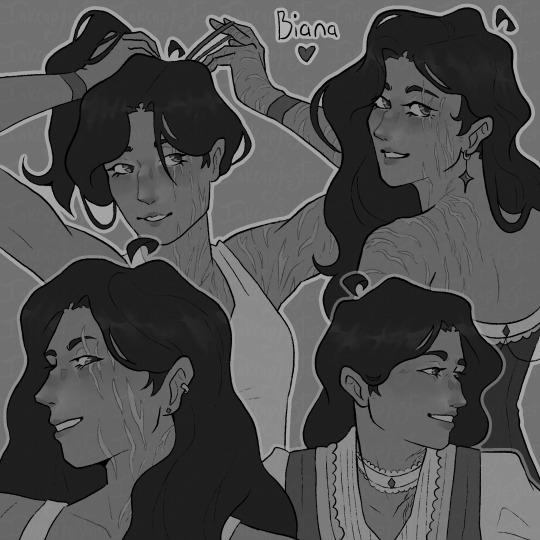
I always check my values by having a layer above all others filled with white and set to the blending mode saturation. I want the main points of the character to be distinguishable and easy to read, especially from a distance or if you squint. This is why I kinda hate drawing blond characters because it is a lot more difficult to find values of a light skin tone and light hair that are different enough without it looking insane. Some areas I succeed more in terms of "value readability" and some are weaker. Not every single color needs to have extremely different values, but the composition needs to include large areas of varying value. I also use value in my colors to frame things I want to emphasize, like Biana's face in front of her dark hair.
You can also frame pieces of a drawing with the actual colors, like in my Cassius drawing, I wanted the drawing in the foreground to stand out, so I used tints and shades of blue for the outfit behind him. Blues and yellows often go well together, and it gave me a nice opportunity to bring him even more forward.
When it comes to actually choosing colors, I like to chose a color palette for that character ahead of time. I also limit my use of different colors and tones both as a challenge and to make my pieces more cohesive. I love reusing colors, like the whites of a character's eyes being the same as their clothes.
For Cassius, I knew I wanted his palette to be primary golds, whites and blues. White can be a particularly difficult color to make, because it depends so heavily on its environment to exist. This is why I usually chose the brightest white and the skin color first. I absolutely need the white to pop and I need the skin to look alive and well, so those two colors take the highest importance for me. For each character's white, I take a look at the color palette I assigned them, and try a few different kinds of white alongside the skin tone. I try giving them cool and warm undertones that correspond with their color palettes, then chose the combinations I like the best. I always try to master a few colors together at a time. Trying to get all of the colors to work together all at once is overwhelming to me, and often leaves my drawings looking messy.
I know a lot of artists that fill the inside of their character with a base color that they want to tie all the other colors back to, and I've heard that works great too! Color is really something that you learn through play and experimentation. It took me a very long time to get a good grip on it, and even now I stumble sometimes trying to wrangle my colors. Sometimes just going back to the basic color wheel is what helps me get back on track.
The most important thing about color is just that they always exist in context. Take them out of that context, and they can look completely different, like in my example below ^.^ This is a very extreme version of what I would use for a white, but I thought it was a good way to show just how different something reads when its against a different color/value.
As for shading, I've been trying a lot of different techniques lately. I'm in-between shading styles right now, so I'm still trying to figure myself out too!! I do love using masks for shading though. I use them in my more simple/cel-shading, and for when I'm rendering.

The masks have been deleted by this point and I can't pull them from the speed paint :< but these layers I have highlighted came from the same mask. Basically, I make a clipping layer clipped onto the base colors, and fill the entire layer with whatever I want to shade with. Usually I use the layer mode multiply, and set the opacity down to whatever I want. After that, I make a mask of that clipped layer, and use the mask to carve out where I want the light. I like using masks because it lets me mess with opacity without messing with the layer's over all opacity.
After I'm satisfied with what I've carved out, I merge the mask and shading layer. Then, I select the contents of the shading layer, invert that selection, make a new layer, and fill the inverted selection with my lighting color. Then I mess around with blending modes and opacities till I get it how I want it!
If that was confusing I can always go more in-depth about it :] That and anything else that I maybe didn't explain well enough!! I love talking about this stuff and art in general (it's my major for a reason LOL) so please don't hesitate to ask!!!
Here is the Cassius speed-paint as well!!
#digital art#digital artist#artists on tumblr#digital illustration#art tutorial#tutorial#digital art tutorial#small artist#inkcapjester tutorial#inkcapjester
37 notes
·
View notes
Text
hey guys i had so much fun making my drawing tutorial, so if you have any other specific art things yall want me to talk about id be happy to make more tutorials!! i love yapping about art !!!! (obviously, its my major for a reason)

15 notes
·
View notes