#oH. IT WAS ABOUT CHANGING THE IN-PROGRESS COLORED OUTLINES TO BLACK LOL. GOT IT WOO
Text
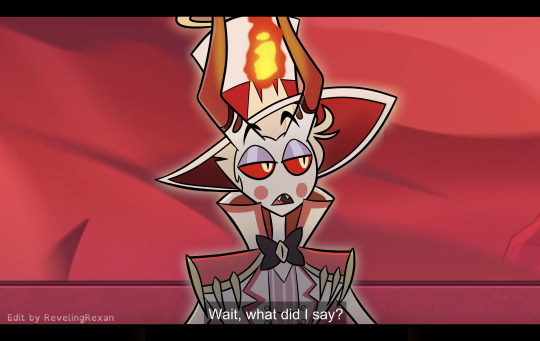

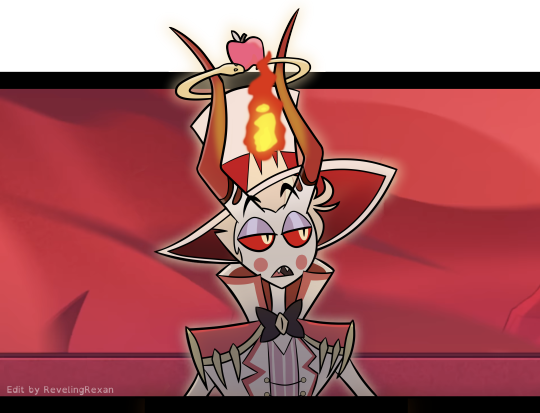
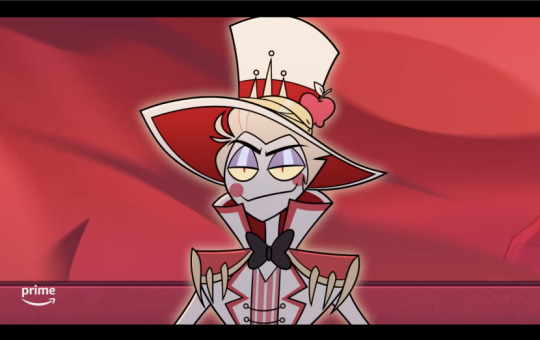
a silly screenshot edit i made of one of my favorite moments :)
...because i organized my bank accounts and wanted to give one of my cards a special cover!!
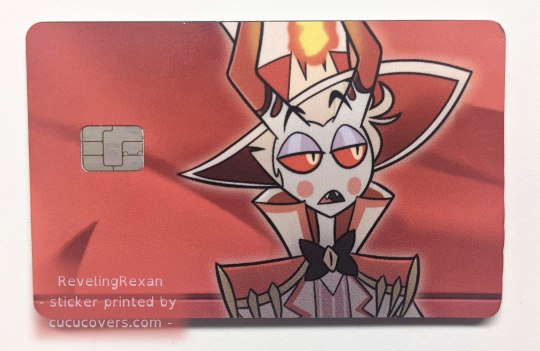
a brief note about applying the sticker to the card:
the directions said to line up the sticker to the opening for the chip, but it went better for me when i lined the sticker up to one of the long sides of the card. (but of course make sure the sticker would be in the right part for the chip)
bonus behind the scenes on my making the pic under the cut :)
_____

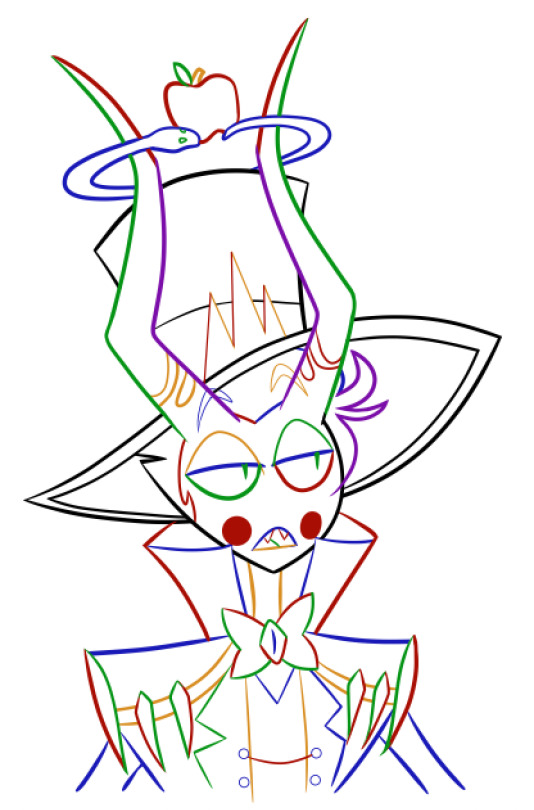
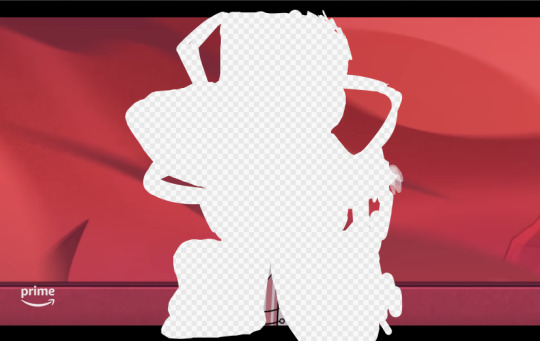
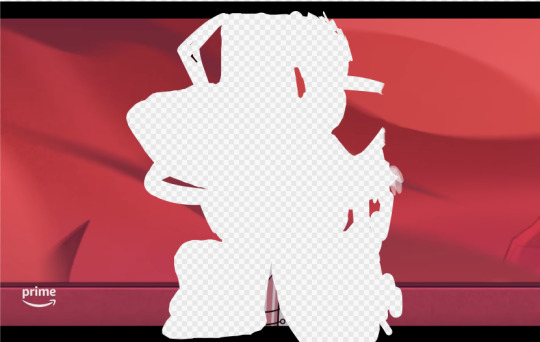
i tend to make several lineart layers when doing REALLY CLEAN lineart so i can more easily erase overlapping lines. (the first screenshot has lines that "overshoot" because that gives nice sharp corners and line width variety, but i need to erase the extra parts of the lines)
(i like these screenshots because Lucifer looks extra clowny with the outlines' colorfulness)
i realized on this project, since the final lineart is just going to be black anyway, that i can use different colors for each layer and then LATER make the lineart black. (realized it after already making some lineart, so you see some black here) that way, i can easily know what layer everything's on, instead of going through a bunch of layers and clicking them off and on to find a specific part

SO, RIGHT. VERY EASY TO THEN GET BLACK OUTLINES: JUST SET BRIGHTNESS TO ZERO. i usually use a program called FireAlpaca, and the way you do that there is: Filter > Hue… > drag the Brightness cursor all the way to the left

in this screenshot, you can see some of the effects i added to Lucifer to give him the nice shadowed look that Hazbin Hotel has, as well as where i covered Charlie at the tip of Lucifer's hat lol
i included my layers on the right of the screenshot to show how i set up the outline layers in the final version: as you saw above, i named my outline layers with the color used for them, then, once i was done with the outline, i placed the "outline before color change" folder above the base black "outline" folder. that way, if i later notice a mistake, i can simply turn on the colored outline folder and i'll see what color that part of the outline is and jump to the necessary layer, rather than going on a quest turning off and on a bunch of layers each time
since i duplicated my outline folder before changing the outlines in one of them to black, the base outline folder already has the color names included in the layer names
NOT ALL DIGITAL ARTISTS USE AS MANY LAYERS AS I DO LOL. I GO WILD WITH THEM SOMETIMES. MANY OF MY PROJECTS HAVE WAY MORE THAN 80 OR EVEN 500 LAYERS. people just tend to figure out what works for them. i wouldn't be surprised if i end up using fewer layers in the future. or a lot more. or go either way depending on the project
so, yeah, this is a screenshot edit, so i traced the main part of Lucifer's body. for the background, i used two screenshots. had to cut together and cover some stuff. here's the two screenshots unedited followed by a scribbled version to make things work lol and then the scribbled version that includes some extra touch ups/covers

and some screenshots i took while working on this, when i unexpectedly got some cool-looking versions :3 first one reminded me of Day of the Dead looks (he DOES need to be more colorful to be more accurate) and the second is just rad


ANYWAY probably the most helpful thing to most people would be the colored outline thing talked about at the start lol, the stuff i bolded. that was IMMENSELY useful and i love black outlines more than ever XD
#hazbin hotel#hazbin lucifer#lucifer morningstar#hazbin hotel lucifer#screenshot edit#i feel like there's something else i wanted to mention under the cut but i'm forgetting lol#oH. IT WAS ABOUT CHANGING THE IN-PROGRESS COLORED OUTLINES TO BLACK LOL. GOT IT WOO#rexan's art#i got the sticker like two months ago and i STILL sometimes take my card out only to look at it XD#one of my best purchases ever lol#(it was about $15 in the U.S. and that includes shipping. i really wanted a Lucifer card)#(so worth it)
59 notes
·
View notes
Last Seen Blogs

apparelsbyfashionnest
Untitled

sato-asami-blog
Nothing about nothing

mtinfobits
Mt Infobits

mandenmoviereview-blog
Man Den Movie Review
gtaradi
Medjimurje.info