#part2tutorial
Explore tagged Tumblr posts
Visit Tumblr Blog
Explore Tumblr blogs with no restrictions, modern design and the best experience.
Last Seen Tumblr Blogs


Fun Fact
25% of US internet users with an annual income of $80-100K use Tumblr.
Text
Elsa wig tutorial pt 2
Lets spike it like its the 90's and we have no regrets.
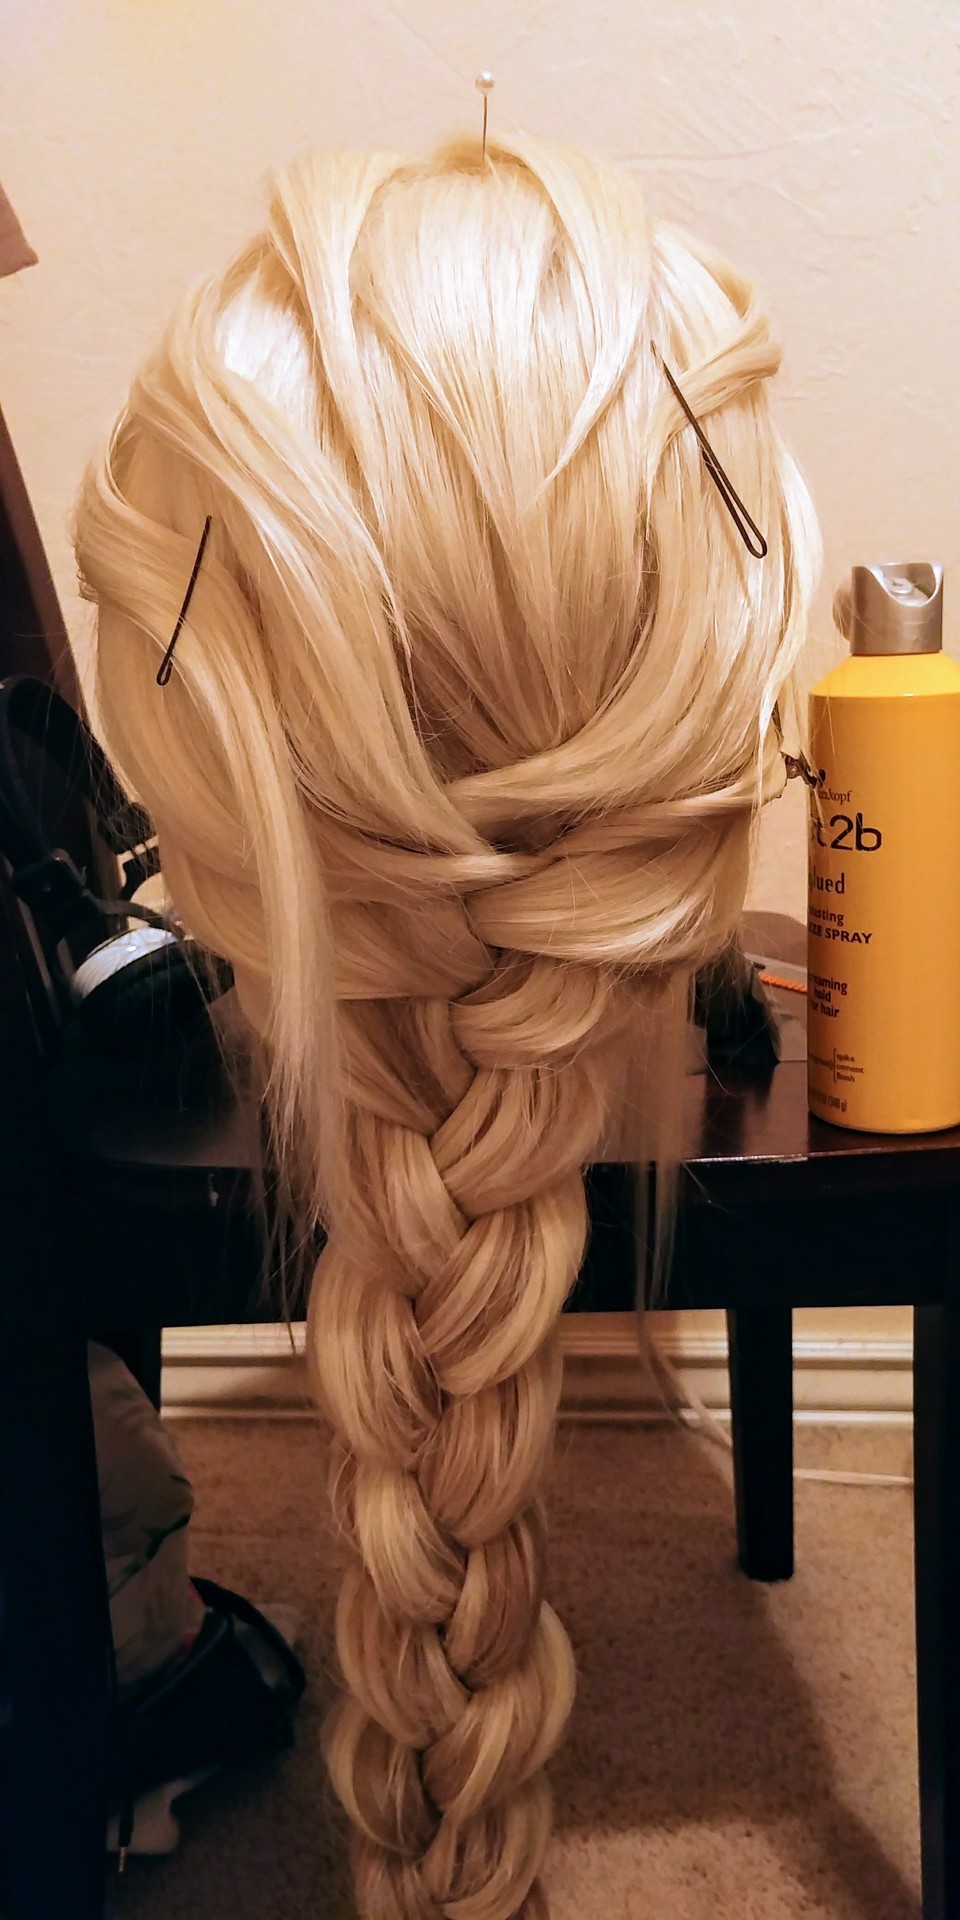
I went through and devoted three layers to her spikes. One on top and two for the bottom to make it look more layered. The wig itself had A LOT of short wefts that didn't make it into my braid. This translates well to styling Elsa's titanium chrome dome. Spiking is so easy compared to braiding. Back brush the base, blast it with that hair spray and then pin to dry.

For added umpf you could curl the base of the spikes but I was too lazy at this point for that. I let the full back layer set up overnight.
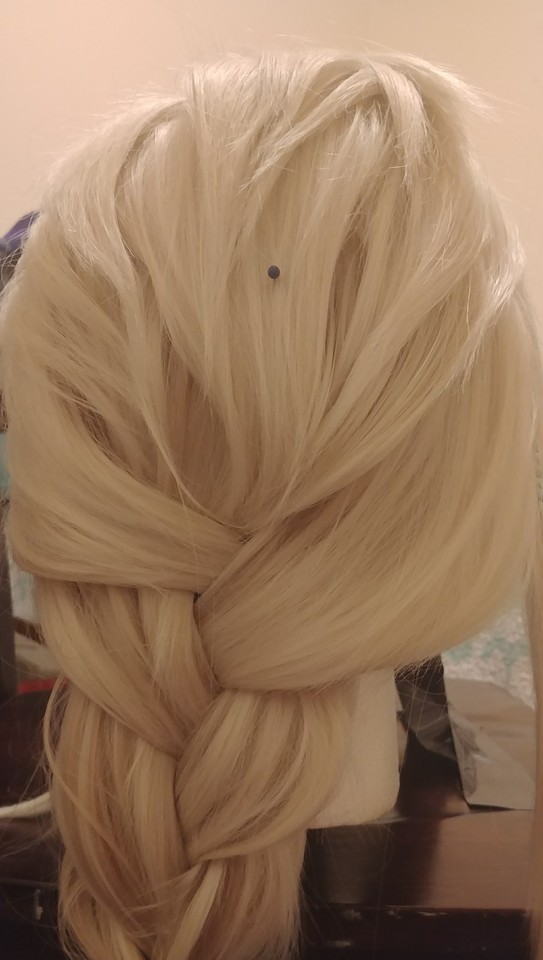

The blue pin marks the middle line from her widows peak to the Back of the wig. It was a reference point I needed while spiking.
Next came managing her magical side burns.
This wig had very long sideburns. Back brush + blasted the hair spray like no tomorrow to get them to stay up. Tapper them into wisps at the ends was challenging.


Tip: don't misplace your hair scissors.
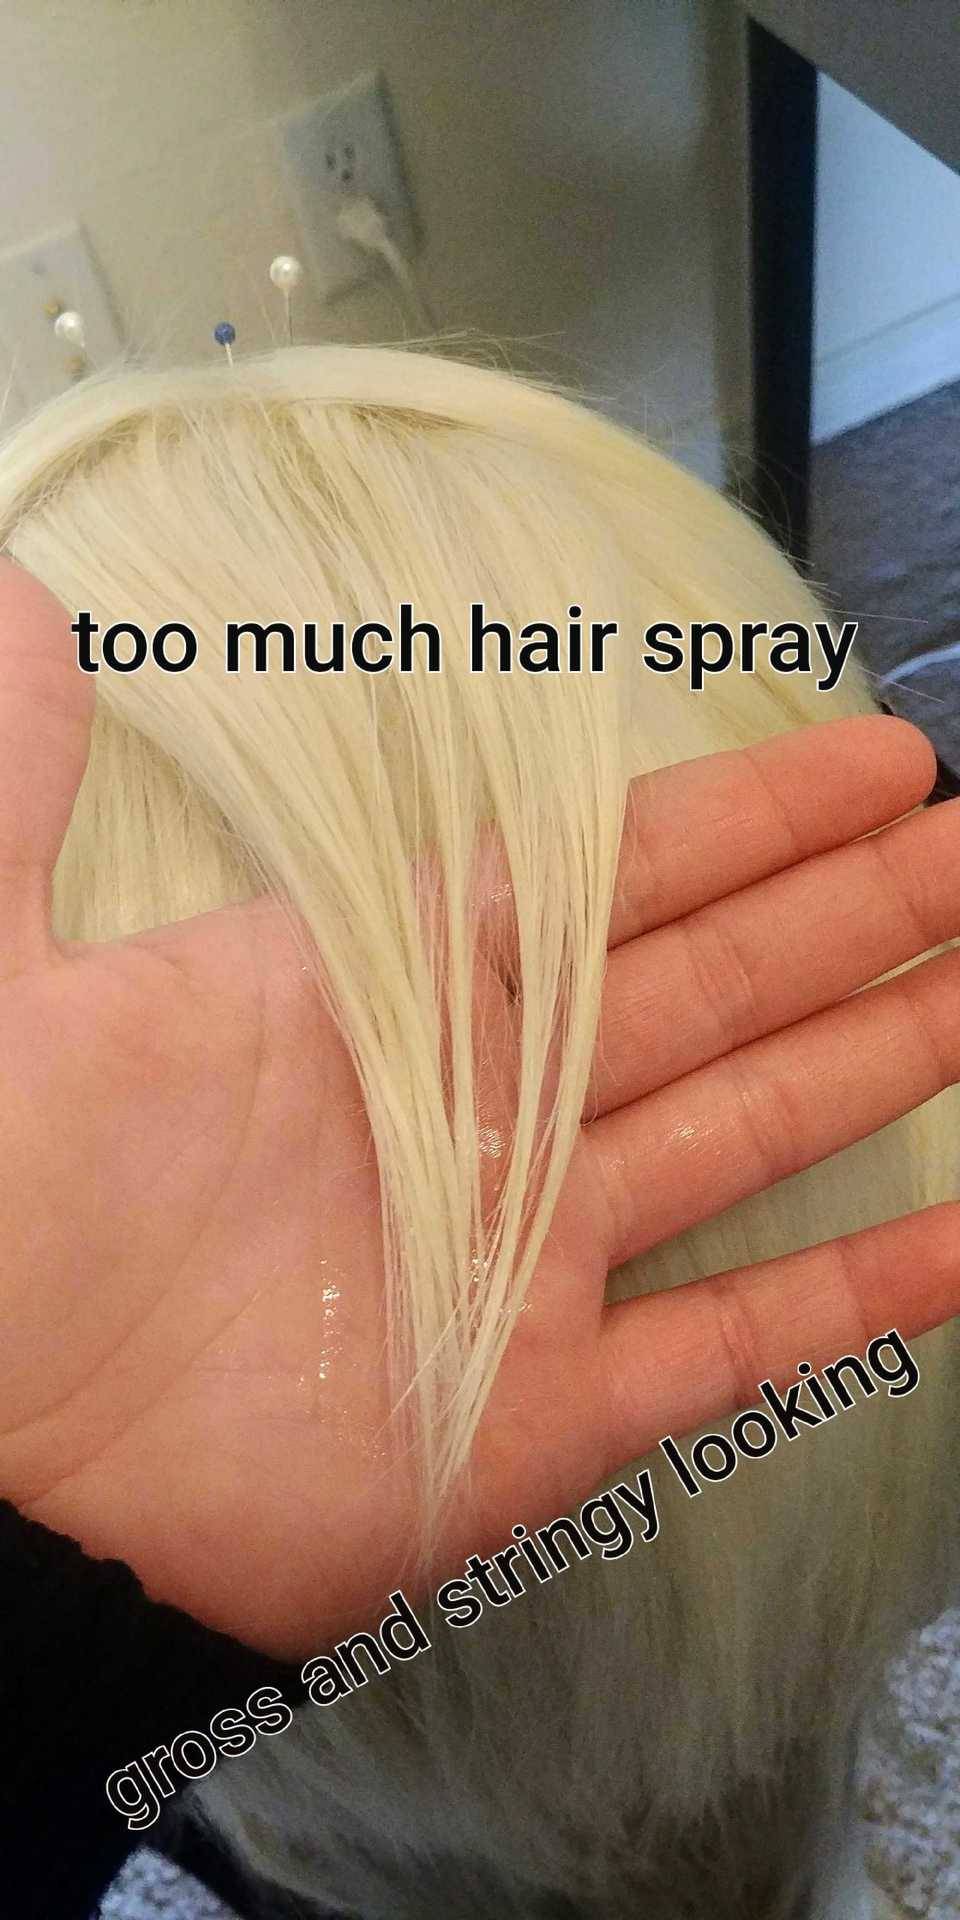
And last tip is don't actually blast the wig until the wefts look like spaghetti noodles. If that happens grab a damp rag and gently run it of the fibers to take some spray out. Let it dry and then restyle.
(I'm very sorry for some of the photos. My mistake taking pale blonde wig shots in a yellow room with varying sunlight :I )
#elsa#elsacosplay#queen elsa#cosplay#cosplaytutorial#tutorial#wigcosplay#wigtutorial#wig#wigstyling#part2tutorial#i did a thing#i did my best#i did this to myself#i did it#let it go#let it flow#let it snow#let it all out
34 notes
·
View notes