#so I played around a bit with blurring/color editing/vignettes to try making it look a little better
Text
I am briefly interrupting my break to report that I got the Menzoberranzan boxed set today! And it's full of all kinds of absolutely amazing goodies I can't wait to show off.
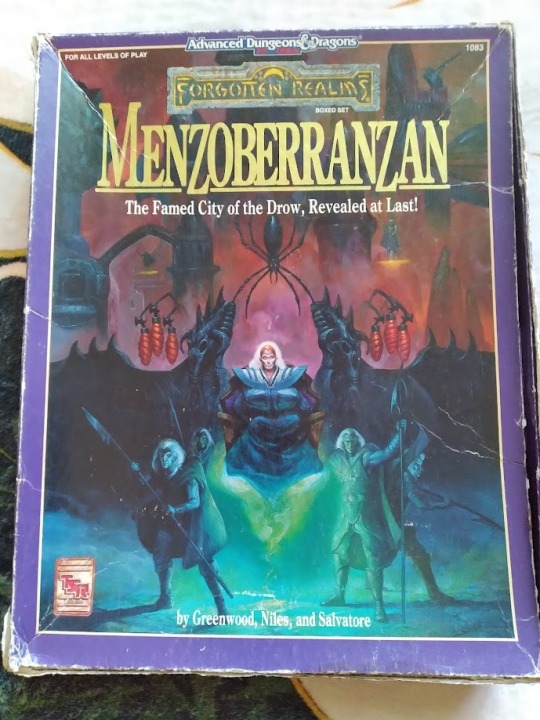

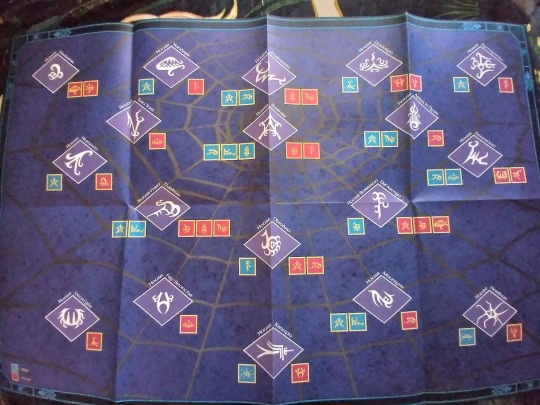
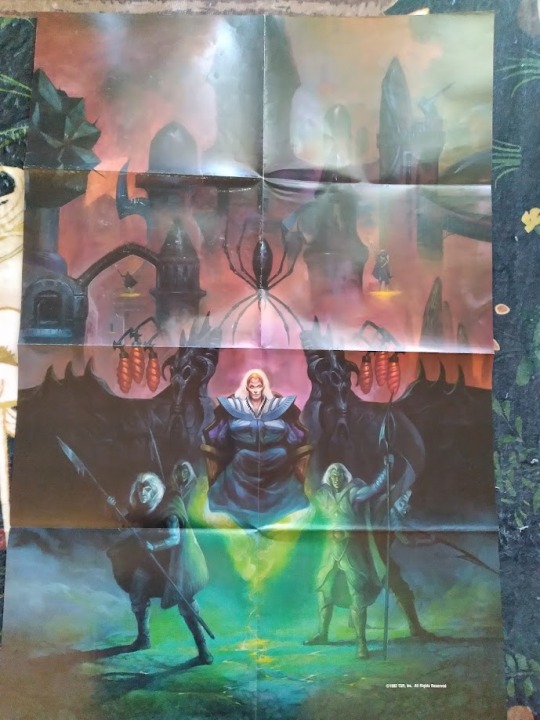
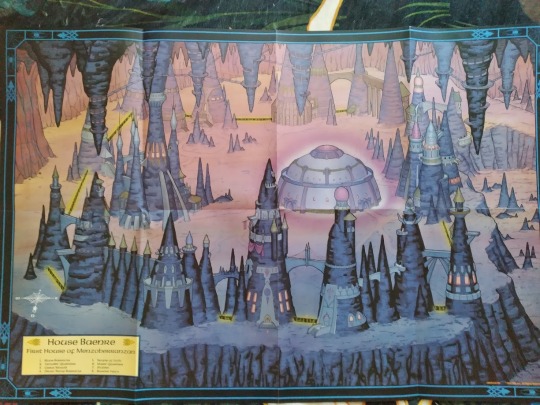

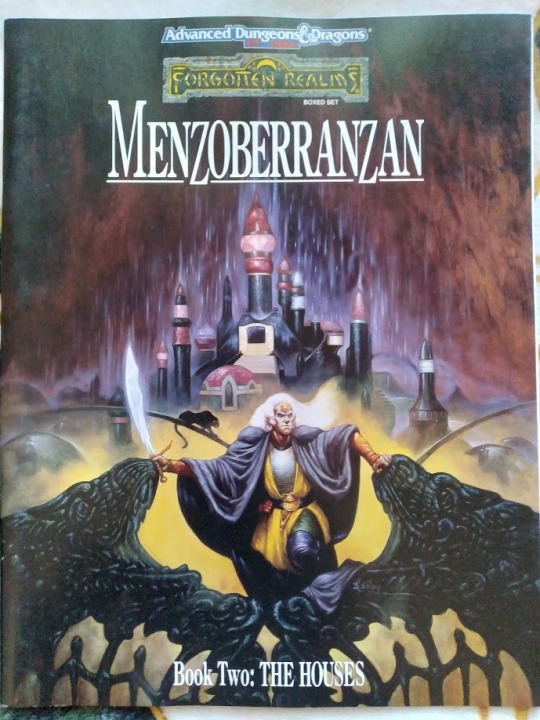

So many amazing poster-maps, lots of artwork, and tons of lore to read through.
My absolute favorite thing that I've seen so far is THIS little gem, though:
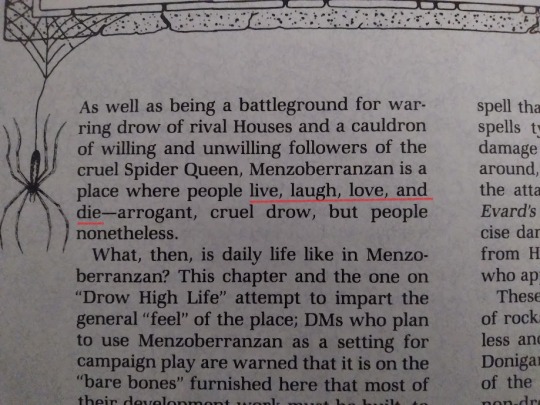
Maybe it's the "cynical ex-employee of a hippie woo new age store" in me, but I just absolutely LOVED that line.
So much so that I put together a silly little poster for it.
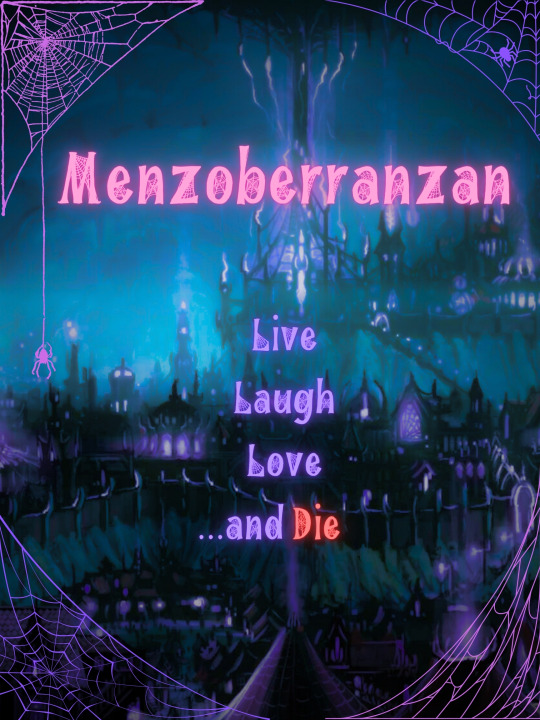
Which is nice, except that it's a little... I don't know, plain, don't you think?
So then I thought I'd "upgrade" it just a bit to really capture the Bregan-D'aerthe-in-Menzoberranzan experience
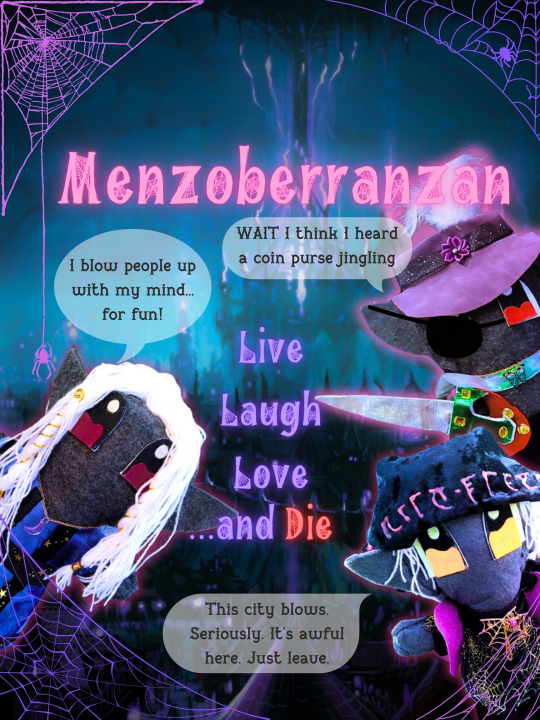
#legend of drizzt#jarlaxle baenre#kimmuriel oblodra#valas hune#why yes that is a crudely drawn eyepatch on Jarlaxle#since the original photo I used for him didn't have the eyepatch on#also I think that's official art of Menzoberranzan! but it's hard to find good high-res pictures of it :(#so I played around a bit with blurring/color editing/vignettes to try making it look a little better#I'll be on “break” for a couple more weeks since I'm now in the process of moving and setting everything up#plus there's over stuff going on too
78 notes
·
View notes
Photo

10 Things You Should Do To Create Awesome 3D Environments (Part 2)
Have you ever attempted to create a 3D environment and found that your final render falls a little bit…flat?
Most likely, you may have missed an important step in your scene creation process. Here are 10 things you should focus on if you want to give your 3D environment the best chance of looking awesome and get one step closer to achieving photorealism.
We continue from Part 1 to show you ways to bring out the best of your 3D environments.
Use a physically-based renderer
A physically-based renderer is a renderer which simulates lighting exactly as how it is represented in the real world. It produces results far better than raytraced renderers. Unlike raytraced renderers, a physically-based renderer knows calculates how to bounce light rays from objects to other objects and this can help easily simulate photorealistic lighting.
It would probably be a bit complicated to understand exactly how it works. From an artist’s point of view, a physically-based renderer helps produce photorealistic lighting and textures with very little effort compared to the old raytraced renderer. Your 3D environments will look really awesome
The downside to physically-based renderers are that they are slow. Really slow! This is due to all the complex calculations that need to occur on your scene. When I created my short films, the average render time per frame for a film made using a raytraced renderer (Blender Internal renderer) was 5 minutes. The average render time per frame for another film made using a physically-based renderer (Cycles renderer) was about 1 hour. It’s not much of a big deal if you are only rendering still images, but rendering an animation using these renderers can be quite tedious.
What to do: If you use Blender, there is a physically-based renderer already inbuilt. On the top menu, just change the renderer from Blender Render to Cycles Render.
Use HDRI Lights
Lighting a 3D environment can be complicated. There are so much complexities involved with simulating realistic and convincing lighting and one would need to understand some lighting theory. In the past, 3D artists would create multiple light sources to simulate sunlight, sky lights, bounce lighting and things like that. The result would be a 3D enviroment scene with a big mess of lights everywhere.
Nowadays, the most popular trend is using HDRI lights in combination with a physically-based renderer. HDRI images are high-dynamic range images and contain more information such as brightness and intensity data within the one image. We can make complete use of this to simulate realistic lighting. Physically-based renderers can help remove the big mess of lights as it helps realistically simulate bounce lighting. Combine that with HDRI images and our 3D world can be realistically lit up without the help of really ANY extra lights at all. You could get away with using the HDRI to control the lighting for your entire environment.
Make use of HDRI images as a light source in your 3D scene to help push for more awesome realism and visual appeal!
What to do: Grab a HDRI sky image on any HDRI image download site. I prefer to use HDRI-Skies.com. Load up your HDRI image in your 3D software and set it up so that the intensity information contained within the HDRI could help light up your 3D world. In Blender, you could load the HDRI image directly in the Environment Texture node of the Sky. You would also need to capture the same HDRI image as an input for the strength/intensity. There is no point in having a HDRI image if you don’t make use of the extra information available within HDRIs. Do note that HDRI images are generally quite large and may crash your scene while rendering. That sacrifice may be worth it, however, depending on the result you are able to get from it.
Make use of photography techniques
If you have ever taken classes in photography, your skills have not gone to waste. You can fully utilize those skills in your 3D renderings as well. If you haven’t, then taking some time to learn some of the basics such as composition, f-stops, depth of field and so on will only do you a world of good.
What to do: In Blender, you can select your camera and go to the camera settings in the Properties window. From there, you can play around with some of the settings that you would tend to see on a DSLR camera. You can even simulate the look of a specific camera such as a Kodak camera or a cinematic camera like those powerful RED cameras, by going to the Scene tab and under Color Management, changing the “Look”.
Go subtle with post-processing
Once your render is complete, you should take advantage of post-processing. Post-processing can help to push your renders to the next level and give that sort of “pop” or that extra “wow” factor to your final render.
Some of the post-processing effects you could take advantage of includes adding glare, vignettes, glows, depth-of-field, motion blur, color grading, lens distortion, overlaying images over the original render and the list just goes on.
But remember to not go overboard with this. The bulk of the work should have been done in the modeling, texturing/shading, lighting, and rendering. The post-processing is just a touch up to give that final polish.
You will kill the appeal and realism of your render if you go overboard with the post-processing effects. In the art world, subtlety is always key!
What to do: Use a photo editing software like Photoshop or GIMP. If you use Blender, you can also use the compositor built into Blender. Just change the Screen Layout on the top menu from Default to Compositing and then select ‘Use Nodes’. Each node can be used to create the effect you desire.
Get feedback (and get them early)
The final tip that will really benefit you and help push your 3D environments to the next level is getting feedback! While you work on your 3D environments, show it to other people and see what they think of your work so far. Try to get their opinions early and try to get them often.
When you create your environments, you are so immersed into your world and you will likely focus on one specific area. This may cause you to overlook other areas of your environment and sometimes getting a fresh pair of eyes can be beneficial in this regard. They can help you catch issues with your render that you would have otherwise overlooked.
Getting feedback is really important as it can also help you improve as a 3D artist overall. However, you will need to learn to take criticism with a grain of salt. Sometimes you will get very encouraging feedback and other times the feedback could just be downright vicious. If you want to improve as an artist, you need to observe, understand and learn from the honest criticism. Getting honest criticism is almost always beneficial to you as an artist. Use the encouraging feedback as motivation and the pointless and vicious comments with no real substance as a waste of space (they only do this to get attention or perhaps a little envious of you).
What to do: Be active in communities related to 3D! Try being active on online forum sites like CGTalk, BlenderArtists, and relevant Facebook Groups to name a few. The people there encourage works in progress and are always more than happy to help!
That’s it! Incorporate these tips into your next epic 3D environment and you’re 3D renderer will gift you by giving you beautiful renders.
Go back to Part 1 if you haven’t seen the rest of the tips already.
Prefer to learn by doing? Enrol in the course below to learn how to create a backyard scene from scratch. This will be useful to you if you’re a beginner!
9 notes
·
View notes
Last Seen Blogs

ballsblogs
The Balladeer

merthurbringsmelife
howdy

tobistinyspace
welcome!

amiafairyprincessyet
Blythe Does Fashion-y Stuff

bloguerosunap
Macroeconomia 2022