#touched up on their designs juuust a little bit since last time
Text

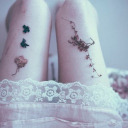
i enjoy these 2 a normal amount
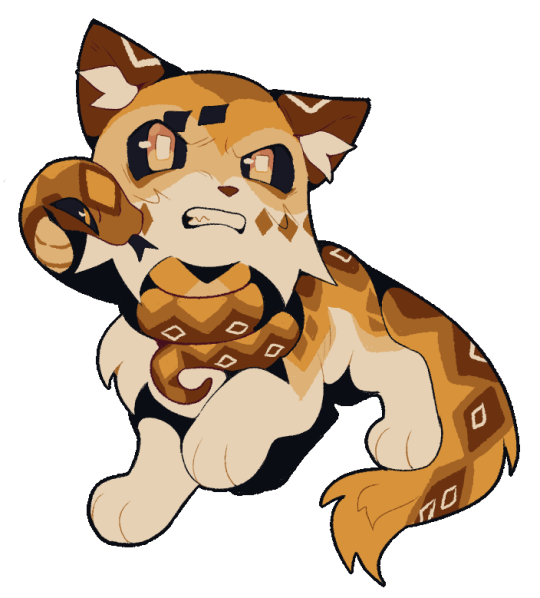
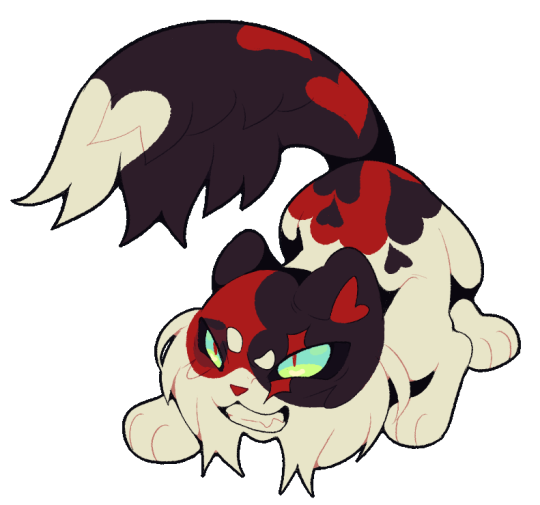
bonus transparent little freckle and maple for ur needs
(f2u with credit)
#warrior cats#frecklewish#mapleshade#warriors#touched up on their designs juuust a little bit since last time#still love green eyes mapleshade so much sorry i will never improve
148 notes
·
View notes
Text
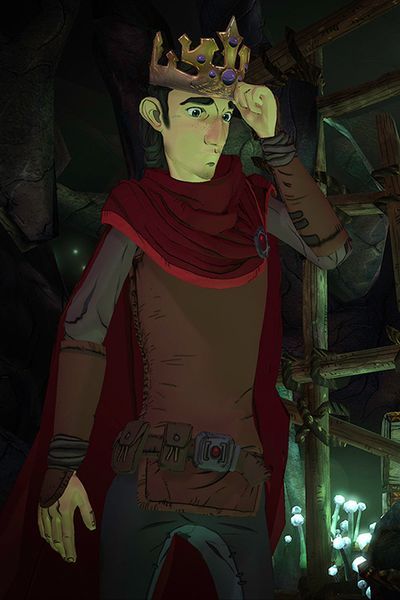
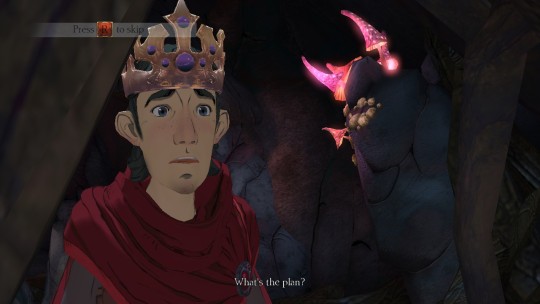
So you wanna be a king (pt4)
orrrr mayyyybe juuust cosplay one since that’s way less responsibilities
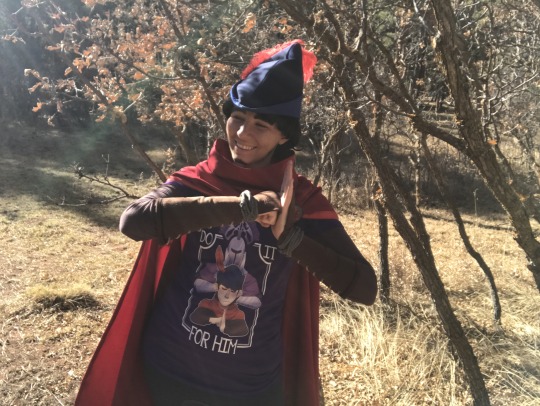
(incidentally, the fabbo shirt’s from redbubble, https://www.redbubble.com/people/midorilied/works/29739636-do-it-for-him-white-text, if @midorilied doesn’t mind me showing it off)
If you’ve followed along thus far then you should have a cloak, jerkin, pants and boots. A fully wearable Graham perfect for romping around the countryside. But it feels incomplete without the accessories, so let’s give those a try.
Part 4: Pouches n Bracers
(Again, these are all just suggestions and a How I Did It from a very novice cosplayer. Disregard all points, or take the ones you like. improvise adapt overcome)
Perhaps the best part about adventure games is the stuff. The bottomless inventory, a random assortment of strange things that all Do A Thing. Graham carries everything from money to badgers to literal humans in his pockets (presumably his mother is a seamstress trained by the gods).
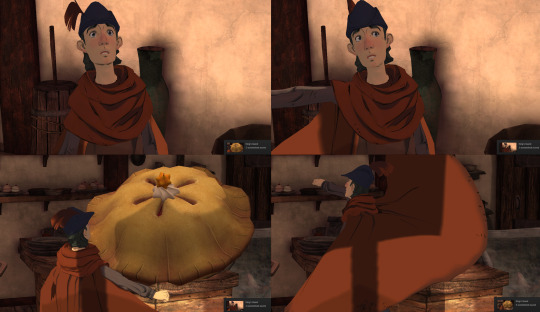
This...won’t be you. Sorry.
Now, to be fair, I saw a Graham cosplay on tumblr (I’m so sorry, I don’t remember who--does anyone know?) who sewed pockets into their cloak, which is delightful and a very sweet idea!
However, I prefer the swoosh and snap of my cloak, and heavy things like cell phones in your cloak will alter the weight. Something to keep in mind as you decide how to manage your outfit.

(forgive the blur--I haven’t been able to get a still of what it looks like when swooshing. Perhaps now I’ve got real boots I’ll do another gifset of it)
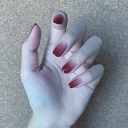
Thus, all my phone, money, keys, and backup freckles (e.g., liquid eyeliner) must live in Graham’s belt pouches instead of cloak pockets. Lord knows what Graham actually keeps in his pouches, game-wise. Squirrel snacks, maybe, to avoid repeating the fiasco from Tourney Day?
This time I followed a pattern. I know, weird, right?
I wanted functionality, but I wanted them to be slim and simple, too. I found a guy on YouTube, and he comes with a .pdf template pattern in his video description! It’s super detailed, easy to follow, and better than me rambling. https://www.youtube.com/watch?v=tPhQlaI_UX4
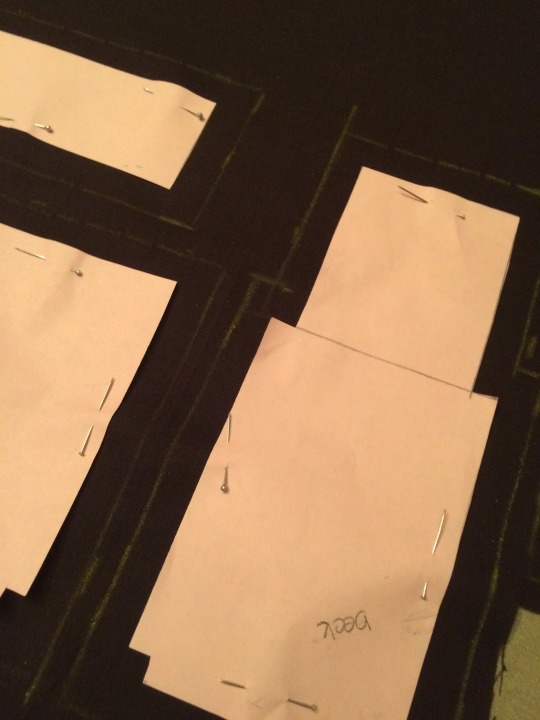
Three years later, they’re starting to look a touch tired. I used a plain dark brown fabric (was it broadcloth?). Half a yard is plenty. If it’s semi-close in color your your belt, ideal. I made two sizes, two large for phone and makeup for touchups, and one small for keys and money. The large ones are 3″ wide and 5.5″ tall, and the small one is 2.5″ by 4.5″, but size them to whatever important things must be on your body at all time.
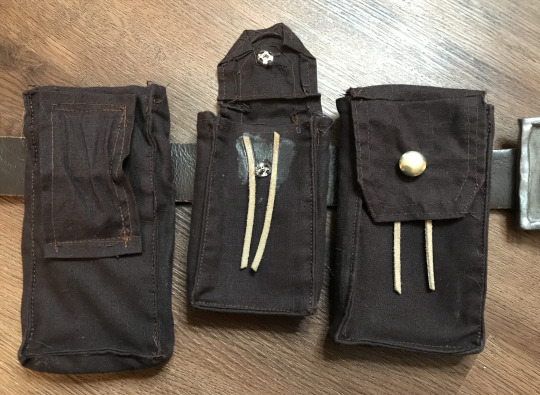
I added snap clasps to keep them shut (never know when you’ll be pounced by goblins, or trip over a crack in the sidewalk), and I found some plain silver buttons to sew over where the snaps sit--added bonus, hides my sloppy stitchwork. I took some of the leftover suede rope from the jerkin for the front--my ugliest secret is that it’s really horrible looking super glue dribbled everywhere. Hasn’t moved in 3 years, tho. /victory fist bump
I turned the corners of the front flaps so I wouldn’t have square tops. I didn’t trim off the excess fabric since I thought keeping extra weight in the corners would help keep the flaps down. You could always sew in another layer of something sturdier if you didn’t want the flaps to curl over time--it’s probably worth it. It does make a difference.

So, in doing this half-tutorial, I’ve just realized that Graham’s actual model has three pouches of various sizes on his left side only which means I’ve been wearing and drawing him wrong since day one. So. That’s cool. themoreyouknow.gif
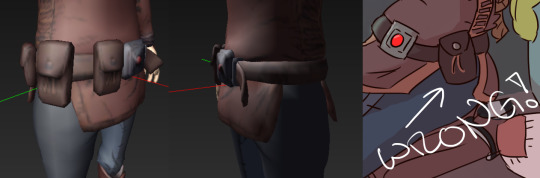
(still not changing anything tho; I like keeping my phone on my right side)
Bracers!
Graham’s an archer. So, he’s got bracers on his forearms to protect himself. (presumably his rippling muscles are protection enough since he stops wearing them between his 30s and 70s.)

We have the same problem here as with the jerkin: the bracers seem practically sewn onto his arm. And that’s maybe doable, but I’m mortal, not digital, and I want this to be comfortable and also easy to remove. Now, unfortunately, my method loses the black bands he has on his bracer underbellies--they don’t seem to fit. If you have a nice solution, let me know.
Get yourself a ruler, paper, a scrap of elastic band, a sheet or two of stiff felt (probably like this stuff: https://www.amazon.com/Darice-Stiff-inches-5-Pack-FLT-0331/dp/B00KNAKJH6), and all the leftovers from your jerkin.
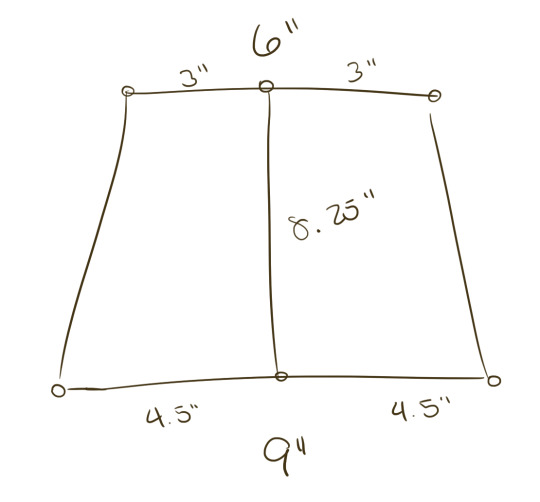
Measure around your wrist--mine’s 6″, so we’ll use that. Draw a 6″ line on a piece of paper, find the center of the line, mark it. Measure how long down your arm you want the bracer to go. I like 8 and a quarter inches myself (make it as long as you can without the bracer edge rubbing your inner elbow because that gets real old real fast). From the center mark of your wrist line, make a straight line down (a grid is helpful here to keep it straight). At the point where your bracer stops, measure around your arm: I got 9″. Find the halfway mark of your base arm line, add that to the paper. Connect the corners. It should look approximately something like this:
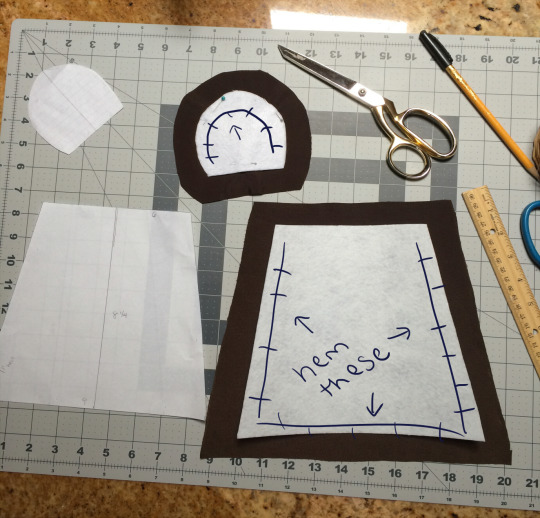
Cut out and test your design to make sure it’s comfortable (you want to forget you’re wearing these. keep them away from your elbow. f’reals). Cut the shape out of your stiff felt, and cut out your brown fabric leftover from your jerkin, with a margin all around so you can fold it over and sew (I did an inch I think, because I’m a coward). For the hand guard, I did half my wrist (3″), then measured my hand to see how high it had to be to just scrape the knuckle. For my hand, that’s about 3″, give or take. Curve it, test it, cut it out of felt and brown alike, and cut out some extra brown to cover the inside of the hand guard too, as you don’t want to see any white against your hand.
Fold the loose edges over the felt and sew it down along the marked places:
Make little snips in the hem of the hand guard hem as you go to achieve that tight curve.
I was nervous about combining the two pieces as I needed easy wrist flexibility. The two lines that aren’t hemmed I left “raw” and sewed the brown edges together as was, so that there’s no stiff felt against the wrist at all.
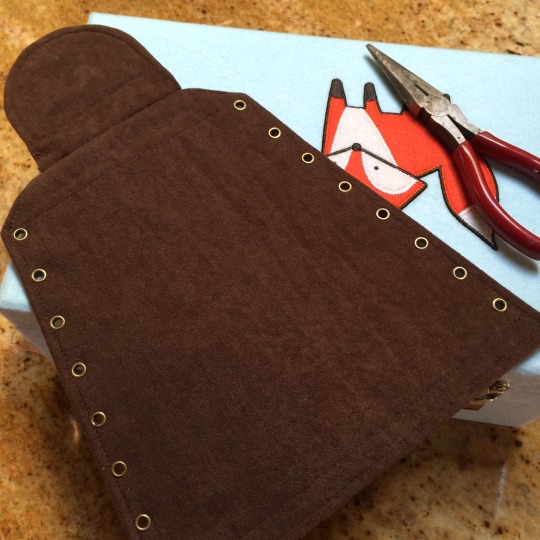
Another secret: my bracer grommets aren’t the same as my jerkin grommets--they’re much smaller, like 7mm, because I’d planned on making my jerkin with this smaller size earlier to replicate Graham’s tighter lacing but it didn’t work out--the larger ones from your jerkin work fine.
It’s the same process as the jerkin, too. Every inch from the wrist to the elbow gets a grommet, plus its corresponding partner. A-likea so:
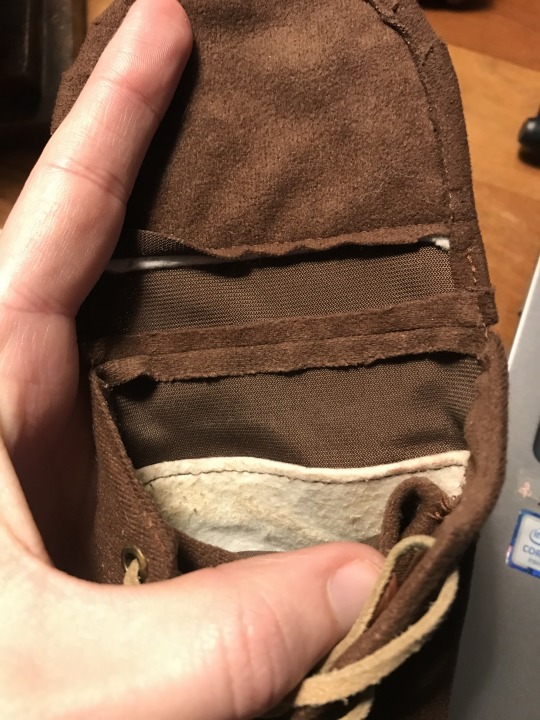
The next part might be optional. I cut another piece of brown about the same size as the bracer body again, and sewed the edges along the inside, just past the grommets, so that when you wear the bracer, you don’t see the shirt beneath your laces. It also gives you a place to hide the loose ends of your suede rope once it’s tied into place. Probably optional.

Graham’s bracers have definition near the elbow, and I was annoyed that I couldn’t find a way to fit in the large black bands without messing up the simplicity of my pull on/pull off system, so to reference it I found thin black trim and sewed it along the bottom hem, just below the last grommet.
Okay, lace it with the suede rope and try it for fit. You may notice the hand guard is a bit unwilling to stay attached. Get the super glue, and--
no wait please don’t do that
let’s just make an elastic ring instead

My elastic was white: I colored it with a brown marker so it wasn’t as jarring if anyone caught sight of it. Sew it into your existing hemline, wherever it feels natural to wear it as a ring on your middle finger. A strip of fabric or trim might work as well, but the elastic makes it easy to pull on.
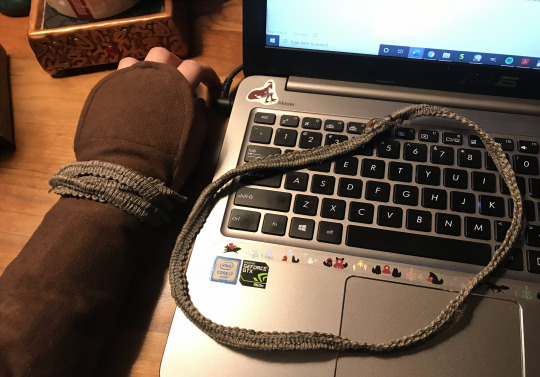
I desperately need to update my gray wristbands with real rope. This is trim, and I do not like it. But it was free, at the bottom of my cosplay bin, and I’m so tired of spending money on this costume.........anyway, loop the rope of choice three times around your wrist, sew it into a closed loop to avoid dealing with knots and bows, and tug the whole thing on and off over your hand. pls do not make it too tight.
And that’s looking like a proper cosplay. Just a few more accessories and also the hat. I assume everyone just wants the adventuring hat, but if there’s any interest in the crown, I could toss that in too, maaaayyyybbeeee?
#kings quest#King Graham#King's Quest#cosplay#midorilied#hey midorilied if you don't want your shirt in here lemme know i'll swap for a different picture#just two more to go~!#tutorial
14 notes
·
View notes
Last Seen Blogs
sacrilegious-snapshot
Gay Demon Noises
bee-buzzez
tea time !

petchandamy-blog
Petch & Amy on Eagle 97.7
un-mare-di-stelle
mare aux enfers