
tahliaconradh
TAHLIA CONRAD-H Experimenting with Materials
DSDN141
24 posts
Don't wanna be here? Send us removal request.
Last Seen Blogs

vipcatdog
Its Life

glutpuppy
most kickable dog
xayanu
Xayu

wuwife-blog
ILLEGIRL

sissyloren
Sissy Loren
Photo


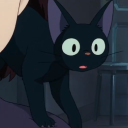
Here are some final photos of my model - one before when it was clean and wound up, the other two when its unwound and wild. I also want to show how I filmed and set up my set in my room. I really wanted bright natural lighting with a shit background - as a pose to the photography room. So this is what I came up with.
0 notes
Video
Here is the final video and a few photos of my finished model. When filming I found it difficult to get a clean spin without it tangling so I decided to clip together to the beat of the music. I think it made it more funky and goofy which is sort of the tone I was going for. the starting music was light and almost childlike. Then it switches to comedic circus-like music as my model starts to unravel. I really wanted to illustrate the messy yet comedic-ness of it. I also made it really bright and light with natural lighting and wool scattered all over the place to pre-empt what was going to be happening.
0 notes
Video

After a lot of trial and error, I have finally come to the final concept for my experiment and have managed to make my string idea work. Originally I purchased silky string that didn’t catch on itself and was smooth as I figured that would make the unravelling process easier. However, I soon found that this meant the string would unravel and all and just fall off the model and tangle. I after I remade and repaired my model, I tried colourful wool. Surprisingly this worked perfectly with the mechanism I created. The wool flung out very fast. I decided to not have one a long piece of wool as it tangled easier, so I cut the piece into 3 separate pieces. This meant that the mess would work and it would still unravel all the way. Here is the product in slow-mo (I’ve decided to use slow-mo for my final video too).
0 notes
Video
For the action of my experiment, I want the motor to unravel a ball of string to create an explosive mess. The trait im trying to explore is ‘stressed’ in a sort of messy destructive way. I had to buy string that was smooth and wouldn’t tangle/catch like cotton does. When buying the string I also went for orange. This means as its unravelling an explosion of colour can be revealed. At the moment, it’s difficult to stop the string from tangling however this video is very close to what I want to achieve, if not perfect. Even though it does tangle, I like the fact that it's not perfect - sort of illustrates myself.
0 notes
Photo
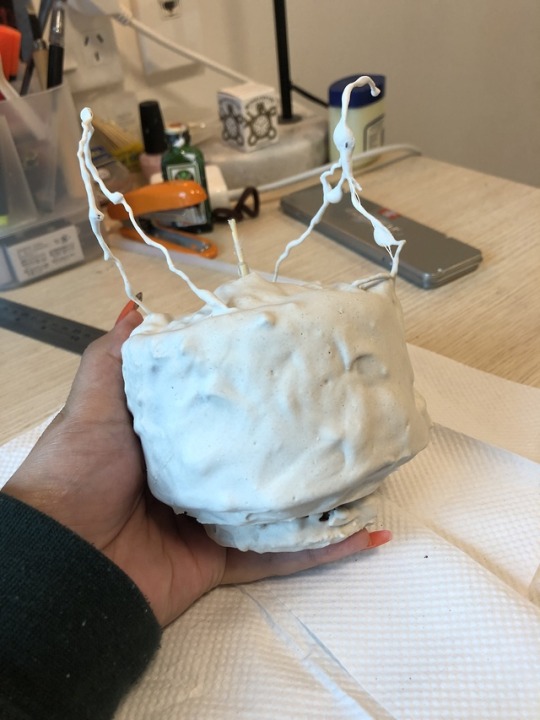
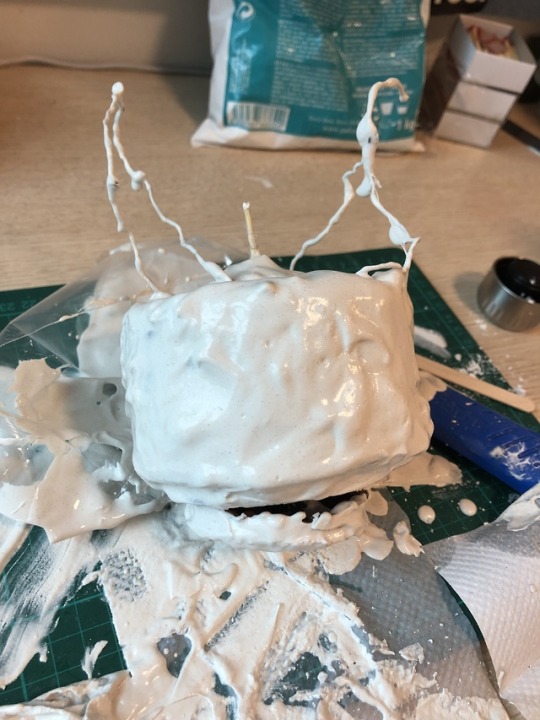
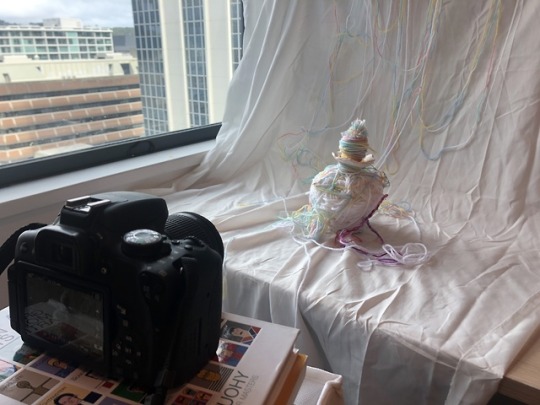
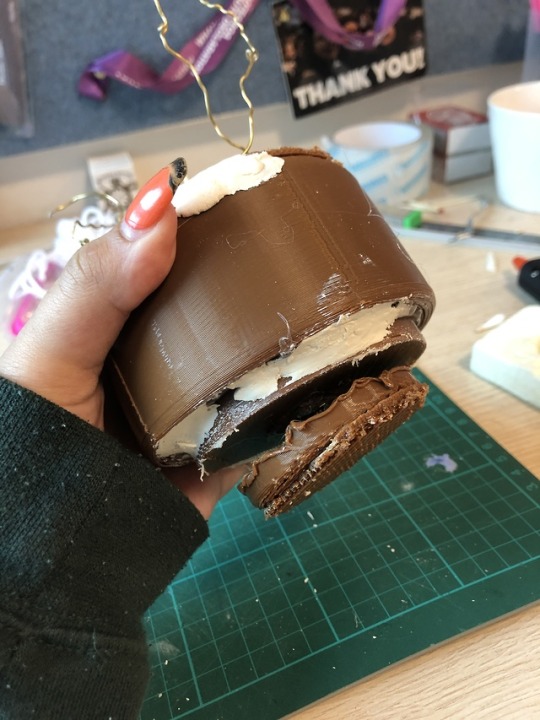
After sealing in the 3D print, I cast the entire model in plaster of Paris. This made it look white which is the colour I want the entire thing to be. It also meant that when wrapping the model in cotton, it would look consistent and clean.
0 notes
Video
A video of the interaction with the button. You can see how the 3d parts work with it too.
0 notes
Photo
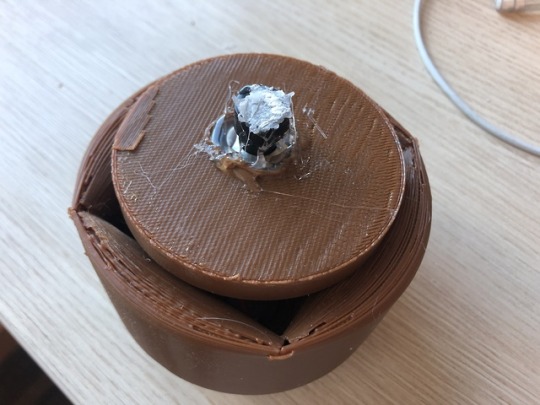
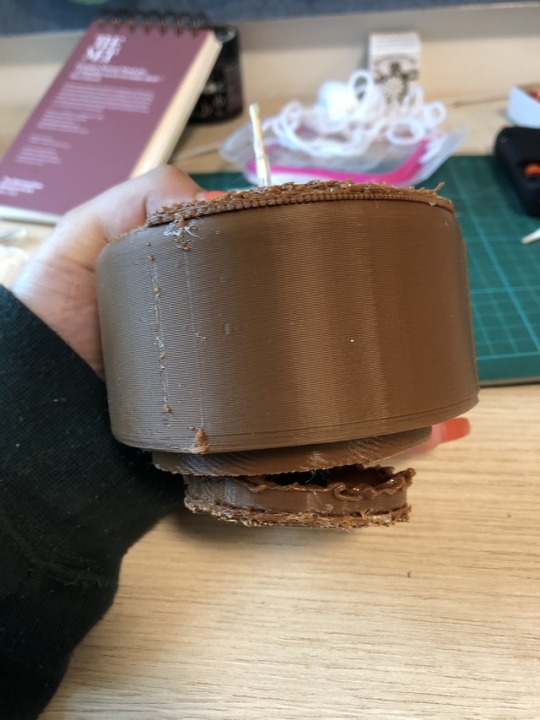
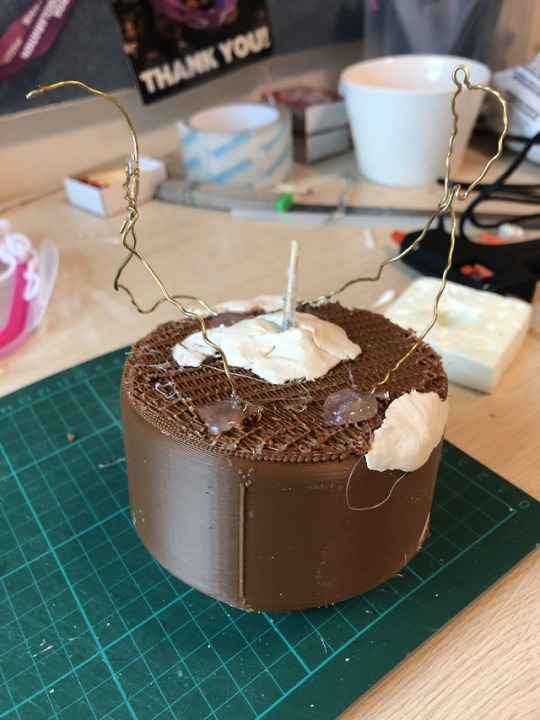
After my experiment, I decided to seal in all the components inside this 3D printed cylinder. I also realised I needed a real button that worked so I 3d printed two more small cylinders that sat on the bottom. This meant when it was pushed down, the motor would start. It also made the model more stable and interesting to interact with. To really seal off the components and protect them, I put clay in the holes. I also put it around the top of the motor to protect the spinny thing.
0 notes
Video
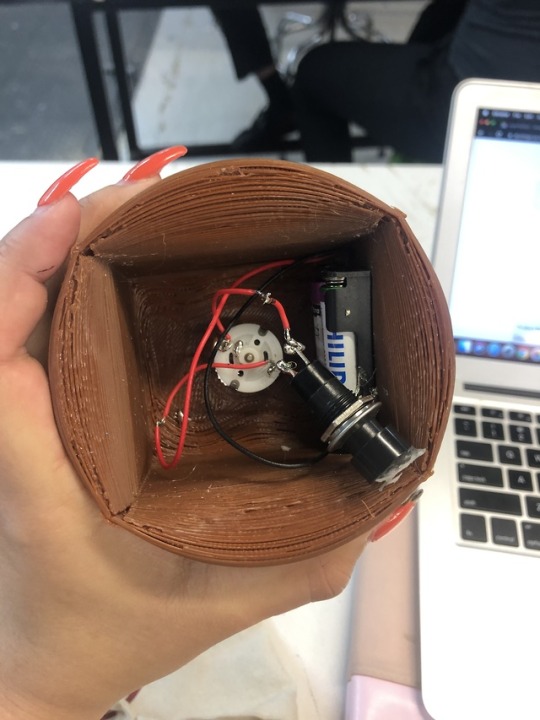
My third experiment. I created a 3d Print to hold my electrical components neatly. It will be covered later to conceal the mess but it works very well at the moment to house all the parts so it works cleanly.
The video demonstrates the various ways I want to be able to activate the model. hitting, pushing, slapping. I think its funny. Originally I was trying to put a match on the end to catch fire, but after a long process of trial and error, it just wasn’t working.
Revising my idea, I want to stick with the idea of destruction and messiness and want to create a wool model that unravels itself.
0 notes
Video
my second experiment with which I used the simple turning motion of the motor and put an abundance of sting on the end. While it is a very very simple idea, it looked cool. I don’t think I’ll use this specifically for my final product however I am planning on using wool, so this can help influence that.
0 notes
Photo


For my first experiment for my final project, I used a 3D print that I had created previously. I then poured plaster of Paris inside it and then melted wax over to create some interesting dripping effect.
0 notes
Photo
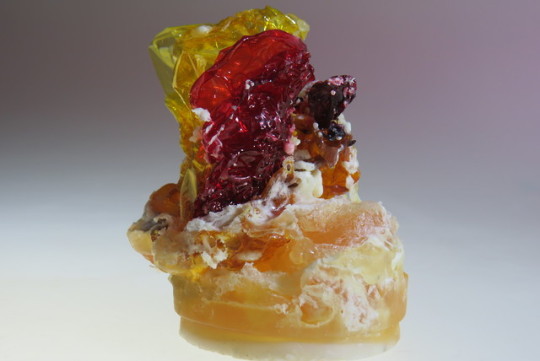


Final Model
My final model was made out of Soap and Cellophane. It portrays the tempestuous yet harmonious relationship inspired by the Greek mythology; specifically that of Achilles and Patroclus. A relationship characterised by passion, sacrifice and avengement, with my model conveying the sacrifice element. The malleable soap material stands exploded by the heated and warped cellophane that twists around and in on itself - like two people embracing each other. Despite the grief and tragedy, their form is organic, unified and harmonic. The soap drips within the cellophane in bubbles, merging them and stabilising them.
0 notes
Photo

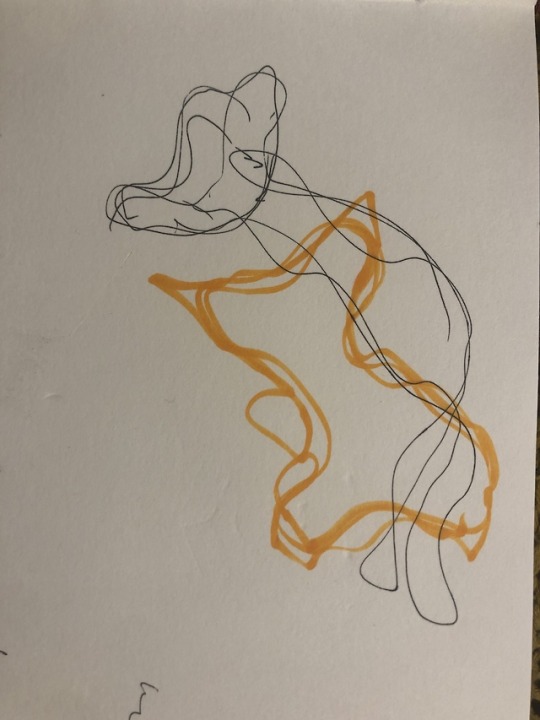


My initial ideas and sketches for what I wanted my experiment to be are at the top. I really wanted an explosion of colour, life and passion. It needed to be harmonious and organic and dramatic, just like the relationship between Achilles and Patroclus.
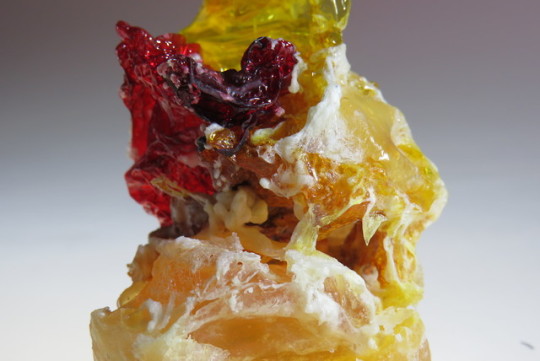
After some revision, I’ve decided to experiment with cellophane and the soap. I tried cellophane with the last project and I like how spontaneously it reacts to heat - you never know what it’ll create. This makes very organic and explosive forms. I also liked how it could become tacky - so it could be joined with other materials - and dried very fast. I chose the warm orange colour palette as it reminded me of passion and affection, as well as tragedy and anger. This suited my narrative.
To begin with, I melted the orange soap into the cup. Because I was using a heat gun (didn't have access to the microwave) it was rather difficult and the cup melted too. Next, I melted and dripped in the cellophane. I added more soap, and with the cellophane shrivelling up, I needed to keep adding more to get the desired ‘exploded’ effect. Also, unlike in a microwave where the soap goes automatically liquid and clear, this soap splattered all over the place and turned white and bubbly. I really liked this effect. I added some transparent soap and alternating colours of cellophane, with the top pretty natural, then left it to dry. When I came back, I cut out the cup to reveal the moulded soap and cellophane explosion on the inside.
0 notes
Photo


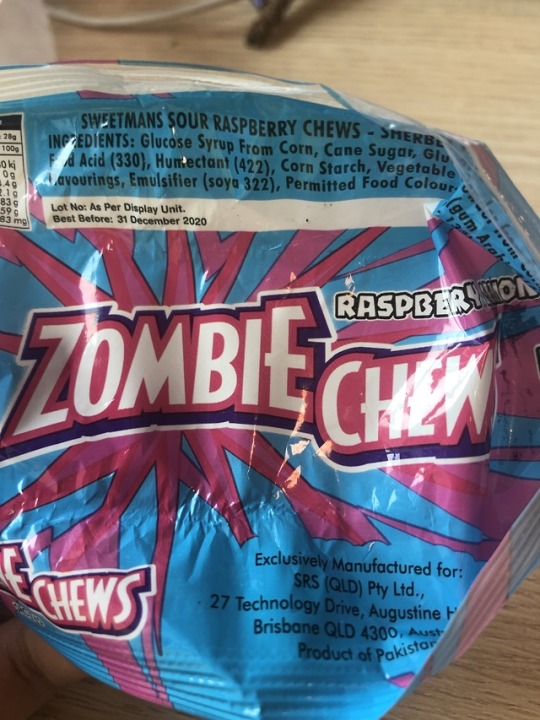


Over the weekend I began to experiment with casting soap in different materials. I tried Candy (the zombie chew) along with gold ink, as well as plaster. However, I found that the drama I was searching for was concealed and difficult to see. The relationship I was trying to convey was one of passion and sacrifice and I couldn’t see it in these models so I began revising the materials I was using. However, they did help me figure out how to work with soap well.
0 notes
Photo
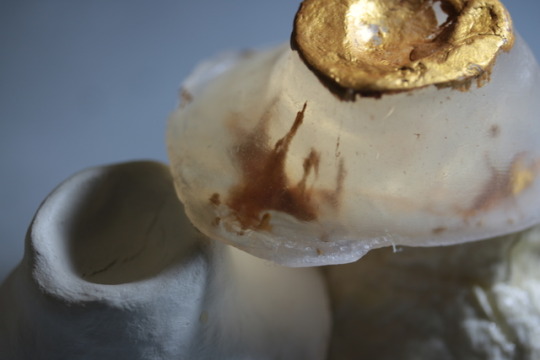
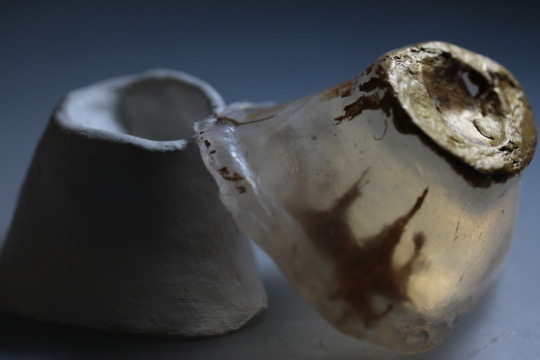
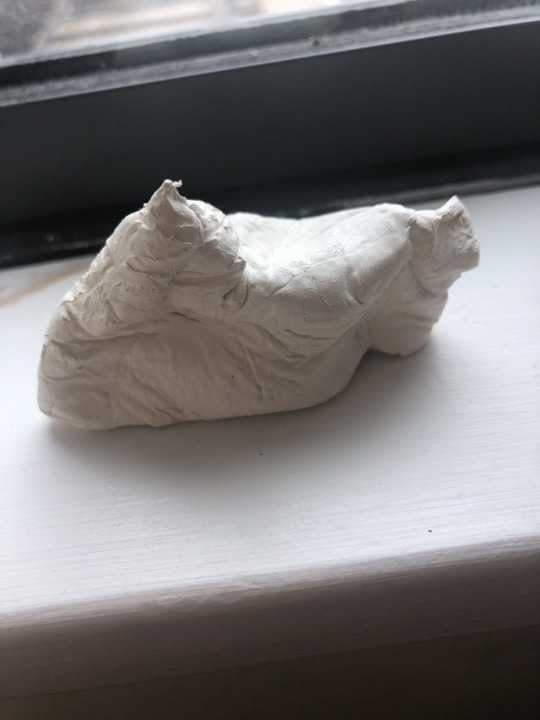

For my casting experiment, I played with clear gelatin and clay. The process was fairly lengthy and it gave me a big opportunity to play with many techniques and materials. Some of these materials I didn’t end up using in my final experiment, however, they are useful for my end product - like plaster of Paris and latex.
To start, I played around with shapes I could make with clay and soap. I even put both of them into a small plastic zip-lock bags and let them dry in their (photo 3). This technique was really effective and I may use it in my final to achieve a more natural, smooth shape.
Next, I made a clay mould shape which was the white model on the left. I then created a latex mould (photo 4) which was done by brushing about 10 layers of the latex evenly over the mould and waiting for them to dry, then adding paper in between to strengthen the shape and curing it over 24 hours. This was a great mould and it was flexible, used for multiple materials (soap, wax, plaster) and reusable as you could easily get the model out.
So I made a model out of clear soap and as it was drying, I dropped gold ink into it to see how it would react. The ink sunk right to the bottom and ended up moulding itself to shape which was cool. I used a toothpick to drag some of it up, hence the spikes of gold in that model. I really like the soap + gold pigment effect and hopefully will add that to my final.
0 notes
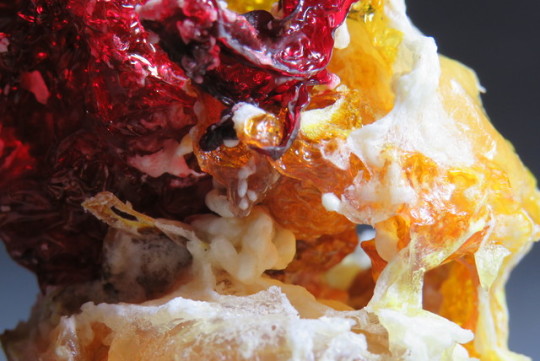
Photo
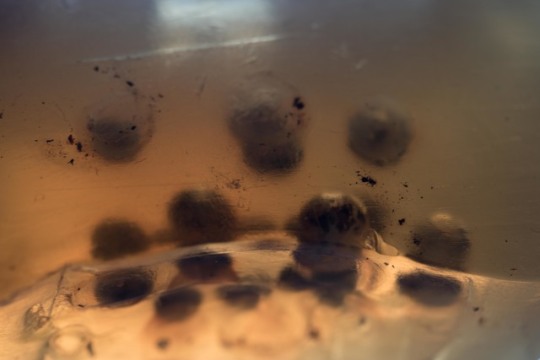
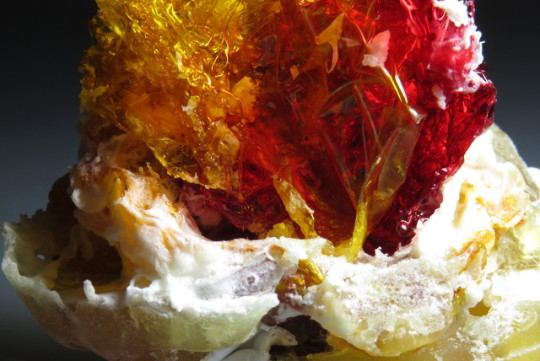
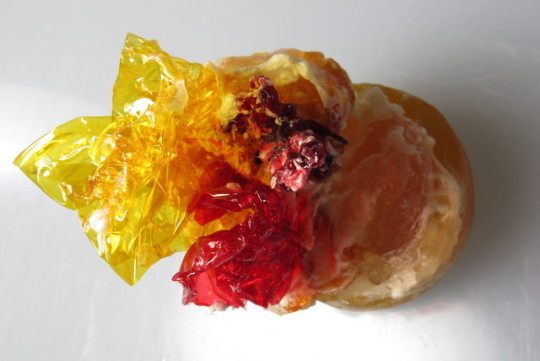
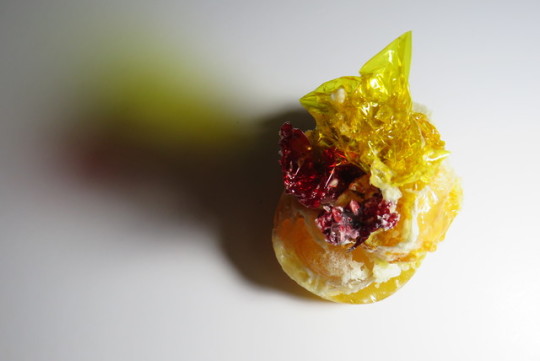
This is the final image for my solder experiment. I dropped blobs of the solder into orange translucent soap from the supermarket. It was really cool as the solder burnt straight through the surface and suspended halfway inside the soap. As the soap was still hot, it would melt back over and seal the blobs in. I use a knife and water to clear away the foggy parts and reveal the solder - making the soap more translucent. This was effective when photographing as it made it easier to see, and mixed with the bright light, the model ended up looking pretty neat. Kind of gross, like alien eggs or something, but awesome nonetheless.
0 notes
Photo


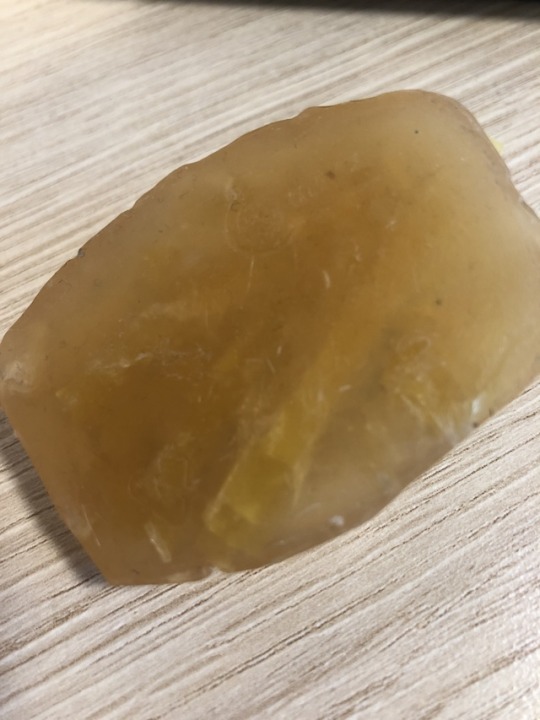
I really want to play around with soap as I find it’s a cool material that you can add a lot of things to - especially when hot. As a trial, I went to the supermarket and bought a yummy smelling transparent bar of soap. I heated this in the microwave in small chunks so it would melt to a liquid. As soon as it melted a film developed on the surface creating a cool creased look. I had to pour the liquid straight away so I poured it into a lid and added some pasta. It hardened very quickly and you can sort of see the pasta inside it which was cool. I repeated the process, however, this time I heated the pasta so it was floppy first. I also poured the soap into a bag to create a more interesting shape and it was quite effective. I’ve ordered some clear non-scented soap so hopefully, I can experiment with this more next week.
0 notes
Photo


For Wednesday experimenting, we played around with soldering. First off, I practised a simple join on two bits of wire to see how the solder would work.
After that, I cut off a piece of sponge and dripped solder onto it in the hopes of seeing some cool ‘splat’ or something. Due to the heat of the solder, each piece burned straight through the sponge and stopped about halfway through in little balls. I thought this was cool so I burned away some of the sponge so we could see it properly. I would like to experiment with this further however maybe with something that will stand up to the solder a little more. Maybe with will create a more intense relationship between the two materials.
0 notes