“first don't panic, second don't panic and third DID I MENTCHIN NOT TO PANIC?!” ― Hayao Miyazaki, Kiki's Delivery Service, Volume 1
Don't wanna be here? Send us removal request.
Statistics
We looked inside some of the posts by myanimationjourney and here's what we found interesting.
Average Info
Notes Per Post
32
Likes Per Post
31
Reblog Per Post
1
Reply Per Post
0
Time Between Posts
7 minutes
Number of Posts By Type
Video
3
Photo
14
Last Seen Tumblr Blogs


Fun Fact
In 2020, 44% of users from Denmark used Tumblr daily.
Video
tumblr
Rooftop Explosion - test 3
After experimenting with a simple plain I added the animation to the final roof top and this was the final result.
There is still a few feautres I must adjust to make sure the object doesn’t move after it gets hit but I am quite pleased with the result and I think it will look quite good on the final animation.
6 notes
·
View notes
Video
tumblr
Rooftop Explosion - test 2
For the final animation I plan to animate the water coming out form the roof so I experimented to see how the whole thing would look like if the collision object was removed and this seemed to work just fine so now it was simply necessary to add this feature to the final roof.
#myanimationjourney#animation&vfx#semester3#Personal Project#animation#rooftop explosion#ncloth#maya
4 notes
·
View notes
Video
tumblr
Rooftop Explosion - test 1
On one of the shots on my animation I have the rooftop of the house exploding due to the water pressure which sends the Sun and the Moon high up into the sky.
I was unsure of how I could achieve this so once again I asked Sang Yu for advice in which could be the best way to achieve this in 3D he showed me a very good tutorial using ncloth in maya which allows the surface to showcase a shattering effect.
I experimented this technique while following the tutorial and the result was very good so I decided to use it for my final animation.
tutorial : https://www.youtube.com/watch?v=BDQyu26v8H8&t=295s
3 notes
·
View notes
Photo
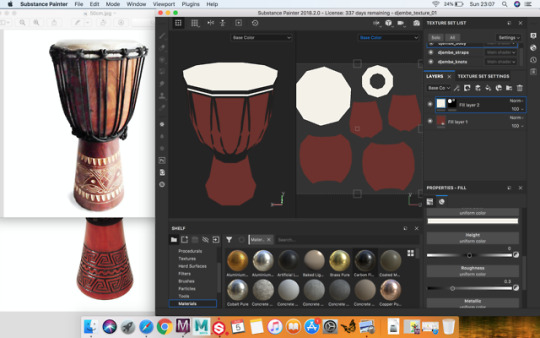
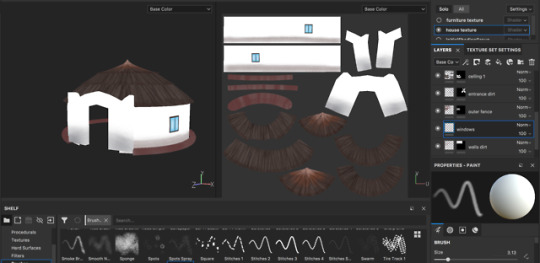
Props Texturing
To texture the props I choose to use substance painter again
The process of adding colours in substance was a lot simpler for me and since it also allows you to see how the whole object will look like in the 3D format I though that it would make the whole texturing process a lot quicker as I started to run out of time to complete the project.
2 notes
·
View notes
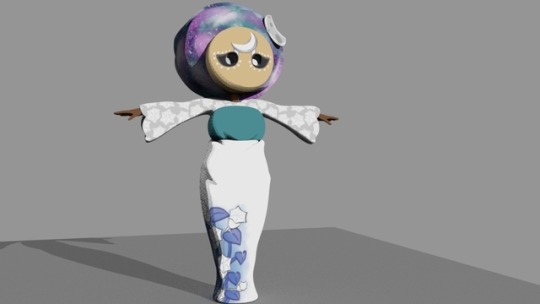
Photo
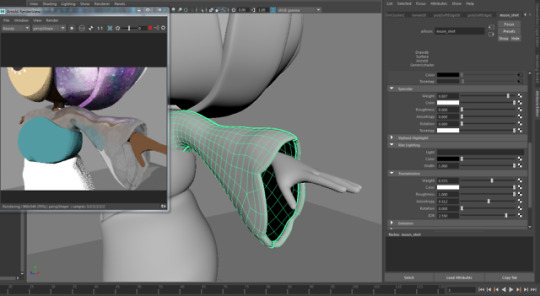
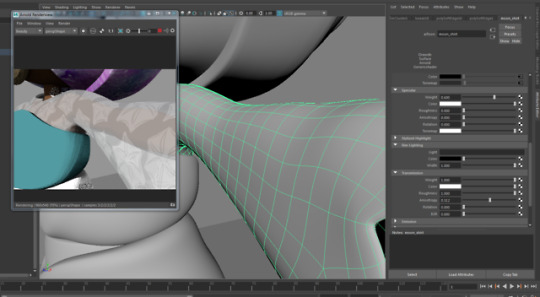
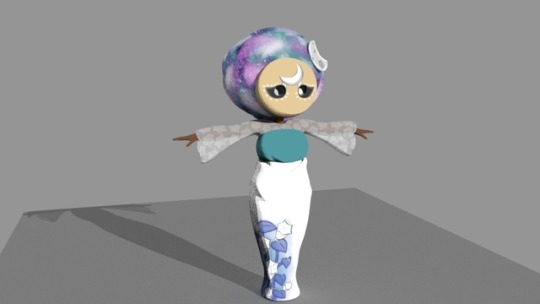
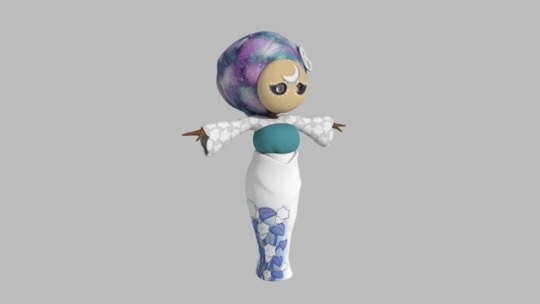
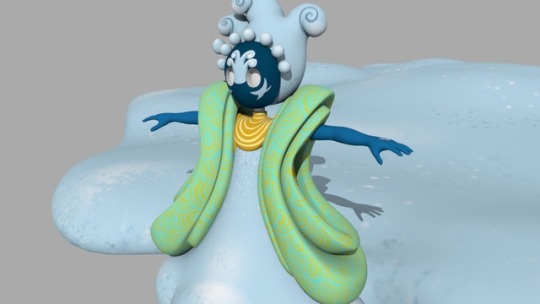
Moon Texture - Shirt Transparency
One important feature on the Moon design are her see-trough shirt sleeves. This was a feature I was not unsure of how to achieve in toon shader so I asked our tutor Sang Yu for advice.
I used a similar technique as I had applied to the Water’s body to showcase transparency within a surface. It a simple process which simply required to adjust a few features on the shader. Since each section of the model was a separated object this process a become a lot easier.
#myanimationjourney#animation&vfx#semester3#Personal Project#moon#character texturing#character texture#maya
3 notes
·
View notes
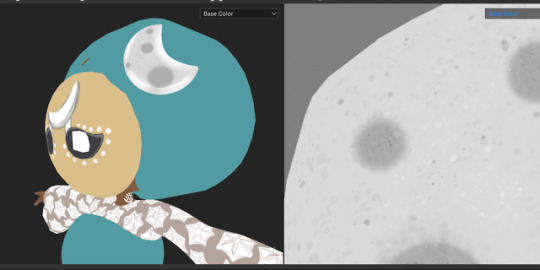
Photo
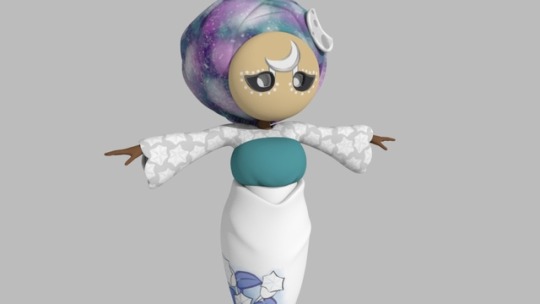
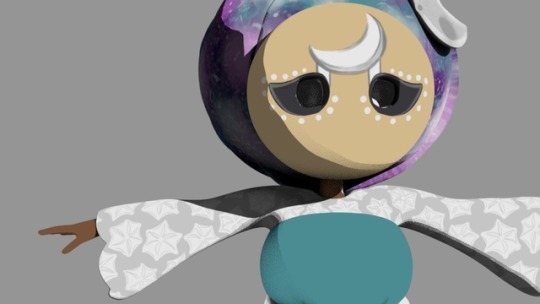
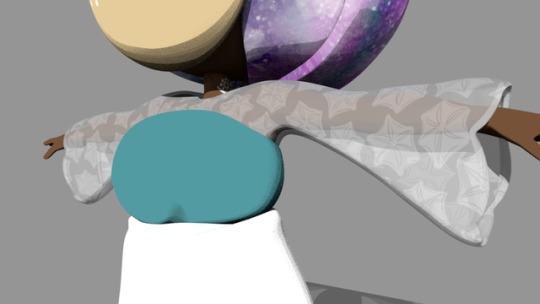
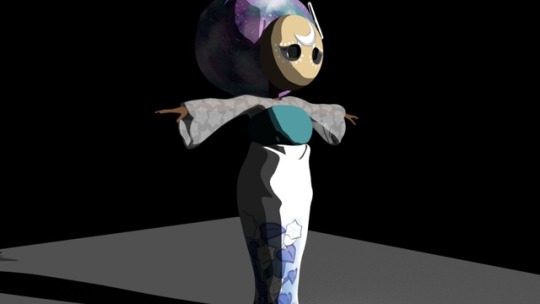
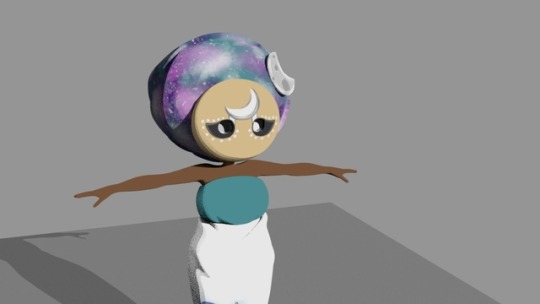
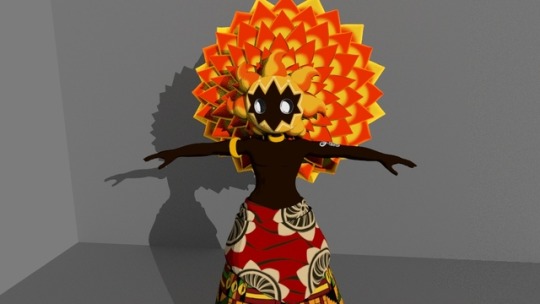
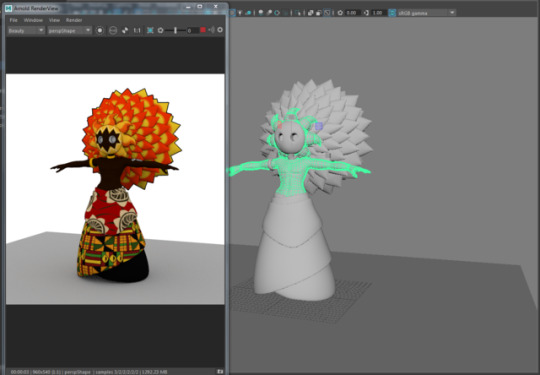
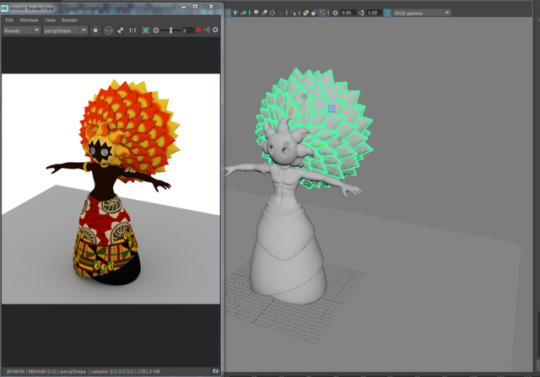
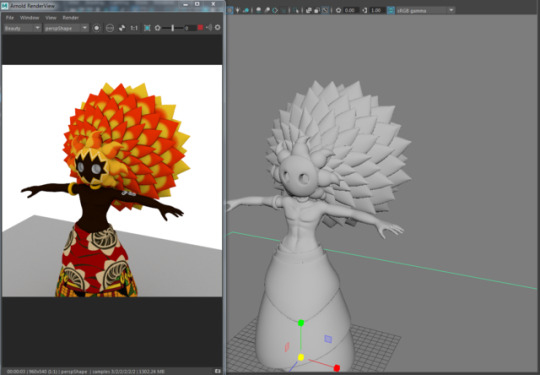
Moon Texture - Render tests
With the texture complete I applied it to the final model in Maya. The characters is suppose to showcase a 2D like look provided by the AiToon shader but its initial look is quite flat so I need to add a ramp to specify the look of the colours and the shadows.
These were the first few test I did for the Moon character. I was actually quite pleased with both of the looks but as I initially hoped to make it showcase the toon like feeling I chose the second look.
#myanimationjourney#animation&vfx#semester3#Personal Project#moon#character texture#character texturing#maya
0 notes
Photo
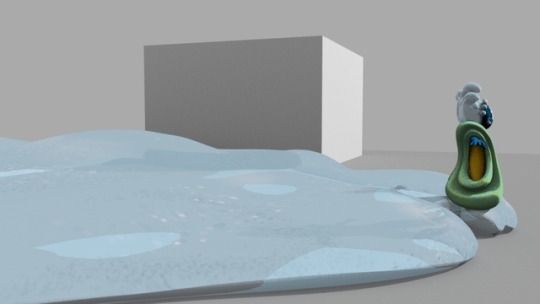
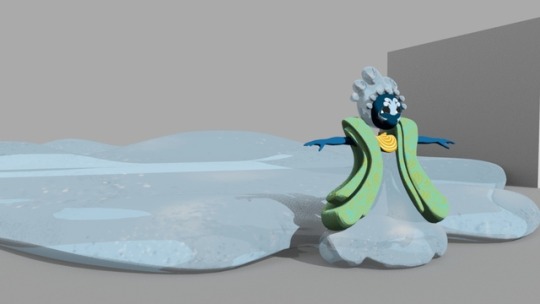
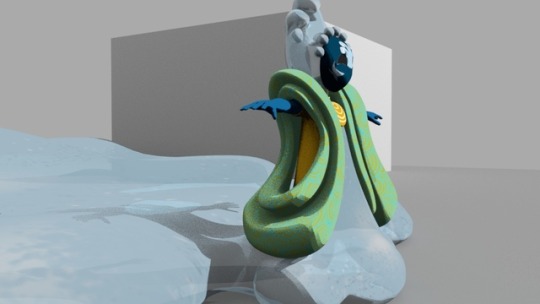
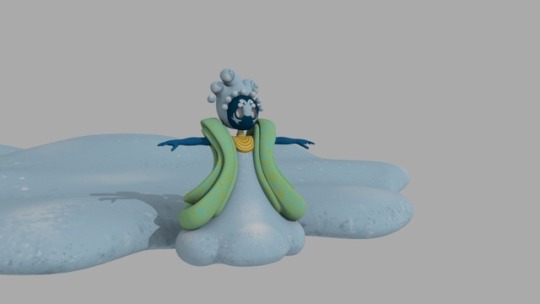
Water texture - Render test - Transparency
One important feature I hoped to have for the Water was transparency on the water areas. This was a feature I was unsure if I was able to achieve using toon shader so I asked our tutor Sang Yu for further advice.
After learning the way to achieve a type of transparency I played around with its features and also the rim light to achieve the look I wanted for the final animation.
#myanimationjourney#animation&vfx#semester3#Personal Project#water#character texture#character texturing#maya
1 note
·
View note
Photo
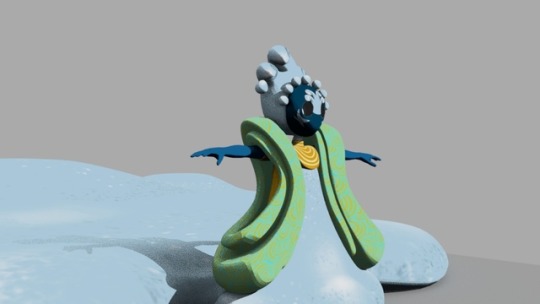
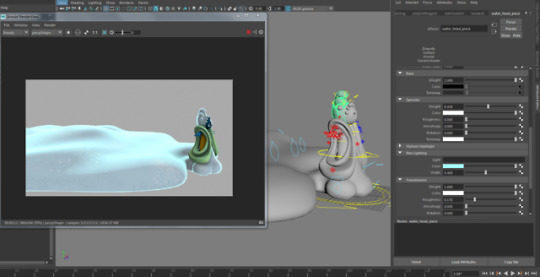
Water texture - Render test
Similarly to the Sun I started to add the textures of the Water into the final model in Maya. For the Water I quite liked its look with the standard look of the took shader with liner shadows but since I was aiming for that 2D look i later changed it to more toon like shadow feature with a ramp.
#myanimationjourney#animation&vfx#semester3#Personal Project#water#character texture#character texturing#maya
1 note
·
View note
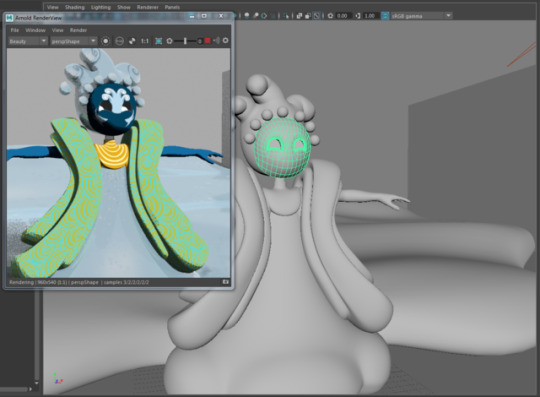
Photo
Sun texture - Details and Rim Light experiment
A feature I found interesting about toon shader was how you were able to add rim lights into the object itself without the need for lights.
This was an interesting feature which seem to give a more appealing look to the character so I plan to add it on all the characters for the story.
#myanimationjourney#animation&vfx#semester3#Personal Project#sun#character texturing#character texture#maya
1 note
·
View note
Photo

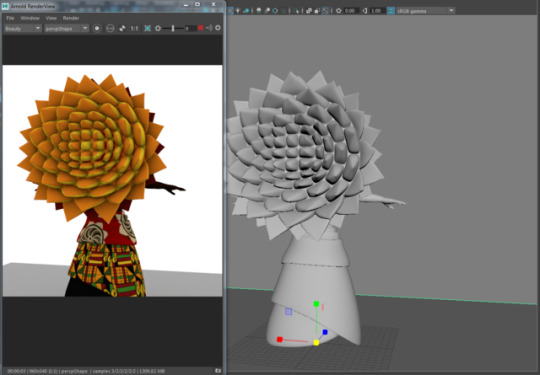
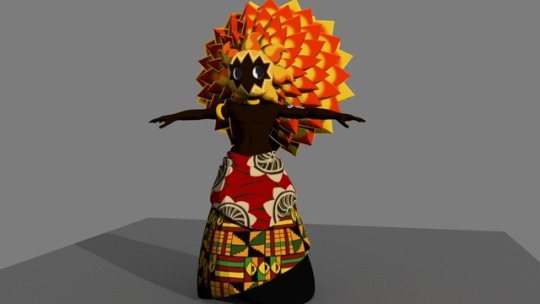
Sun texture - Render test
With the textures complete in Substance Painter I started applying them to the model in maya and experiment with AiToon Shader which I planned to use for all the characters within the story.
Toon shader was a new texturing shader I knew nothing about so I asked our tutor Sang Yu for a few tips regarding the best way to use and how to achieve the look I hoped for.
#myanimationjourney#animation&vfx#semester3#Personal Project#sun#character texture#props texturing#maya
1 note
·
View note
Photo
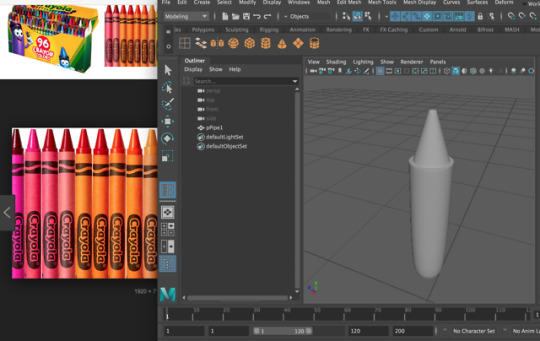
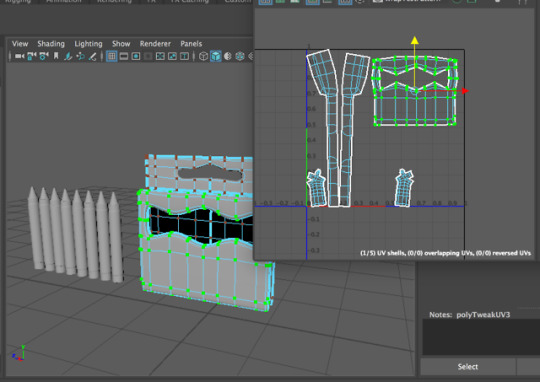
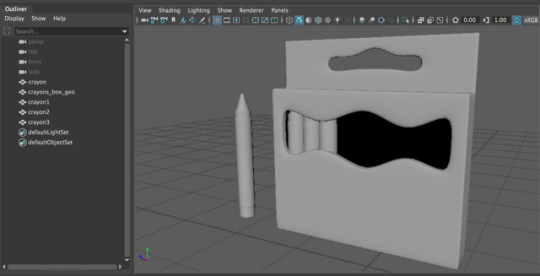
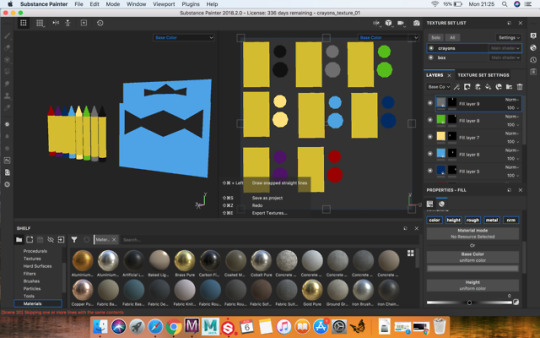
Props Modelling - Crayons
A set of props I planned to add into the scene are the crayons Vuá Satá will be using to colour his drawings so i had to model them and have them ready to appear on the scene.
Although they will not be very clearly seen on the scene it would be good to have some additional props to make the whole a bit more believable.
#myanimationjourney#animation&vfx#semester3#Personal Project#props design#props modelling#crayons#maya
2 notes
·
View notes
Photo
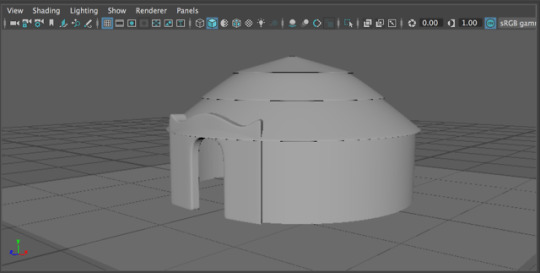
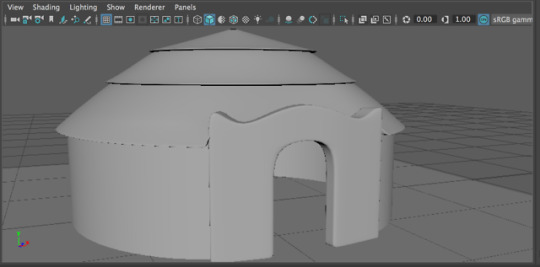
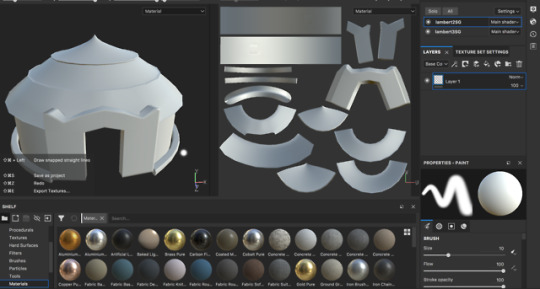
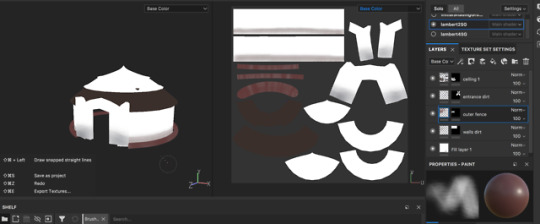
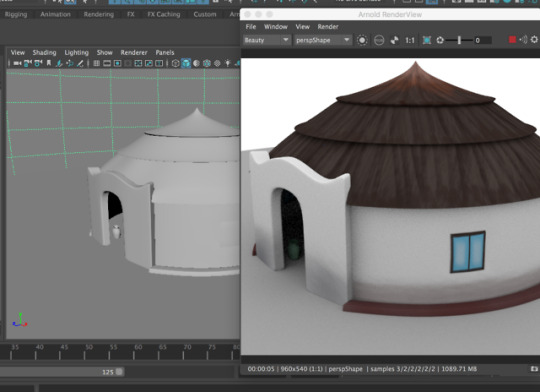
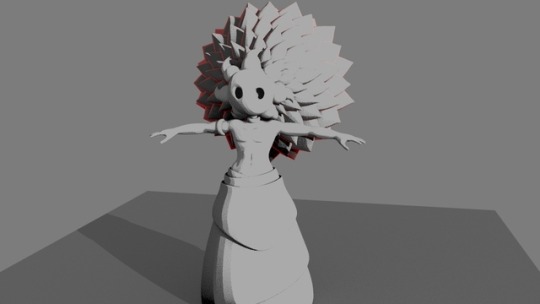
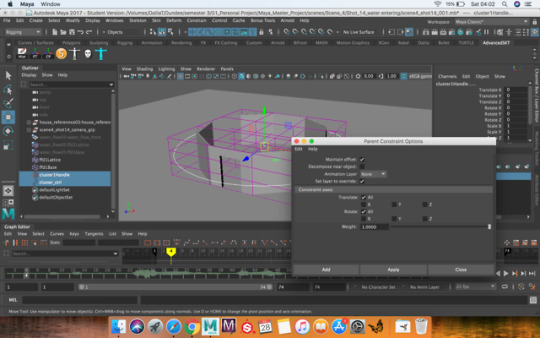
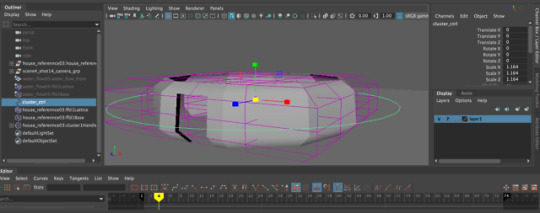
Sun and Moon house Modelling - Final modelling
With the initial basic structure of the house done I simply used it as reference and remodelled its overall structure to look more appealing.
As I did not have the time to design a house myself I used references from other houses to model the final house and simply modified it as I went along to my liking.
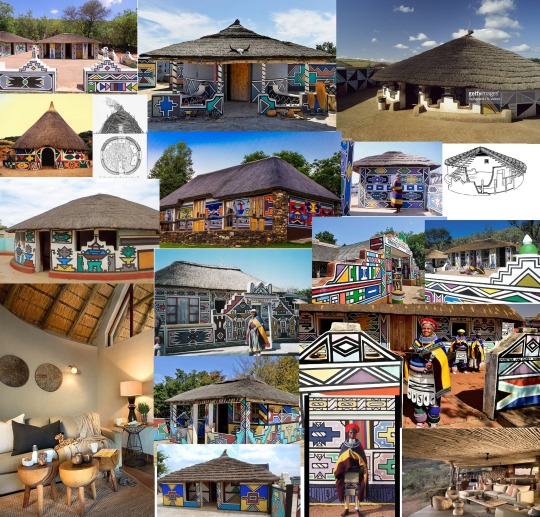
As style of house I looked at for reference was from the Ndebele tribe from South Africa. I quite like the way they colour their house and the patterns are quite unique and appealing. This will be my main point of reference when I came to texture the house.
#myanimationjourney#animation&vfx#semester3#Personal Project#props modelling#props design#sun and moon house#maya
2 notes
·
View notes
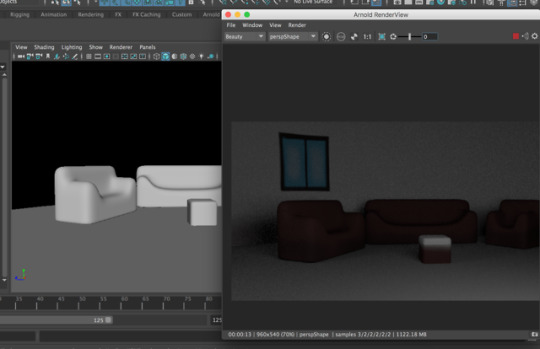
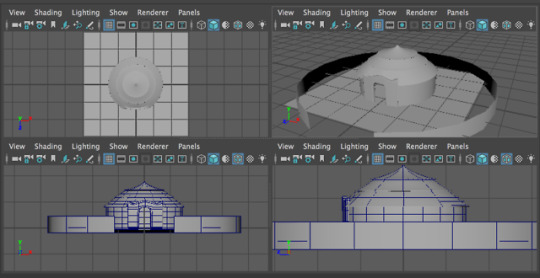
Photo
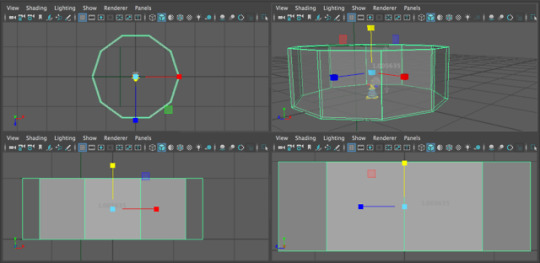
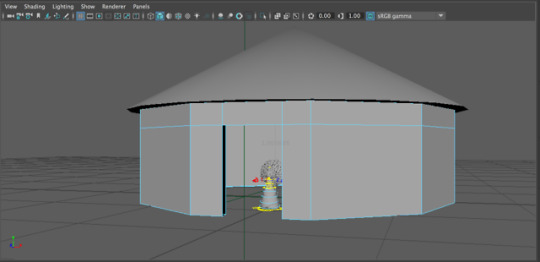
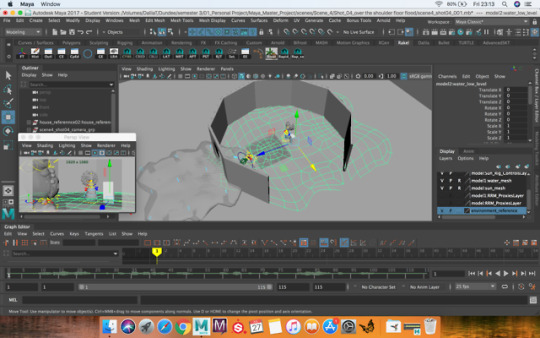
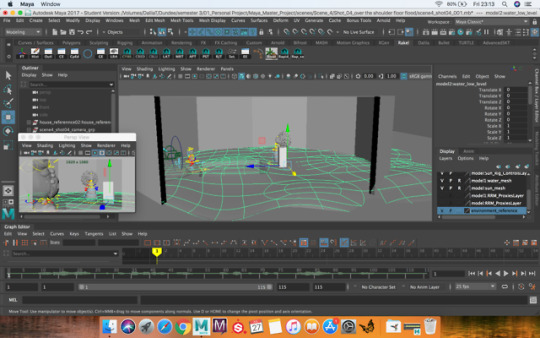
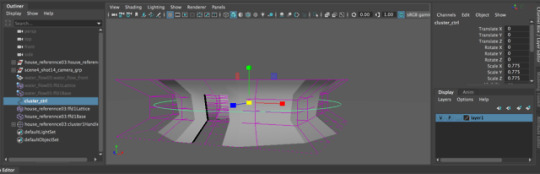
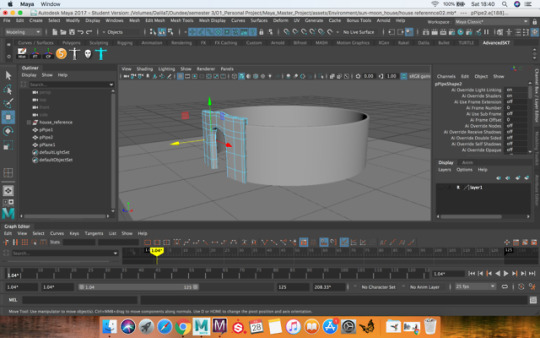
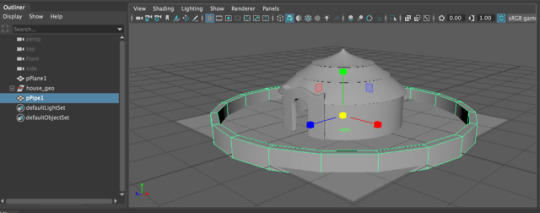
Sun and Moon house Modelling - Initial modelling
As reference for the animation I initially modelled a basic structure of the house of the Sun and the Moon. I also experimented with adding a control to the object which would allow me to later animate it when it was necessary.
#myanimationjourney#animation&vfx#semester3#Personal Project#house modelling#sun and moon house#props modelling#maya
1 note
·
View note
Photo
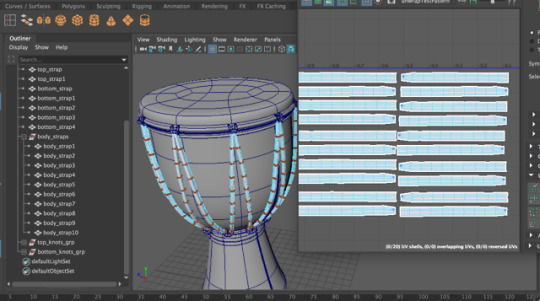
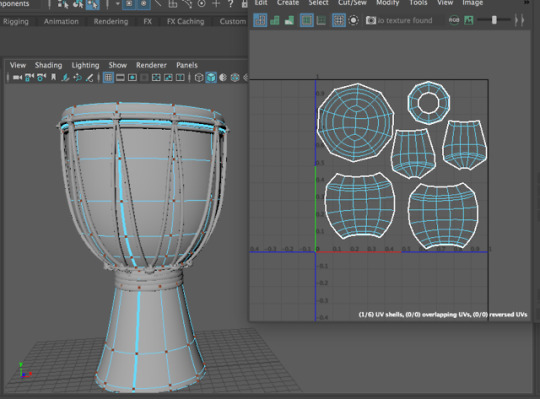
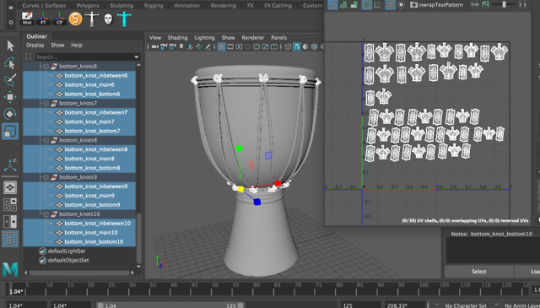
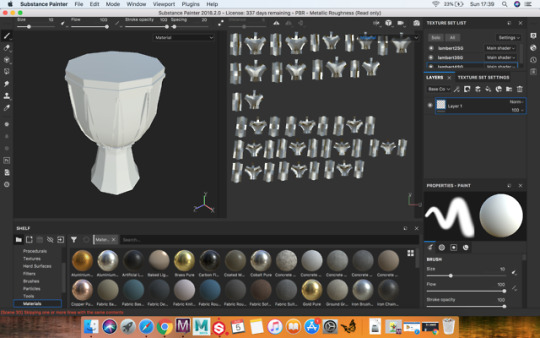
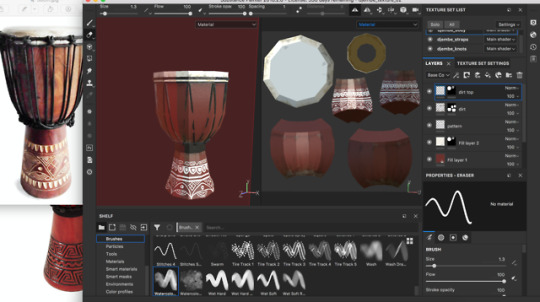
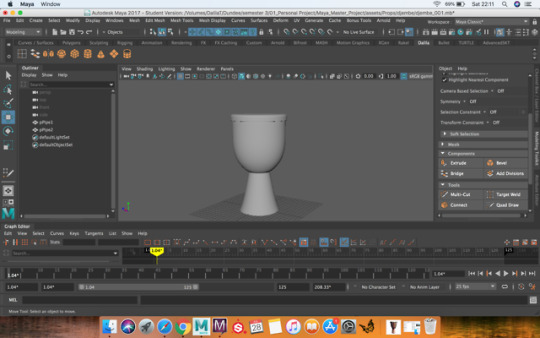
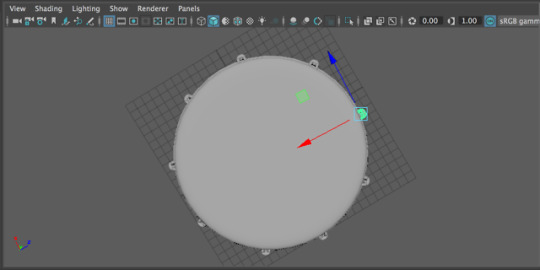
Props Modelling - Djembe UV Unwrap + Posing
#myanimationjourney#animation&vfx#semester3#Personal Project#props design#props modelling#uvunwrap#djembe#maya
1 note
·
View note
Photo
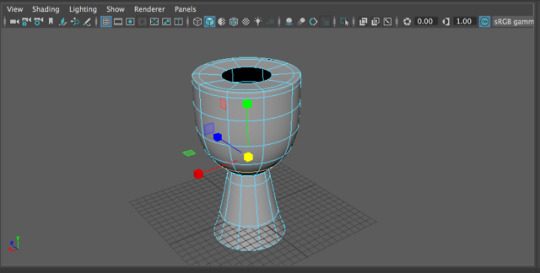
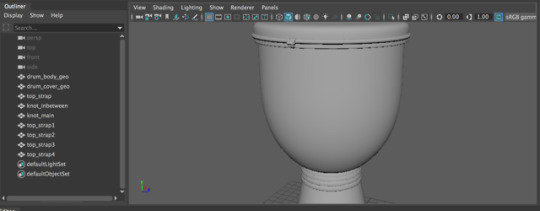
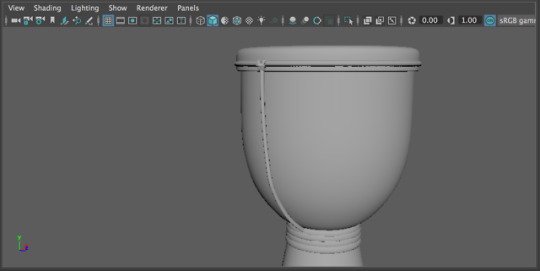
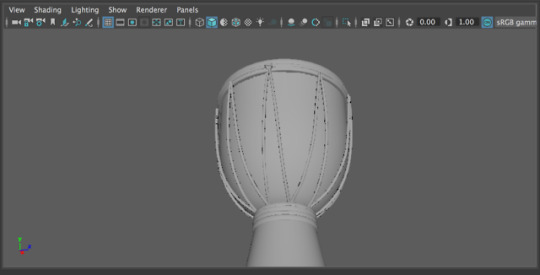
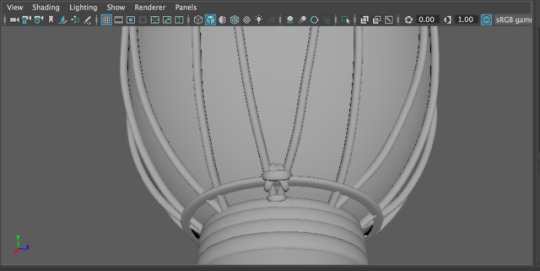
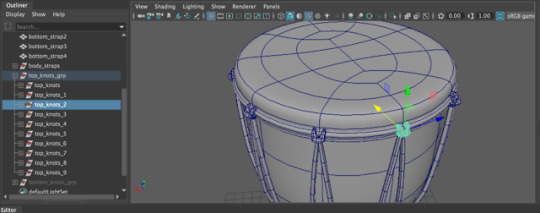
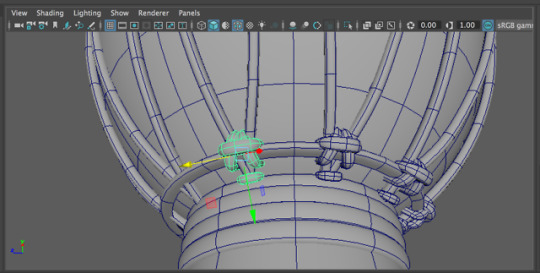
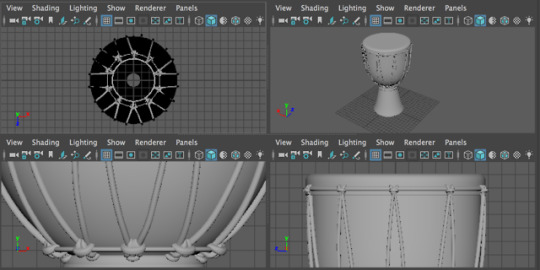
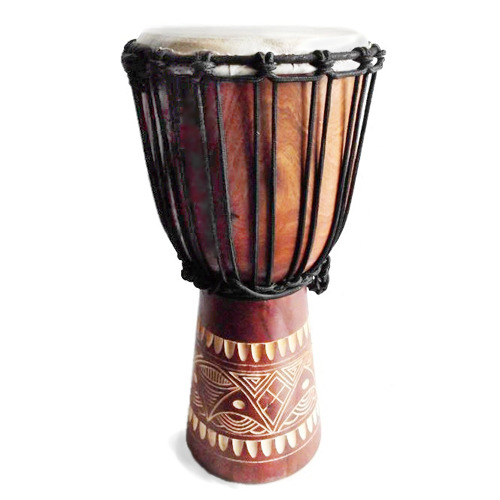
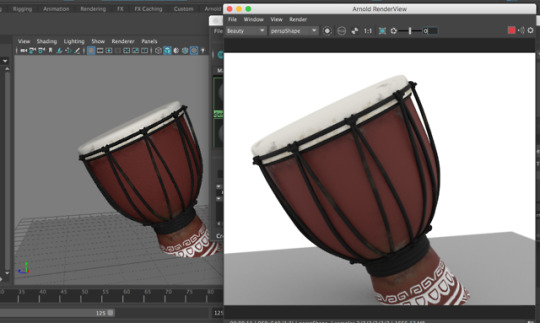
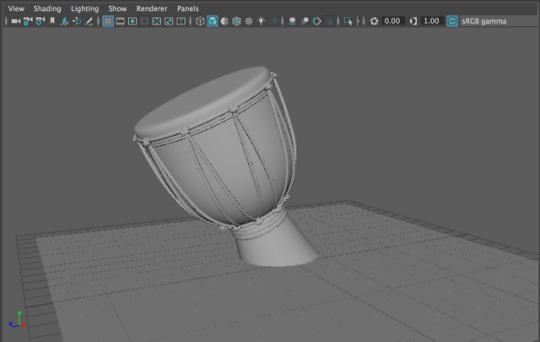
Props modelling - Djembe
With all the characters complete I moved on and started modelling the necessary props. One of the main props I had to model was the drum, the djembe which Vuá Satá hits on the start of the storytelling.
I did not have the time to design my own drum for the story so I simply referenced from an existing Djembe photo and made modifications as I went along.
#myanimationjourney#animation&vfx#semester3#Personal Project#props design#props modelling#maya#djembe
2 notes
·
View notes
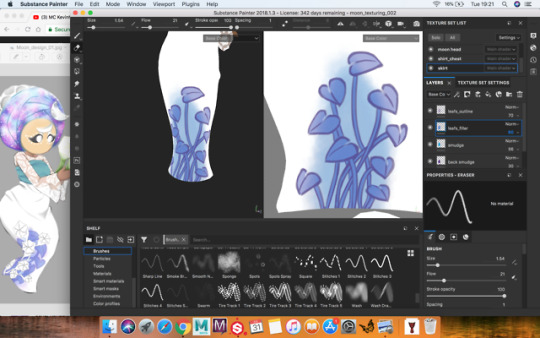
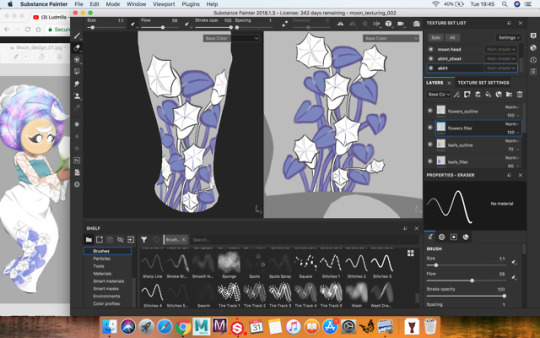
Photo
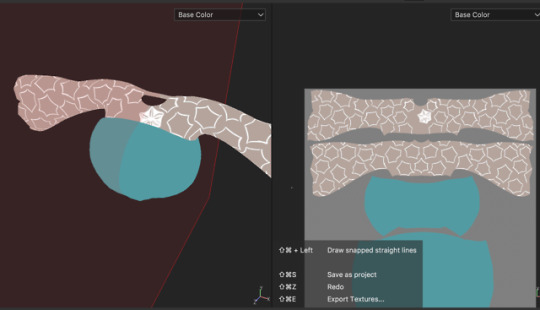
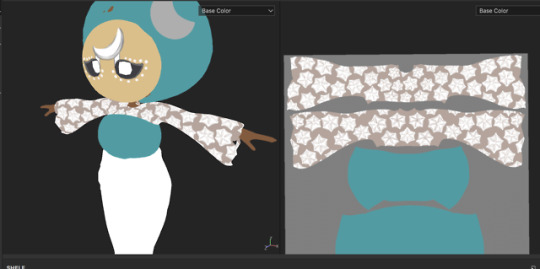
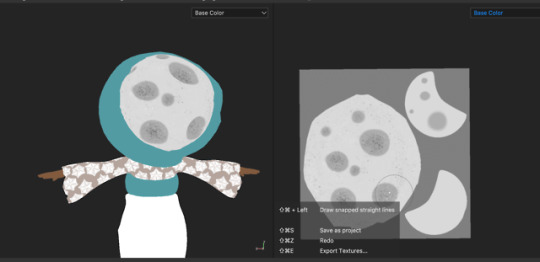
Moon Texturing - Final Texturing
#myanimationjourney#animation&vfx#semester3#Personal Project#moon#substance painter#character texturing#character texture
1 note
·
View note
Photo


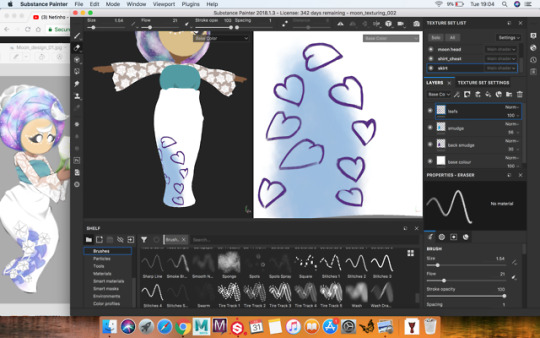
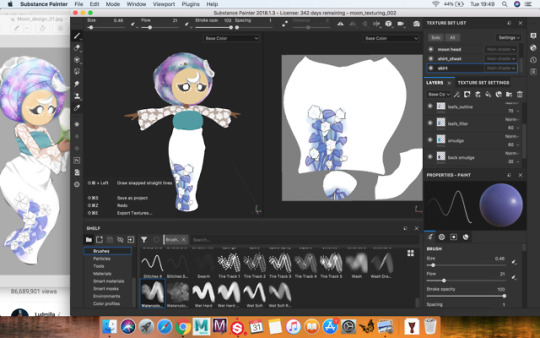
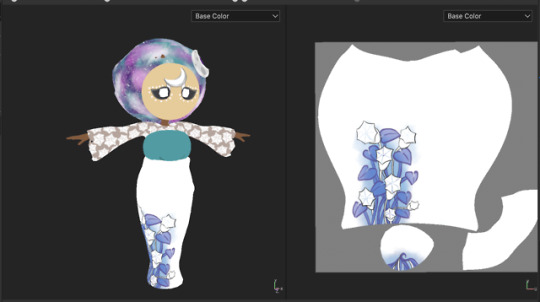
Moon Texturing - Clothing Details
With the base colour in place I started adding the details. Each aspect of the colouring of the textures was painted on free-hand using my drawing tablet. I decided to this similarly as the other characters to maintain the same look as they showcase on the concept design.
It was a time consuming process as I continued to look back at the original design but I was quite pleased with the end result as it started to look exactly as I had initially design it.
#myanimationjourney#animation&vfx#semester3#Personal Project#moon#substance painter#character texture#character texturing#texture
1 note
·
View note