#LabClass
Explore tagged Tumblr posts
Visit Tumblr Blog
Explore Tumblr blogs with no restrictions, modern design and the best experience.
Last Seen Tumblr Blogs


Fun Fact
Average visit duration of Tumblr.com is 10 mins and 25 secs.
Text
Science Classes: Explore the wonders of science with Kiya Learning's comprehensive Science classes in Singapore. Tailored for different grades, our personalized approach and diverse learning options ensure a deep understanding of biology, physics, and chemistry.
#ScienceClasses#ClassroomScience#STEMEducation#LearnScience#ScienceLesson#LabClass#ScienceStudents#EducateWithScience#SchoolScience#ClassroomExperiment
0 notes
Text
in my last food biotech labclass... :(
#im gonna miss this!! this is the most fun ive had in a class... ever i think!#our professor is great and i love her. she even calls me by my nickname!#anyway im currently outside the lab waiting for the guys to prepare the samples#im gonna be a taster in our assignment for sensory testing >:) wish me luck!
29 notes
·
View notes
Photo
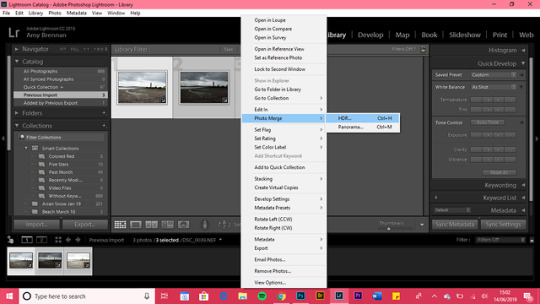
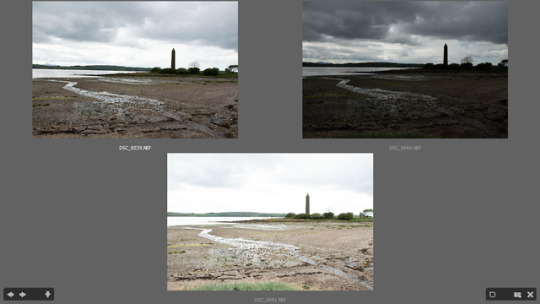

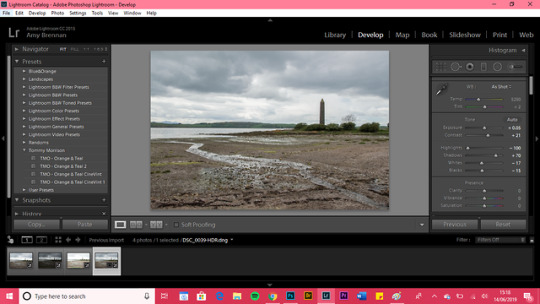
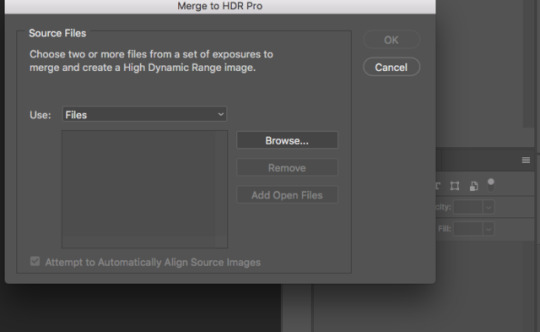
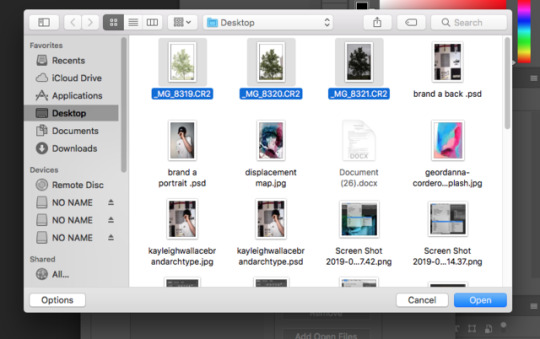
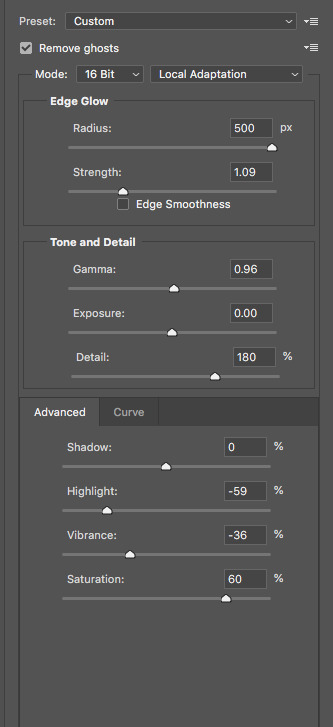
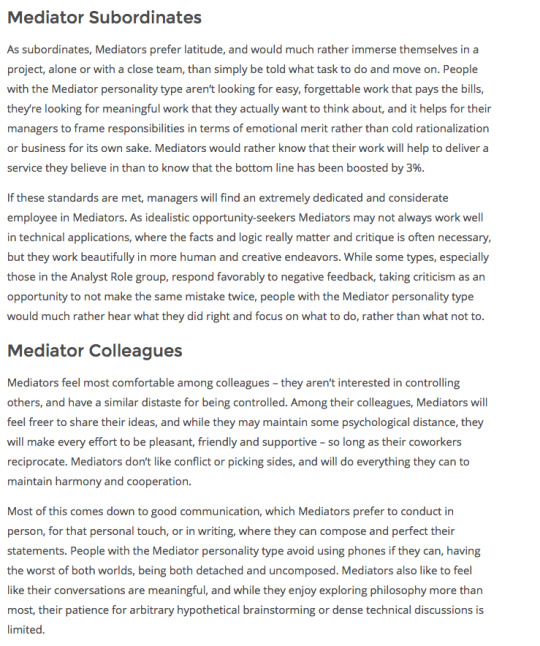
- HDR -
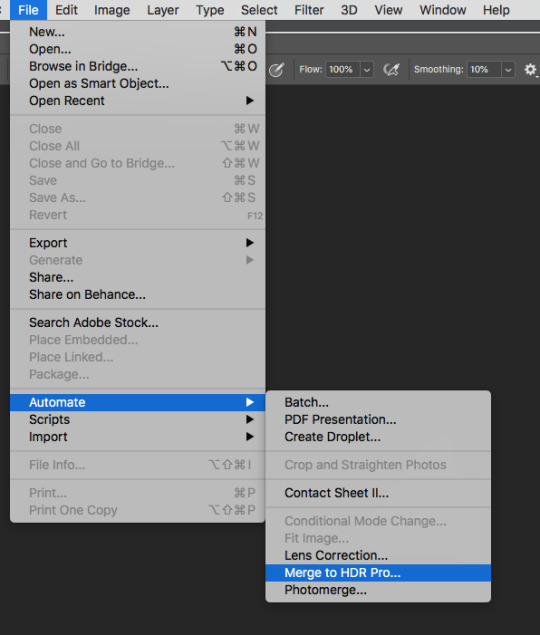
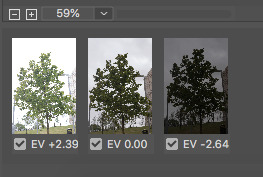
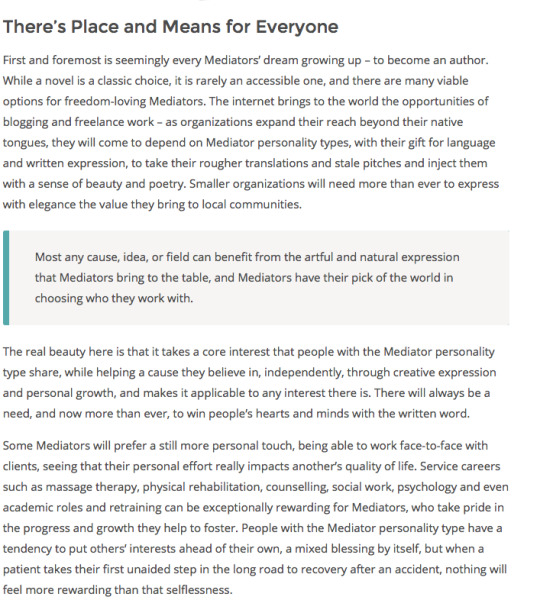
To create my HDR image I decided to use Lightroom as its really easy and straightforward to do HDR images on it. I selected my 3 images I was going to use (Over, Under and Perfect exposure)
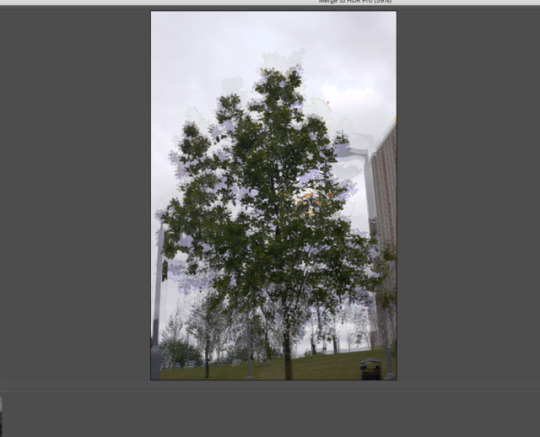
I then clicked on the images, clicked photo merge, HDR then the HDR window opened with the 3 images automatically combined. There was a few options for the ‘deghost’ setting to take away movement/differences in the images but as the image was just of the beach with nobody in it there was no movement apart from the water so decided to go with ‘Low Deghost Amount’.
Once the image has merged and you click okay you can still carry on and edit the image like it was a normal one, I decided just to leave it as it was as i feel it looked good. This was the first time I had ever tried doing HDR but actually really enjoyed it and would definitely think of doing it again.
1 note
·
View note
Photo


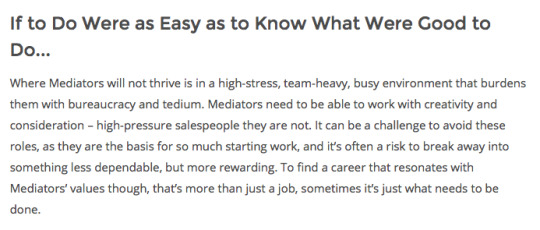
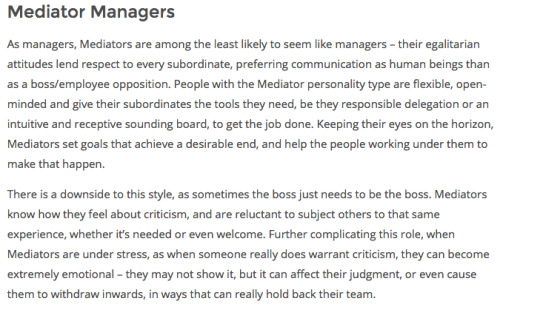
displacement maps in lab class
1 note
·
View note
Text
Character Designs

These are two characters I designed are part of an assessment I did in class. I’m really proud of the work I did. Someday in the future I would these designs for any use.
0 notes
Photo
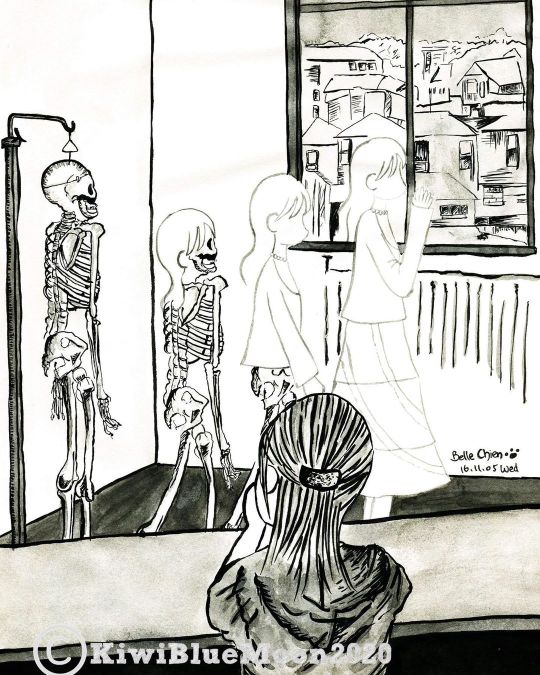
*[Black+ White: Day 22]: Study thoughts 2/讀書狂想曲2* Science labs (or like ones in pathology or anatomy labs), they would always have this model of skeleton sitting in one of the coners. Most of them were just replica of the real thing so it can give the students ideas what the actual things look like. Sometimes you get those moments in class where you just sorta....drifted away thinking about other things (or day dreaming in that case), and thats where you get the odd ideas for illustration from time to time. Good old times in Otago. ----------- I suppose, she was once like this, gazing out the window, looking at the view afar. ----------- 我想、她也是曾經這樣的對這窗外的景色一樣的陶醉吧! ----------- . . . . . . . . . . . #skeletonart#thepast#骨#anatomylab#labclass #sciencelab#onceinakiwibluemoonart#creativework#womenofcreation#womenartistsofinstagram #inknovember2020#inknovember#inkfeature#inksketch#inkillustration#アートワーク#アートギャラリー#アート好き#アート#アーティスト #台灣插畫#圖文#繪圖#malerei#künstlerin#illustration_dpi#womenofillustration#creativewomen#feministjazzy (at University of Otago) https://www.instagram.com/p/CHrTdjhnVgg/?igshid=hfhqszh55n88
#skeletonart#thepast#骨#anatomylab#labclass#sciencelab#onceinakiwibluemoonart#creativework#womenofcreation#womenartistsofinstagram#inknovember2020#inknovember#inkfeature#inksketch#inkillustration#アートワーク#アートギャラリー#アート好き#アート#アーティスト#台灣插畫#圖文#繪圖#malerei#künstlerin#illustration_dpi#womenofillustration#creativewomen#feministjazzy
0 notes
Text
Puppet Warp
To test try this get an image of someone with there arms and legs separated
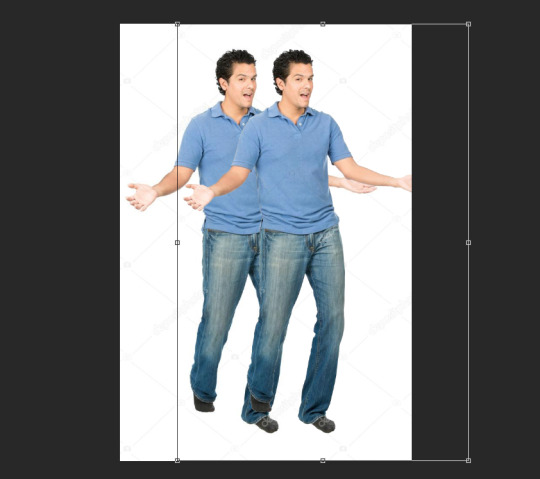
You will then bring this image into photoshop, duplicate the layer, select him and cut him out of the white background
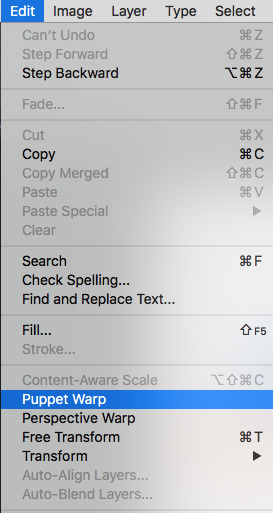
Once you have cut him out of the white background you will then go to edit - puppet warp
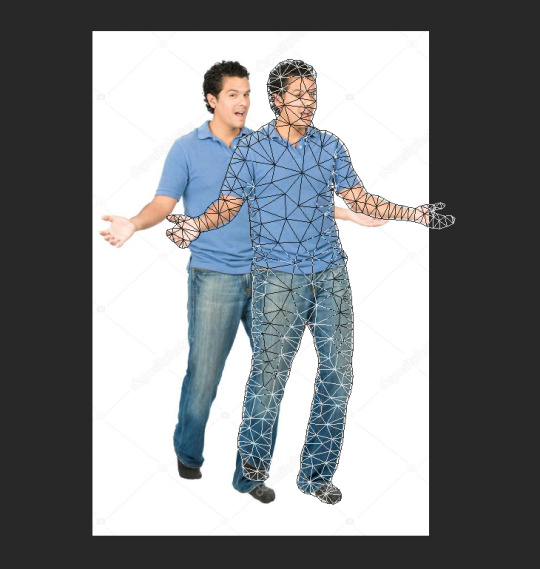
This pattern will go over the model you have selected and you will then create anchor points on the model for parts you do not want to move
Then click on a part you will move like the arm and drag it to where you want it to go
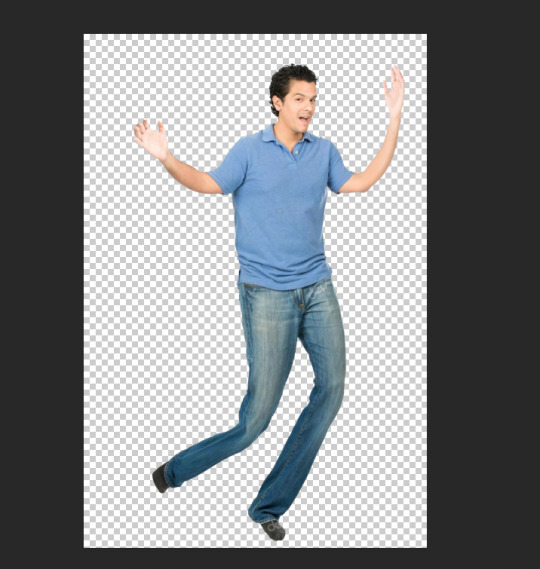
This is what the model looks like with its arms and legs moved using the puppet tool
0 notes
Photo
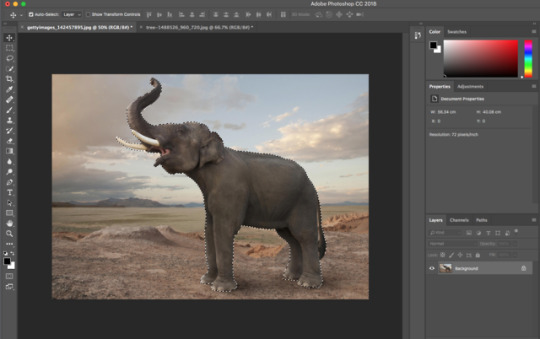
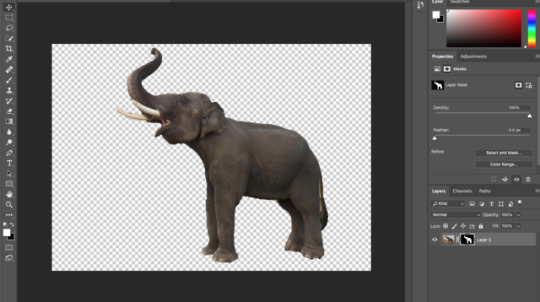
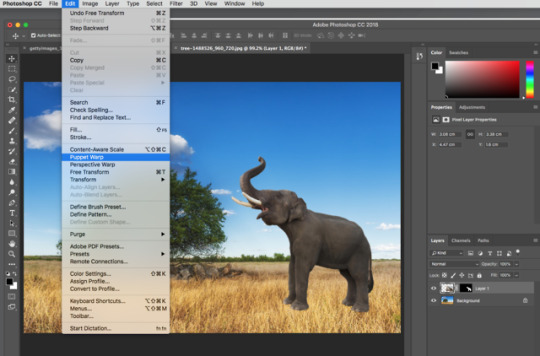
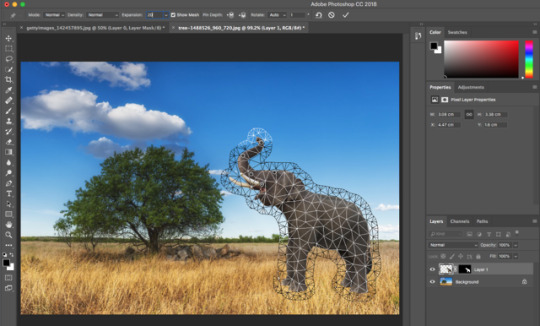
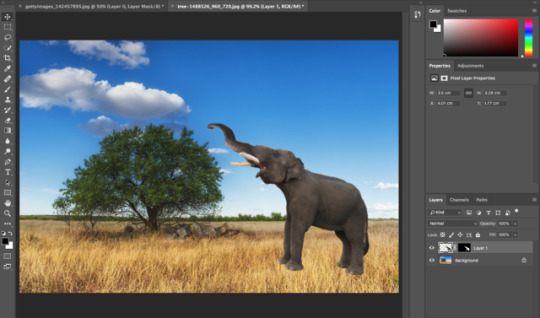
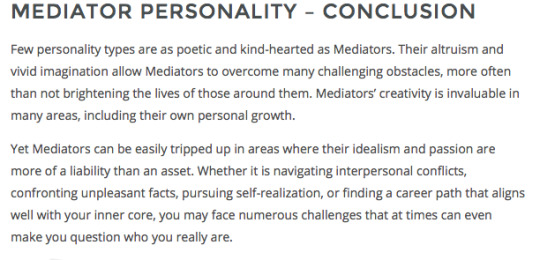
PUPPET WARP
To use the puppet warp tool, I took an image of an elephant as I found that moving the trunk would be a good demonstration. To begin with, I quick selected the elephant and made sure my selection was as accurate as possible. I then used select and mask to place the elephant into another background as not to warp the background as well as the subject. While on the elephant layer, i then went onto Edit and Puppet Warp which then selects the subject automatically. I then changed the expansion to 20 to create more space around the elephant and then began moving the trunk. Once I successfully moved the trunk to where I wanted, I then clicked enter to complete the action.
0 notes
Photo
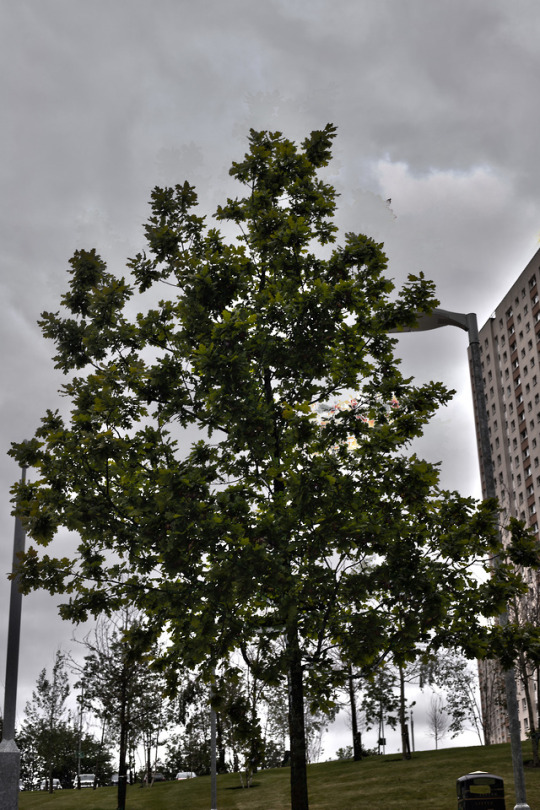
HDR.
I got stuck near the end and this is the best I could achieve on my own.
0 notes
Photo
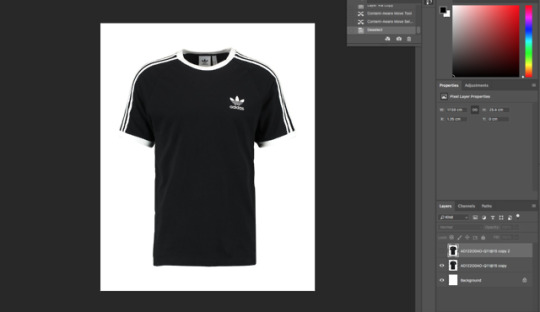
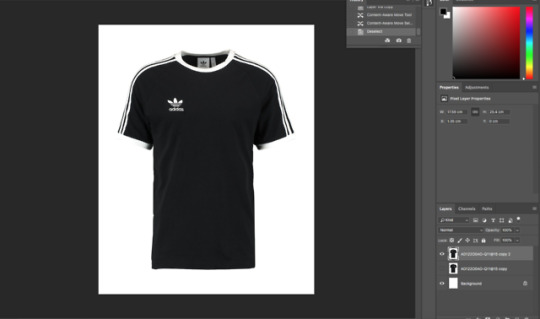
Used content aware move tool to move logo from original side to opposite.
0 notes
Text
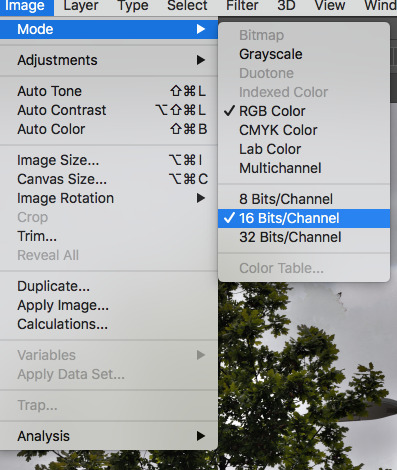
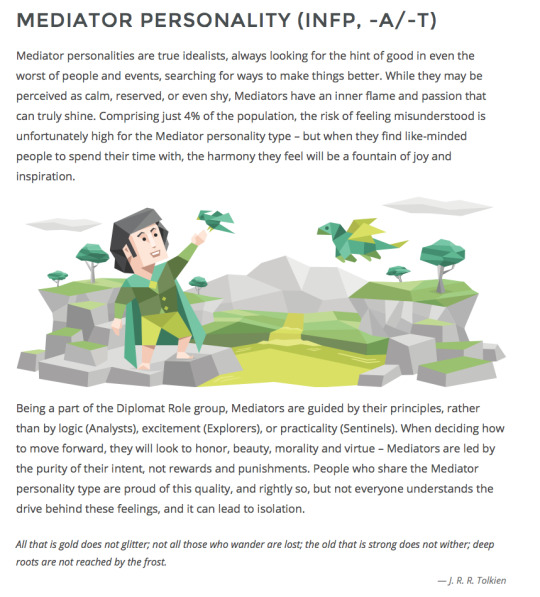
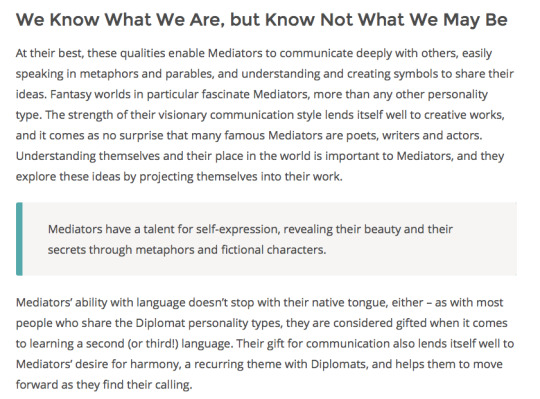
16 personalities quiz
https://www.16personalities.com
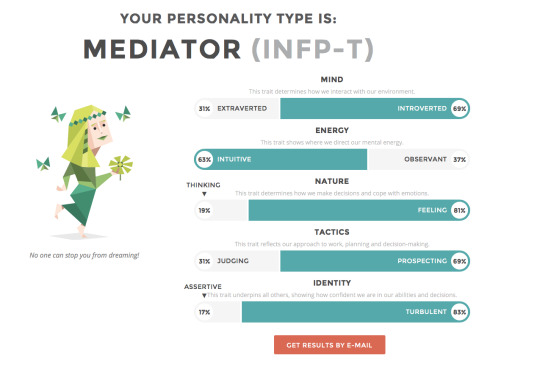
What I agree with:
0 notes
Photo
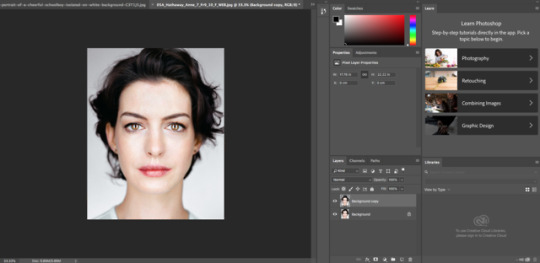
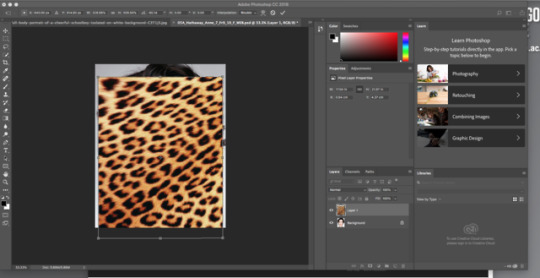
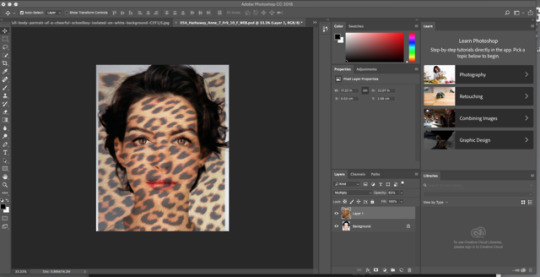
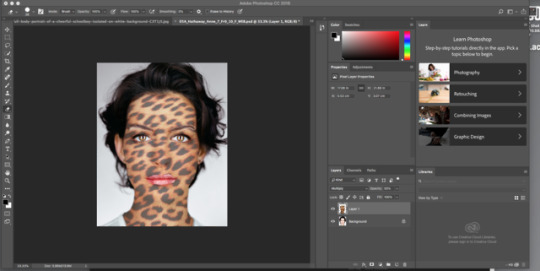
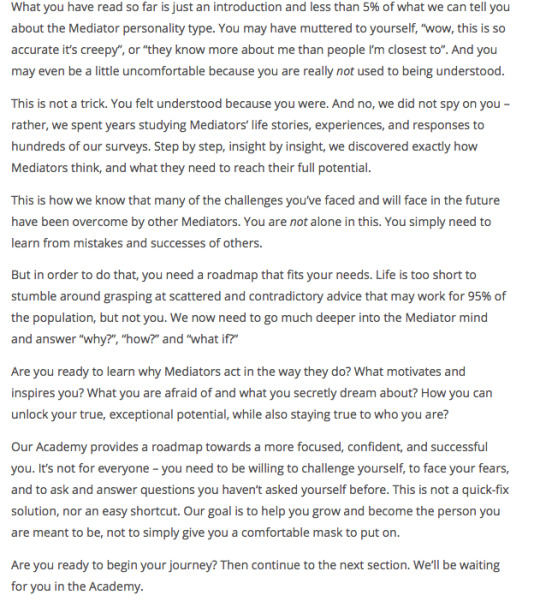
- DISPLACEMENT MAPS BRIEF / LAB CLASS -
In lab class we were learning all about displacement maps and how to do them, the following is the step by step process that I took to do this technique:
Open up the image you wish to use and create a duplicate layer.
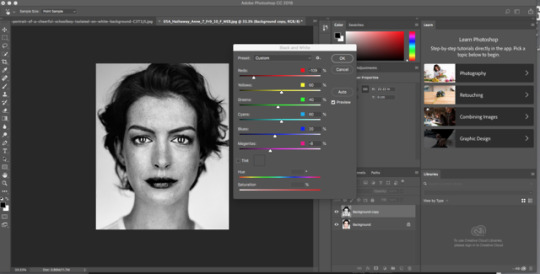
Then go to image, adjustments and change to black and white
Using the level sliders, adjust the image to create more contrast, increasing the black and the white levels.
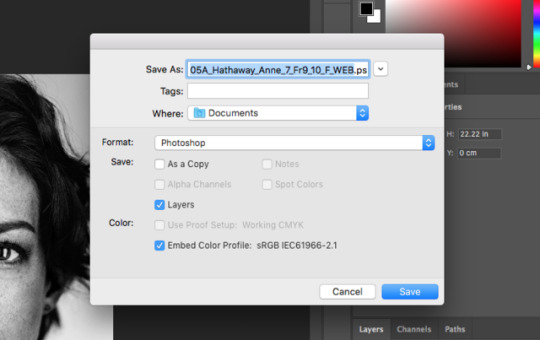
Once happy with the black and white image, save it as a PSD file.
Delete the duplicate layer than you created, turning it back to the original.
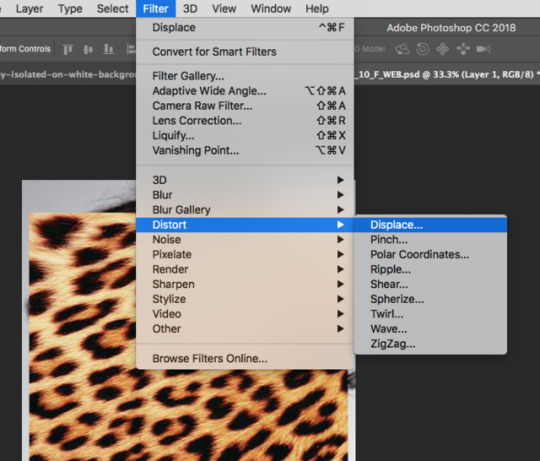
Open up the pattern/texture image you want and drag it over to your original photo, placing it over the area of the image you want it to cover.
Then go to filter > distort > displace and click ok.
You will then be asked to open up the PSD file that you just saved.
You will then see it forming into the original image and fixing it into it, try out different layers such as multiply, try out the opacity level too so you see more of the bottom image.
This is something I enjoyed doing as I had no idea about it before trying, it was fun to play about with it and try out different patterns and images to use.
1 note
·
View note


Text
RECORDING A SET ON ADOBE PHOTOSHOP- Imaging Class.
Step by step guide on how to record a set using Adobe Photoshop...
Windows -> Actions
This records every step you make.
New set, Create a set, New action (then name it relevant to what your doing eg, Black & White conversion)
Press the record button, The recording dot will then turn RED.
Apply a gradient map, Set this to black and white.
Flatten layers.
Adjust the image size.
33% height and width.
Stop the recording.
Close photoshop without saving.
Tools -> Image processing -> Run action 6x4 -> Run.
0 notes
Photo
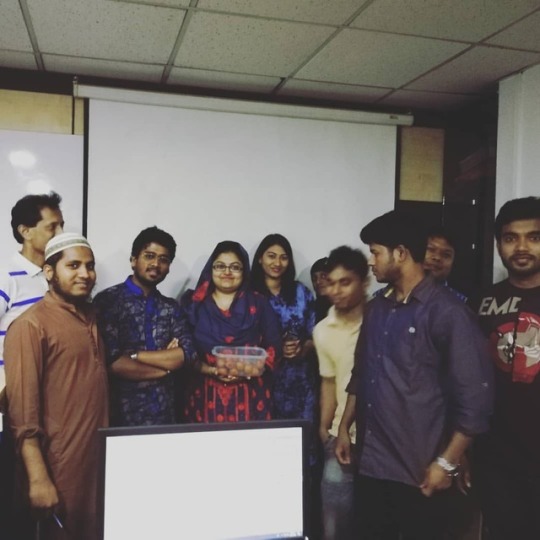
Winning success student #ludwig #homemade #sweet #graphicdesigner #freelancer #success #students #graphicdesign #course #classroom #labclass #itinstitute (at Creative IT Institute Of Bangladesh)
#labclass#sweet#freelancer#students#classroom#course#graphicdesign#success#ludwig#graphicdesigner#itinstitute#homemade
0 notes
Photo

Bumper sticker of the day #anthropology major #collegestudentsthesedays #hope forthefuture #classmate #feminist #labclass #archaeologystudent #digthis (at Physical Sciences building Moorpark College)
0 notes