#sashapack_tutorial_Maki
Explore tagged Tumblr posts
Visit Tumblr Blog
Explore Tumblr blogs with no restrictions, modern design and the best experience.
Last Seen Tumblr Blogs


Fun Fact
Tumblr was named as a finalist in Lead411’s New York City Hot 125 in Aug 2010.
Text
Continue in the process of creating a costume on Maki Nishikino ~

Now we make the blue part of the skirt. The white fabric painted in a cage and the blue one are glued together with the help of an adhesive spider web
After we glued these parts together. At the bottom, we carefully sew a gold ribbon and sew the details together

Next, I make a belt for a skirt about 6 cm thick. I also glue it with a spider web, so that it is more dense and carefully fold the skirt into a light fold

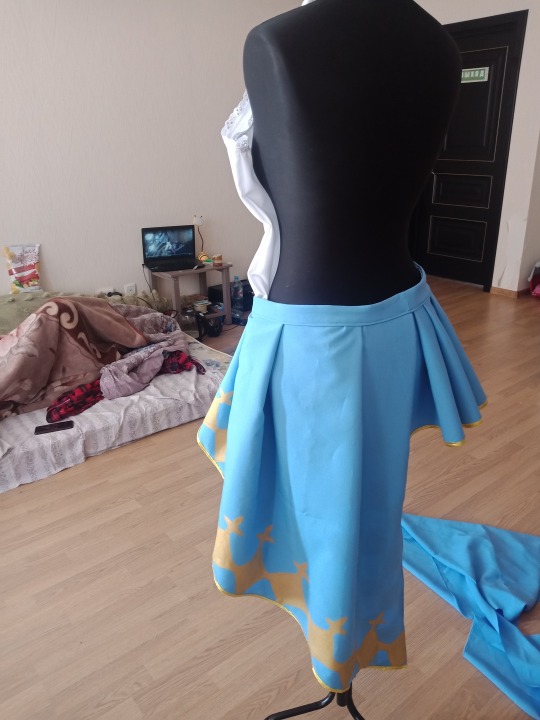
This is what my skirt looks like right now~
Very soon there will be a sequel~
#love live school idol project#loveliveschoolidolproject#maki nishikino#sashapack_tutorial_Maki#cosplay#anime#process#tutorial#handmadework#handmade work
2 notes
·
View notes
Text
Continue in the process of creating a costume on Maki Nishikino ~

Now I've finished the all-white part of the costume. I sewed all the ribbons on the bottom of the skirt and connected them to the top. This is roughly what my costume looks like at the moment

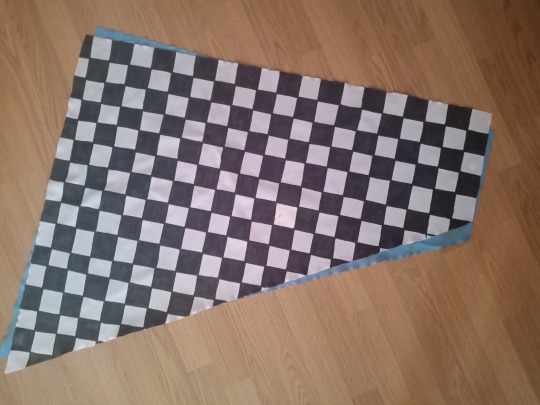
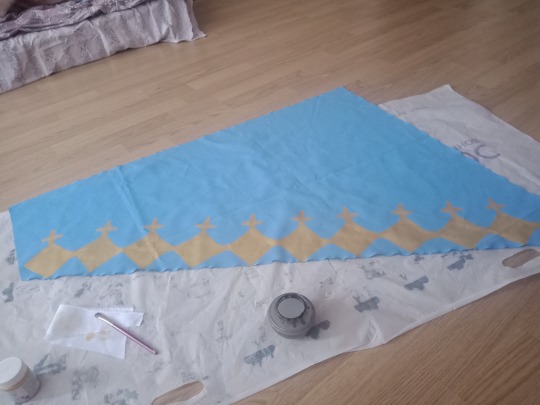
Now if you look at the picture with the Maki, we have a blue skirt on one side and a checkered skirt on the other. Since I did not find a similar cage in our stores, I came to the conclusion that we will draw it
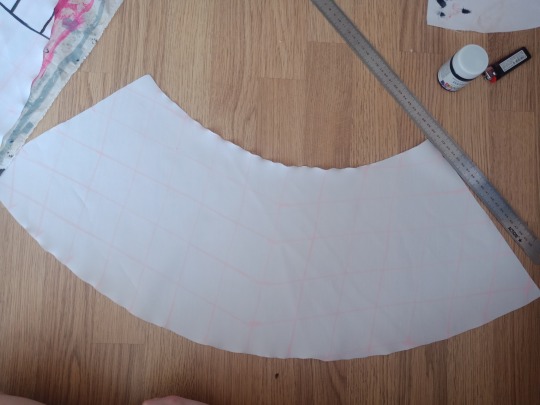
I cut out three parts of the half-sun skirt from white fabric and prepared three similar parts from blue fabric in advance The size of the cell I took 5X5
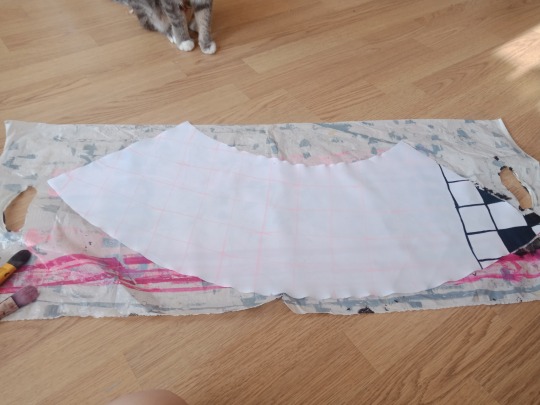
I did the same with the extended wing that is connected to the skirt. Its length I took 80 cm at the lowest point, and since there I will need it to be at an angle, the second point I took a length of 25 cm. The wing width is 150 cm (since we also need to make it slightly wavy).) And I also drew a cage on it


On the blue fabric, we also draw a pattern like on art. Of course, it was possible to make it easier and order stickers with this pattern and stick them, but I'm not looking for easy ways So I made a stencil and used it to draw this pattern

The pattern was not very smooth, but since I am still studying in the art of drawing on fabric, this result is also good
#love live school idol project#loveliveschoolidolproject#maki nishikino#sashapack_tutorial_Maki#cosplay#anime#process#tutorial#handmade work#handmadework
1 note
·
View note
Photo

I needed 1.5 m of white fabric for the suit at the moment. First I cut out 4 pieces of half-sun for the top of the skirt. The length of the upper skirt, I took 25 cm. You can calculate the coefficient of the half-sun skirt using the formula: (Half-waist + 1-1. 5 cm on the seams) and multiply everything by 0.64. In order not to re-build the drawing on the fabric every time, I advise you to make a pattern. So it will be easier for you. PS. I just immediately cut everything on the fabric, as it is more convenient for me~

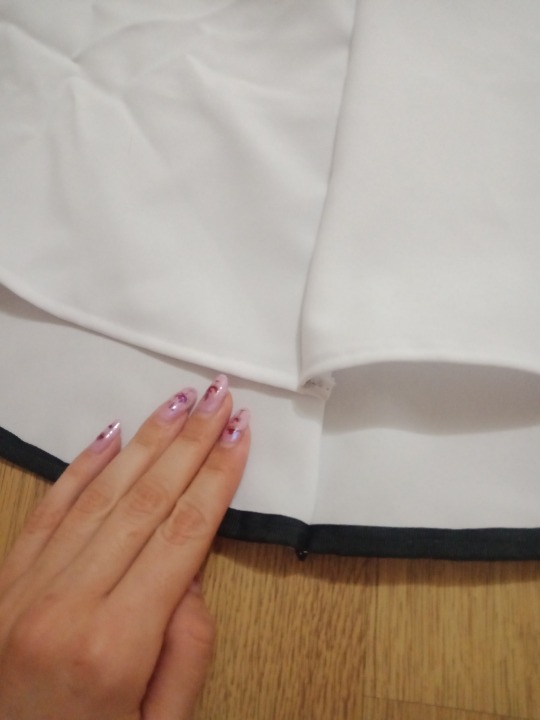
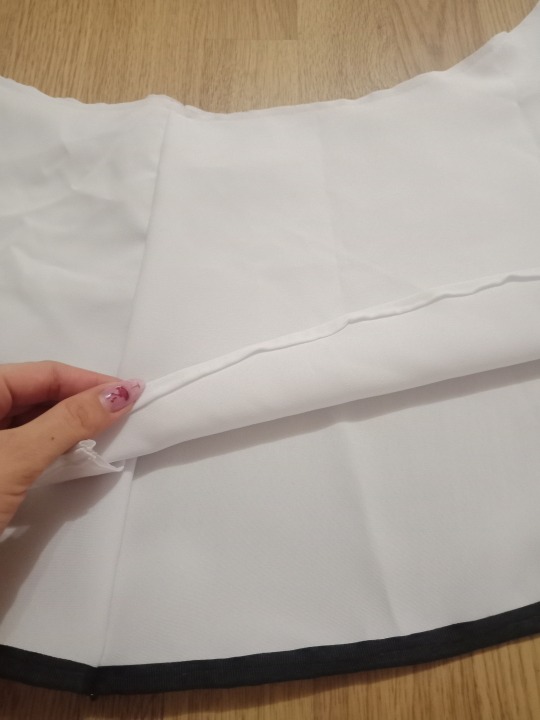
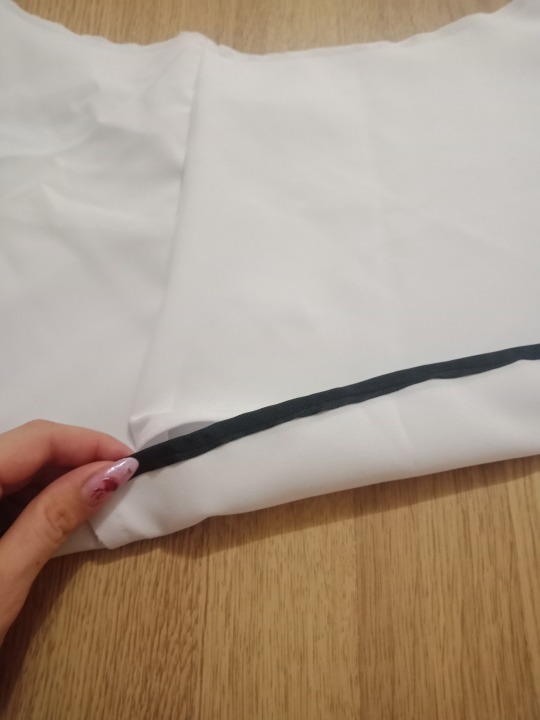
Next, I made the skirt a little longer than the top. Its length I took 30 cm. The calculation was carried out in the same way as with the upper part. Next, I pinned a black ribbon on the lower part of the skirt and stitched it. On the top of the skirt, I just carefully tucked the bottom. I connected all the parts of the skirt together. Upper part (25 cm) and lower part (30 cm)
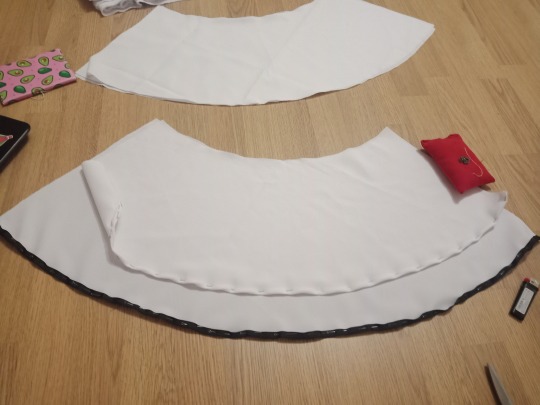
I connected all the parts of the skirt together. Upper part (25 cm) and lower part (30 cm).
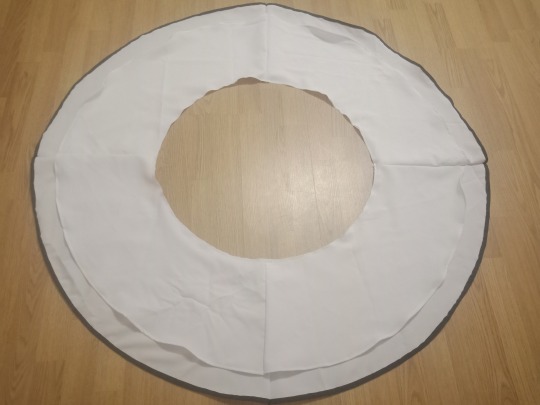
The skirt may turn out to be very large in your opinion, in the diameter of the waist, but do not forget that it has a slight crease. Therefore, each part needs 4 pieces. At the moment, I have finished working only with the skirt, as I proceed to the top, I will also capture everything step by step and post it~~
#cosplay#tutorial#love live school idol project#loveliveschoolidolproject#maki nishikino#cards#process#sashapack_tutorial_Maki
1 note
·
View note