Statistics
We looked inside some of the posts by 3dpainttool and here's what we found interesting.
Average Info
Notes Per Post
461
Likes Per Post
262
Reblog Per Post
199
Reply Per Post
0
Time Between Posts
1 month
Number of Posts By Type
Photo
14
Link
2
Text
1
Last Seen Tumblr Blogs


Fun Fact
Tumblr has been banned in Indonesia for providing people with access to pornographic content.
Photo
minimalism.
Low poly character. (shape based) No texturing. Stop motion 3D animation GIF loop.
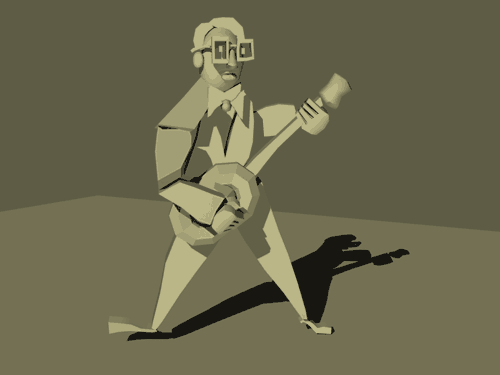
the originator
35 notes
·
View notes
Link
0 notes
Photo
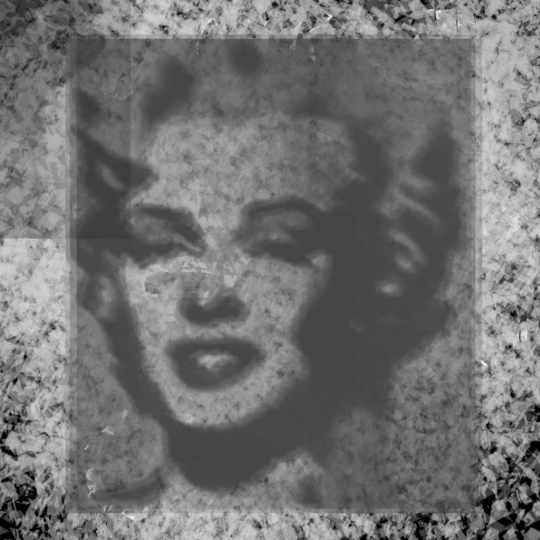
Lynn Leland (American b. 1937), “For Gustav Mahler”, 1964, Acrylic on canvas, 33 x 33 in.
303 notes
·
View notes
Photo

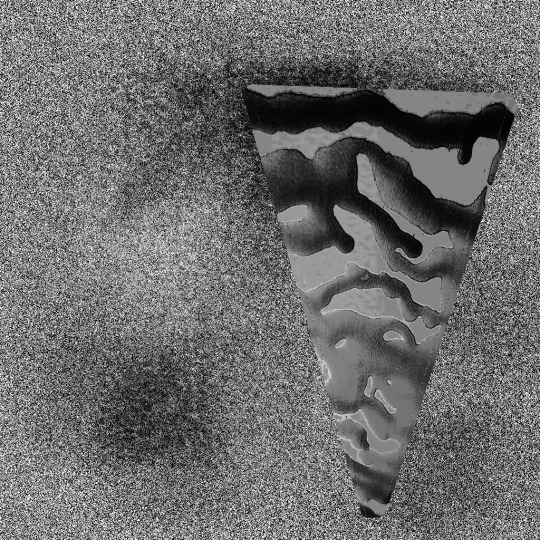
An Experiment in Perspective :: John Chervinsky
39 notes
·
View notes
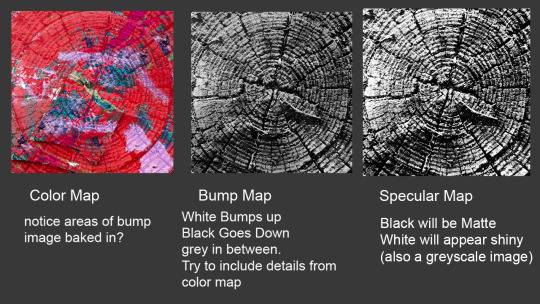
Photo
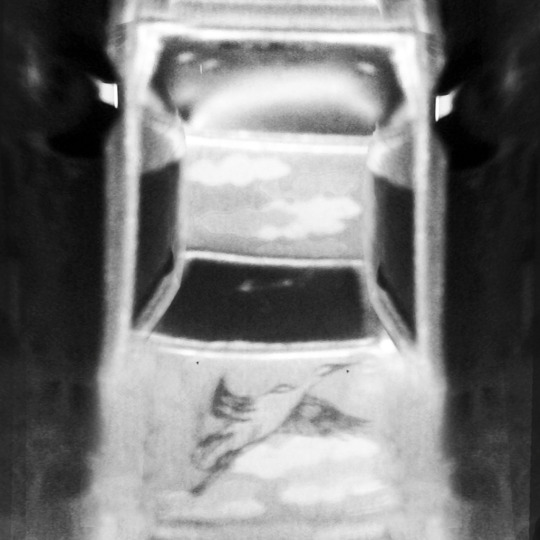
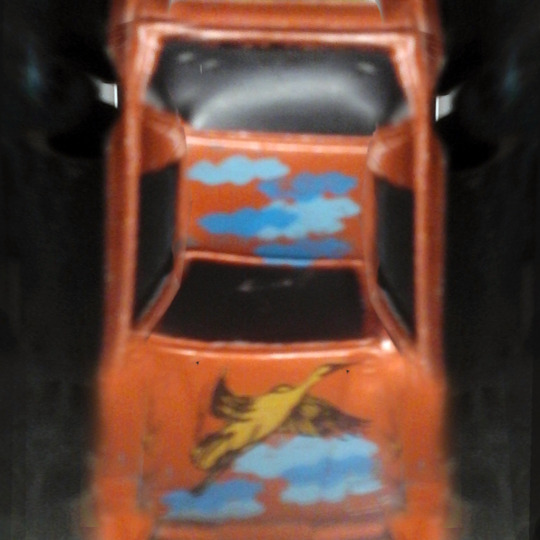
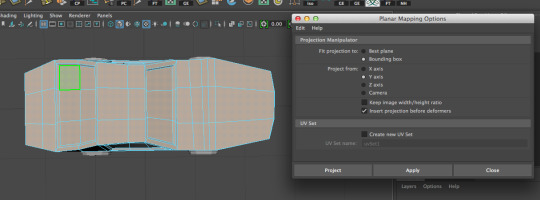

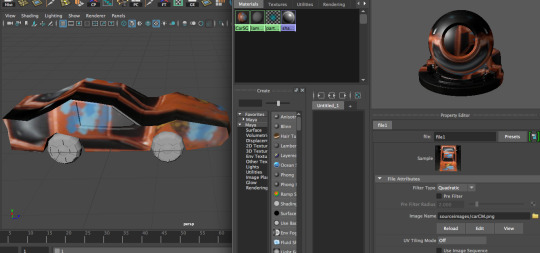
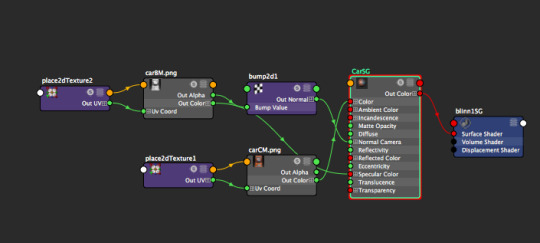
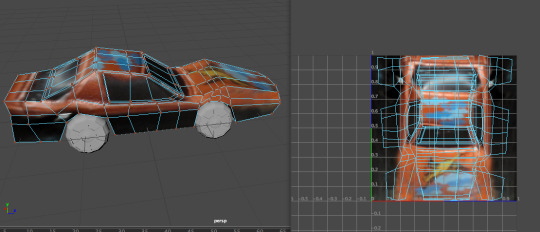
In Class Collaboration, continued. Texturing the car, using file textures
1. save the texture maps from this post. (the color map and bump map)
2. Select all of the faces on the car model on the top and bottom of the car.
then use the planar mapping UV function to project from the y axis
3. Select all of the faces on the car model on the car sides.
then use the planar mapping UV function to project from the x axis
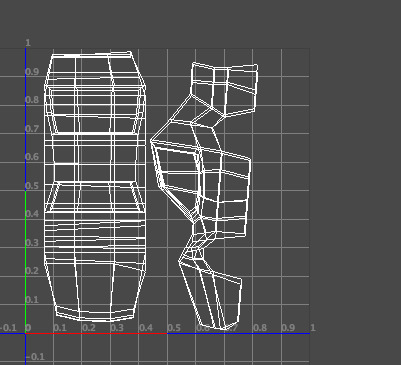
4. You have all of the UVs laid out now, but maya fills the top right quadrant each time you project them. To fix this, select the UV shells and scale them to they are proportional
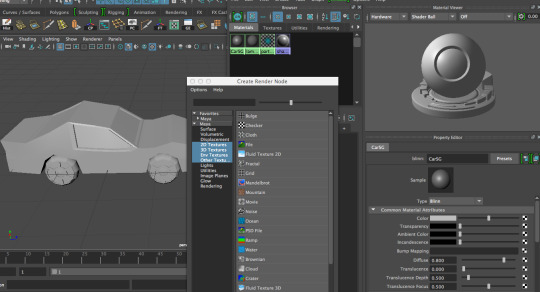
5. create a blinn material and apply it to the car mesh. (call it Car SG)
apply the color map file to the color, and the bump map file to the bump.
6. in the hypershade, right click on the car material, and select “graph network”
now pull the file node from the bump file and apply it to the specular attribute of the material.
7. rearrange the uvs, using transform, rotate, and scale, in the uv editor so that they match up/ align to the image.
4 notes
·
View notes
Text
texturing: Using the 3D paint tool
Texturing in Maya: Using the 3D paint Tool:
(with UVs done)
1.Make sure you are in the rendering drop down menu in the top left corner
2. select your mesh. (UVs should be created at this point) Go to texturing> 3D paint tool options box.
3. To make your mesh paintable, you must first assign a texture to it, by clicking the Assign/Edit textures button.
4. select your desired image size and file type. I suggest using at least 1024 X 1024.
5. First, I like to use the “Flood Paint” option under the Flood tab. I set the opacity to 1, and select a desired color for the under-painting color. Hitting this button colors your entire mesh one solid color.
6. Painting color- I recommend varying your brush size, opacity, and brush type. Have fun!!
To change brush size: hold down B and middle mouse drag until you get the desired size. (or use the radius slider in the Brush section)
7. To save your textures: either hit “save textures” under the File textures section in the tool, or just save your file. The images will be output to your project directory in the 3D paint textures folder.
8. you can select the Attribute to Paint: color, bump map, specular map, etc, under the File Textures Section. Also in this section, you can click “update on stroke” so It will update the color on your model as you paint.
9. If you click the file folder button next to Artisan, in the Brush section at the top, you can paint using some really cool textured brushes, or load your own to use.
Highly recommended.
10. The way I usually begin texturing is by taking my time, and having fun in the 3D paint tool, adding a good amount of detail. Then I save out my images, and create the other maps in photoshop, using the color map as a starting point.
11. I always rebuild my shaders after using this tool, because some renderers don’t render the nodes with 3d paint tool connections. To do this, go into the hypershade, and right click on your material, then> click graph network. All of the connections will show up like a family tree. Then drag over all of the lines connecting to your shader, then click the delete key.
12. To Rebuild the shader In the Hypershade:
To assign extra attributes to your shader: just double click the material in the Hypershade, so it will open up in the Attribute Editor. To add another attribute, just click the checker icon to the right of the desired attribute, ex: color, bump, specular color, etc.
13. After clicking the checker icon, select file, and then navigate to your file.
Extra Notes:
*don’t forget to do test renders. Bump value always needs to be turned down.
*I recommend always using at least a unique color map, bump map, and specular map for important objects
5 notes
·
View notes
Photo
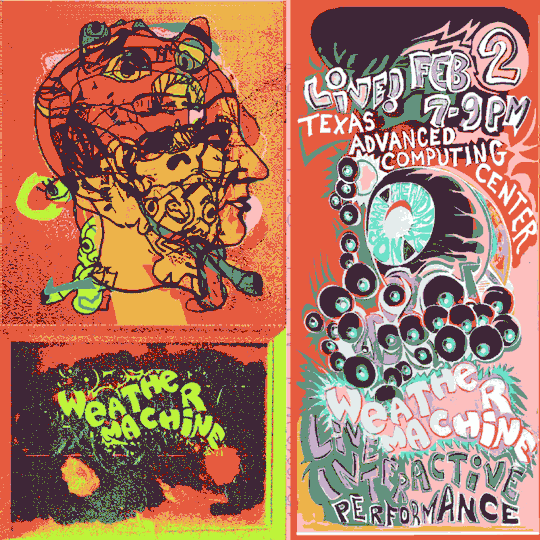
Weather Machine Live Interactive Performance Friday, February 2 at 7:00pm to 9:00pm TACC Visualization Laboratory, Peter O'Donnell Building for Applied Computational Engineering and Sciences (POB), Room 2.404a 201 East 24th Street (Southeast corner of Speedway and 24th Street)
59 notes
·
View notes
Photo
texture tutorial (WIP)
2 notes
·
View notes
Photo
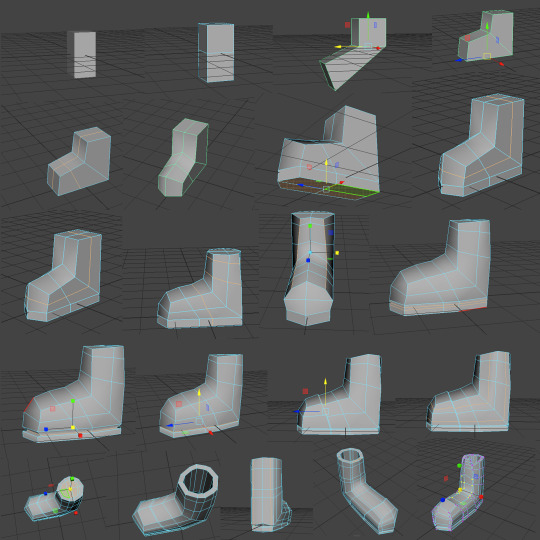
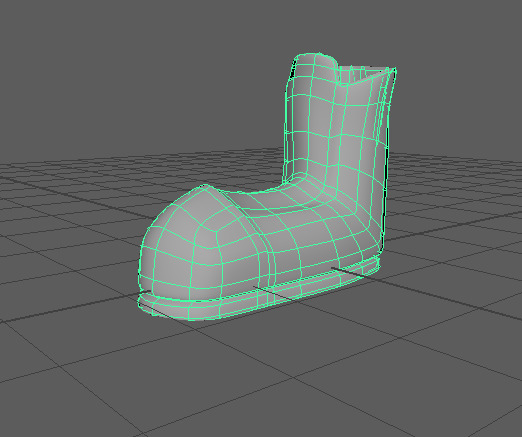
Modeling a sneaker in 3D. Difficulty: easy
Here is a step by step of a process to model a simple shoe. I didn’t use any reference, so it looks like a cartoony Bart Simpson/ old school converse style by default, but if you change the proportions around you can fit it to any sneaker with the underlying structure/ process by just moving the verts around.
5 notes
·
View notes
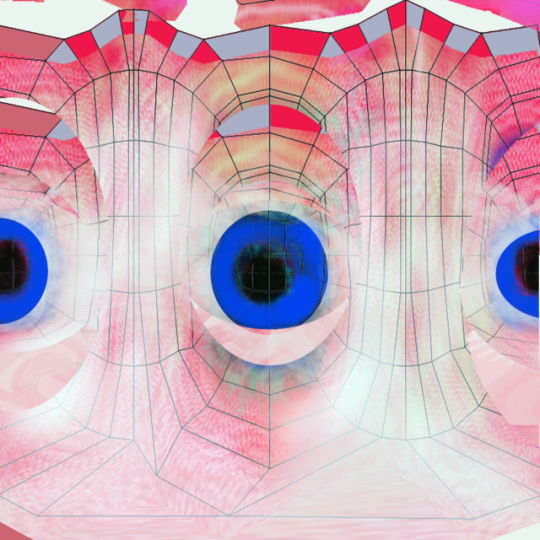
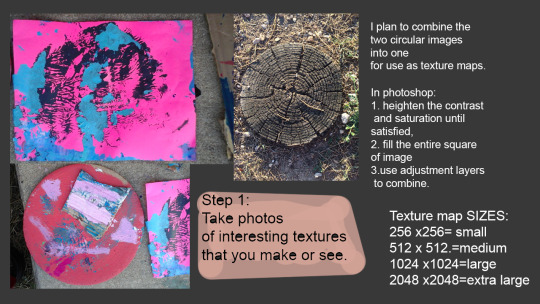
Photo
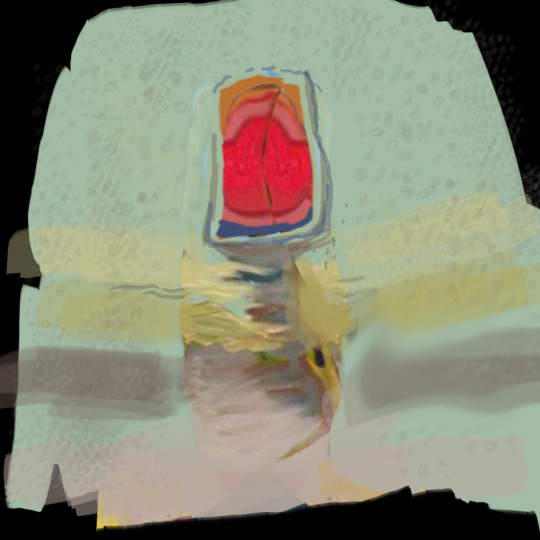
recently revised texture maps
3 notes
·
View notes