Don't wanna be here? Send us removal request.
Text
Hey you!
Yes, yes, You!
Isn't construction work boring?
Has it been way too long since one of your colleagues has had a debilitating work-related injury?
Wouldn't you wish that scheming compensation frauds would be easier?
If only there was a solution to all of these problems
But now, there is!
With the new and revolutionary:
//------------------------------------------------------\\
Construction site darts
-A lil knick-knack to occupy your slow work days

I imagine that by now you are completely in awestruck with this beauty of an invention, take a breather because the next part is gonna be good.
I shall now help spread this beauty by teaching you, the reader, to build some for your own.
Go on, take a 3~4 minute break to bring yourself into reality again. It's a lot to take in
.
.
.
.
.
.
...
...
... You good?
Perfect, Let's Begin
//------------------------------------------------------\\
DIY Bullshittery guide
Requirements:
6 or 8 mm screw (1)
6 or 8 mm anchor (2)
Electrical tape or equivalent (3)
Paper, preferably slightly rigid (4)
Scissors

//---------------------------------------\\
Building steps
Step 1
The first step is to align the head of the screw with the hollow side of the anchor. This will be the body of the dart, so aligning them as best as possible with each other will make the dart more precise

- - - - - - - - - - - - - - - - -
Step 2
When you've got them aligned, tape them together. it is preferred to use the minimal amount of tape to hold it together so that it doesn't impact the drag of the dart as much

- - - - - - - - - - - - - - - - -
Step 3
You'll notice that the backside of the anchor has a little cross shape

This cross will be used to fit the fins. To help with that, you need to continue the cross cut through the external rim. Be careful not to cut too wide to preserve the integrity of the anchor as much as possible

- - - - - - - - - - - - - - - - -
Step 4
It is now time to make the backfin. Begin by making a paper square. I don't have an exact specific size for it, so go by feel. If it seems a bit too flimsy, stack two paper squares on top of each other
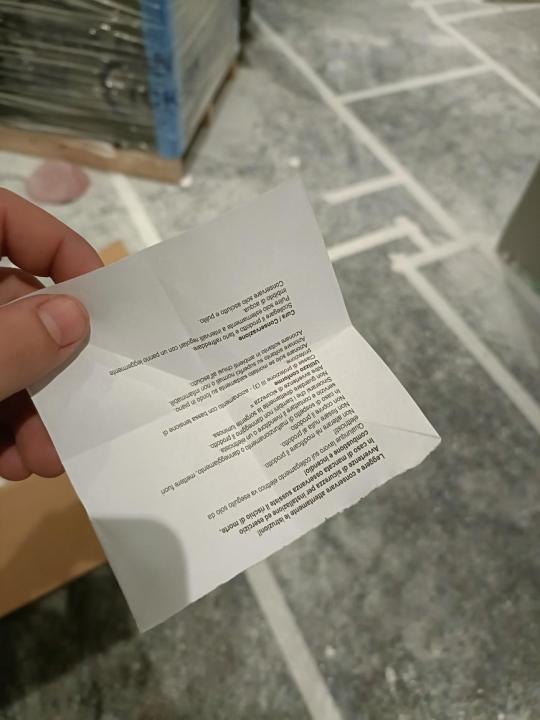
Fold the paper along the diagonals and bisectors of the square to get the folding lines for later

Note: size of paper is larger for explanation purposes
- - - - - - - - - - - - - - - - -
Step 5
Fold the paper in two and bring the two corners together with each other

And, presto, you should be holding the backfin in your hands

- - - - - - - - - - - - - - - - -
Step 6
The last step is to fanaggle the backfin through the slit that was created on the anchor.
Aaand, voilà, it is done. Your very own dart is in your hands

//------------------------------------------------------\\
Fin?
Now, my fellas, you have now in hand the power to fill those dead moments at work with hours of chicaneries and tomfoolery, use them well.
With that, I have nothing else to say.
.
..
...
Uhh.....
...
..
. . . don't sue me if you lose an eye tho
5 notes
·
View notes