enasniveecosplay
The Madhouse
Hello! You've stumbled upon the cosplay blog of Enasni Vee!
This blog is where I will post strictly cosplay related things and my various adventures in cosplay, as well as tutorials I find useful!
linktr.ee/enasnivee
601 posts
Don't wanna be here? Send us removal request.
Last Seen Blogs

regimarkeu-blog
Regimark
marilynallen1
Marilyn.ML.Allen
need-a-new-hobby
need-a-new-hobby

redstar07
Sans titre

phoenixshards
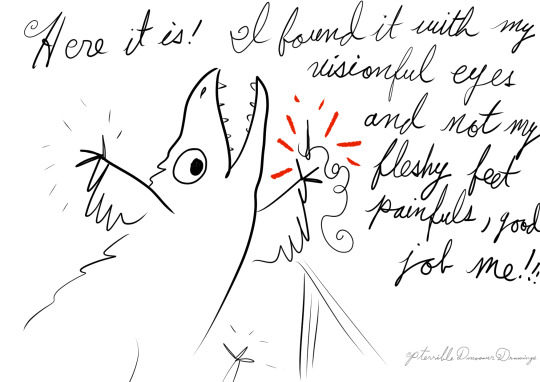
do not fear me. the fire is mine.


Text

Space is cold, honey. Let’s get you warmed up💜
photo by.yulli
edit KIRA
17 notes
·
View notes

Text

Merry Christmas, sugar and Happy Mercenary Day✨💜 xoxo💋
85 notes
·
View notes


Text
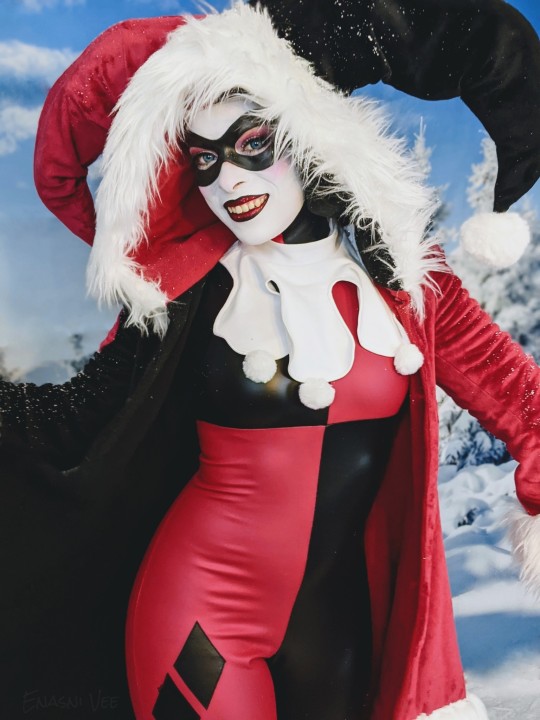

Clownin' in a winter wonderland~ 🤡❄
Coat and cosplay by me. ♡
[IG] [TW] [FB] [TT]
#harley quinn#harley quinn cosplay#harleen quinzel#bruce timm#classic harley quinn#winter#cosplay#harleydays
38 notes
·
View notes
Text
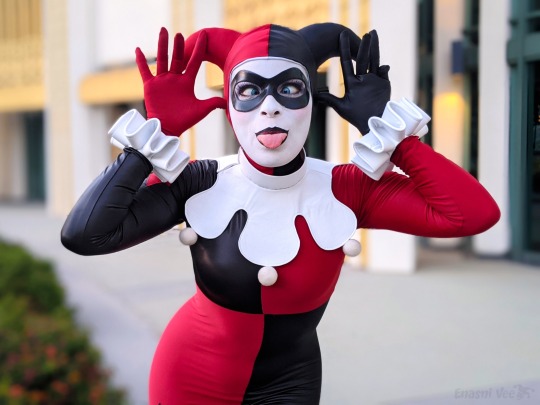

Nyeeeehhhh
[IG] [TW] [FB] [TT]
#harley quinn cosplay#harley quinn#classic harley#harleen quinzel#btas#dcau#batman villains#bruce timm#cosplayers#gotham city sirens#jester
109 notes
·
View notes
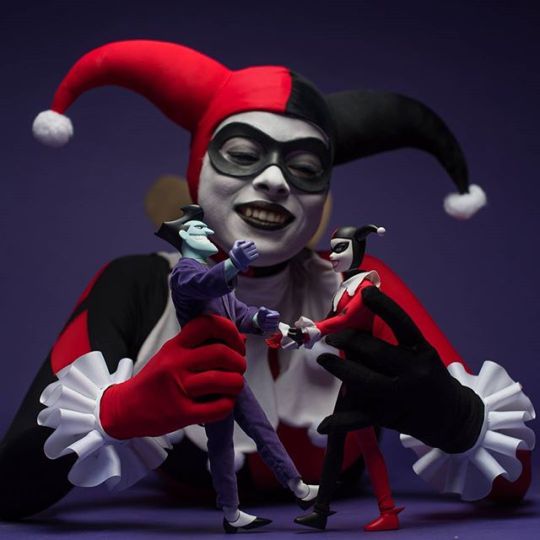
Text

Nom
#harley quinn#harley quinn cosplay#harleen quinzel#classic harley quinn#bruce timm#btas#joker#jarley#joker and harley
72 notes
·
View notes
Text


"You forceth me to shooteth you the moon!"
Photos by James Rulison
My Calliope Quinn/Amusement Mile cosplay! This Harley look is based on Arleen Sorkin's iconic outfit from the Days of Our Lives episode that led to Harley's creation. 🥰
#harley quinn#arleen sorkin#harley quinn cosplay#harleen quinzel#classic harley quinn#cosplayers#Amusement mile
19 notes
·
View notes
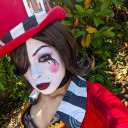
Text
"My boss likes me to wear a smile to work."


BTAS Harley Quinn cosplay by me. ♡
67 notes
·
View notes
Photo


“Super bad girl team up, I like it!”
Poison Ivy: Mariiidragon
Catwoman: CosplayTwiins
Harley Quinn: Enasni Vee
Photography: James Rulison
#HarleyQuinn#Harley Quinn#Poison Ivy#Gotham City Sirens#Catwoman#Selina Kyle#Harleen Quinzel#Pamela Isley#BTAS#DCAU#Bruce Timm
43 notes
·
View notes
Text
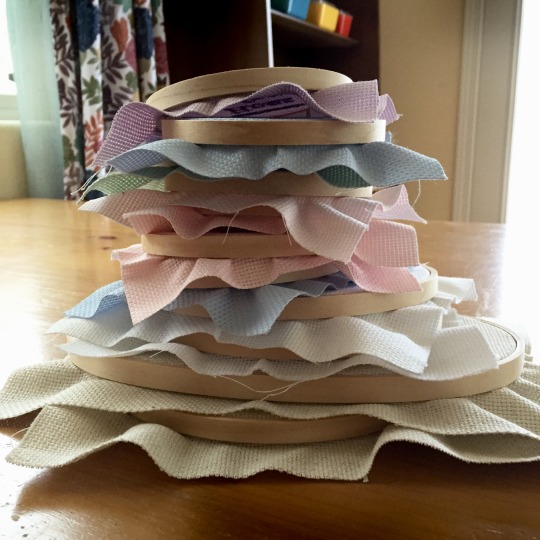
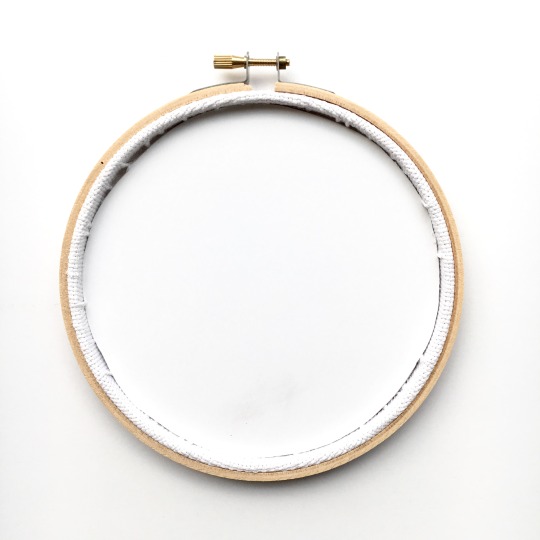
How to Mount Cross Stitch in an Embroidery Hoop
There are many ways to mount your finished cross stitch or embroidery in a hoop. I’ve pinned a bunch of them here. But I came up with my own method a while back and I am sharing it here.

You will need:
Your stitched fabric
An embroidery hoop
Foam core board, 3/16″ thick
Scor-Tape, 1/4″ wide
Fabric scissors
1. After completing your stitching, iron your fabric to remove any creases.

2. Take the inner ring of your embroidery hoop and place it on a piece of foam core board. I recommend a piece that is 3/16” thick. Trace the interior of the ring on the board.
3. Cut out the circle with an X-Acto knife or some other sharp implement.
4. Line the inside of the inner ring of the embroidery hoop with strong double sided tape. I recommend Scor-Tape that is 1/4” thick. You can use glue if you prefer, but I’ve had success with this tape. If using glue, don’t apply until after step 6.
5. Take your fabric and center it in the embroidery hoop. Pull the fabric until it is taut in the hoop and tighten the screw.
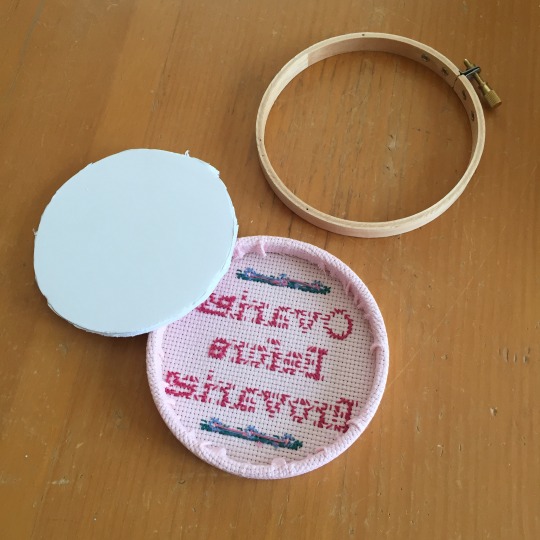
6. Trim the edges of the fabric until the edge is short enough to lay flat against the inner hoop all the way around—about 3/8” to ¼,” depending on the depth of your hoop ring.
7. Remove the backing paper for the double-sided tape and press the fabric onto it. Start with the top and bottom, then the left and right sides, then work your way around the rest of the fabric. Make sure the fabric remains taut.
8. Take the foam circle you cut out and push it into the back of the hoop. You will likely need to trim the edge of the circle a little bit all the way around before inserting since the opening is now a little bit smaller with the fabric pressed down.

That’s it!
2K notes
·
View notes
Video
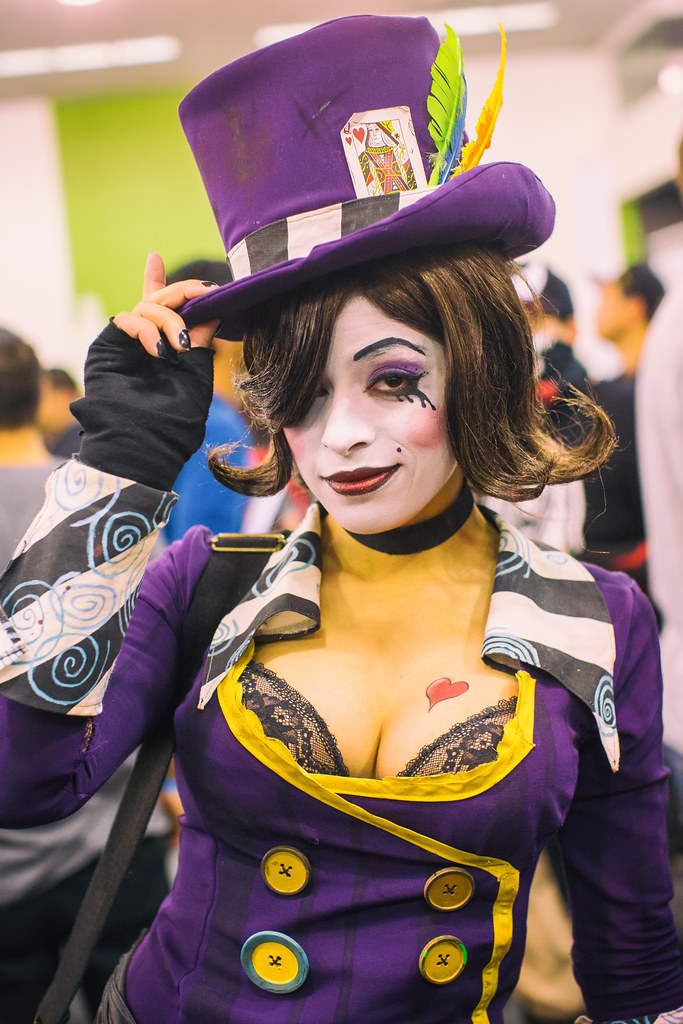
flickr
Silicon Valley Comic Con, 2016 by Thomas Hawk
14 notes
·
View notes
Link
This database holds a ton of useful materials for embroidery! many different types of stitches in various difficulties, all incredibly useful!


43K notes
·
View notes
Photo
Enasni Volz
130 notes
·
View notes