
Statistics
We looked inside some of the posts by fmp2onicomartin-hahn and here's what we found interesting.
Average Info
Notes Per Post
0
Likes Per Post
0
Reblog Per Post
0
Reply Per Post
0
Time Between Posts
4 hours
Number of Posts By Type
Text
17
Last Seen Tumblr Blogs


Fun Fact
1,644 Tumblr posts in 1 second.
Text
Font options for poster:
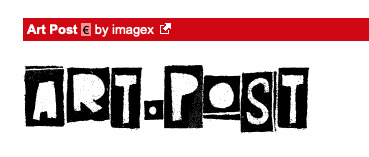


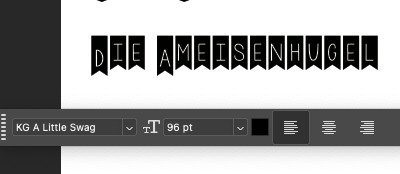
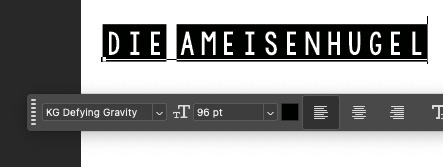

These were the fonts I looked at on DaFont, I wanted to go for a font which looked like bunting of graffiti, the majority of them are bunting themed though.
My top two chooses after viewing them all were Art Post and Chasing cars and once I finished Kleptés drawing I decided on Art Post as it suited the rest of the style of the poster and didn’t look out of place.
0 notes


Text
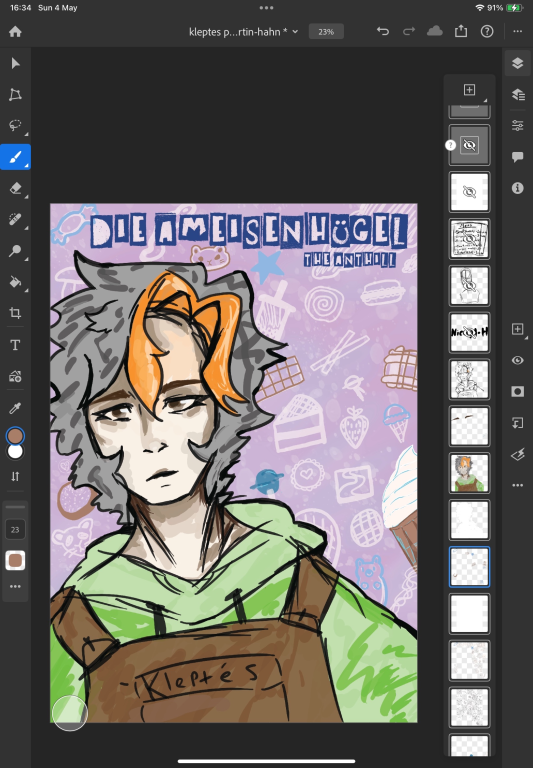
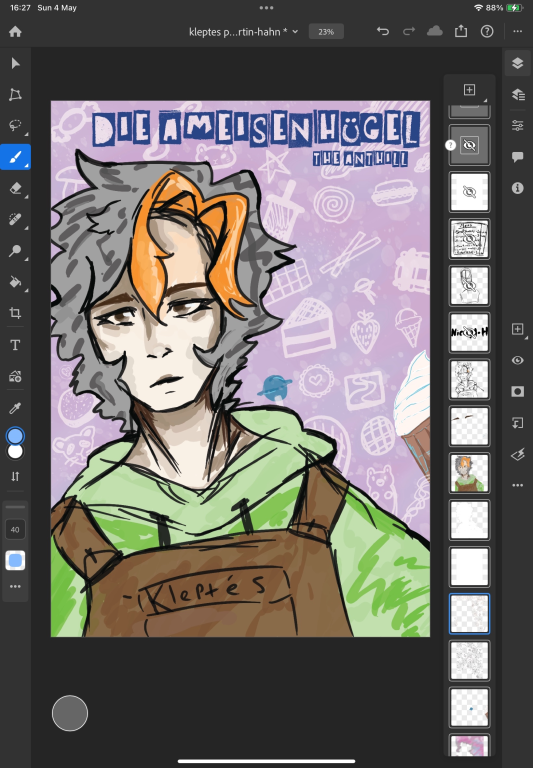
Completed Poster + Pitch Sheet:
Poster:

Pitch Sheet:
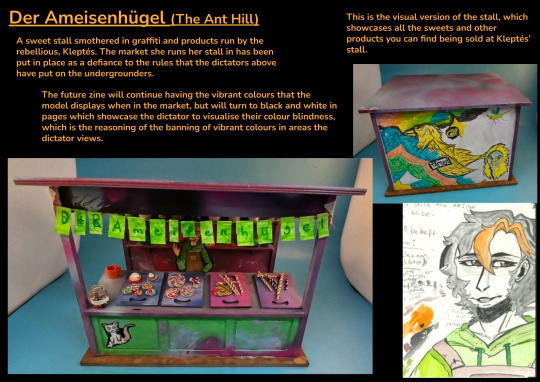
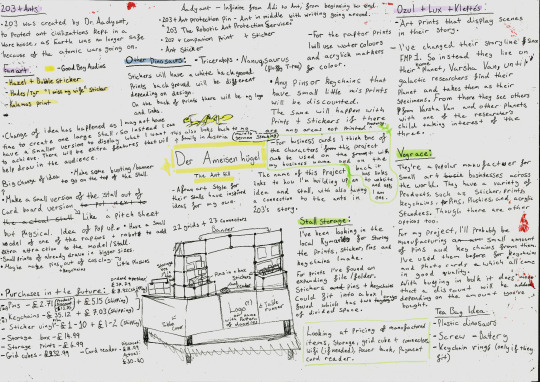
For the pitch sheet I decided to add details which explained the main factors of the story and future plans, and added photos of the outcome of the model and the first drawing of Kleptés.
0 notes
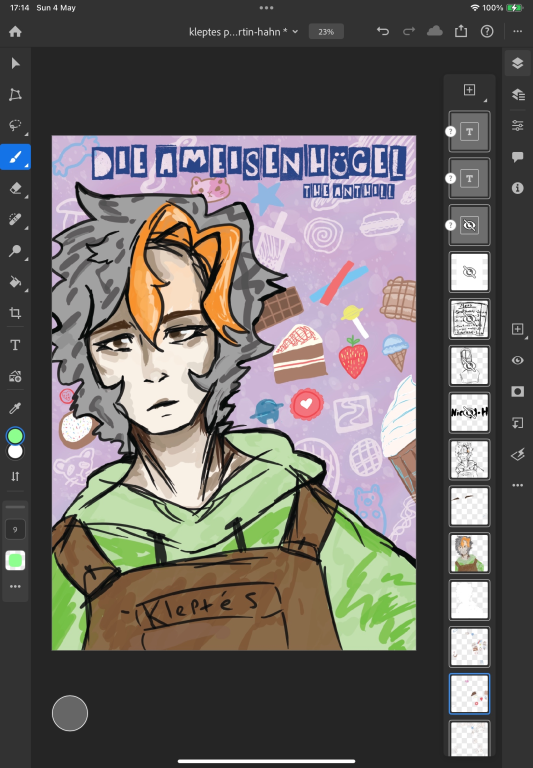
Text
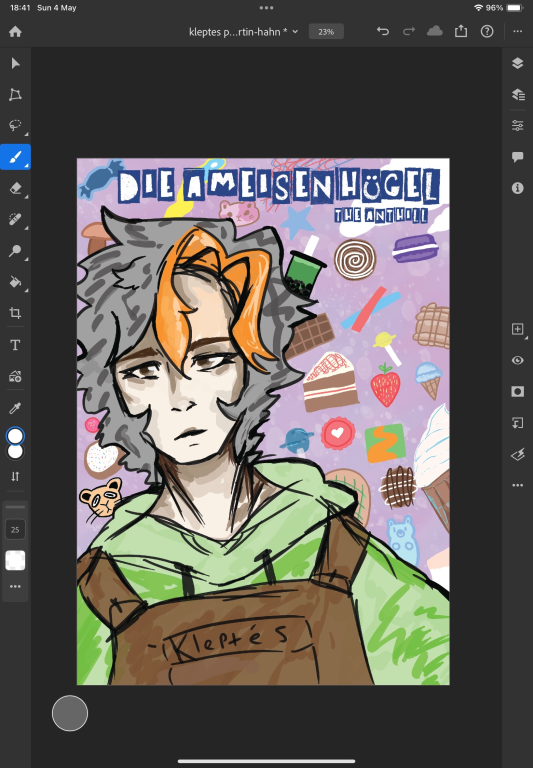
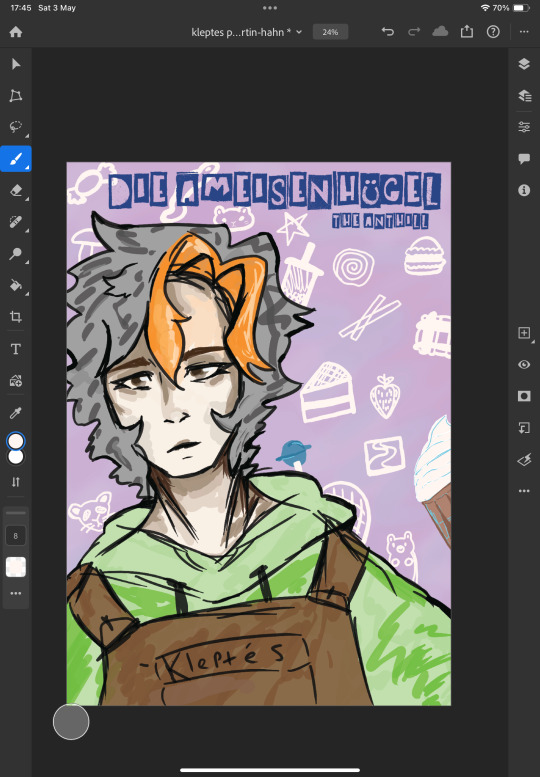
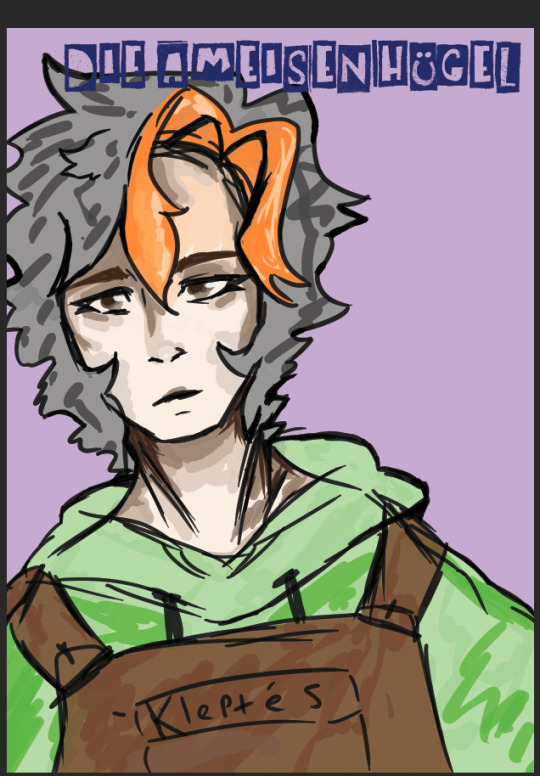
Creating the poster Part 5 (Final):


I added a description to the bottom of my poster, as it was recommended by my tutor to help the audience understand what it was for.
0 notes
Text
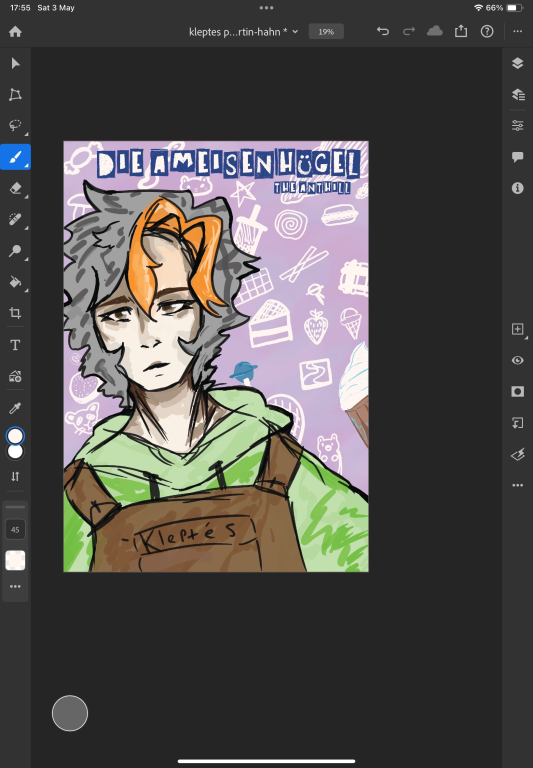
Creating the poster Part 4:


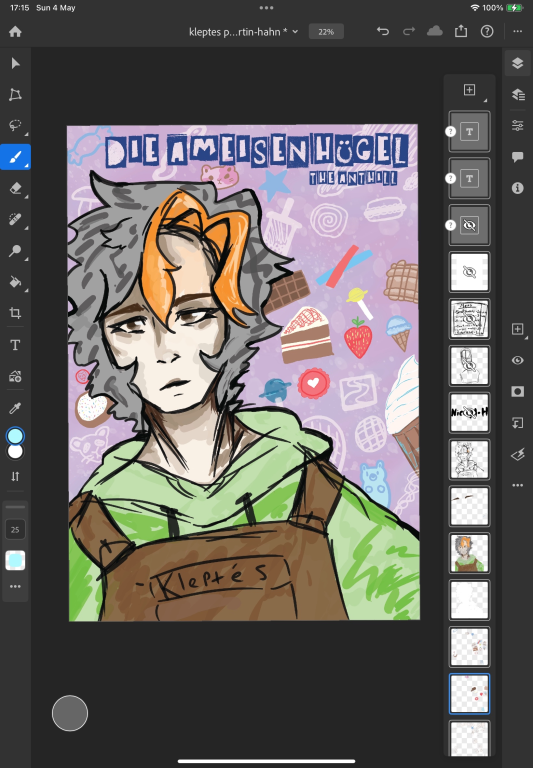


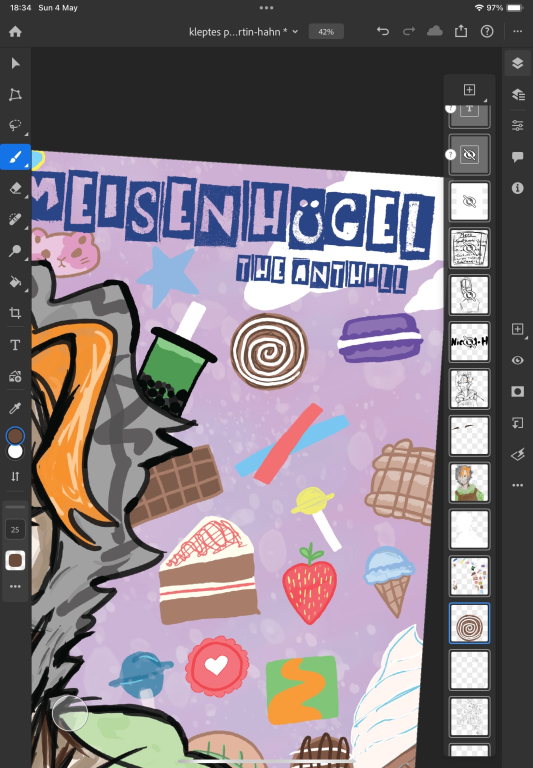


I finished the white version of the pattern and this is when I started to draw over it. I thought I had completed it here but I later on realised a few errors that were made.
0 notes
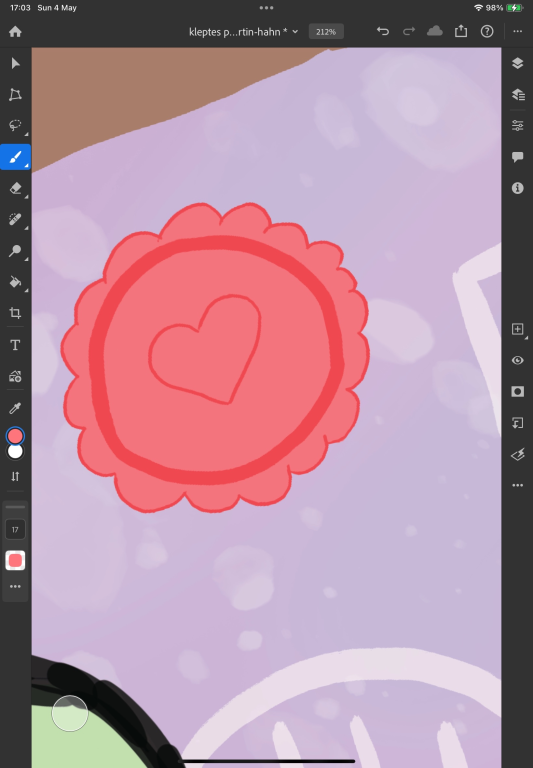
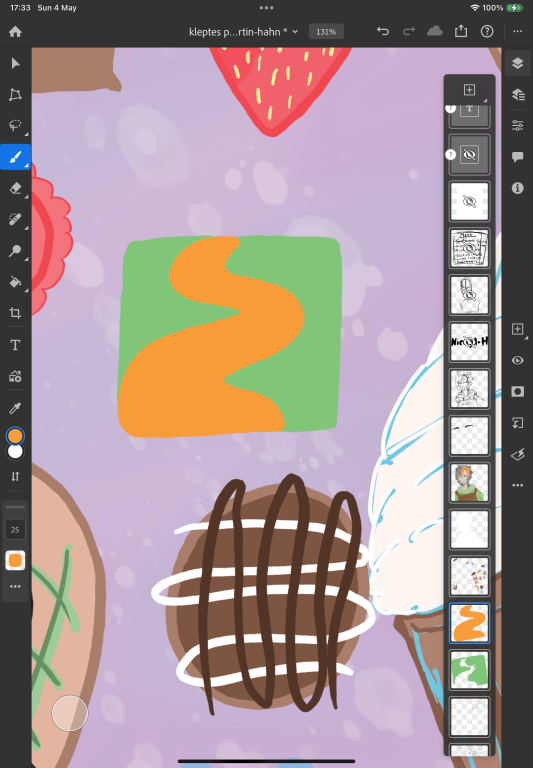
Text
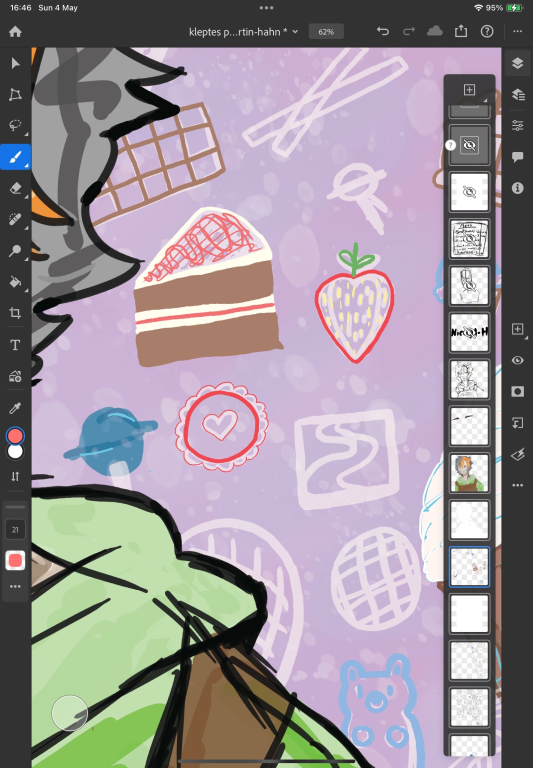
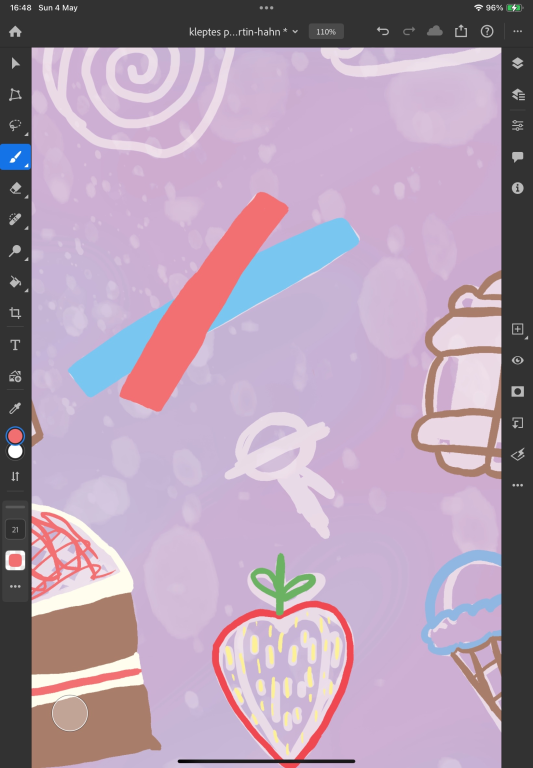
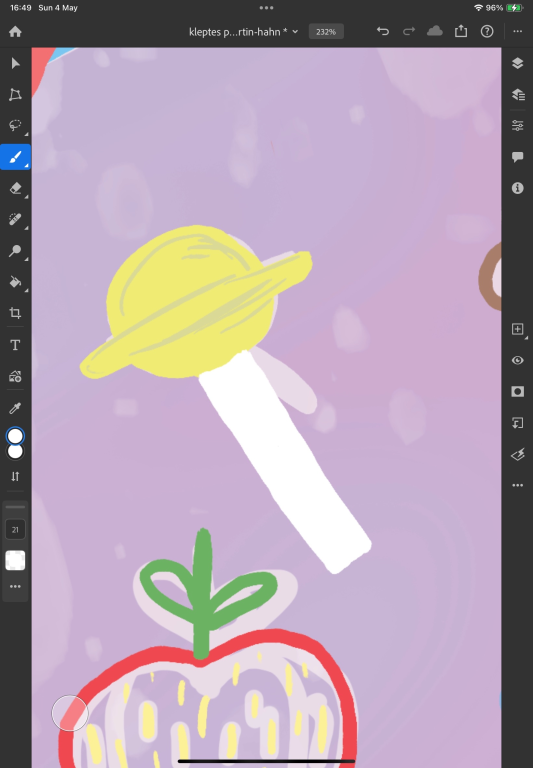
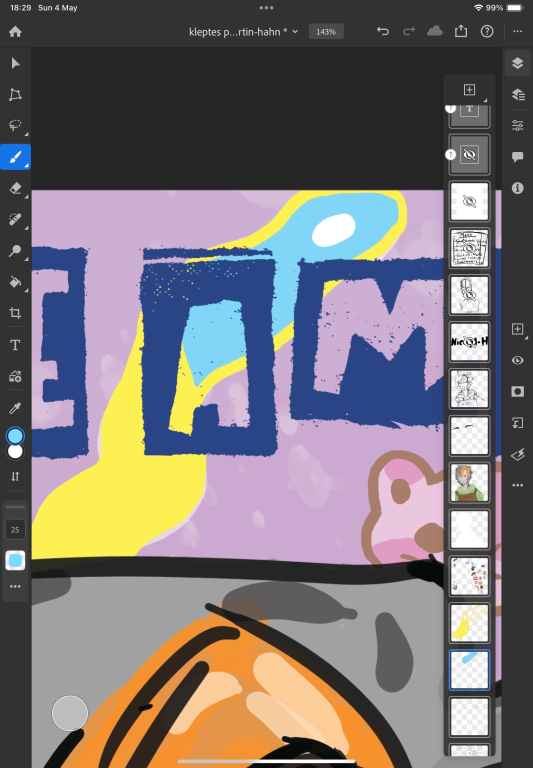
Creating the poster Part 3:


Unlike the first two sweets I designed for the background I decided to draw the rest in white first and then draw over them in colour once the pattern was finishe
0 notes
Text
Creating the poster Part 2:


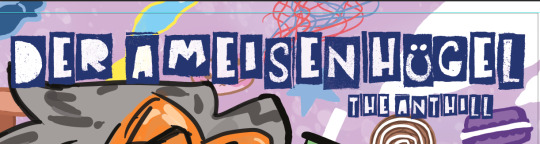
I did have the idea to add a menu to a corner of the poster but this was never thought of again in the rest of the process. The font I went with for the title is, Art Post from DaFont. It fit well with the graffiti style of the stall and the other aspects of the poster.
0 notes
Text
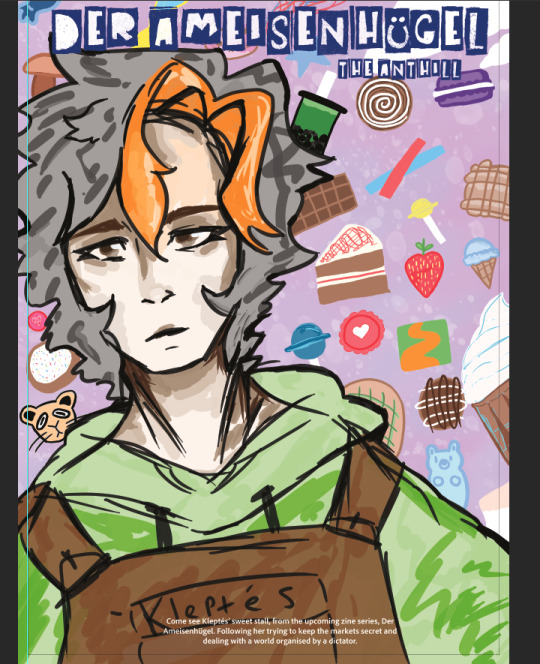
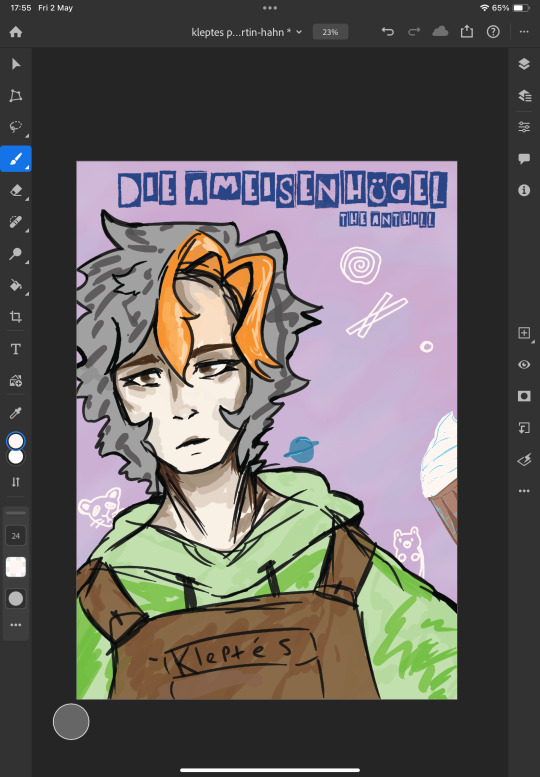
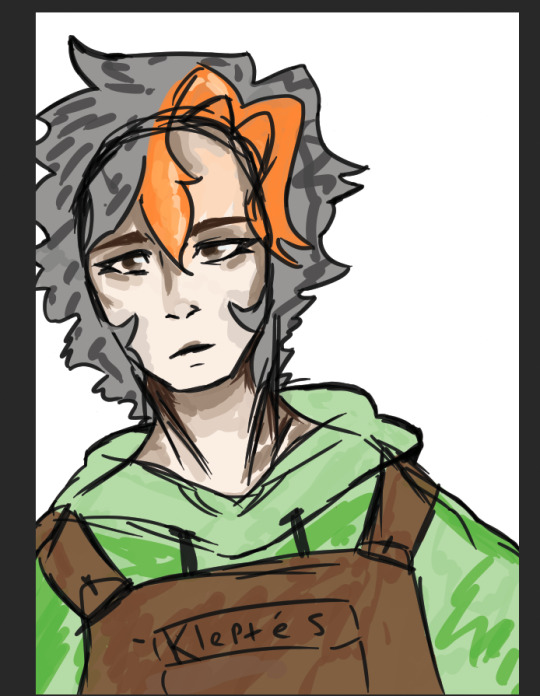
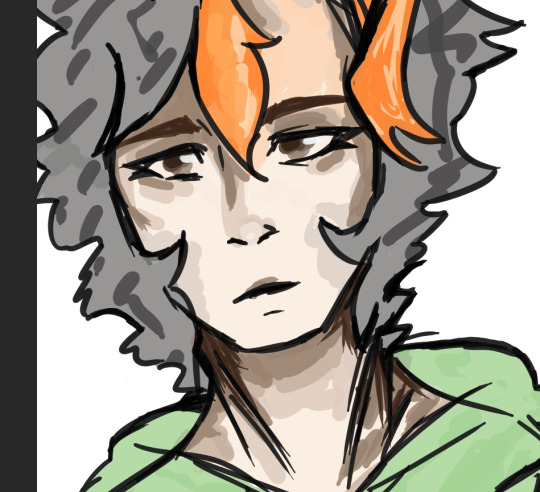
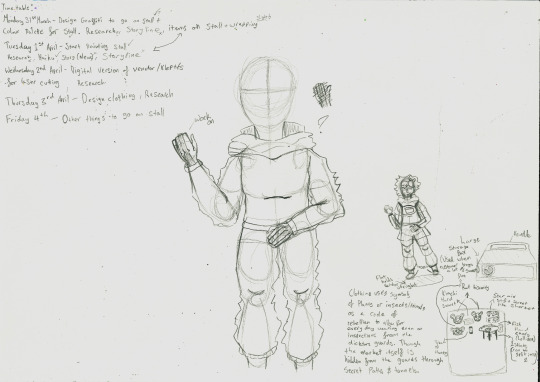
Creating the poster Part 1:
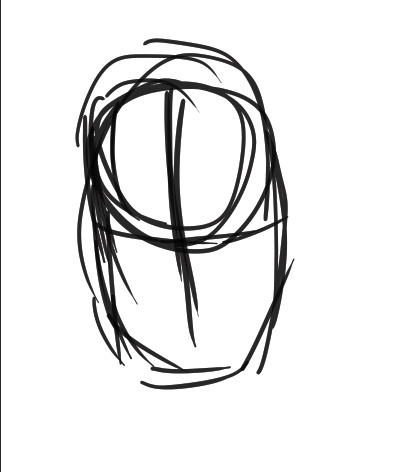


I didn't intend for this drawing to be the main piece in the poster, it was actually supposed to be a warm up sketch but further into the process of drawing it seemed to fit perfectly.
0 notes
Text
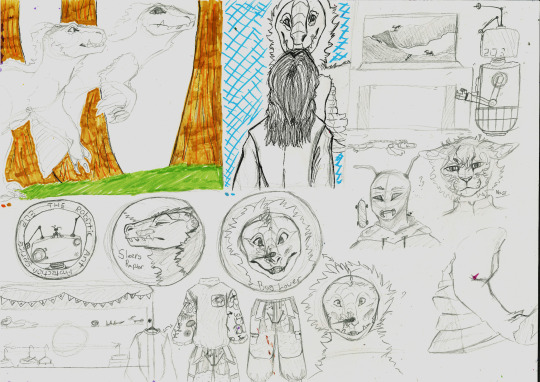
Poster design ideas:


These were the ideas I mainly thought of when deciding how I wanted the poster to look but I later didn't go with these ideas.
0 notes
Text
Posters:
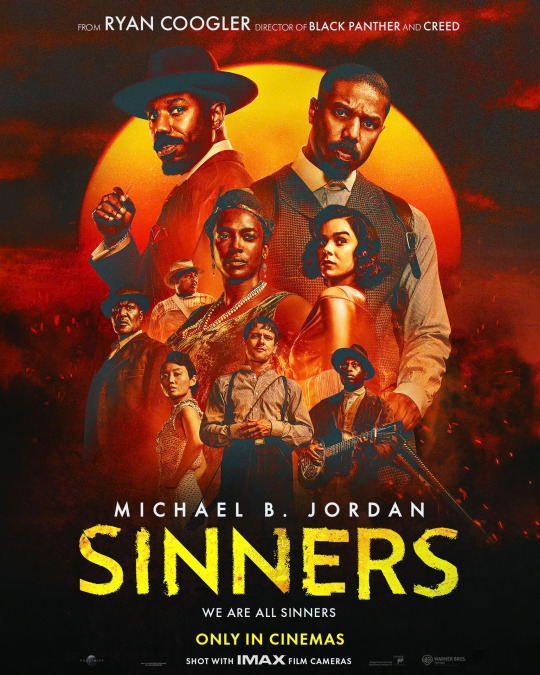
Sinners poster kept to a minimal colour palette of red, black, orange and yellow, which helps it connect to horror factors of the movie. It definitely draws you in to focus on the characters in the centre of the poster.
Examples of food stall posters:


.
I looked at sweet patterns on Pinterest, as a reference for the background of my poster.
0 notes
Text
Painting the standee Part 2 + adding support at the bottom:


After fully painting the standee, I decided not to varnish it, and instead I got some super sculpt, baked it and then stuck it on the bottom of the standee with extra strong PVA glue.
0 notes
Text
Putting the standee together + Painting the standee Part 1:


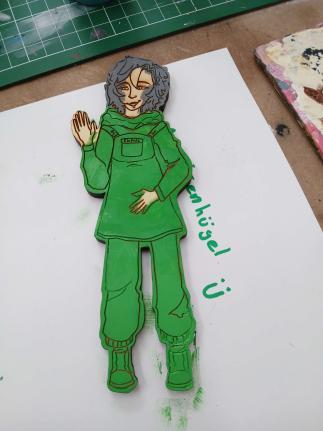


The blank cut out of the standee and the one I full cut out, I decided to stick together (I used extra strong PVA glue), to give it more volume and so it has a bit more weight to help with standing up on the rest of the model. After sticking them together I then went onto painting, I decided to keep to the colour palette I first drew them in.
0 notes


Text
Laser cutting the standee Part 2:
I sped up the video of the laser cutting process
0 notes
Text
Laser cutting the standee Part 1:


This displays the computer format of the model and the changes that had to be made to the file so that it would print properly. There were a few errors that will be shown in Part 2 of the posts, but this shows some of the changes that were made to the fill itself to resolve those issues. There are two photos of the first attempt of laser cutting the standee that example what those errors looked like.
0 notes
Text
Making bunting for my model Part 2:


Measure out the title fitting to the string with space and then cut it out and applied it to the string by folding the top area and sticking it together. Thankfully, all the letters fit, and it looks like actual bunting.
0 notes
Text
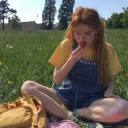
Making bunting for my model Part 1:


I untangled one of the sections of the rope to get a thinner string and cut it to the intended size with a little extra to allow for it to connect to the poles on either side of the stall. From there, I chose to use green markers to connect with the clothing that Kleptés wears.
0 notes