
Statistics
We looked inside some of the posts by imbbbear and here's what we found interesting.
Average Info
Notes Per Post
486K
Likes Per Post
311K
Reblog Per Post
175K
Reply Per Post
315
Time Between Posts
1 month
Number of Posts By Type
Photo
13
Note
2
Text
2
Last Seen Tumblr Blogs


Fun Fact
Tumblr was named as a finalist in Lead411’s New York City Hot 125 in Aug 2010.


Photo


Beomjin Kim - http://oh–ma.tumblr.com - https://www.facebook.com/beomjinn - https://www.pinterest.es/bjqjawls - https://www.instagram.com/beomjin___kim/?hl=es - https://www.behance.net/bjqjawls68fa
2K notes
·
View notes
Photo

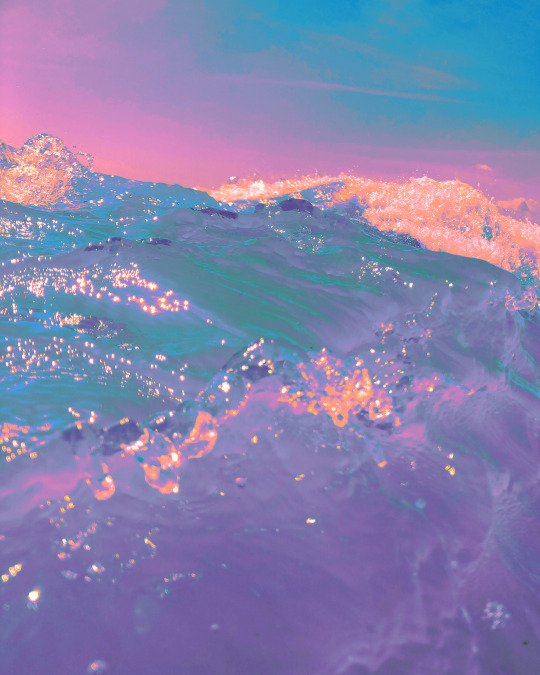

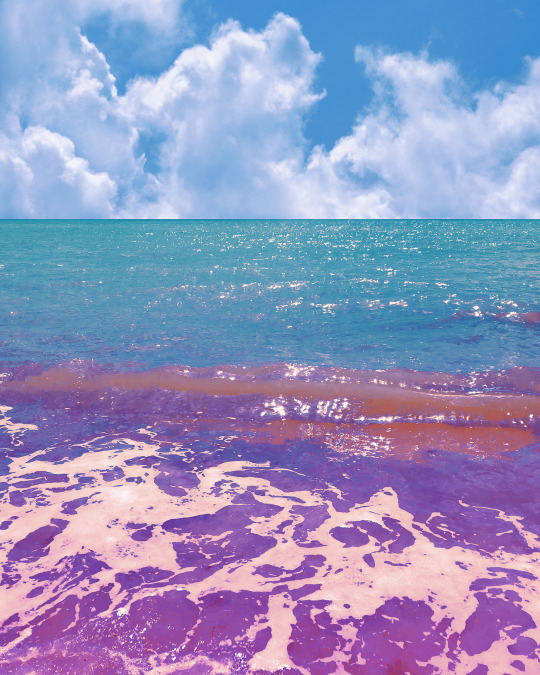


Just a few of my favourite ocean photos I’ve taken this year
28K notes
·
View notes


Photo

Hello everyone!Thank you for check my tumblr. I am a Japanese artist.I am honored to have a lot of people enjoy. I have receive a few comments, but I have not been able to reply to all message.I am sorry. Basically, this site is I use as my sketchbook.So,this site is not place much emphasis on uniformity. In the near future, we plan to put together one original work.I can not yet answer whether these are specifically manga or games. I will let you know about this on Twitter or tumblr at a later date. (Im sorry my English is not good…)
975 notes
·
View notes
Text

🎃🐸🍭

2 notes
·
View notes
Photo


animation run cycle notes for my upcoming 2D animation video course package
75K notes
·
View notes


Photo


「 TRAILS 」 - A My Hero Academia Fanbook
Presented by: Hiberry*Bottle Series: My Hero Academia Pairing: Bakugou x Kirishima Rating: PG Size: B5 / 28pg
routine provides a comforting normality, a familiar trail made by yesterday’s travelers.
「 TRAILS 」 is a quiet Kiribaku fanbook about Bakugou’s daily routine and his encounters with Kirishima. The story takes places in an alternate universe: Bakugou is a photographer, and Kirishima works at a cafe. This is a silent comic; there are no words or dialogue.
>> PREORDER HERE <<
Preorders will be open from now until May 30th
Thank you everyone for your immense support of me and this doujin on my twitter account! I’m so happy to finally release this fanbook.
◇ The book by itself is $15 (+shipping) ◇ The special keychain bundle, which comes with the Kiribaku Photoframe Keychain made specifically for this doujinshi, is $25 (+shipping)!
This book will be available for purchase at Fanime 2018 at Artist Alley table 408! Free pick-up at Fanime will be an option for pre-orders. Please keep in mind that I need your name and order number in order to pick up your pre-order. Choose only this option if you are certain you will pick up your order at Fanime. Any orders that do not get picked up on-site are subject to cancellation and refunded accordingly.
THANK YOU FOR YOUR SUPPORT!! ❤️❤️
5K notes
·
View notes
Photo


Hello! I have great news, thanks to the efforts of @ameliaandfriends/ @rabbitongames Haunted Corny Maize has been translated into Chinese! I am thankful to be able to share my game with a larger community of people. It’s available for both Mac and Windows too so please enjoy it regardless of what platform you are on!
The download is now available on my itch.io page!
127 notes
·
View notes
Photo


small intros for the major characters of Lion’s game. I need to do a bit of writing and figuring out the mechanics a bit more before making any more visual assets for now, but I think things are coming along well and I’m excited to work on it!
28 notes
·
View notes
Note
Could you do a tutorial on how you customized your game's ui? Or link to a tutorial that would show how to do it?
i can do a tutorial for you! it’s really simple with MV, especially if you use Yanfly’s Core Engine plugin. I also have a borderless text plugin (that i don’t really remember where i got, theres prob a million out there) since MV likes to have a white text w black outline as default. I’m just gonna go through all that I did to customize it and I hope it makes sense to you!
First, to change the text you just gotta drag and drop your new font into the fonts folder of your game project, and then open up the gamefont.css file.


just change the url bit to the name and extension of your new font and open up your game to see if it looks like you want it to. If it’s too big, you can change the font size in the core engine and just adjust accordingly.
Next, it’s gonna be a lot of finagling the window file. you’ll find this guy in your game’s system folder. You can edit it however you see fit, but there’s a lot of different stuff this squashed file does

this one is from my game, the top left square is the main window color which will be the background of your text boxes and your menu. you can change the opacity of that in the core engine also. I personally hate it being transparent lmao.
The right top box includes your window frame and arrows. Idk what you use the arrows for yet in game, but that’s something to edit I guess. The border is more important as this will line ALL of your windows. There’s plugins to turn off that border, but it adds interest and cute detail to the window! ALSO VERY IMPORTANT: there is a square box around the corners of the border guy that will stay pixel perfect. anything beyond that box on the long sides will be stretched/repeated to fill the line of the message windows, as i reiterated, will be on ALL of the message windows and it needs to fit the length of those windows regardless of what it is.
(I’ll also note that my border is very up against the box, and i have a bit of the color of the message window as a second border because if your border isn’t actually big enough, there will be a gap between your border and message window)
ok next is the bottom left box which is used for a window overlay detail. I’ve honestly never used this that much cuz i think that it can be too busy visually while people are trying to read the stuff.
next all in the bottom right box. the upper corner of that is the highlight color, when used to select things on the menu. The box i have stars in are the message advance prompt that will be at the bottom of the message windows. the animation moves left to right.
The bottom of this square is really what you’re gonna be messing with to make your UI look really good. So I’m only using the colors 0-3 because of my limited palette design, but all of these 32 colors can be used in your game somewhere! So here’s a diagram as it lines up with the UI, window file, and the plugin:

sorry it’s kind of messy but i tired to connect the things that were influenced by each other. I haven’t gotten into the lower part of the list yet but ovbs it’s the same kind of deal. Idk if you’re doing a game actually using the battle system, but I’ll talk about what they are anyway.
“Normal” is your main text color, and that affects the menu, the name, the class, level number, and the x/x values for hp and mp. For the HP and MP bars you can use two colors to create a gradient effect, but like I did, you can just use one number for both for a solid color.
“System” affects the labels for numerical values if that makes sense. Look at above and the status menu here to see what that affects.

“Crisis” is the text color change when your character’s health is super low. you can see that in the image below this next paragraph too:
“Gauge Back” is another battle thing, if your characters are anything less than a full bar, that’ll be the color “underneath” the bar. like the dark blue bar you see there:

I haven’t messed with the stuff below the hp and mp bars too much, so i can’t tell you what those directly correspond too sorry.
I haven’t messed around with any of the other things in the system folder, but i believe they are all a direct correspondence since they’re dealing with images like the window file and you don’t have to finagle any numbers, just make sure your sizes are right I think.
But I think that’s all I can really help on! If you need clarification let me know!
105 notes
·
View notes
Photo

Simple screen panning system in RPG Maker 2003
It uses a single common event which runs in the background, so it’s cheap to process and maps can be huge at no extra cost.
The common event simply checks the players location once every loop. It also has stored the world-space coordinates of the screen edges.
If the player’s location exceeds any of these edges it pans the camera, then moves the boundaries to reflect the new camera position. That’s it!
Benefits of this system
Compare this system to having the player step on invisible map event tiles which trigger the screen pan: RPG Maker 2003 really starts to chug if you add lots of map events, so having lots of these tiles lining the borders of every screen would be very expensive performance-wise. My system uses only one common event, and it requires no extra event work to increase the map size.
How to do it
Just create a new Common Event with the following setup:

Note: The sample script above only handles horizontal movement, but you’d just need to copy and paste the 2 conditional branches and change them to use the Y coordinates and move the screen and player up/down instead of left/right.
You’ll also need to do some initialisation to get it set up properly.
Call this common event once when you want the camera behaviour to start:

This stops the camera from following the player character in the usual 1:1 way, so it will be controlled entirely by the common event above.
It also defines the location of the screen boundaries at the very start. This depends on a) your map size and b) where abouts your player starts. I’m still figuring that out for my map, so I’ve thrown in some placeholder numbers.
The important thing is the the min & max for both X and Y span the width of your screen size (RPG Maker 2003′s default is 20x15, but you might want to make them bigger or smaller to suit your design).
The switch that’s activated at the end just allows the common event to run (see that it’s the condition in the main common event loop). If you ever want to revert back to normal camera movement you can just turn off that switch and unfix the camera scrolling.
Feel free to mess around with this and come up with your own twists on it :)
@crowbarska
1K notes
·
View notes